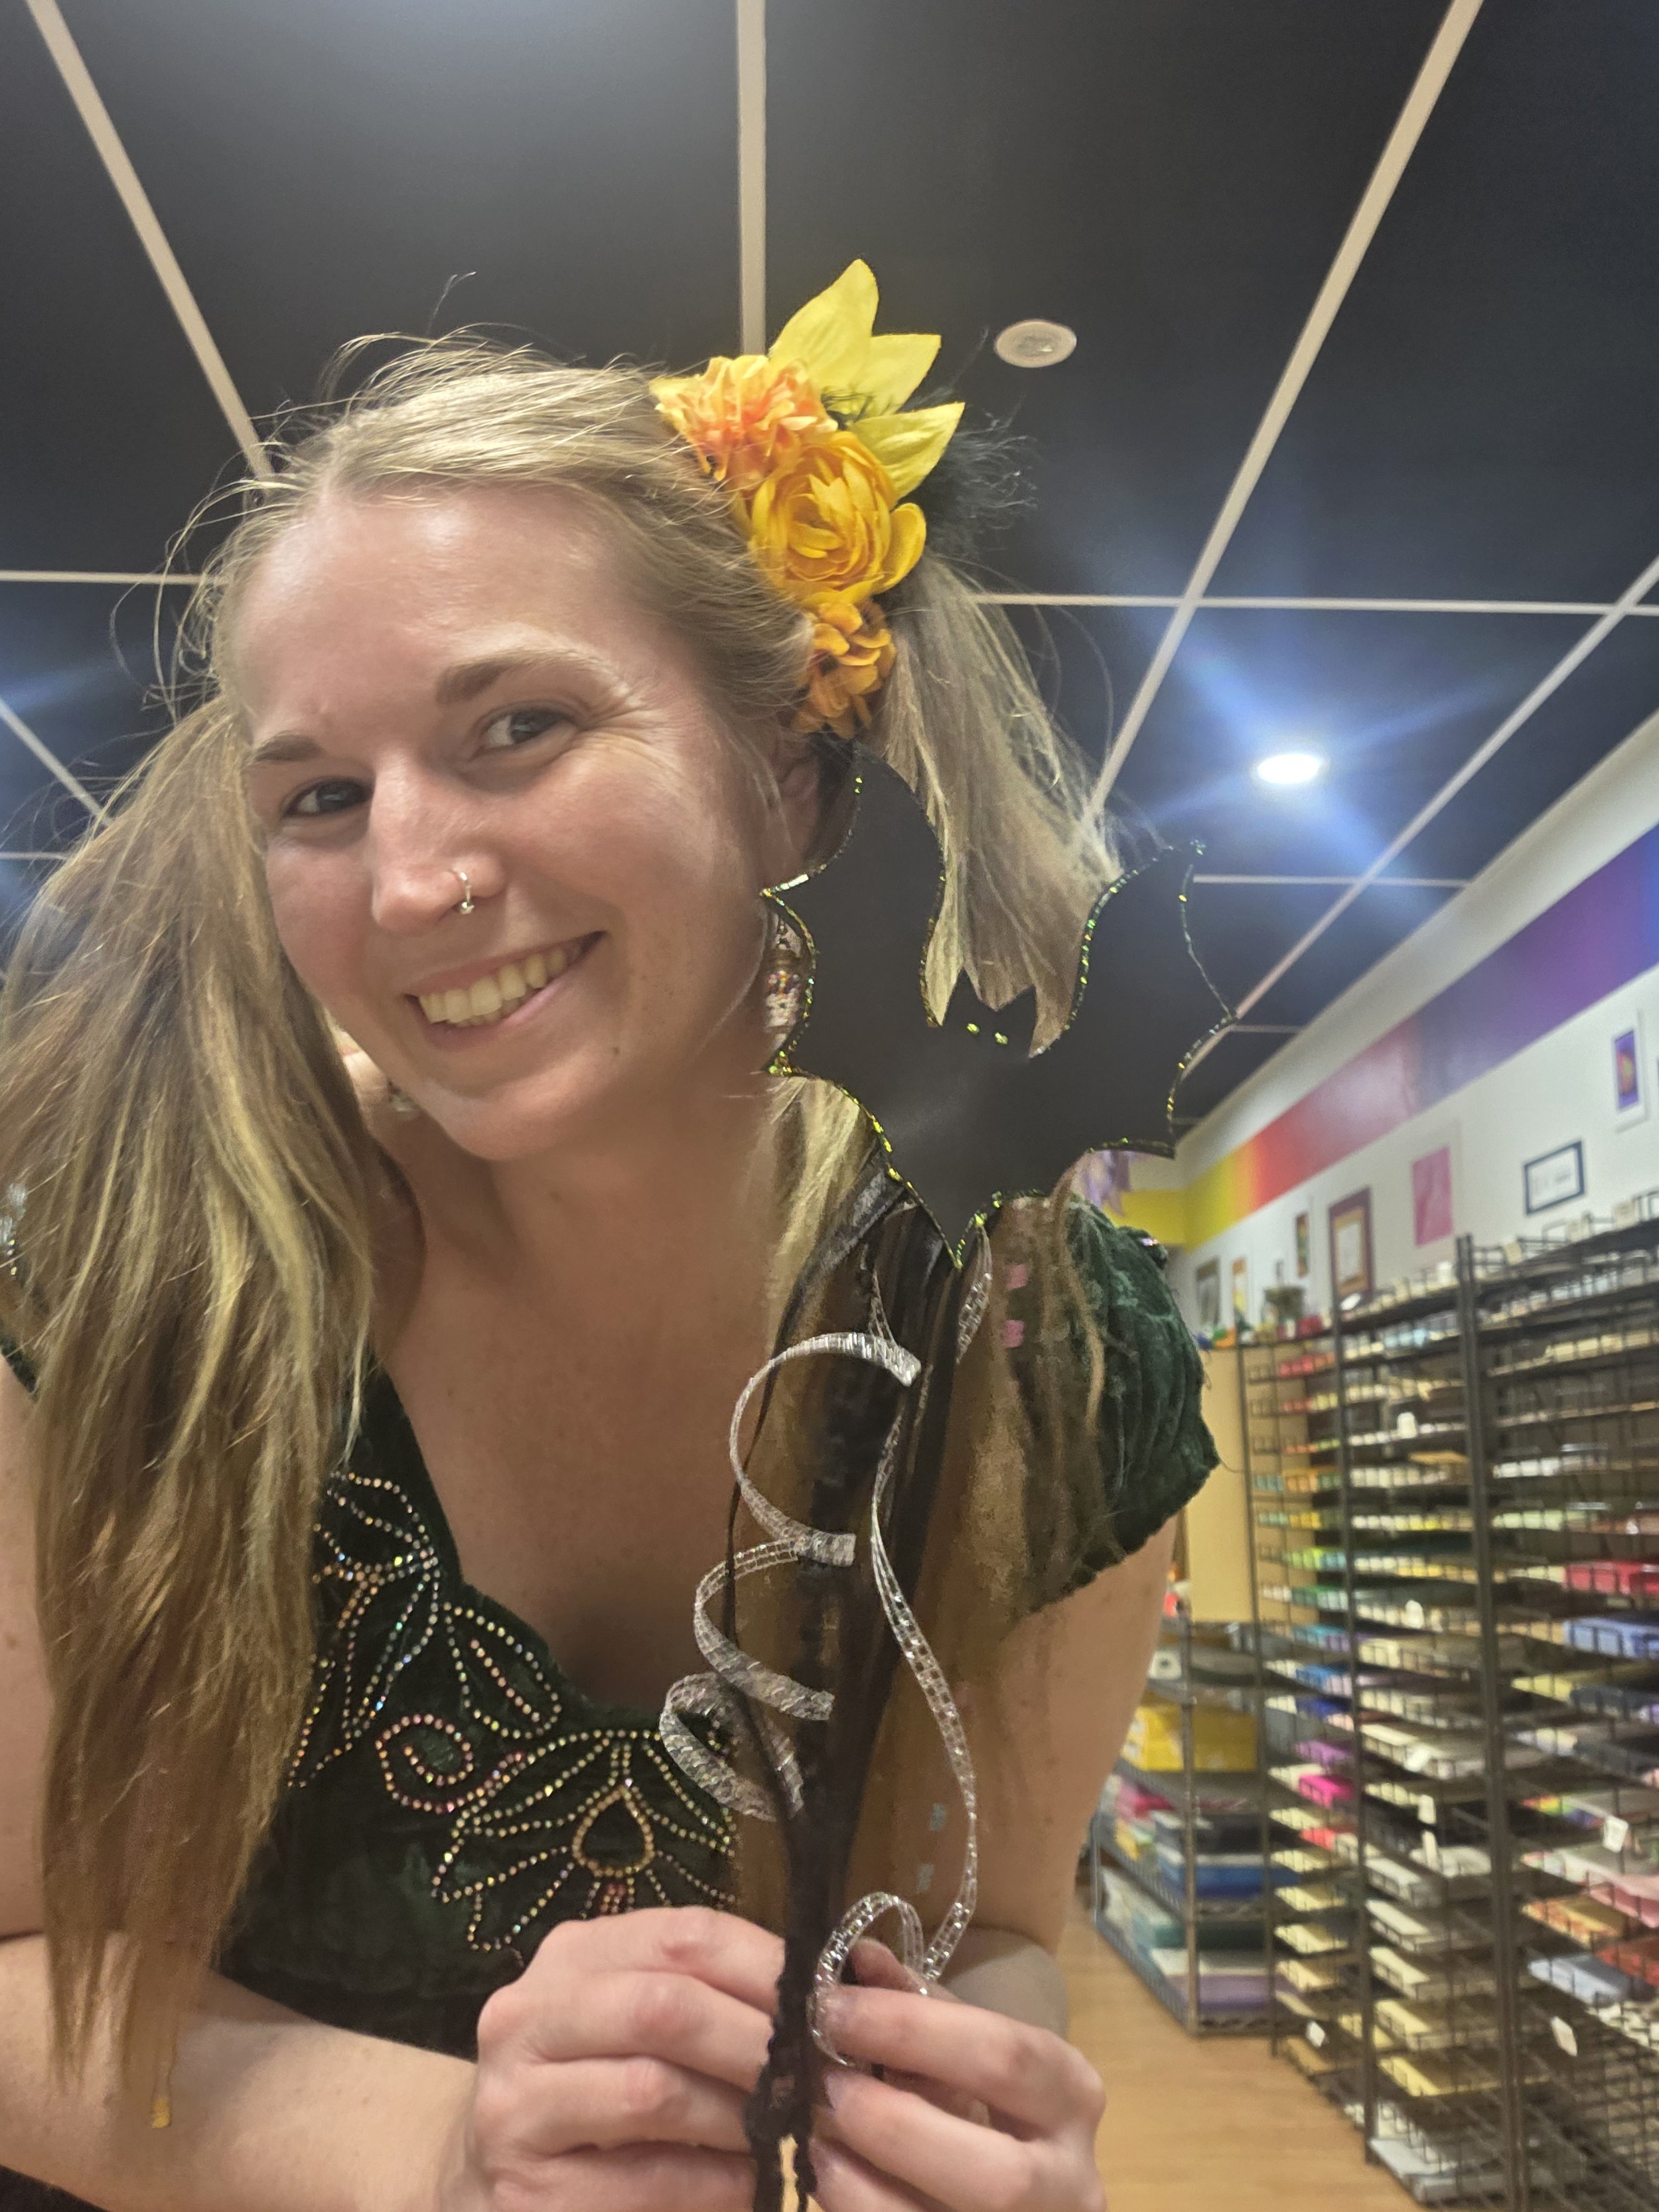
Our friends Morgan, Chris, and Olivia at BellinghamLiveNow took a field trip and visited us at the shop to make our spooky cute October make-and-take craft — BAT WANDS!!!
We had SO MUCH FUN making these adorable wands and making new friends!!
Much making was made!!!
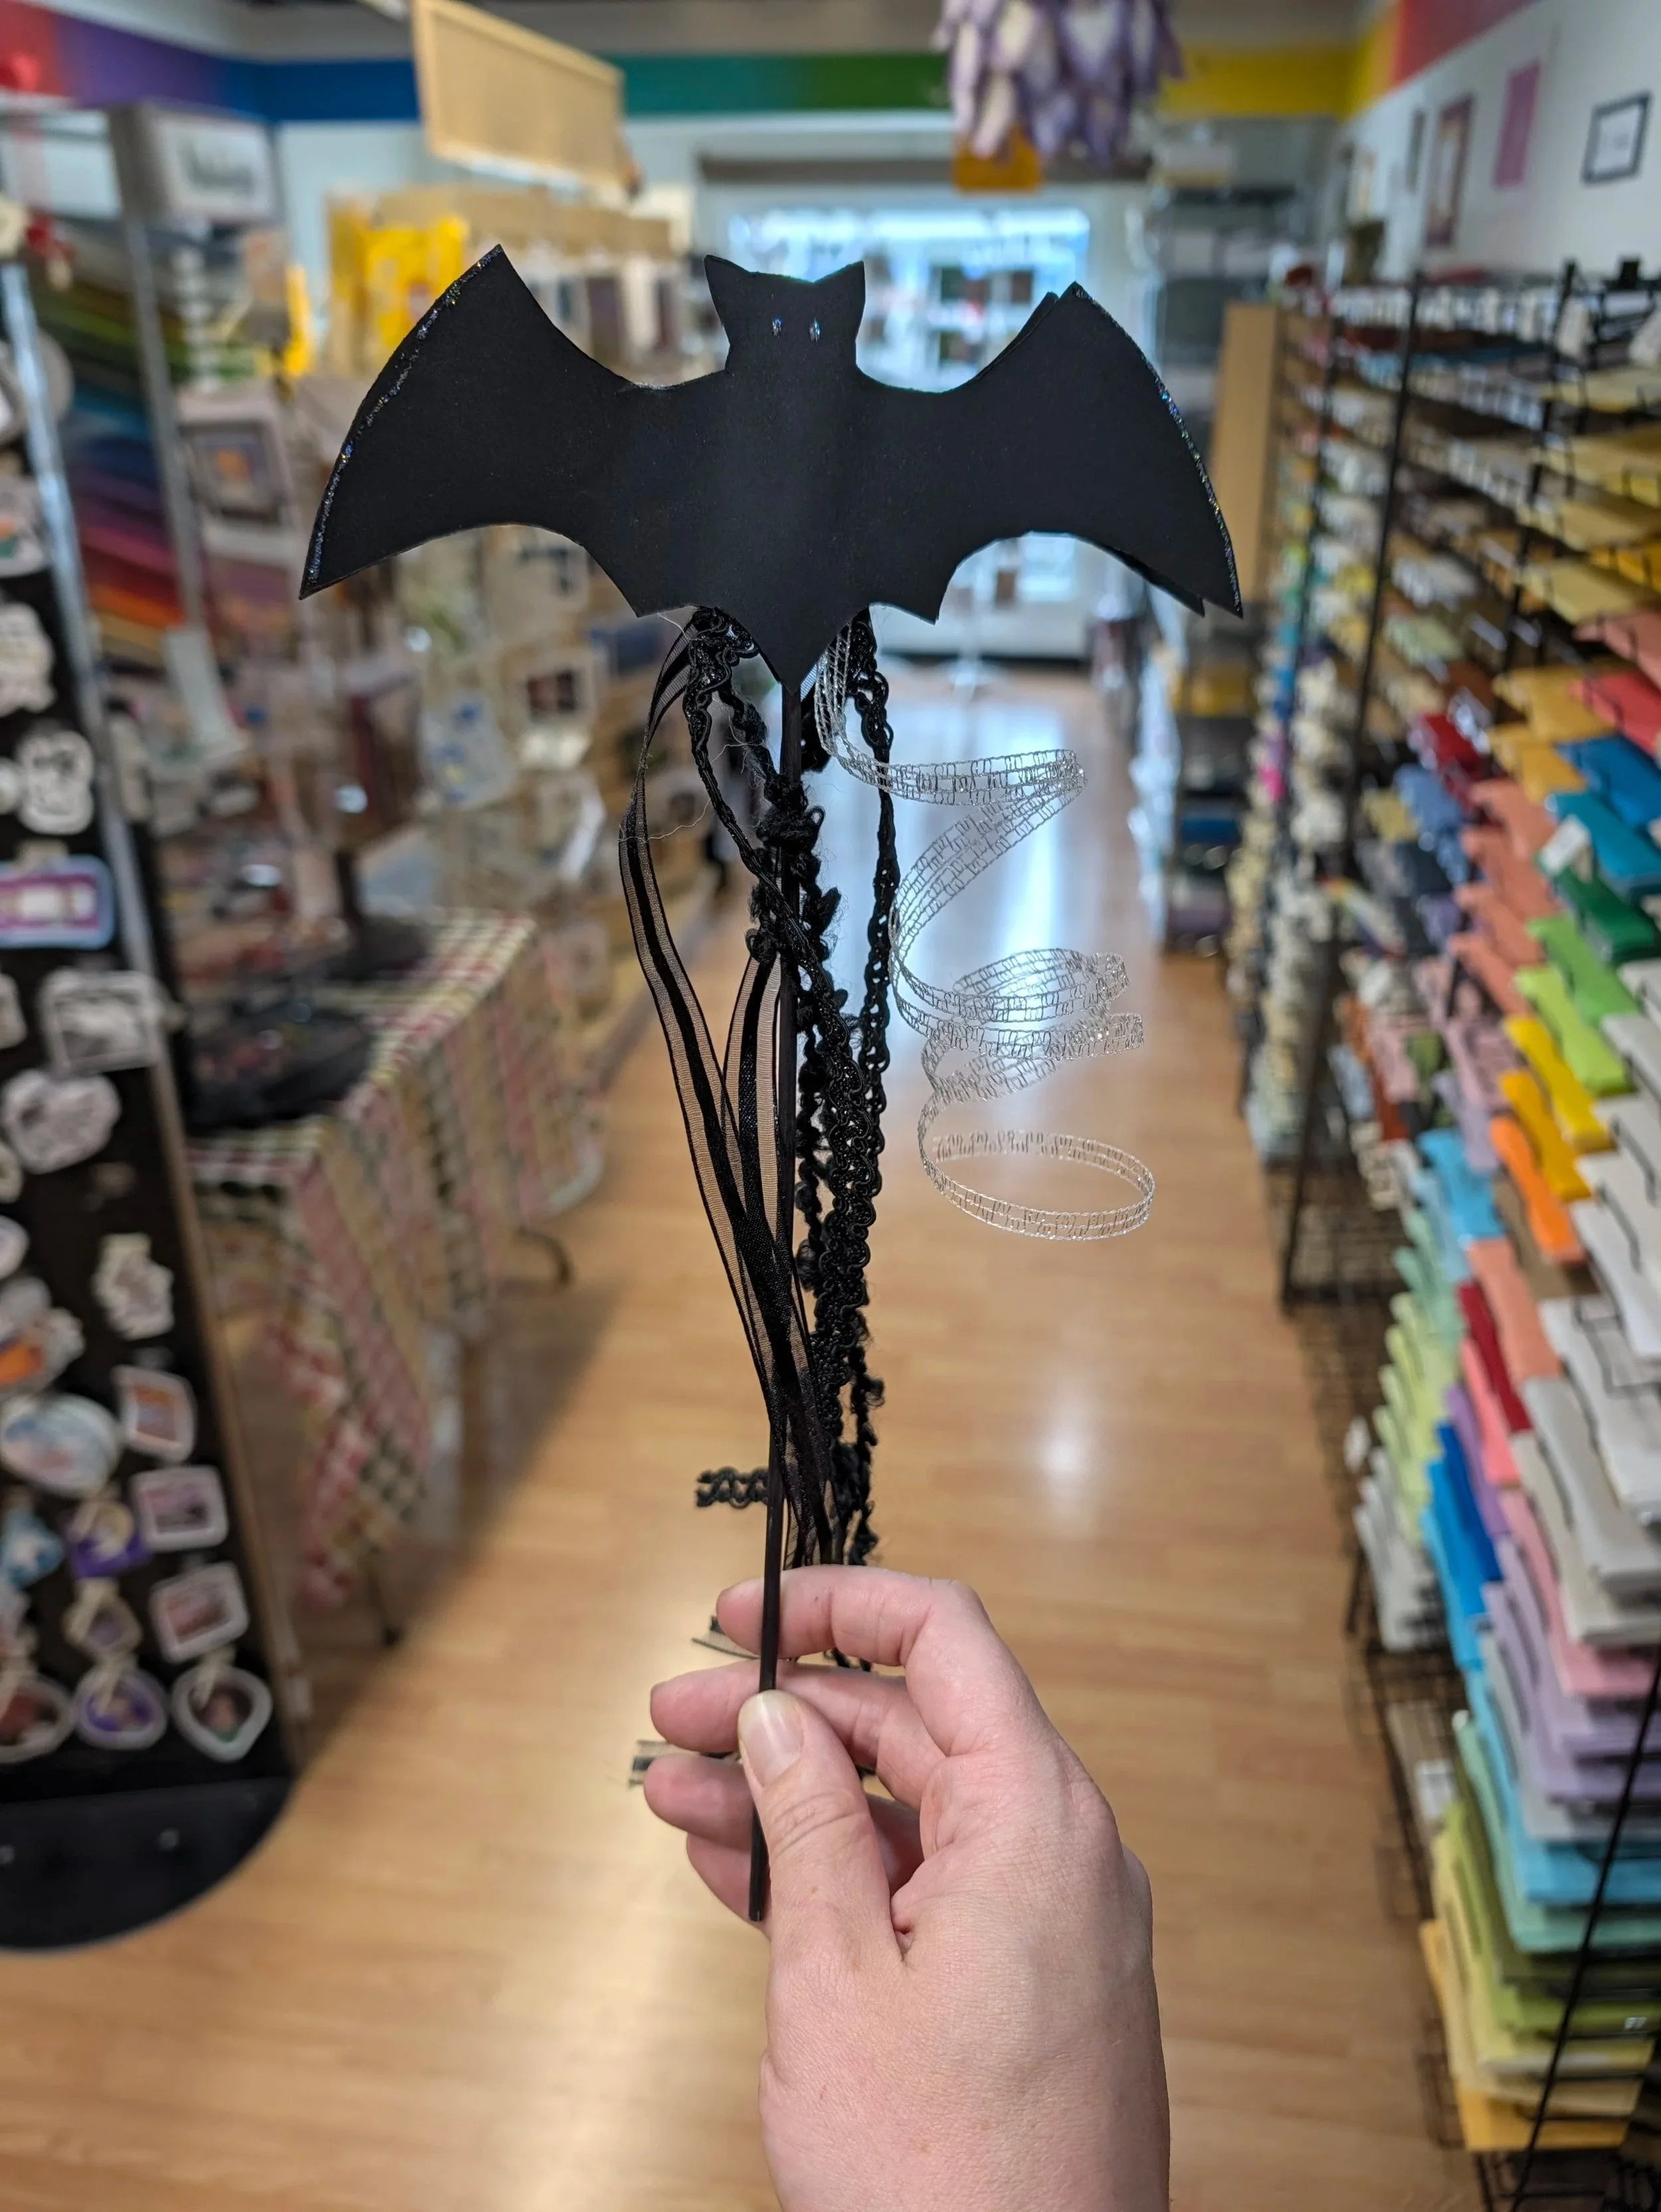
These wands are super cute, and they’re super easy to make. Each kit comes with everything you need:
Two black pieces of paper, one with a bat stencil drawn on
A stick to act as the base of your wand
Multiple types of fun ribbons and strings!
Step one: Cut out your bats
Align your black pieces of paper together so you can see the bat shape. Then use scissors to cut the bat shape out, cutting both pages at the same time.
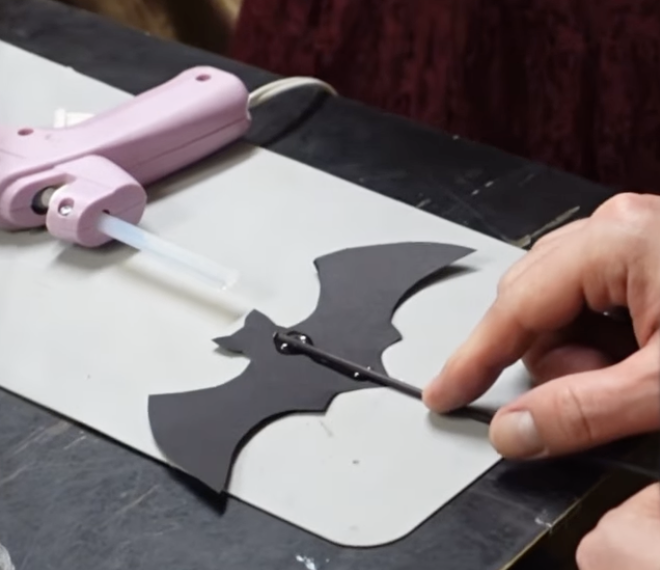
Step two: Glue your stick to one bat
Lay one of your paper bats down, with the pencil stencil side facing up. Create a line of hot glue down the center of the bat, and place the top part of the stick in the glue.
Step Three: Glue your ribbons
Fold each of your ribbons in half, so there are two dangly ends. Place the middle folded part of the ribbons on the glue around your stick while the glue is still warm!
Step four: Glue your other bat!
Add more hot glue over the stick and ribbons, and the paper directly surrounding them. Don’t glue the wings together - if you spread the wings apart and spin your wand, it’ll look like the bat is flying!
Step five: Decorate your bats!
Using glitter glue or gel pens, add little accents to your bat’s front and back! You can give them little eyes, accents, and veining on their wings, little sparklies - whatever feels right to you and how you want your bat wand to look!
Now you have your very own bat wand!!!!
Stay spooky, friends!!!