
Hello friends and welcome to this weeks Make and Take craft!!
You all loved the miniature crafts we’ve been making, so let’s make another!
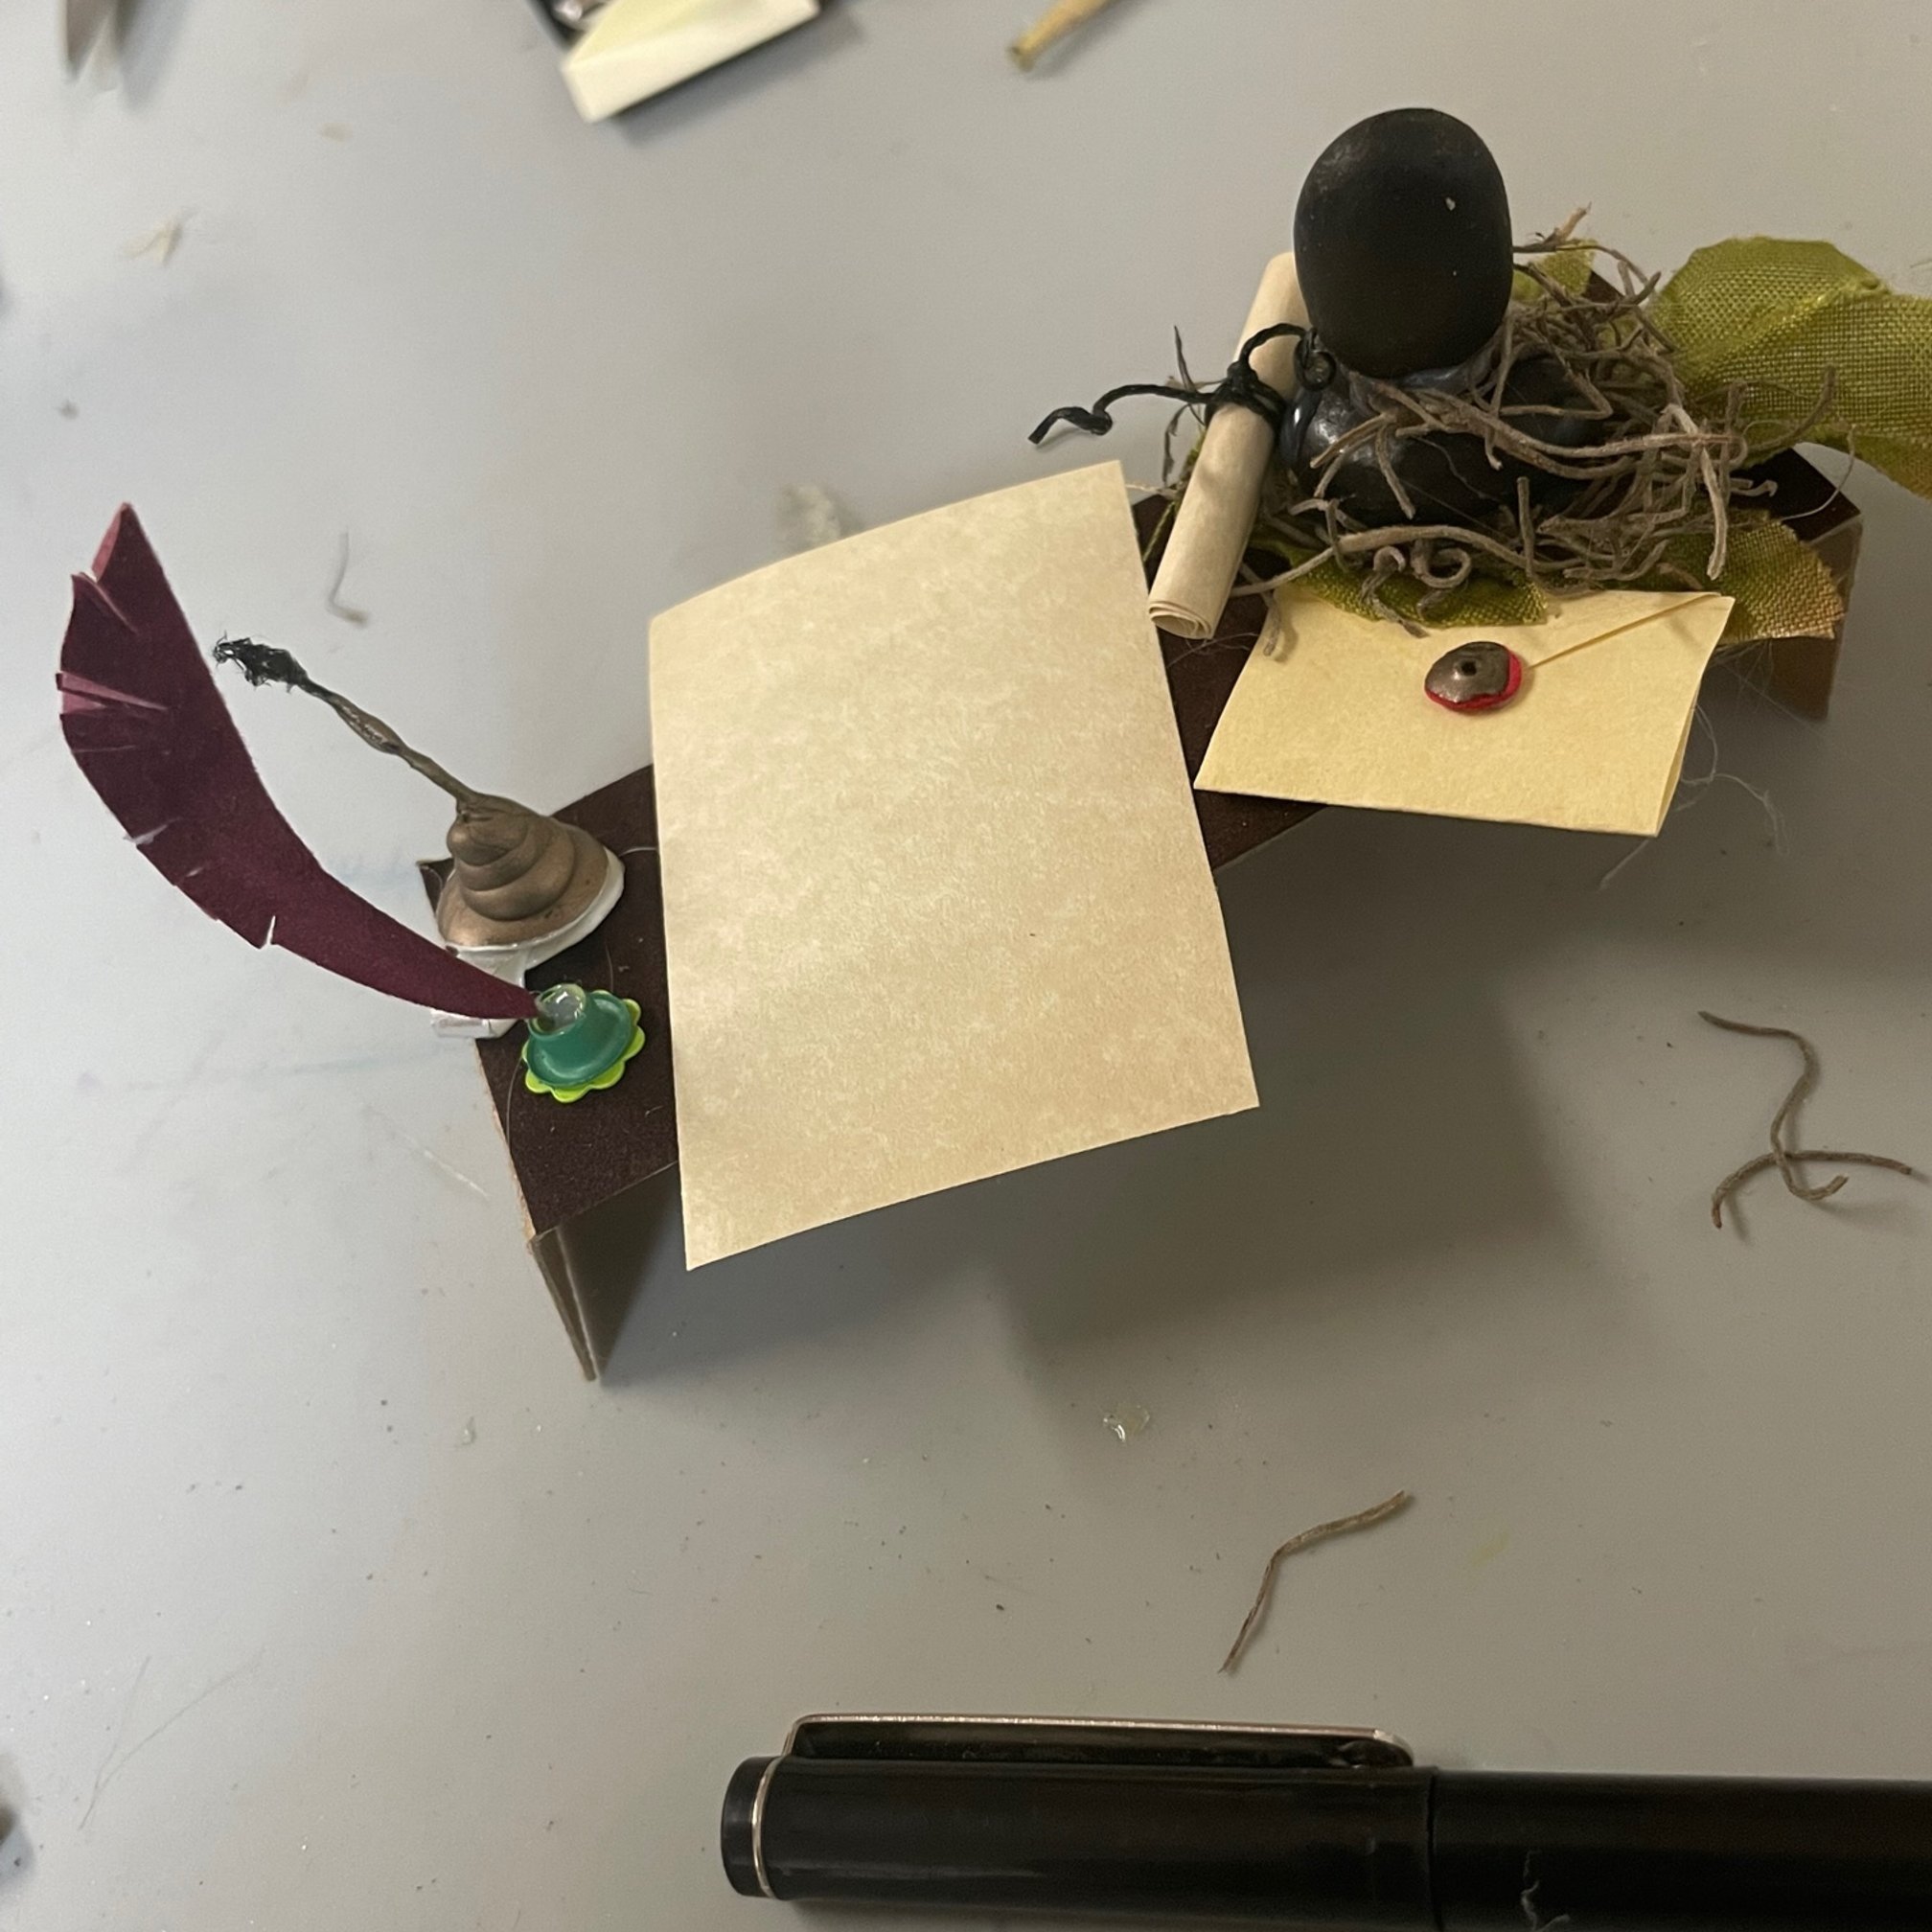
Time to create a Miniature Writing Desk!!

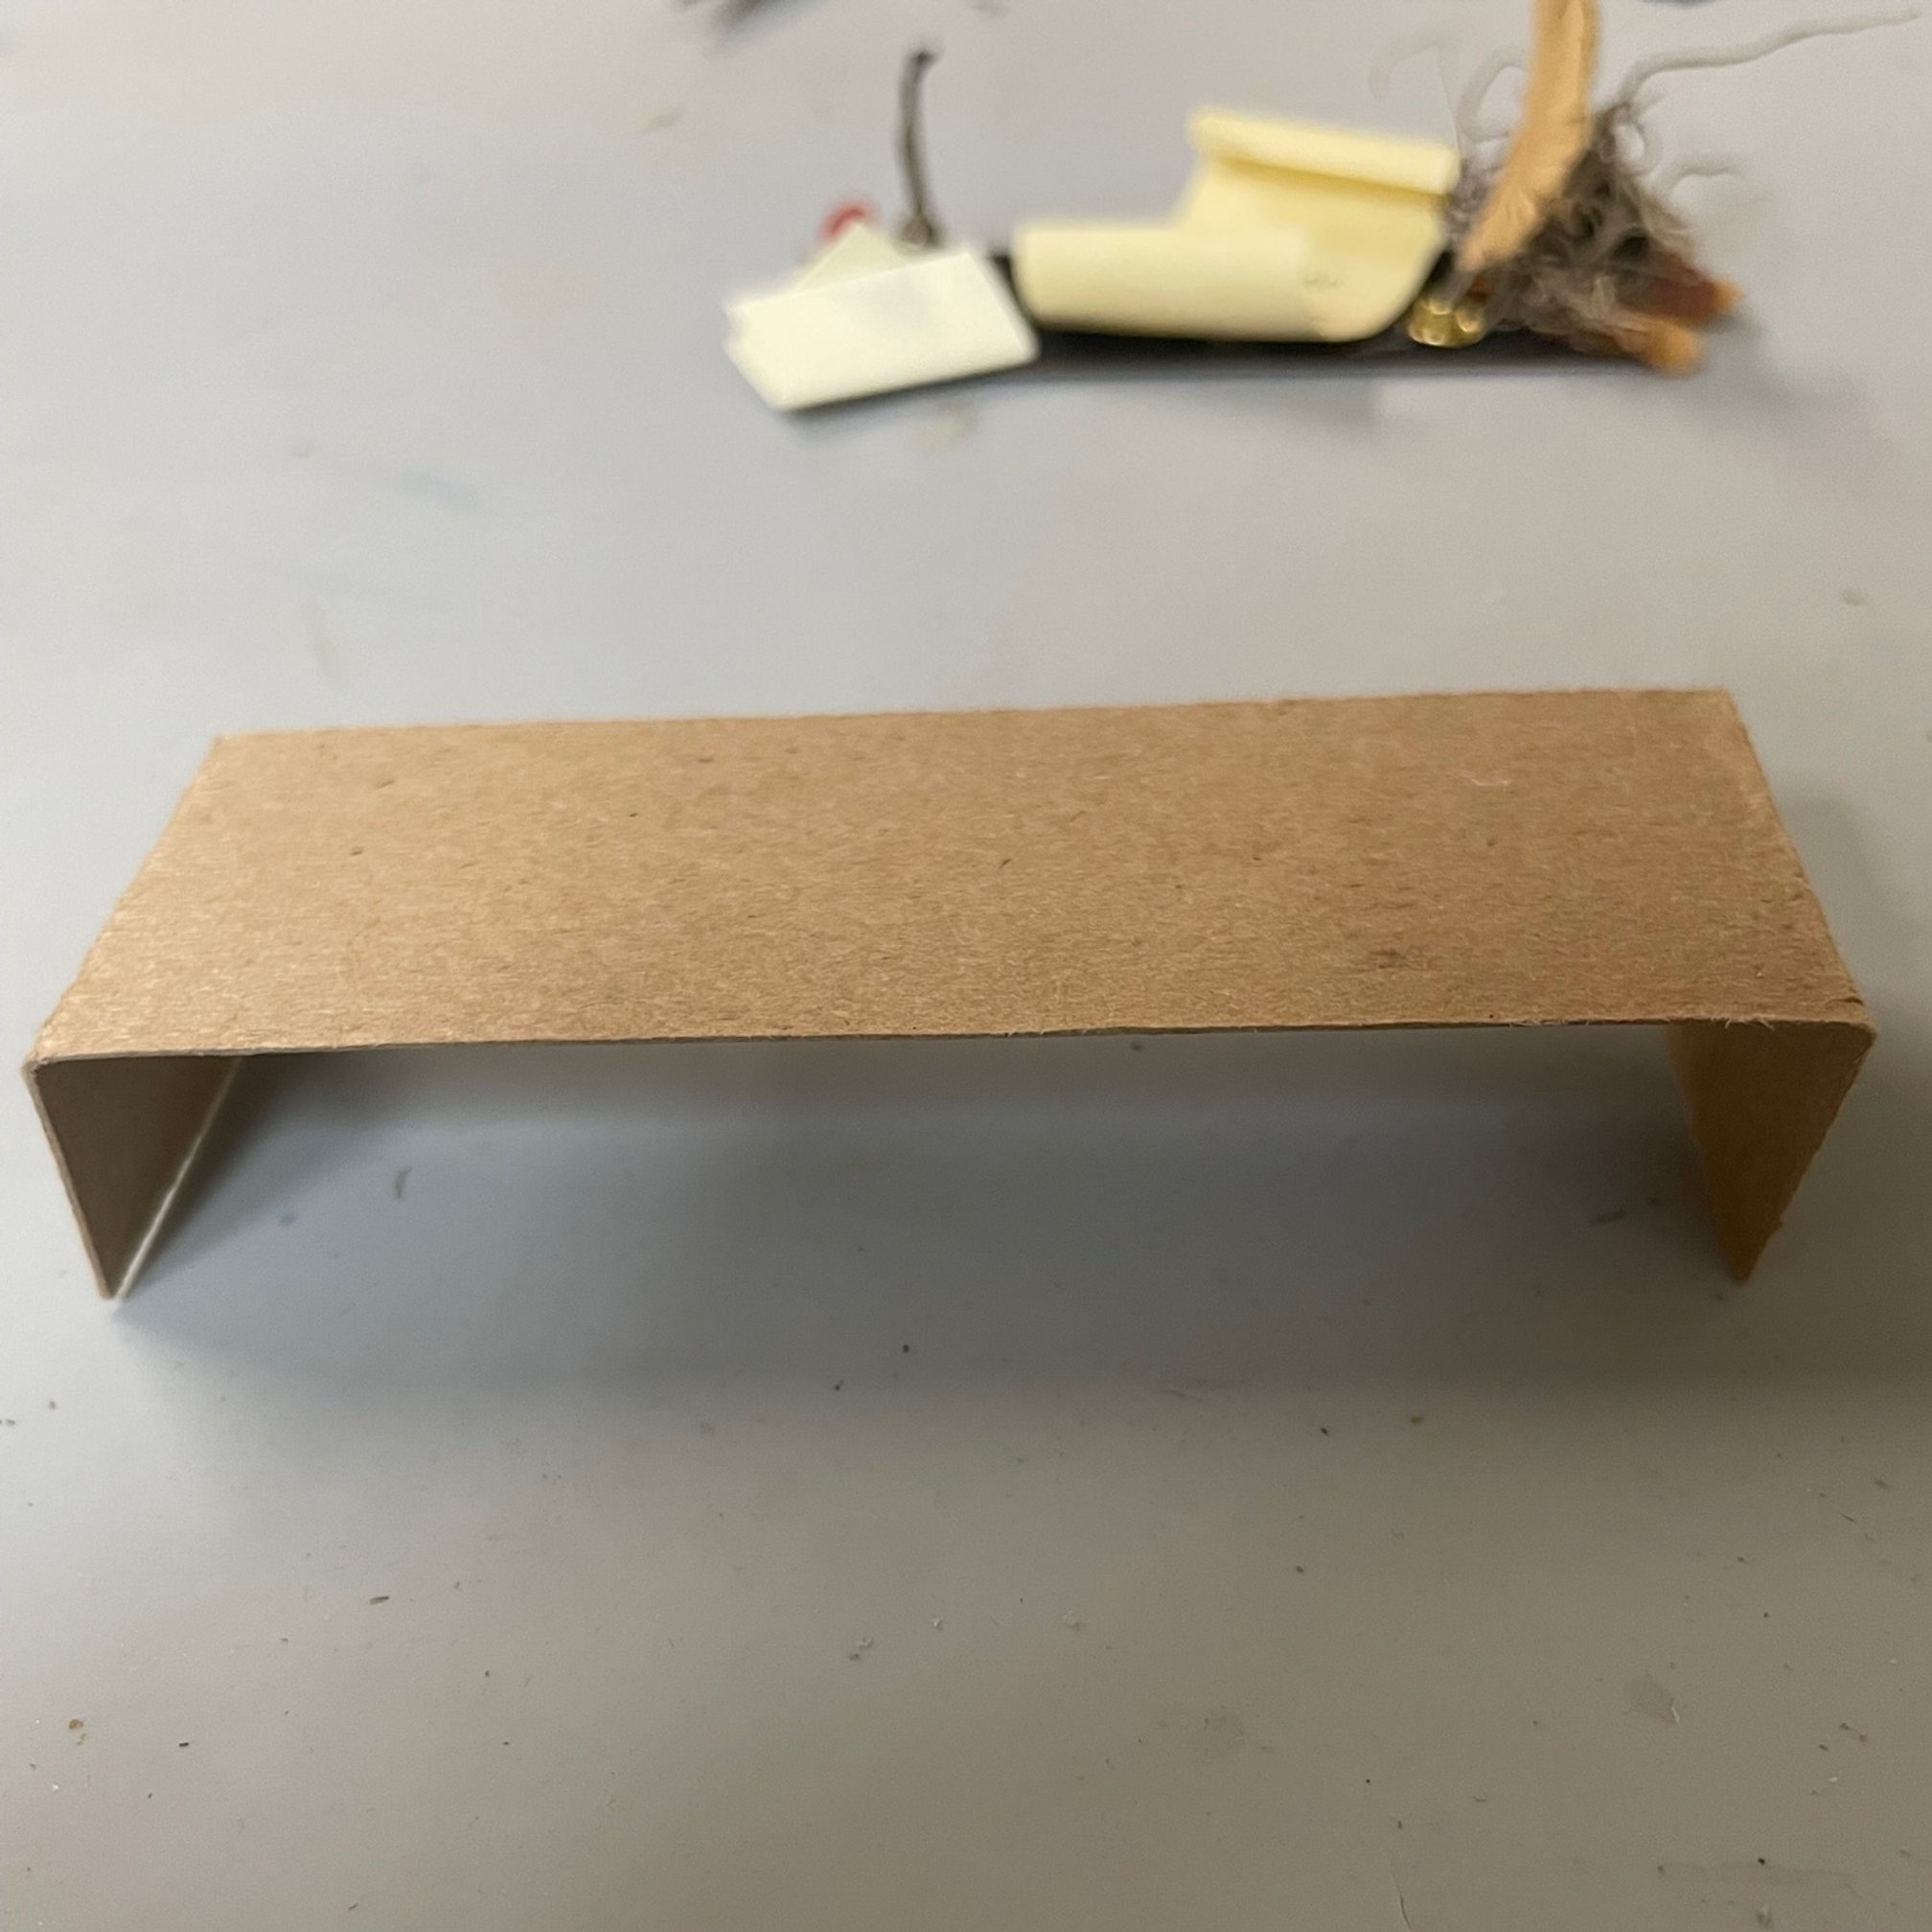
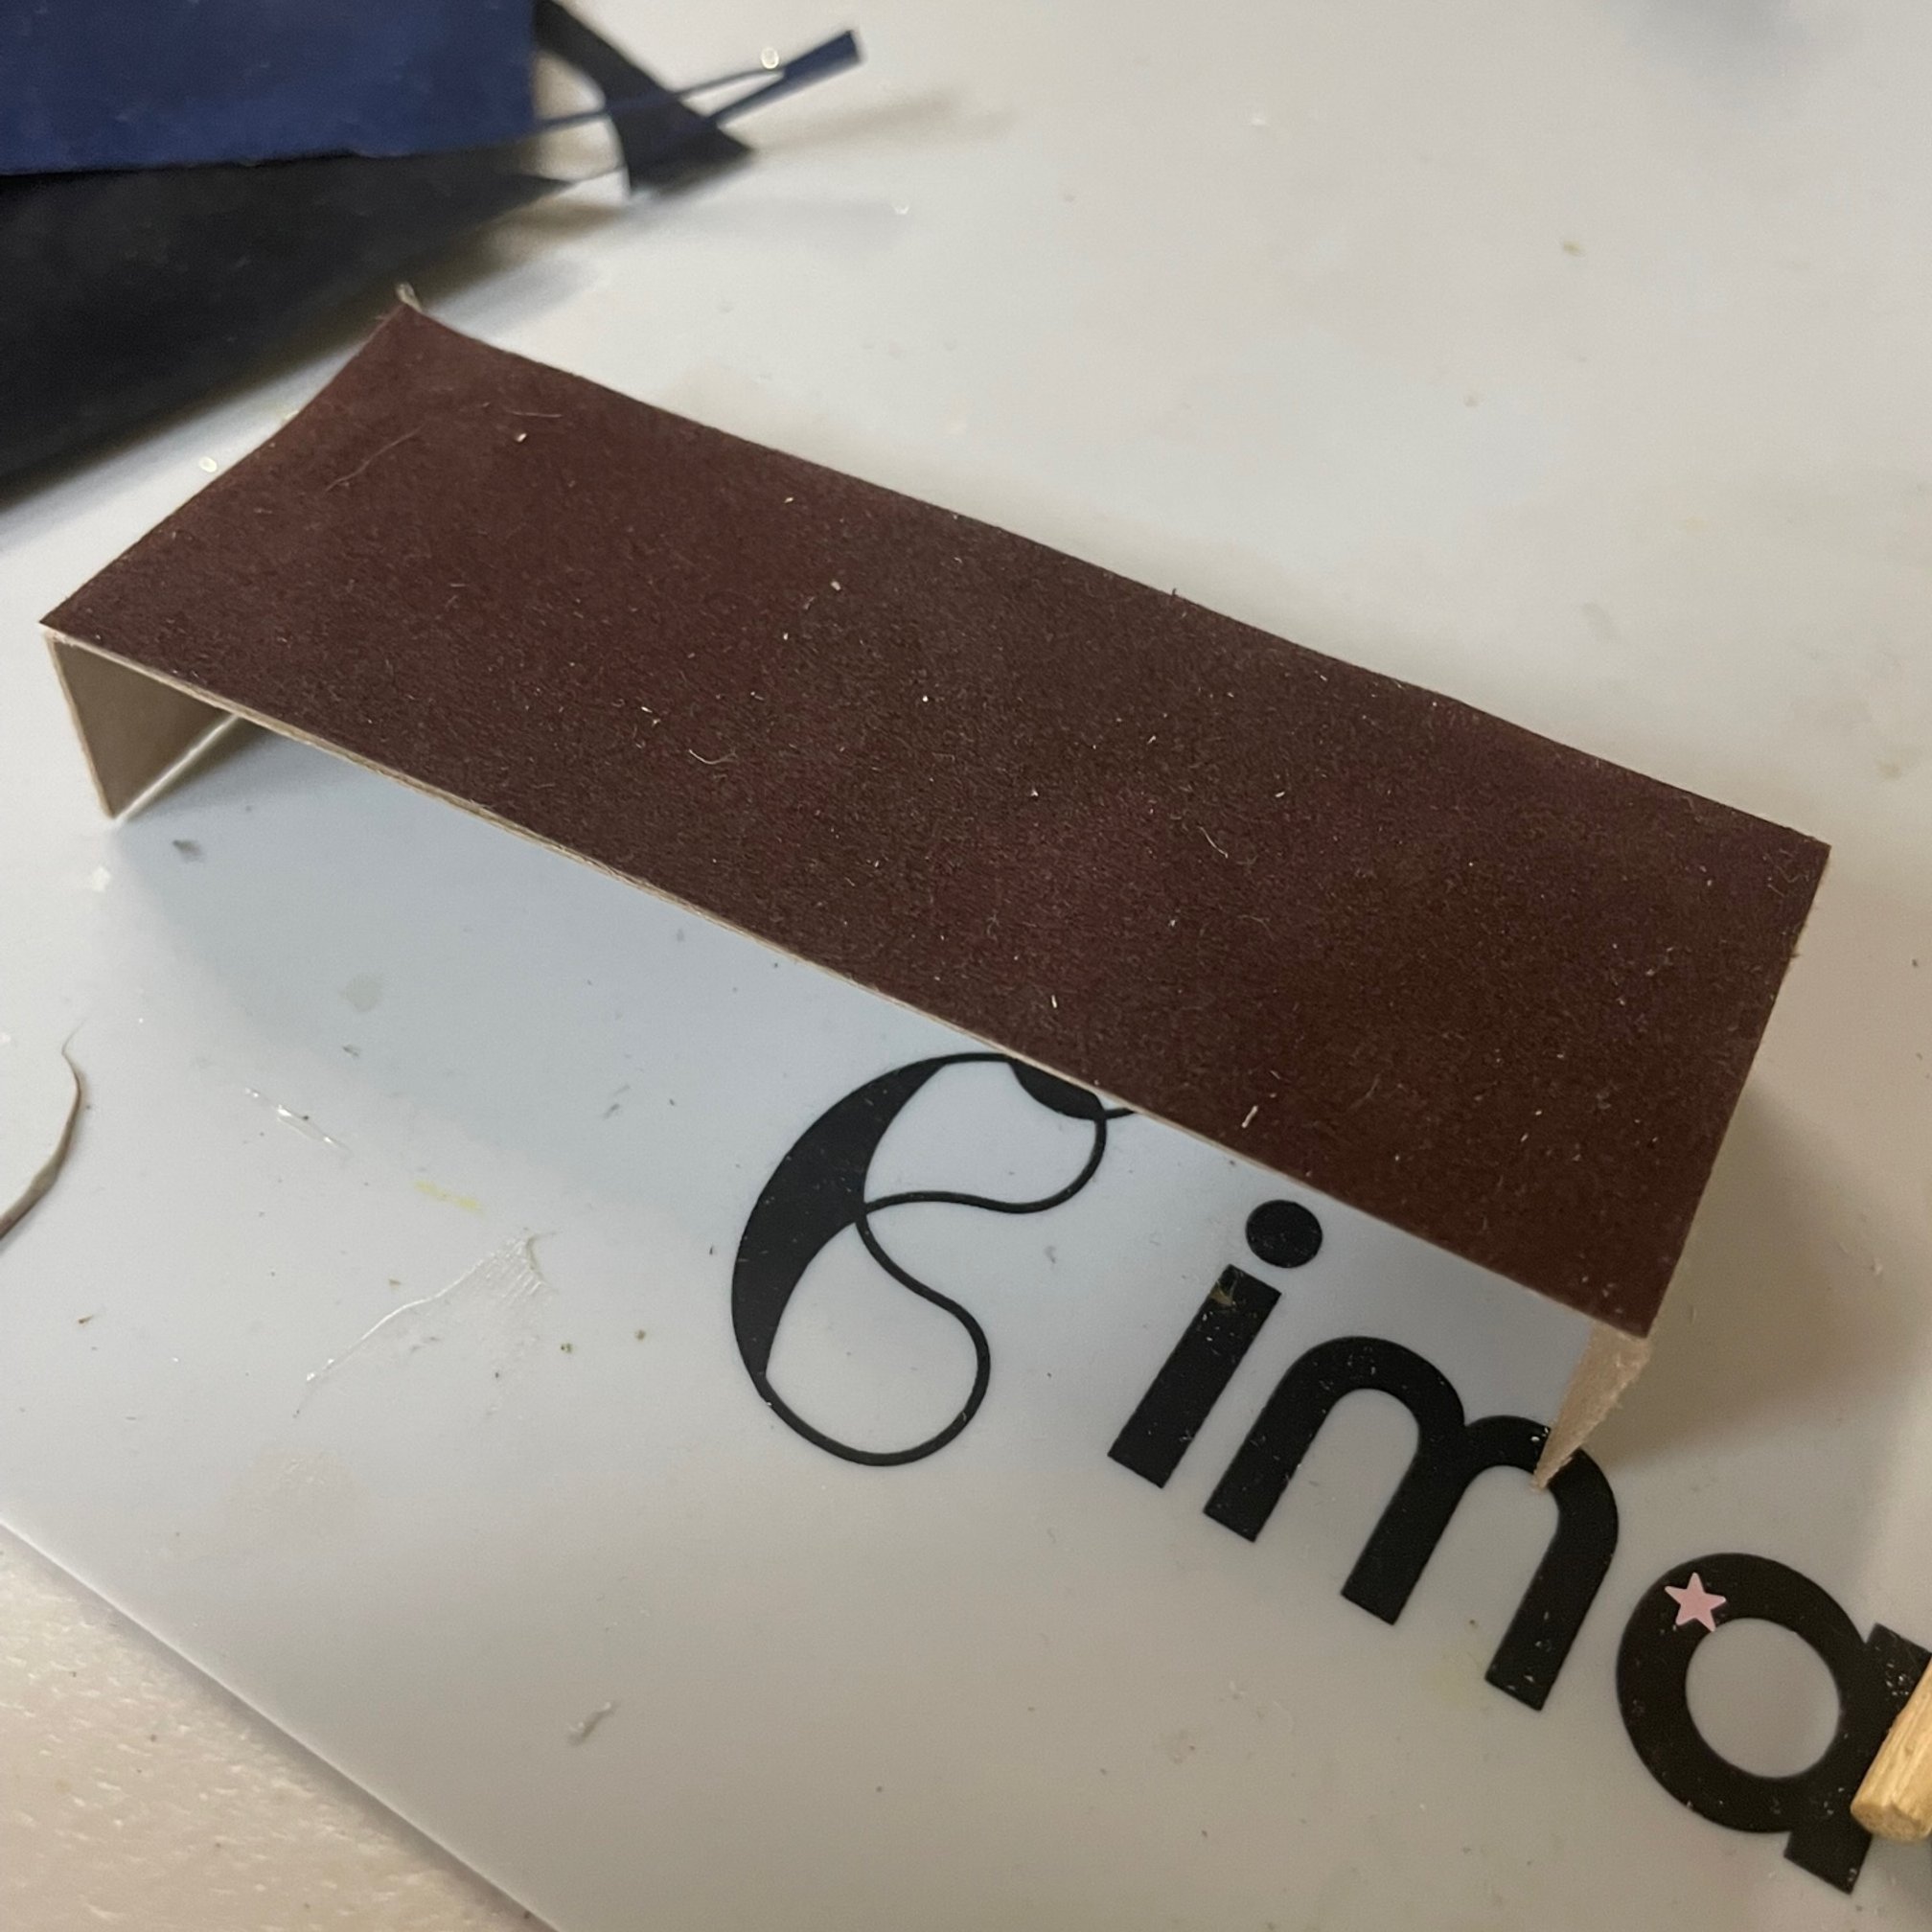
We’ll start by grabbing some chipboard and cutting it down to the size of our desk!
You can fold either end to create legs for the desk, or leave it flat!
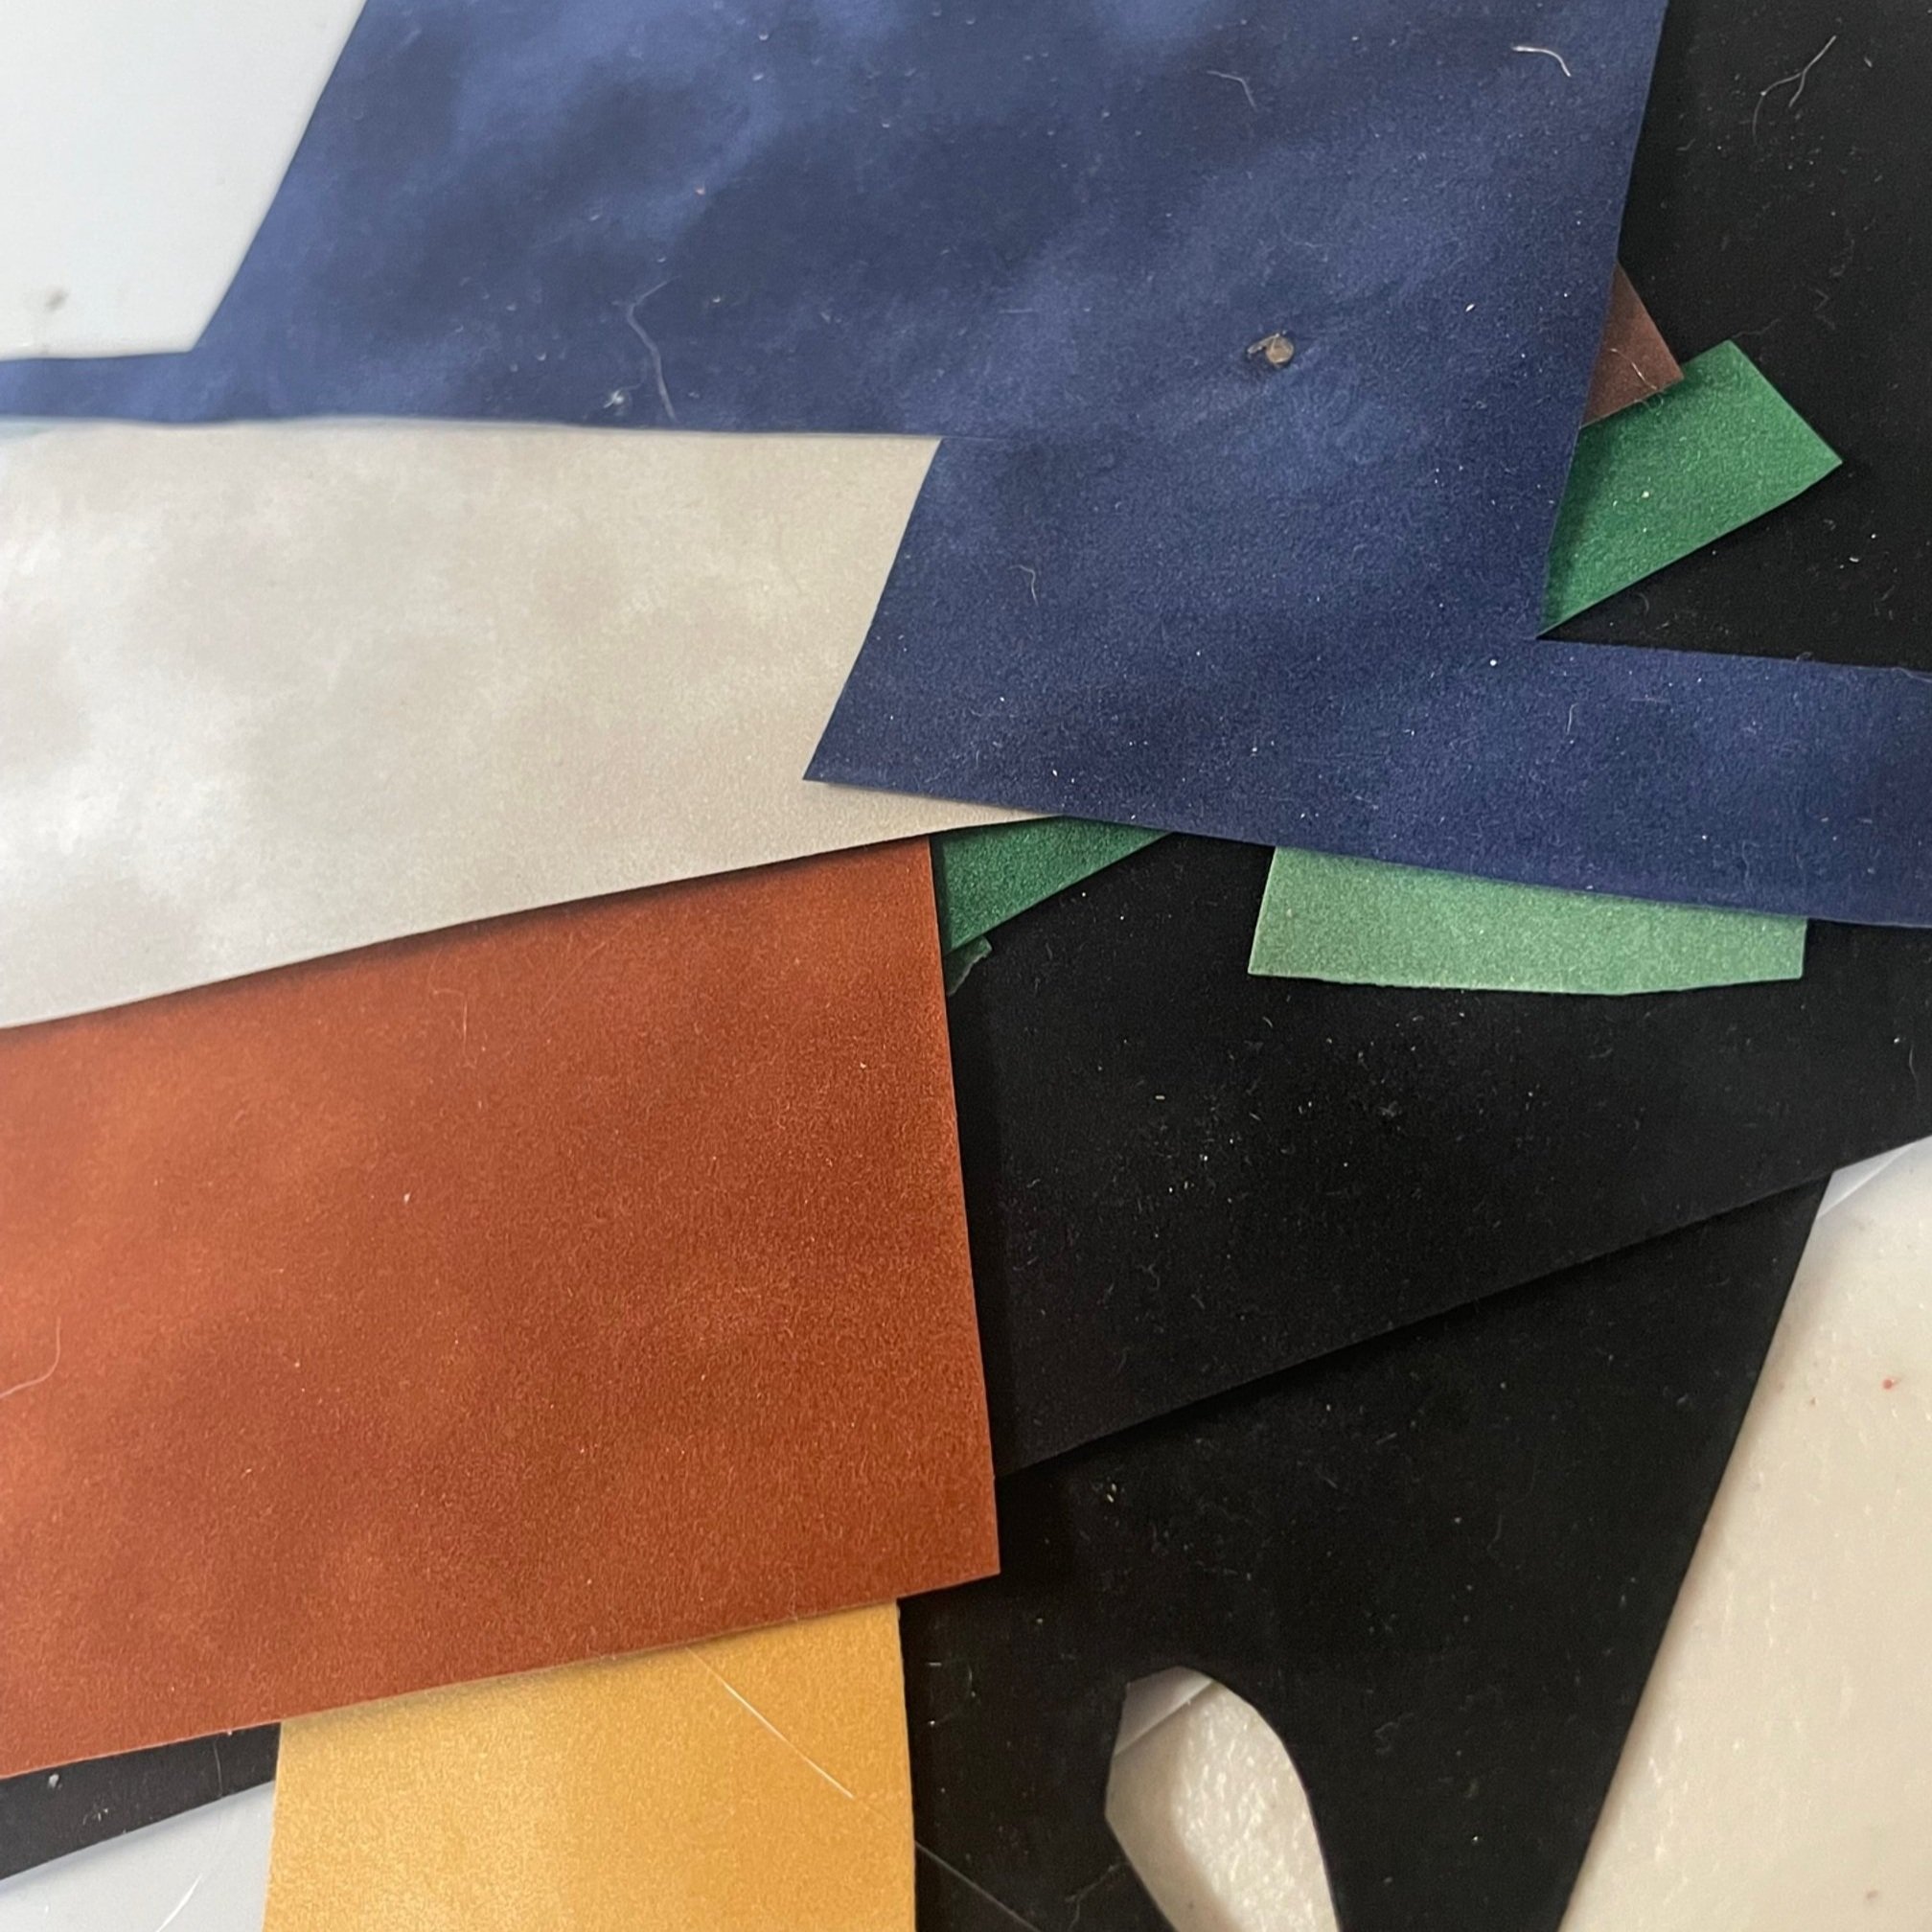
Choose a suede paper to be your tablecloth! I’m choosing a dark brown.
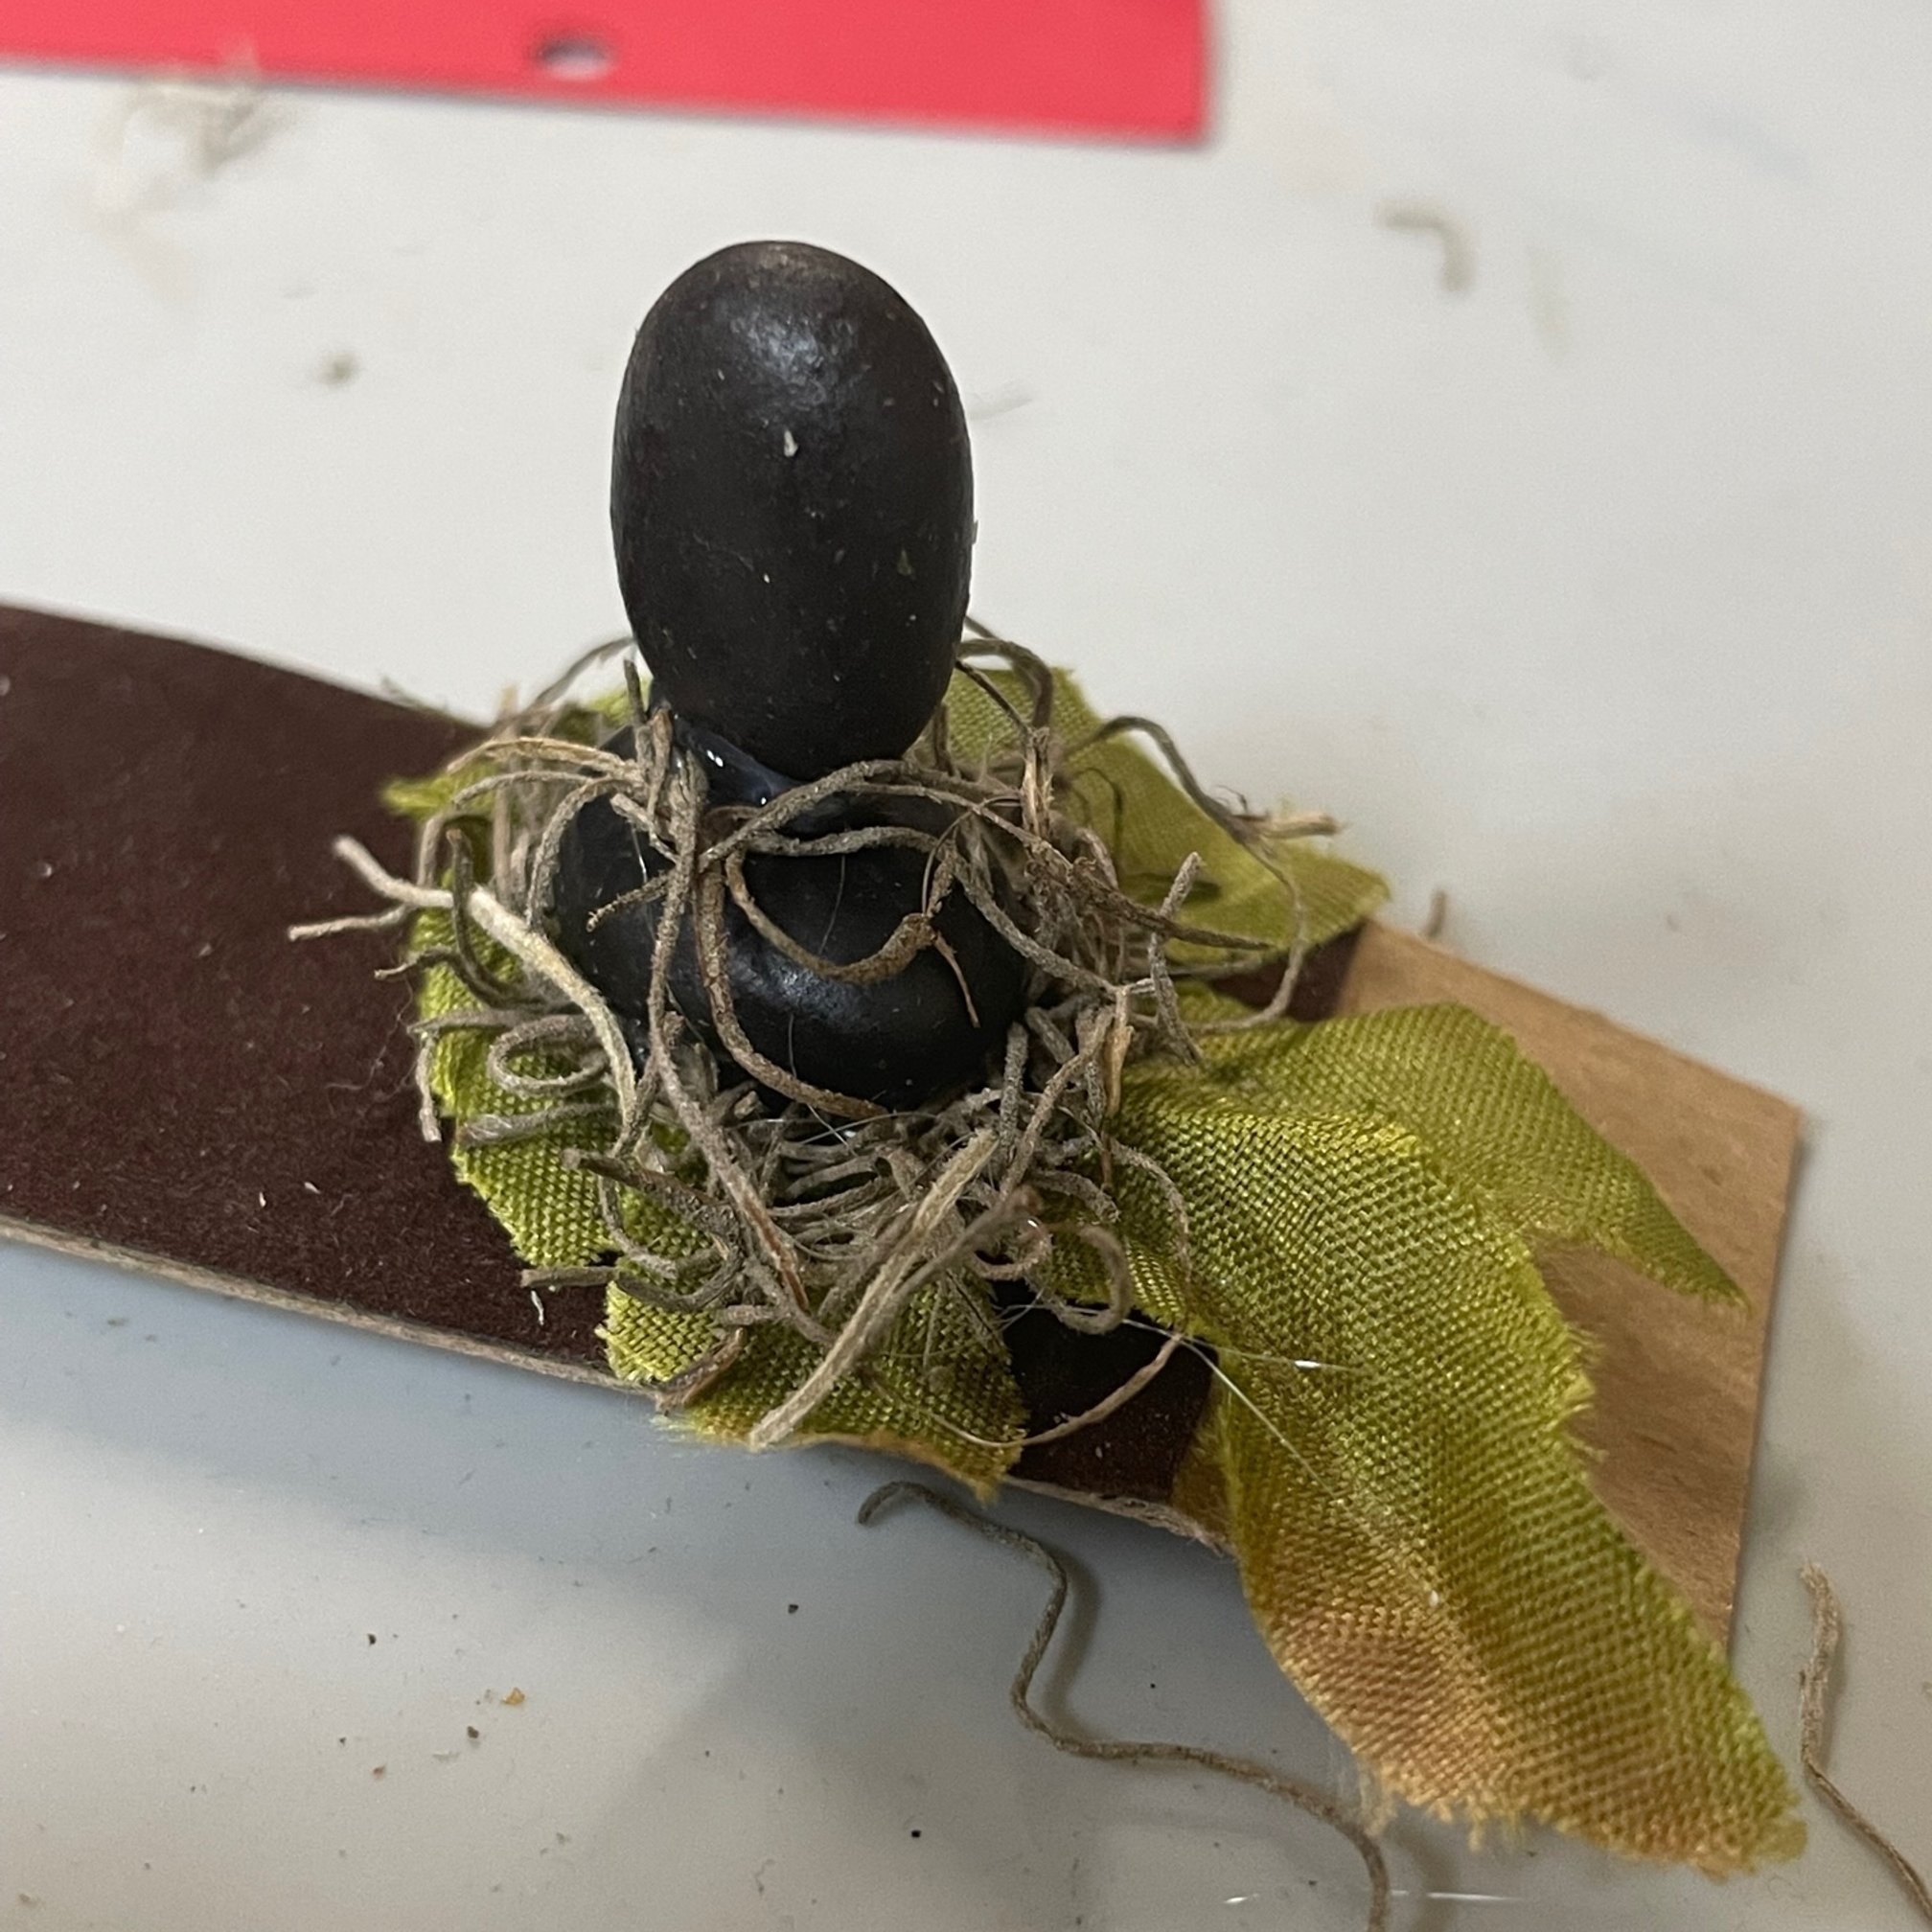
Before we gather our writing materials, let’s make some table decor!
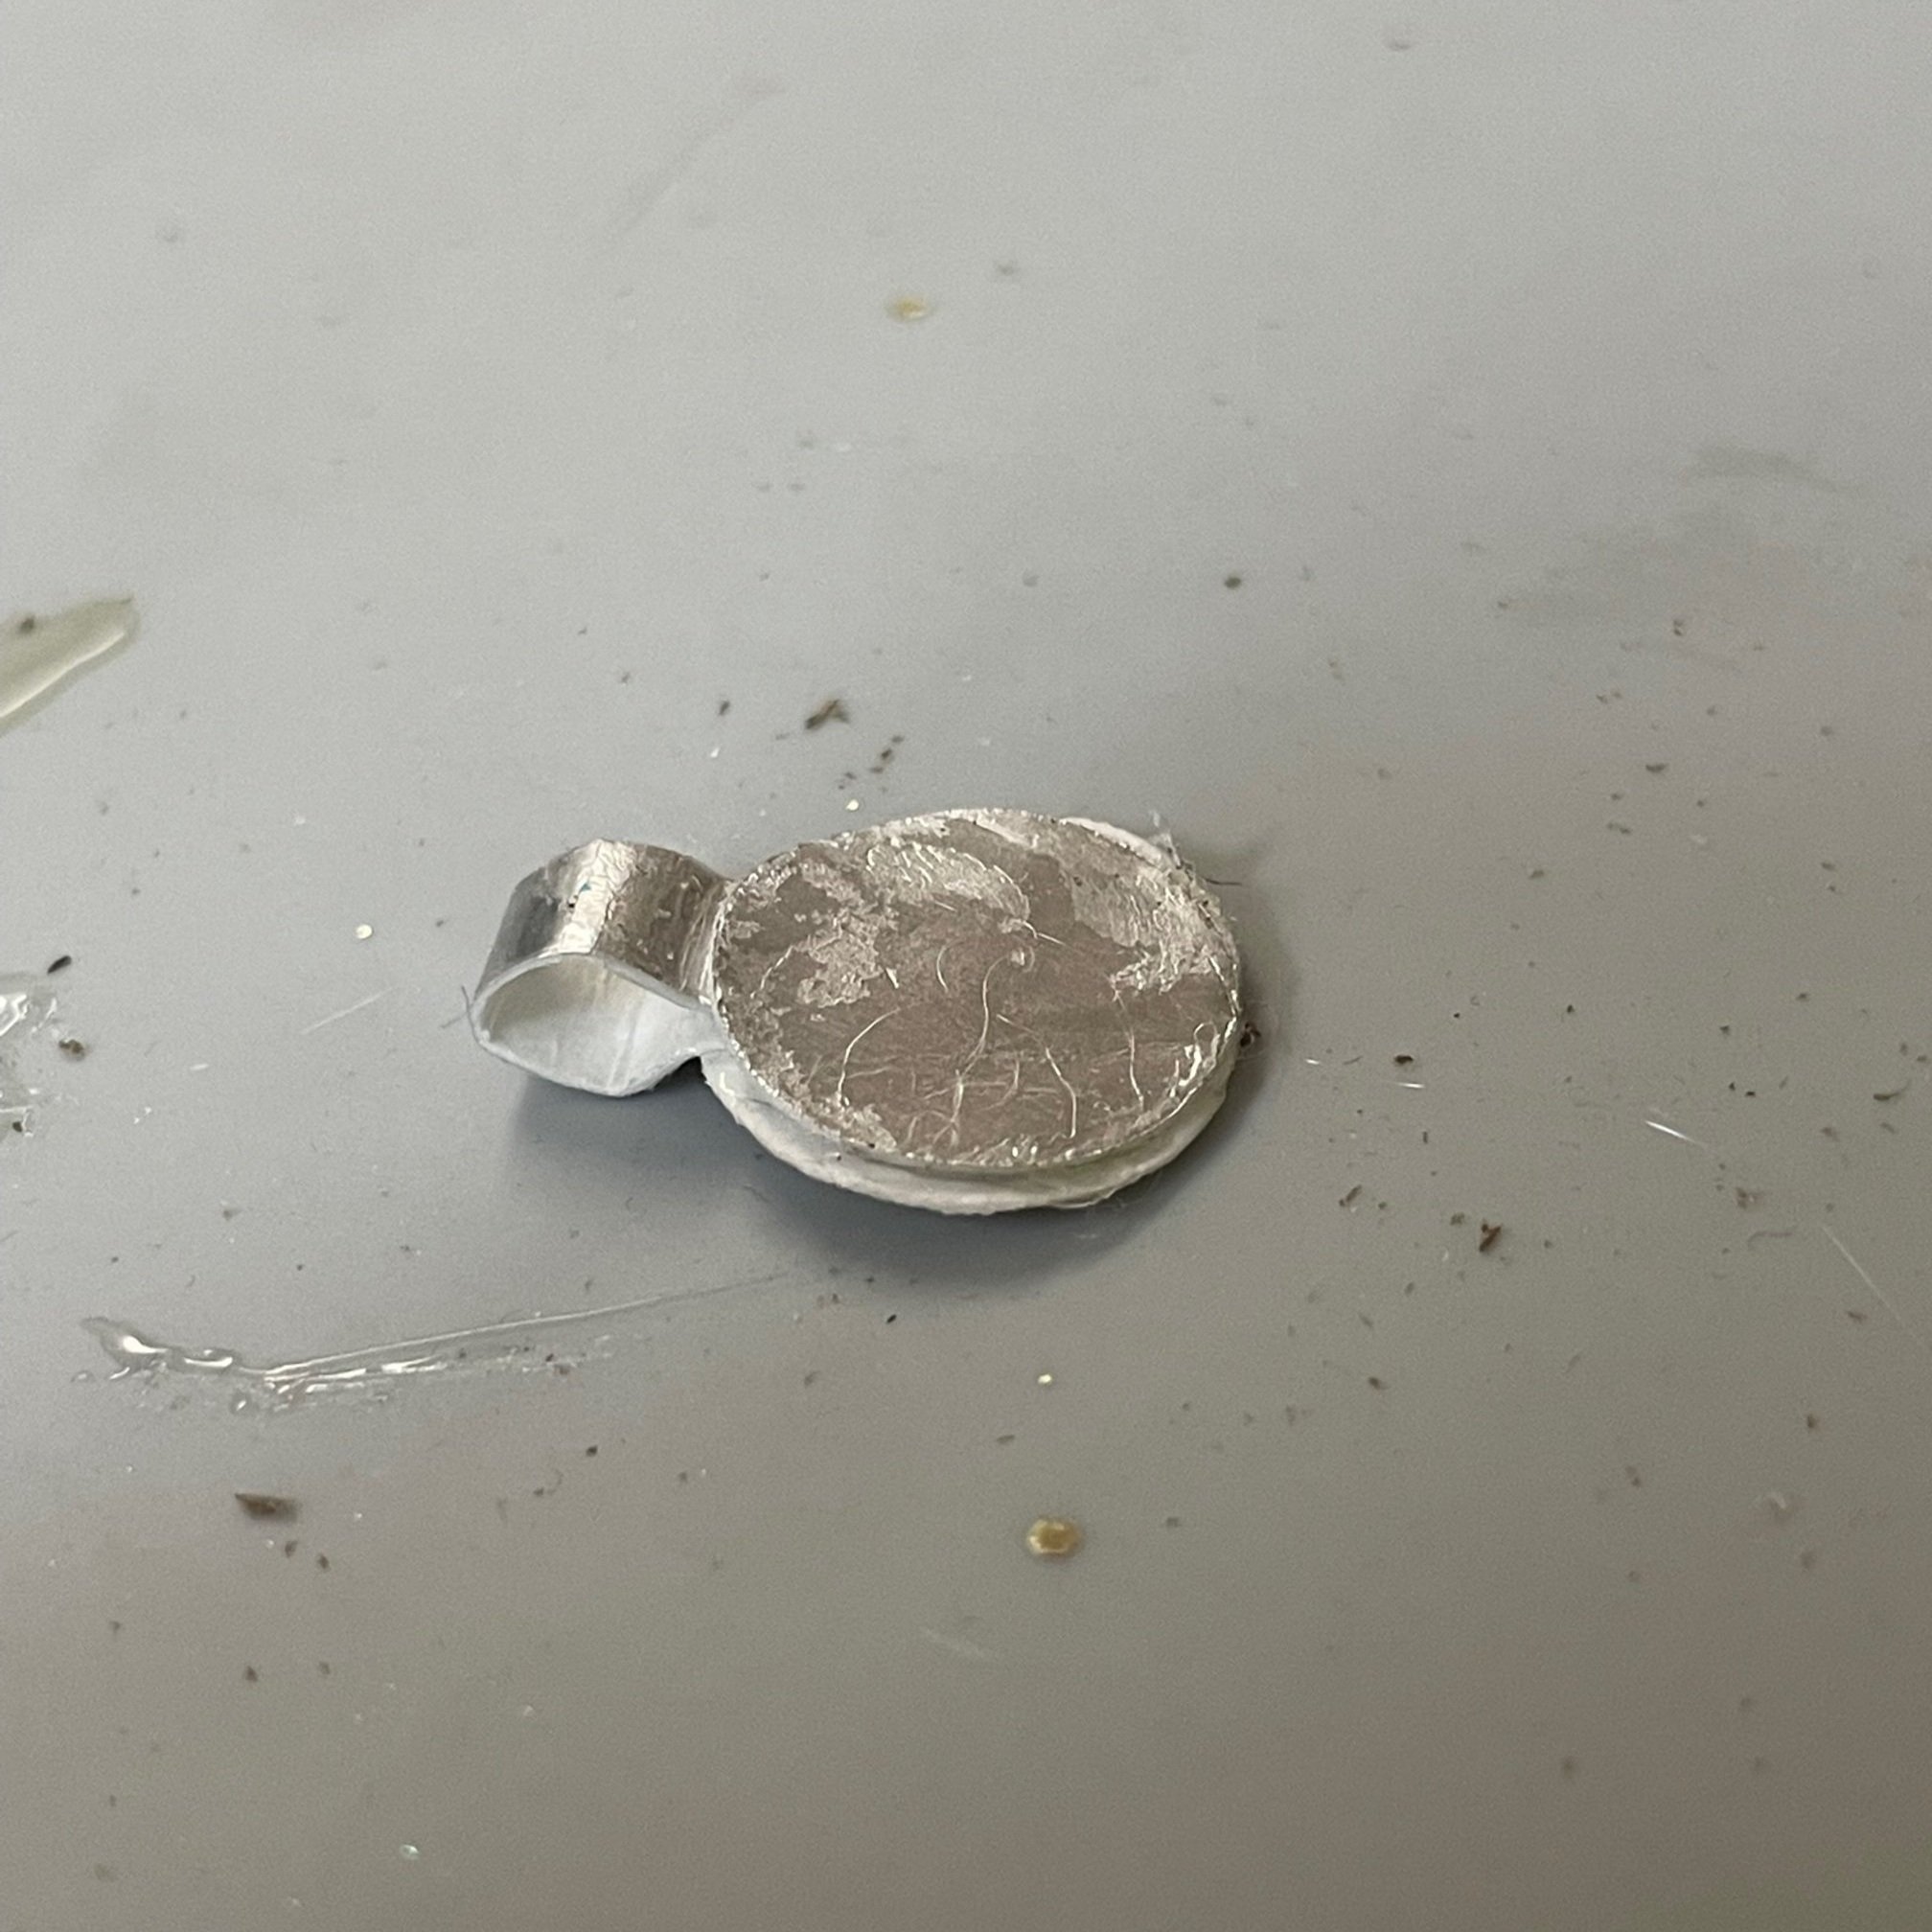
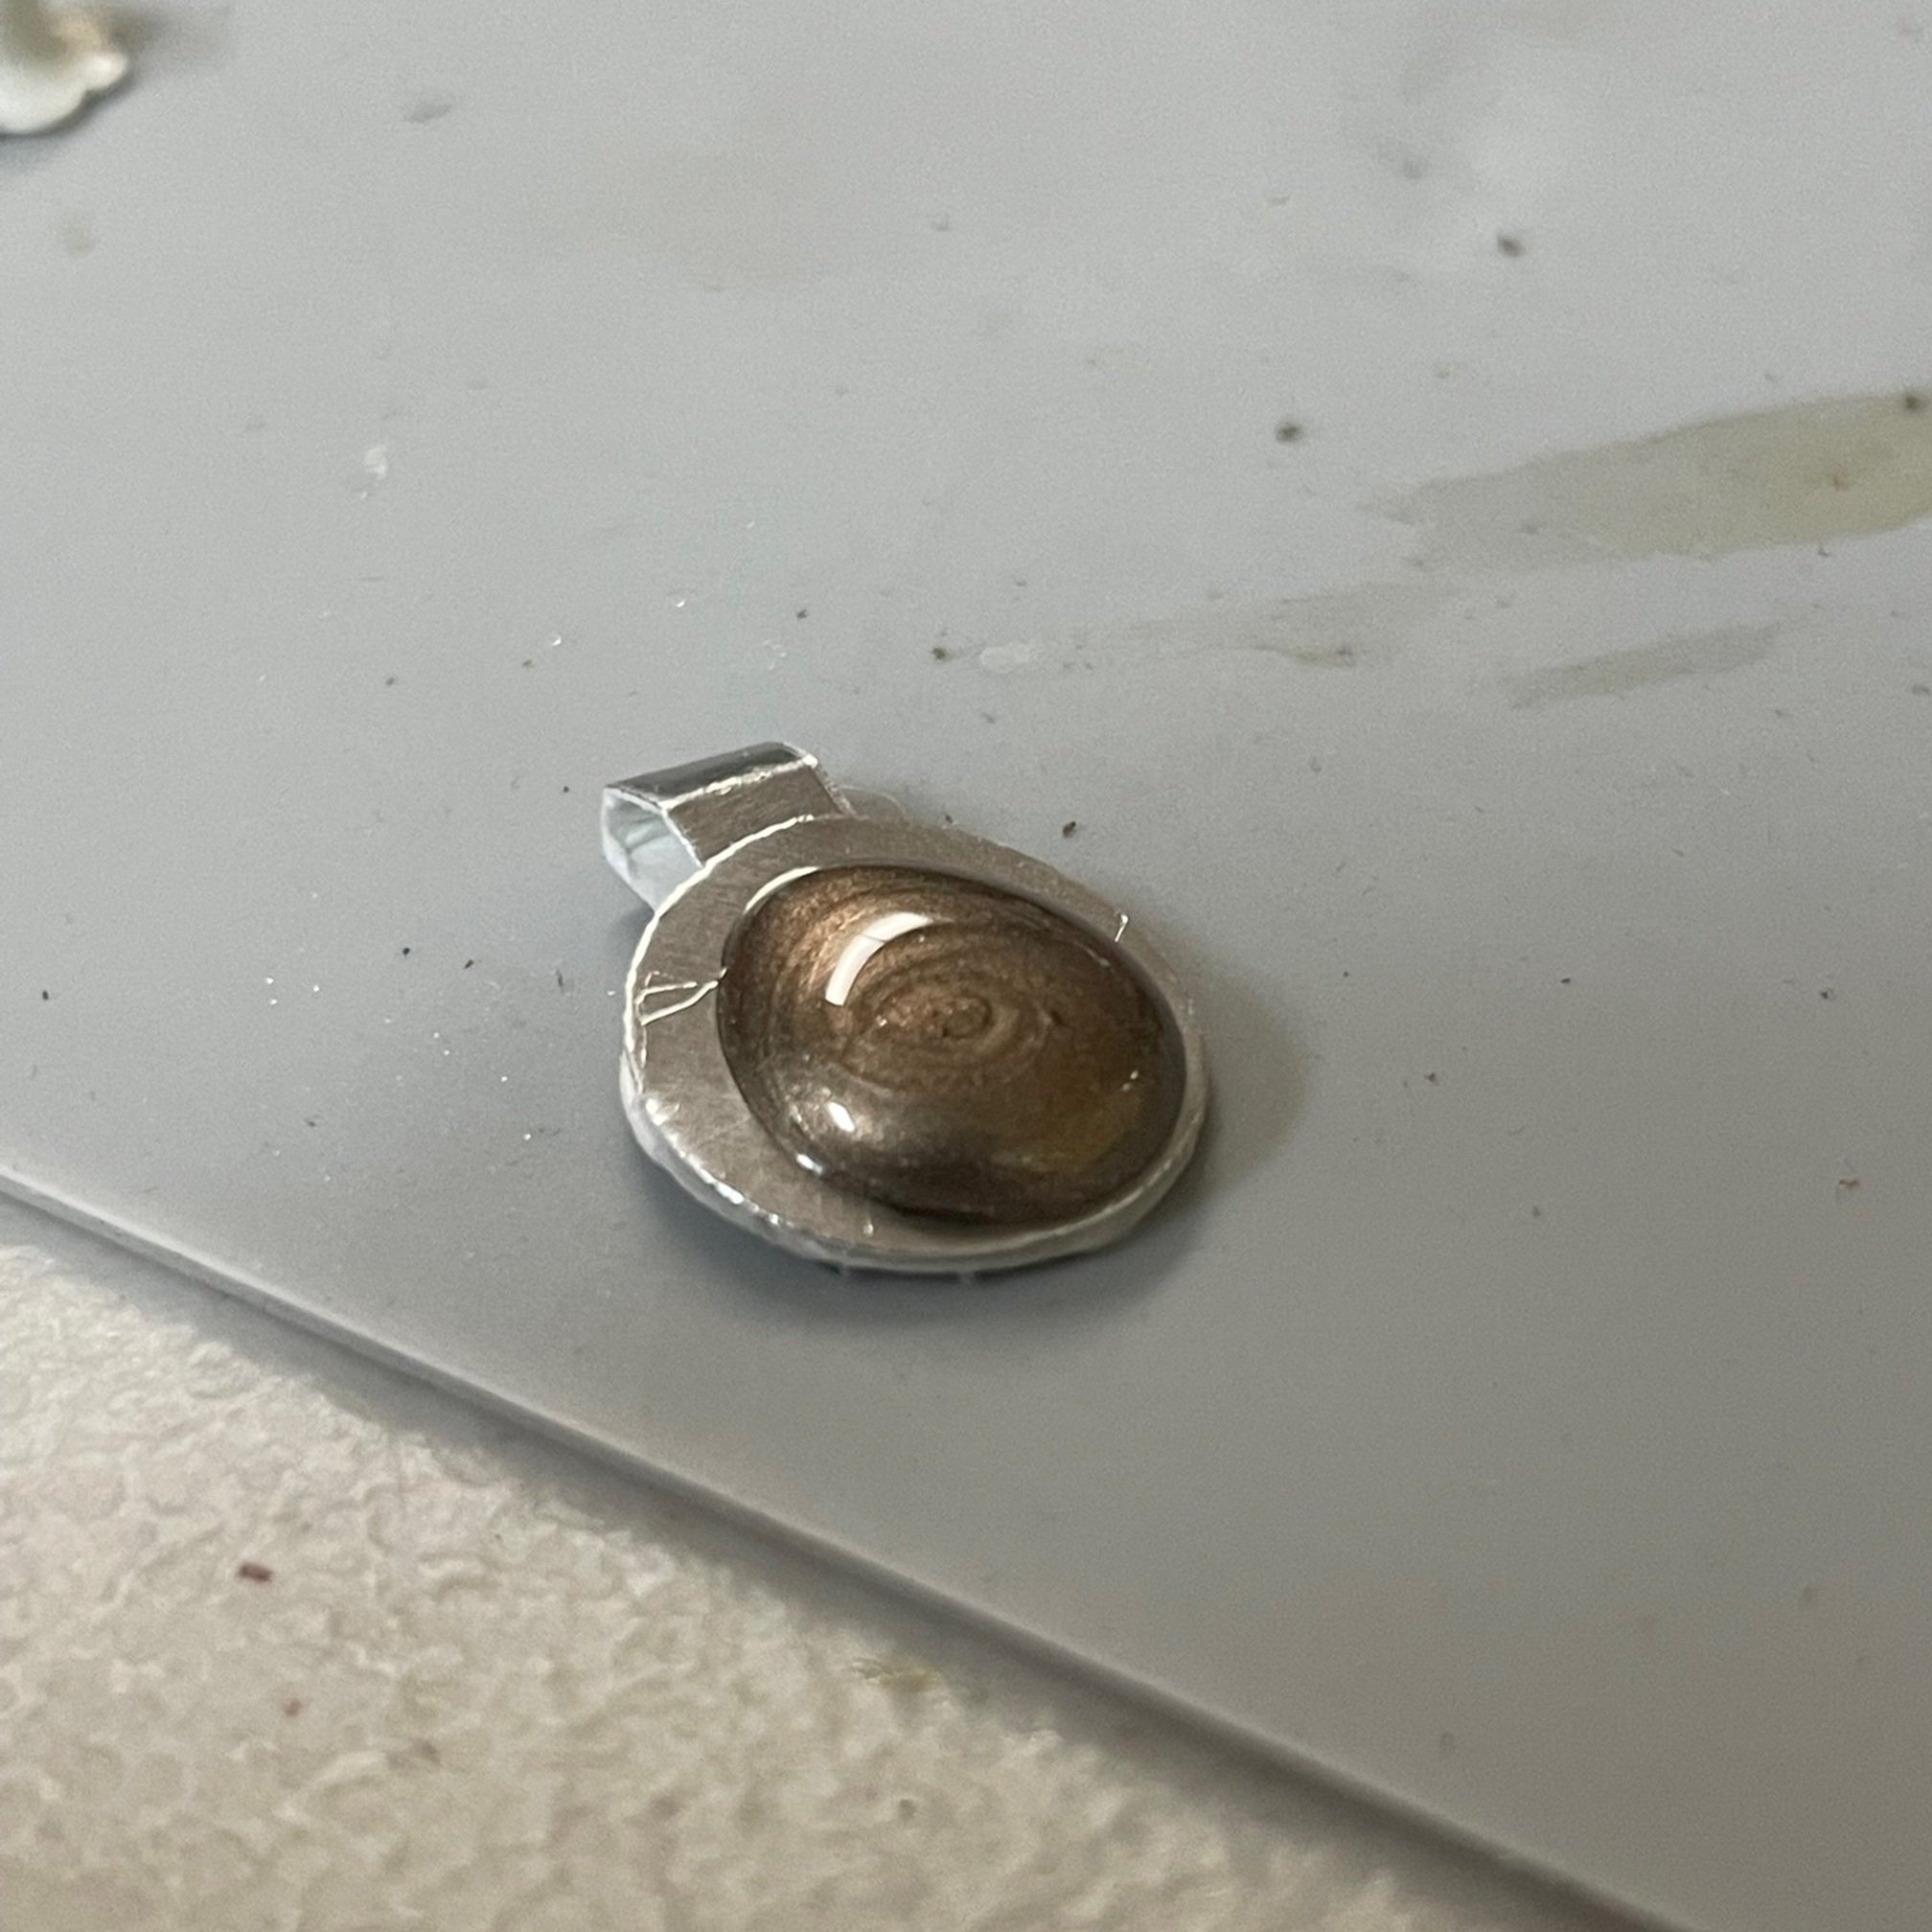
Choose a bit of flower, leaf, or moss, and a stone to act as a paperweight!
Glue these down in what ever fashion makes you most happy!!
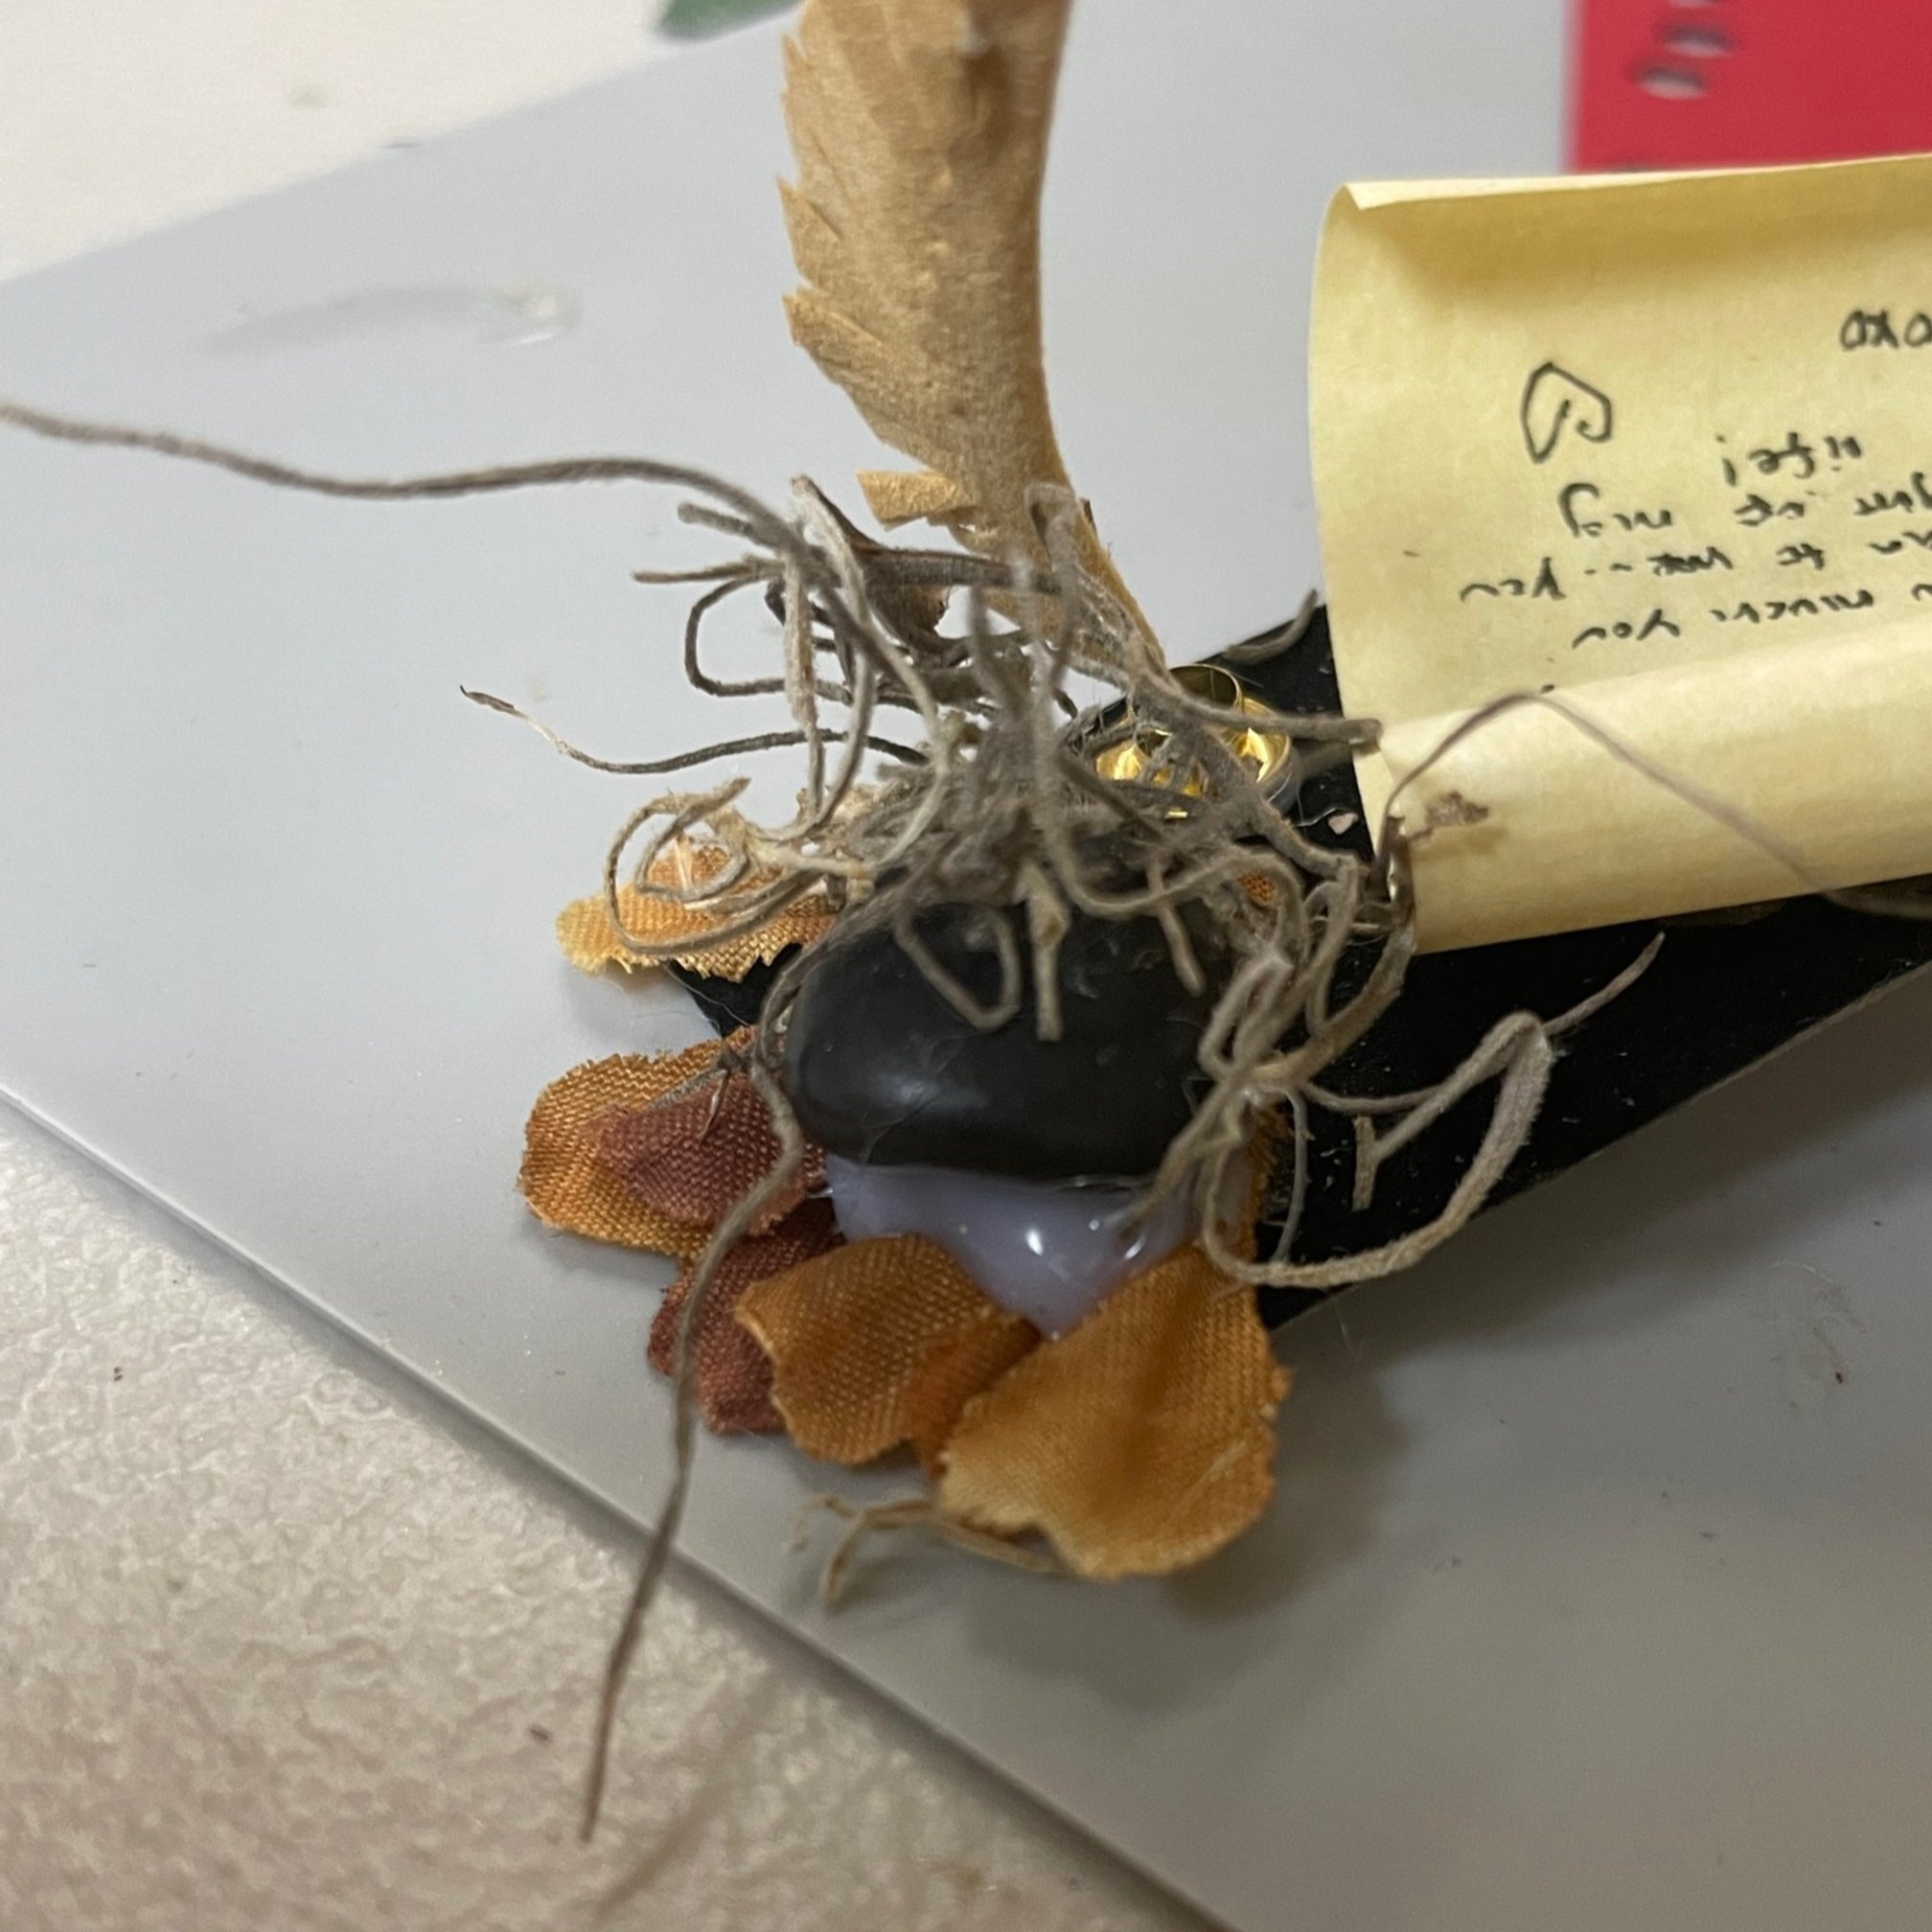
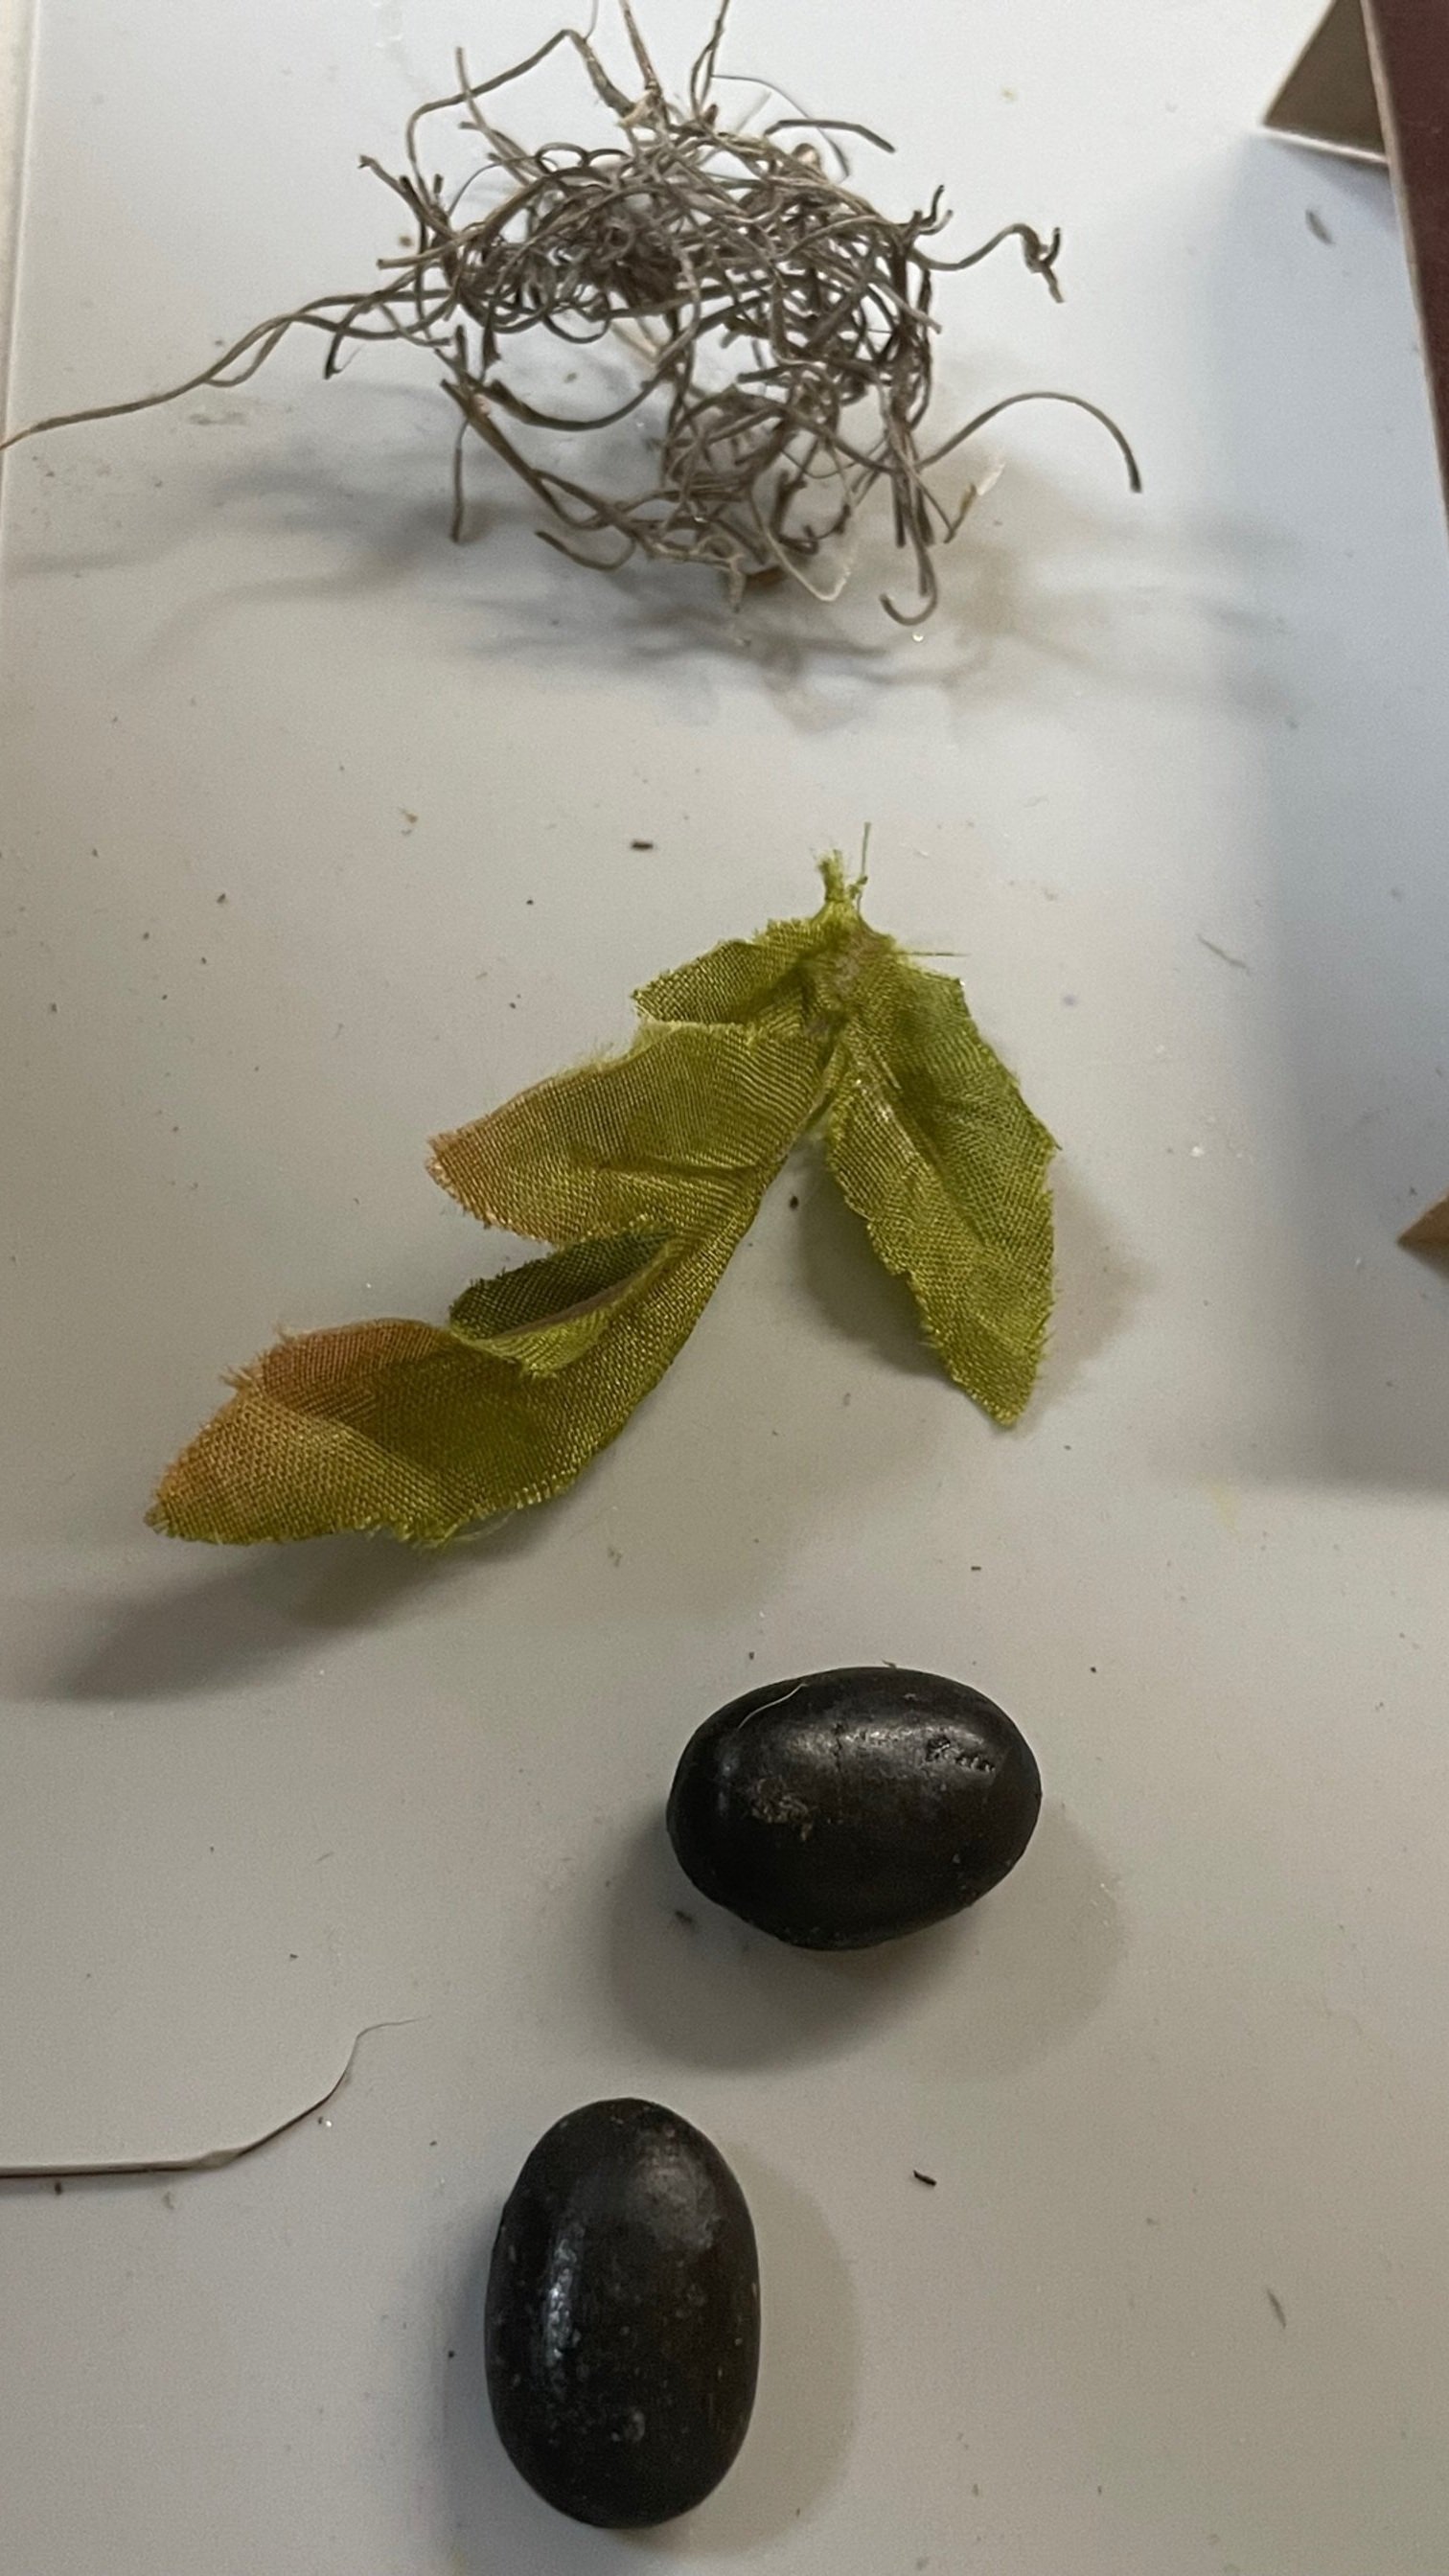
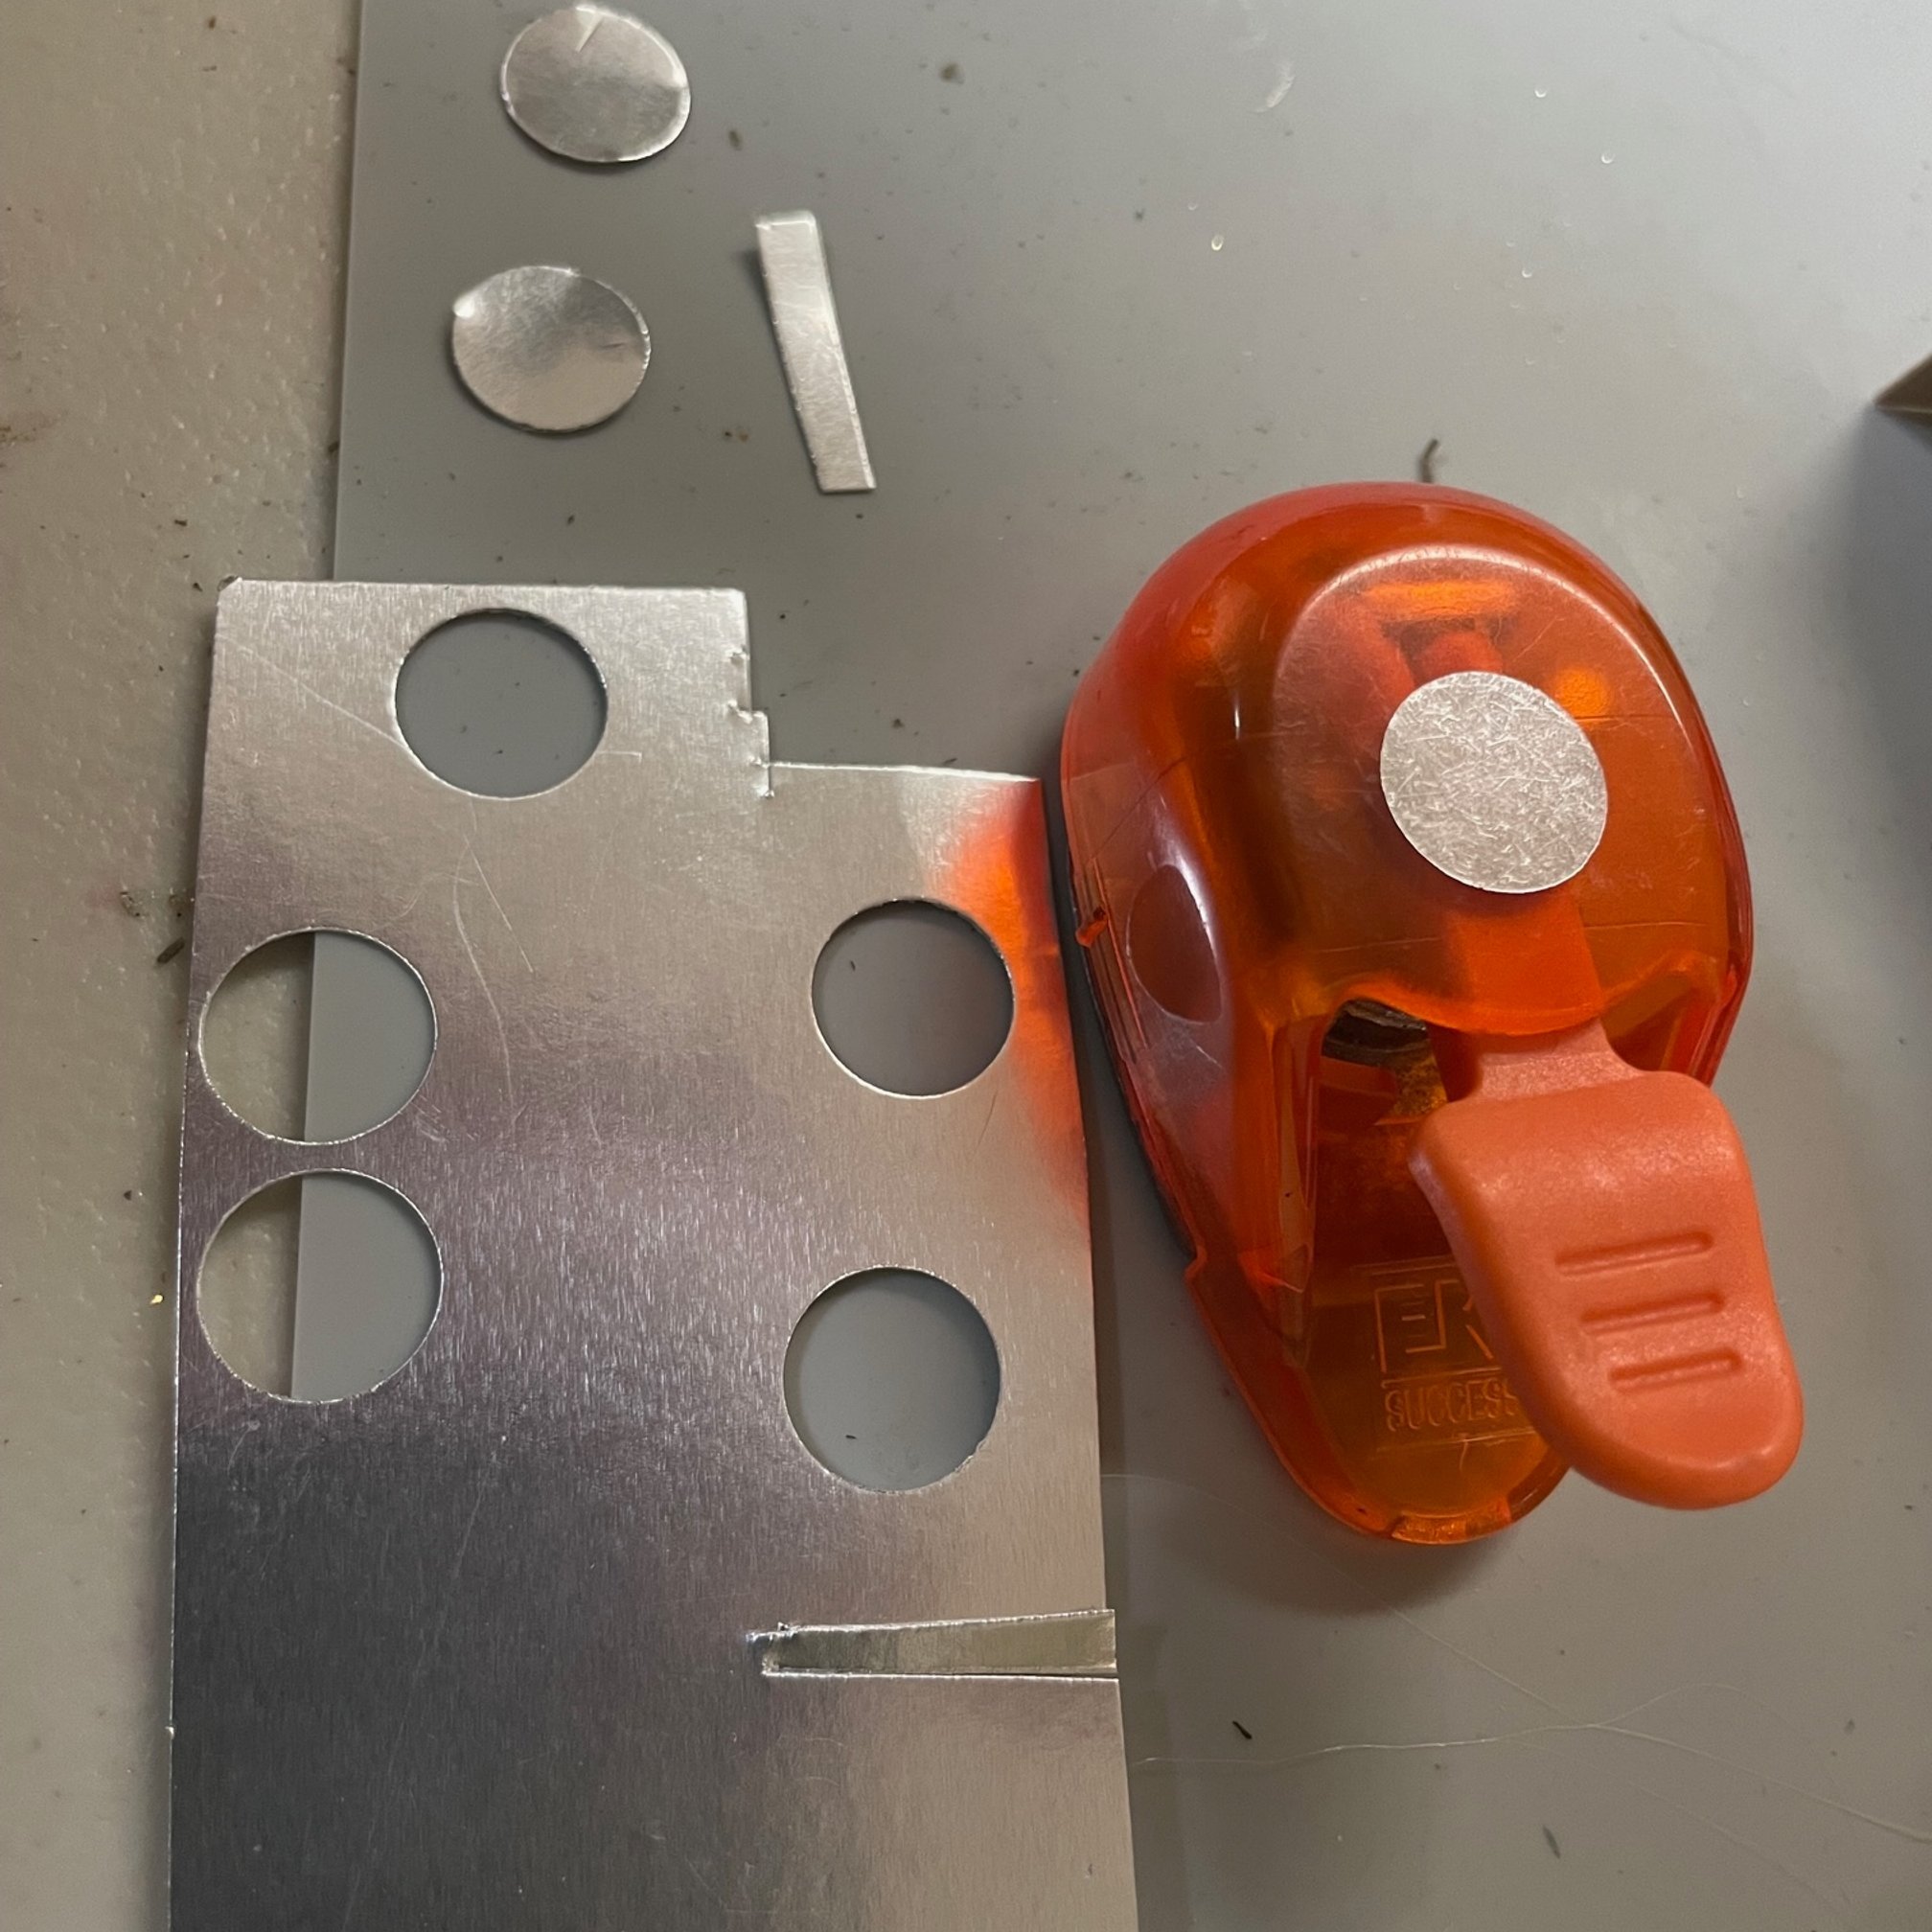
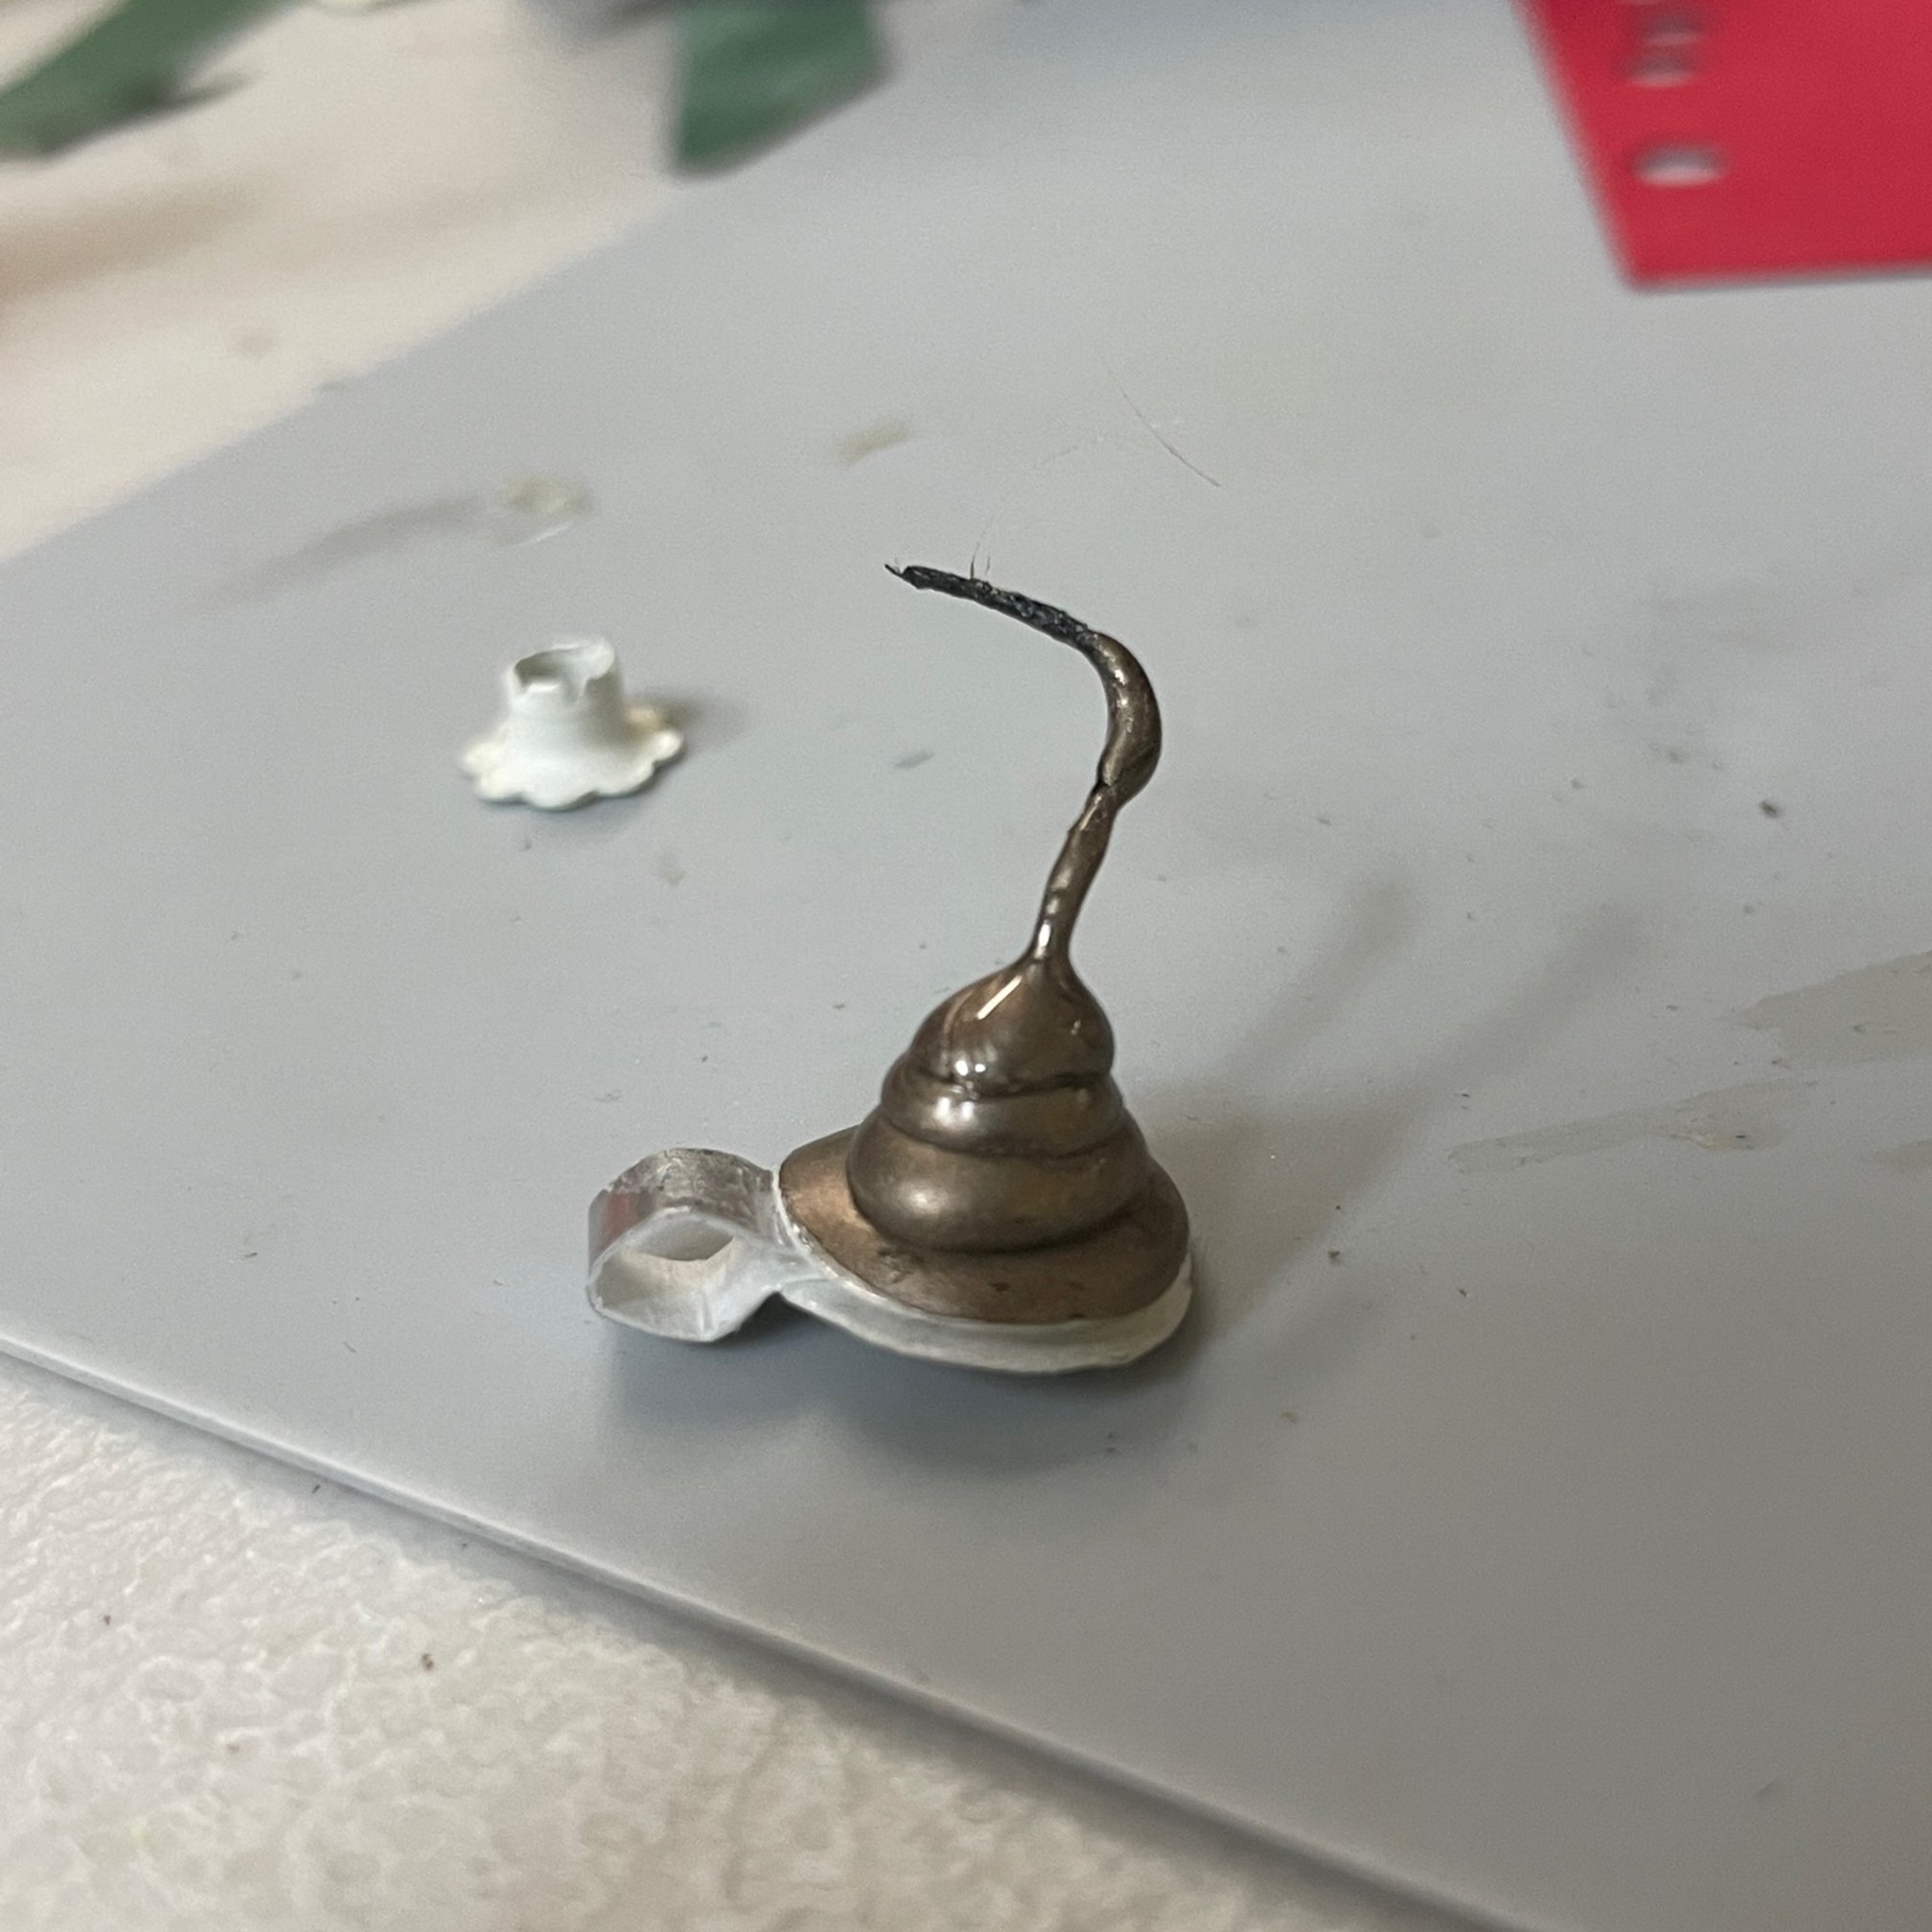
Now, we need some light to be able to write, a candle should do the trick!
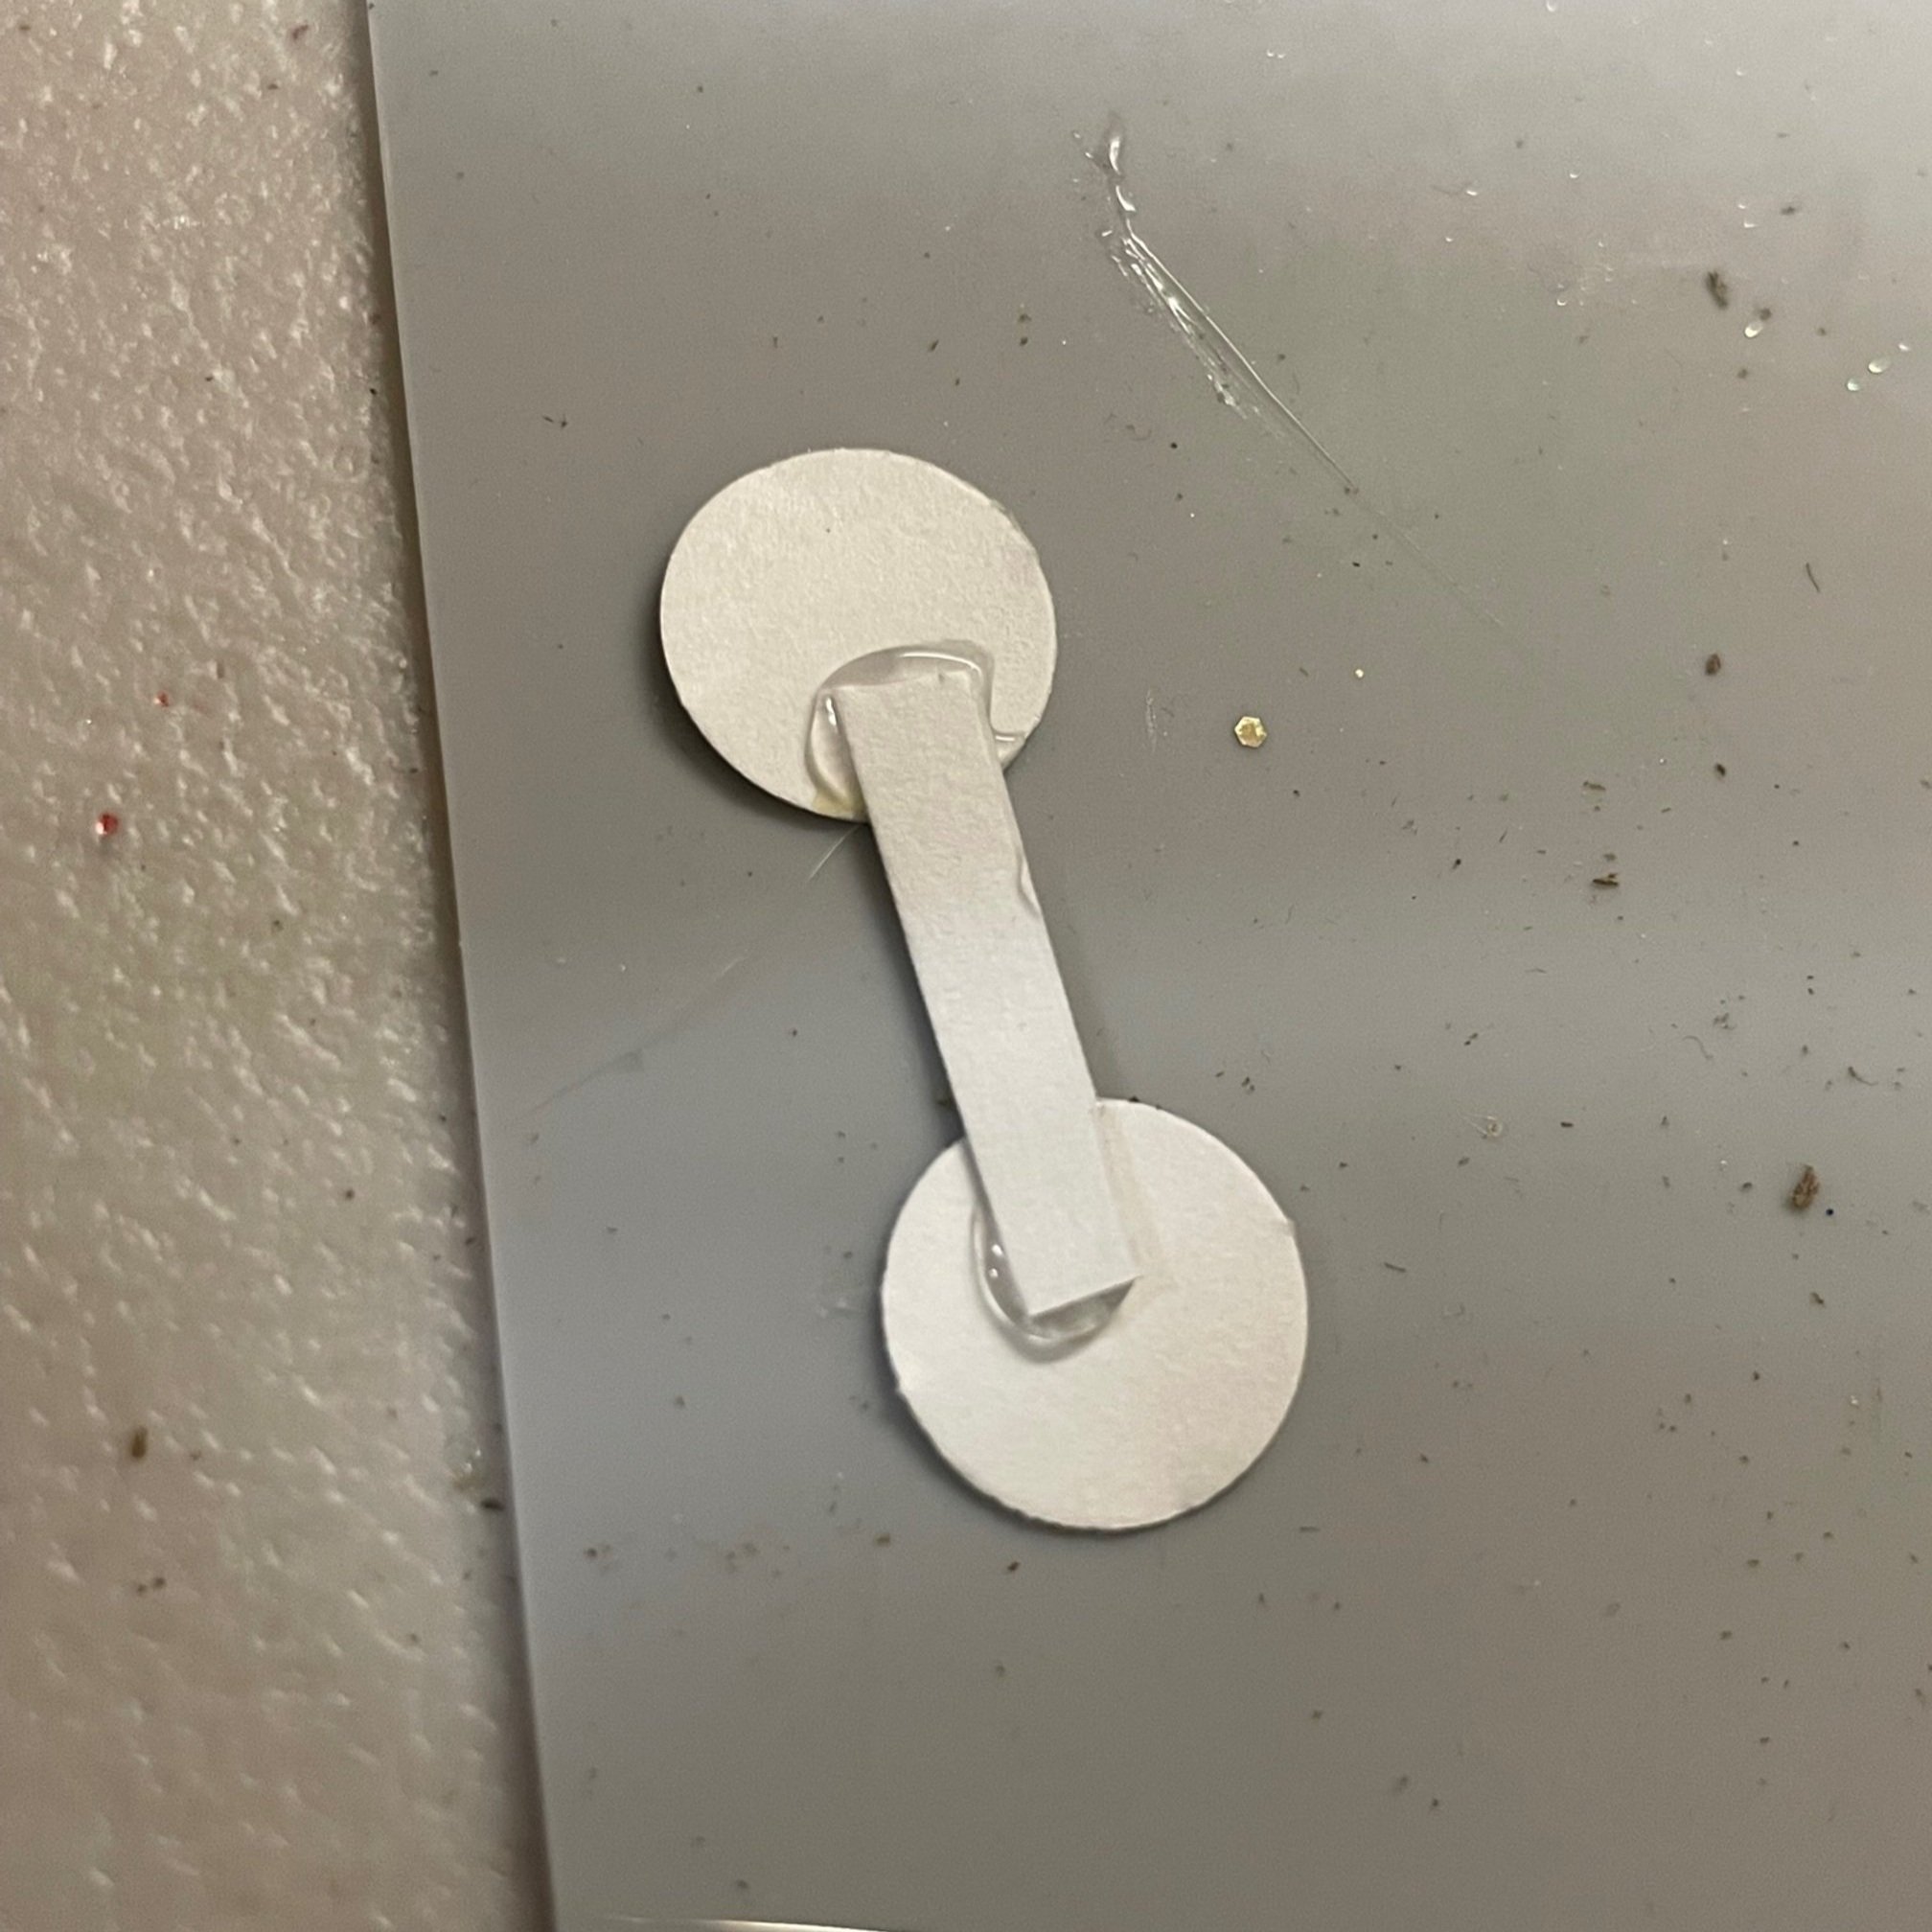
Punch out two circles from the silver Mirricard paper, and attach them with a thin strip. When you glue the two circles together, the strip will be a handle for the candle holder!
Did you know that sealing wax comes in hot-glue-stick form? This is so convenient for creating tiny candles! Simply squeeze some hot wax on to the candle holder you just made! Give it a moment to dry before you make another bubble of wax, this way your candle can be nice and tall!
Take a bit of wax coated thread to act as the wick, and make sure to get some wax on that as well!
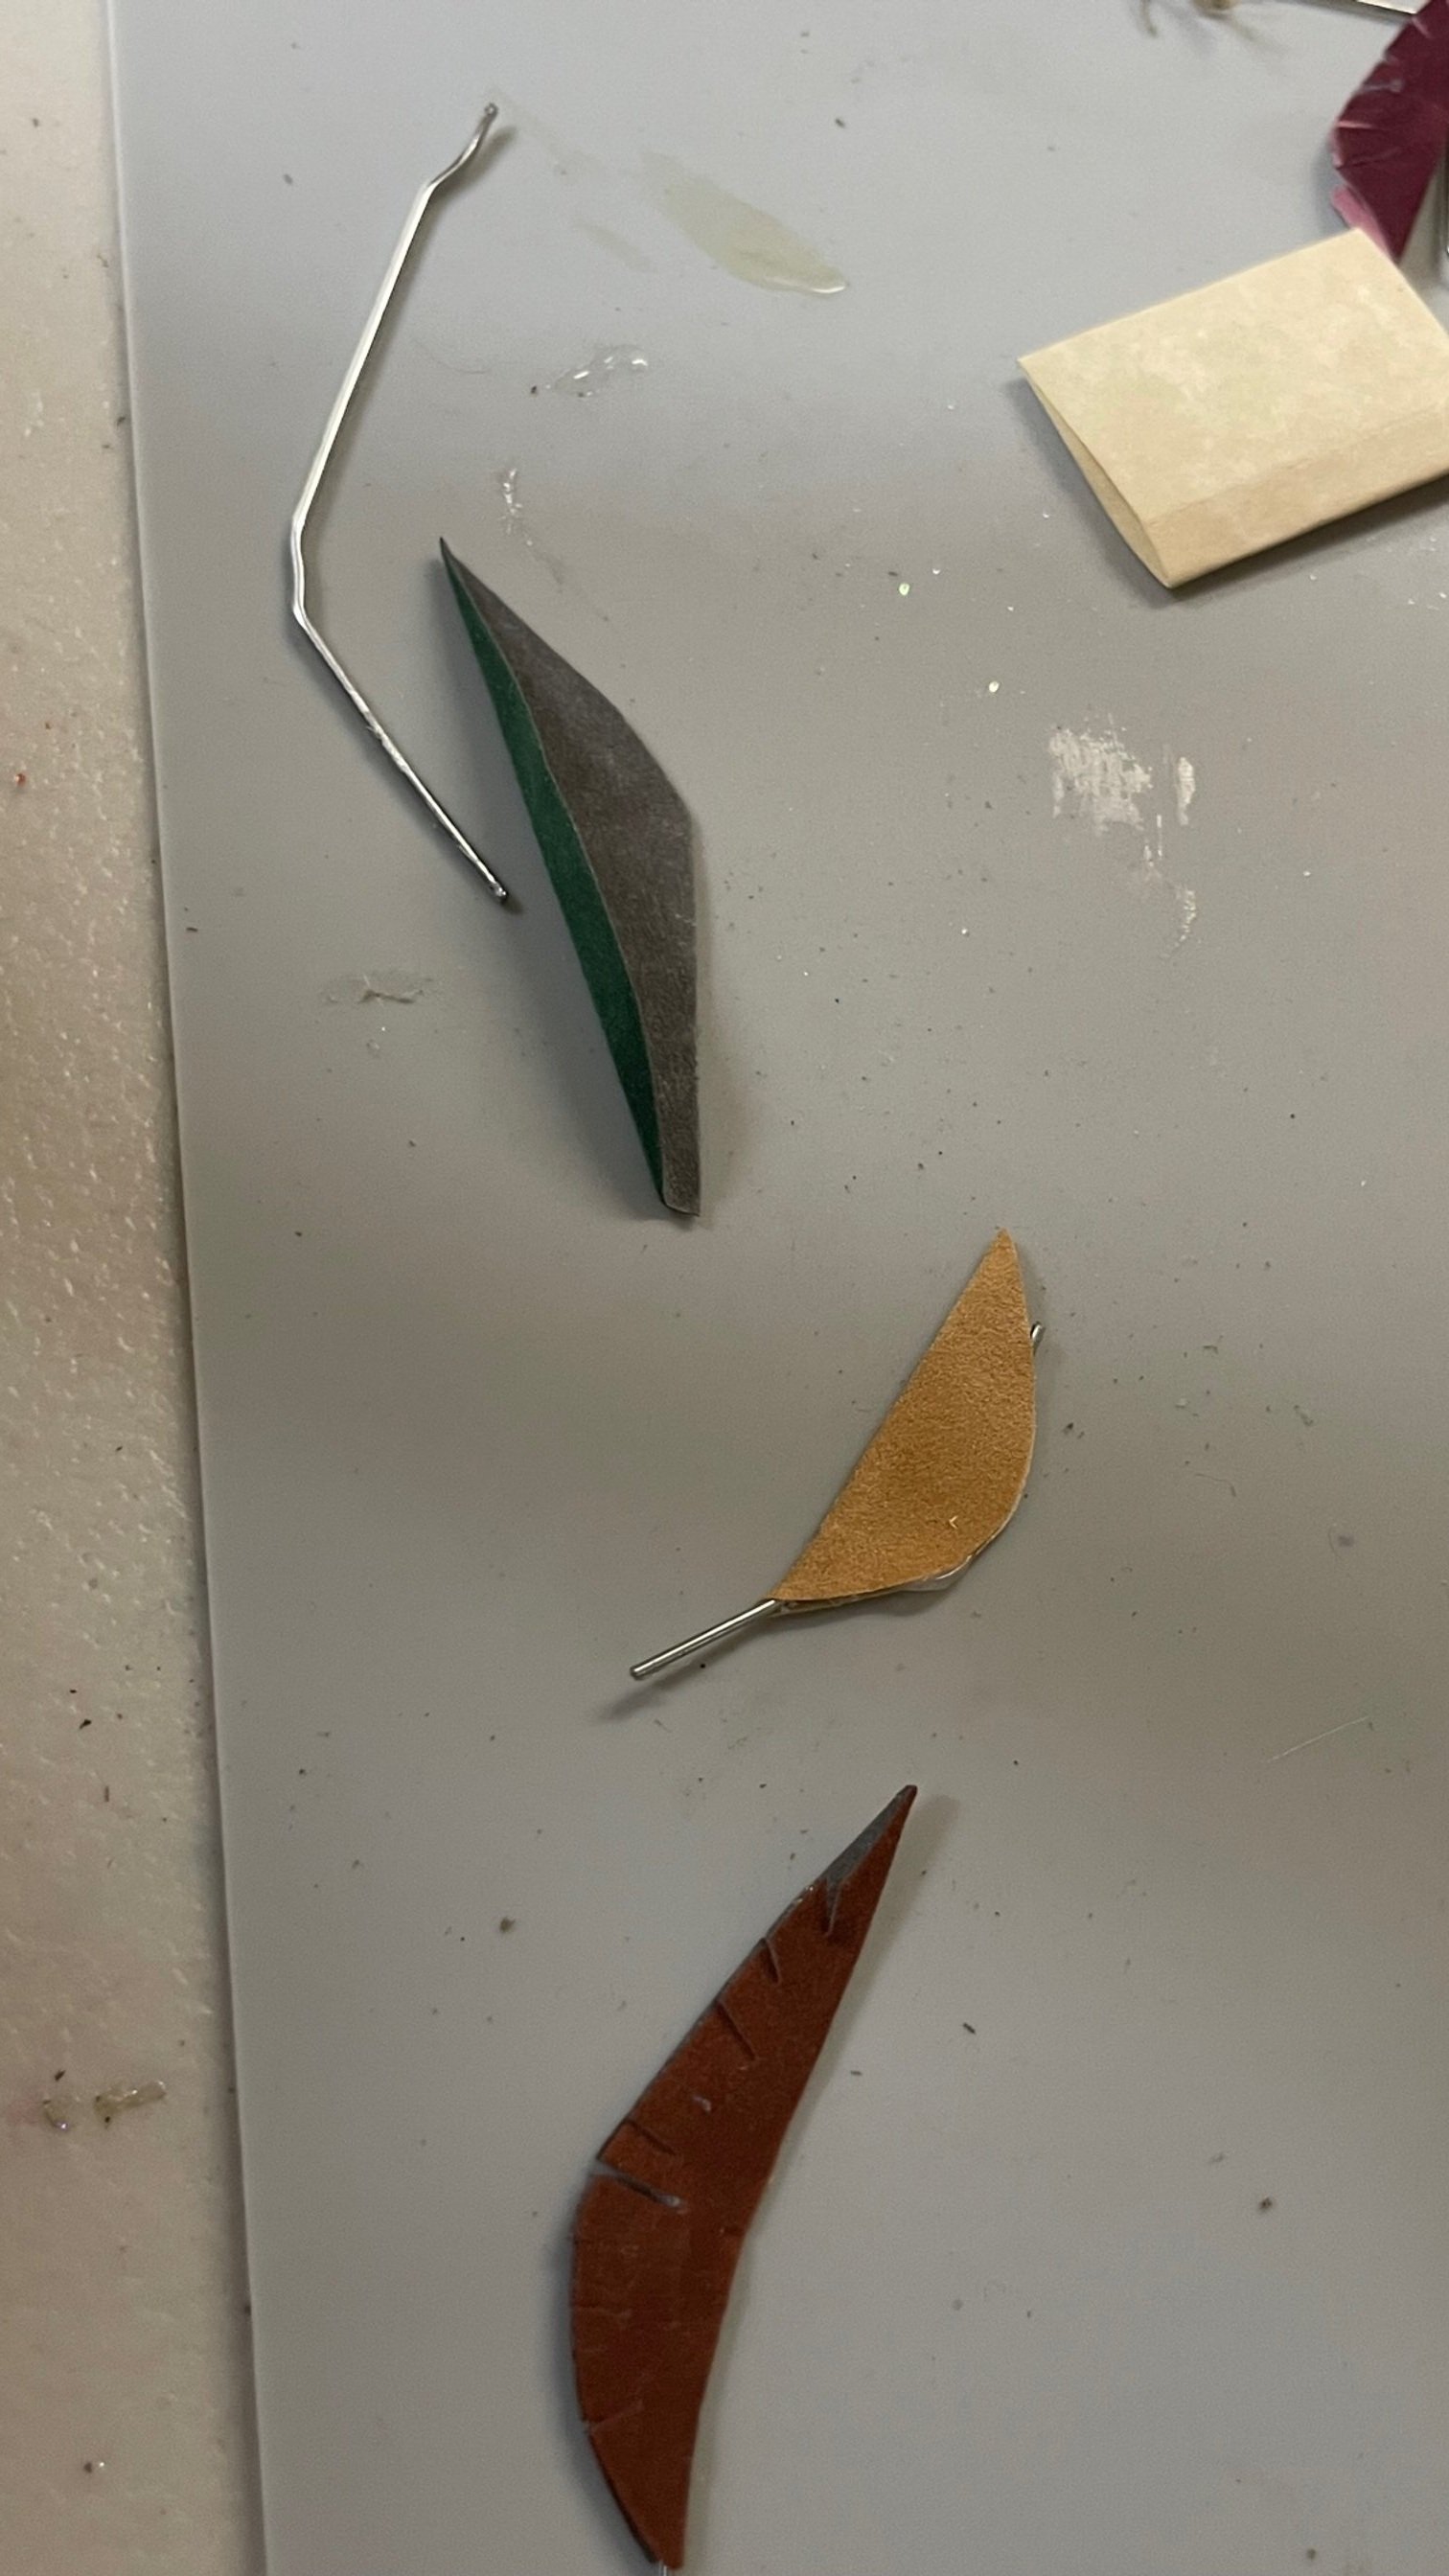
Now to make our quill!!
We’ll take a bit of wire, even a small bit of a paperclip works well!
Then trim out a feather shape from the suede paper, when we fold it in half around the wire it will look like a feather! Snip along the edge and fray it to give it an even more magical feathery look!
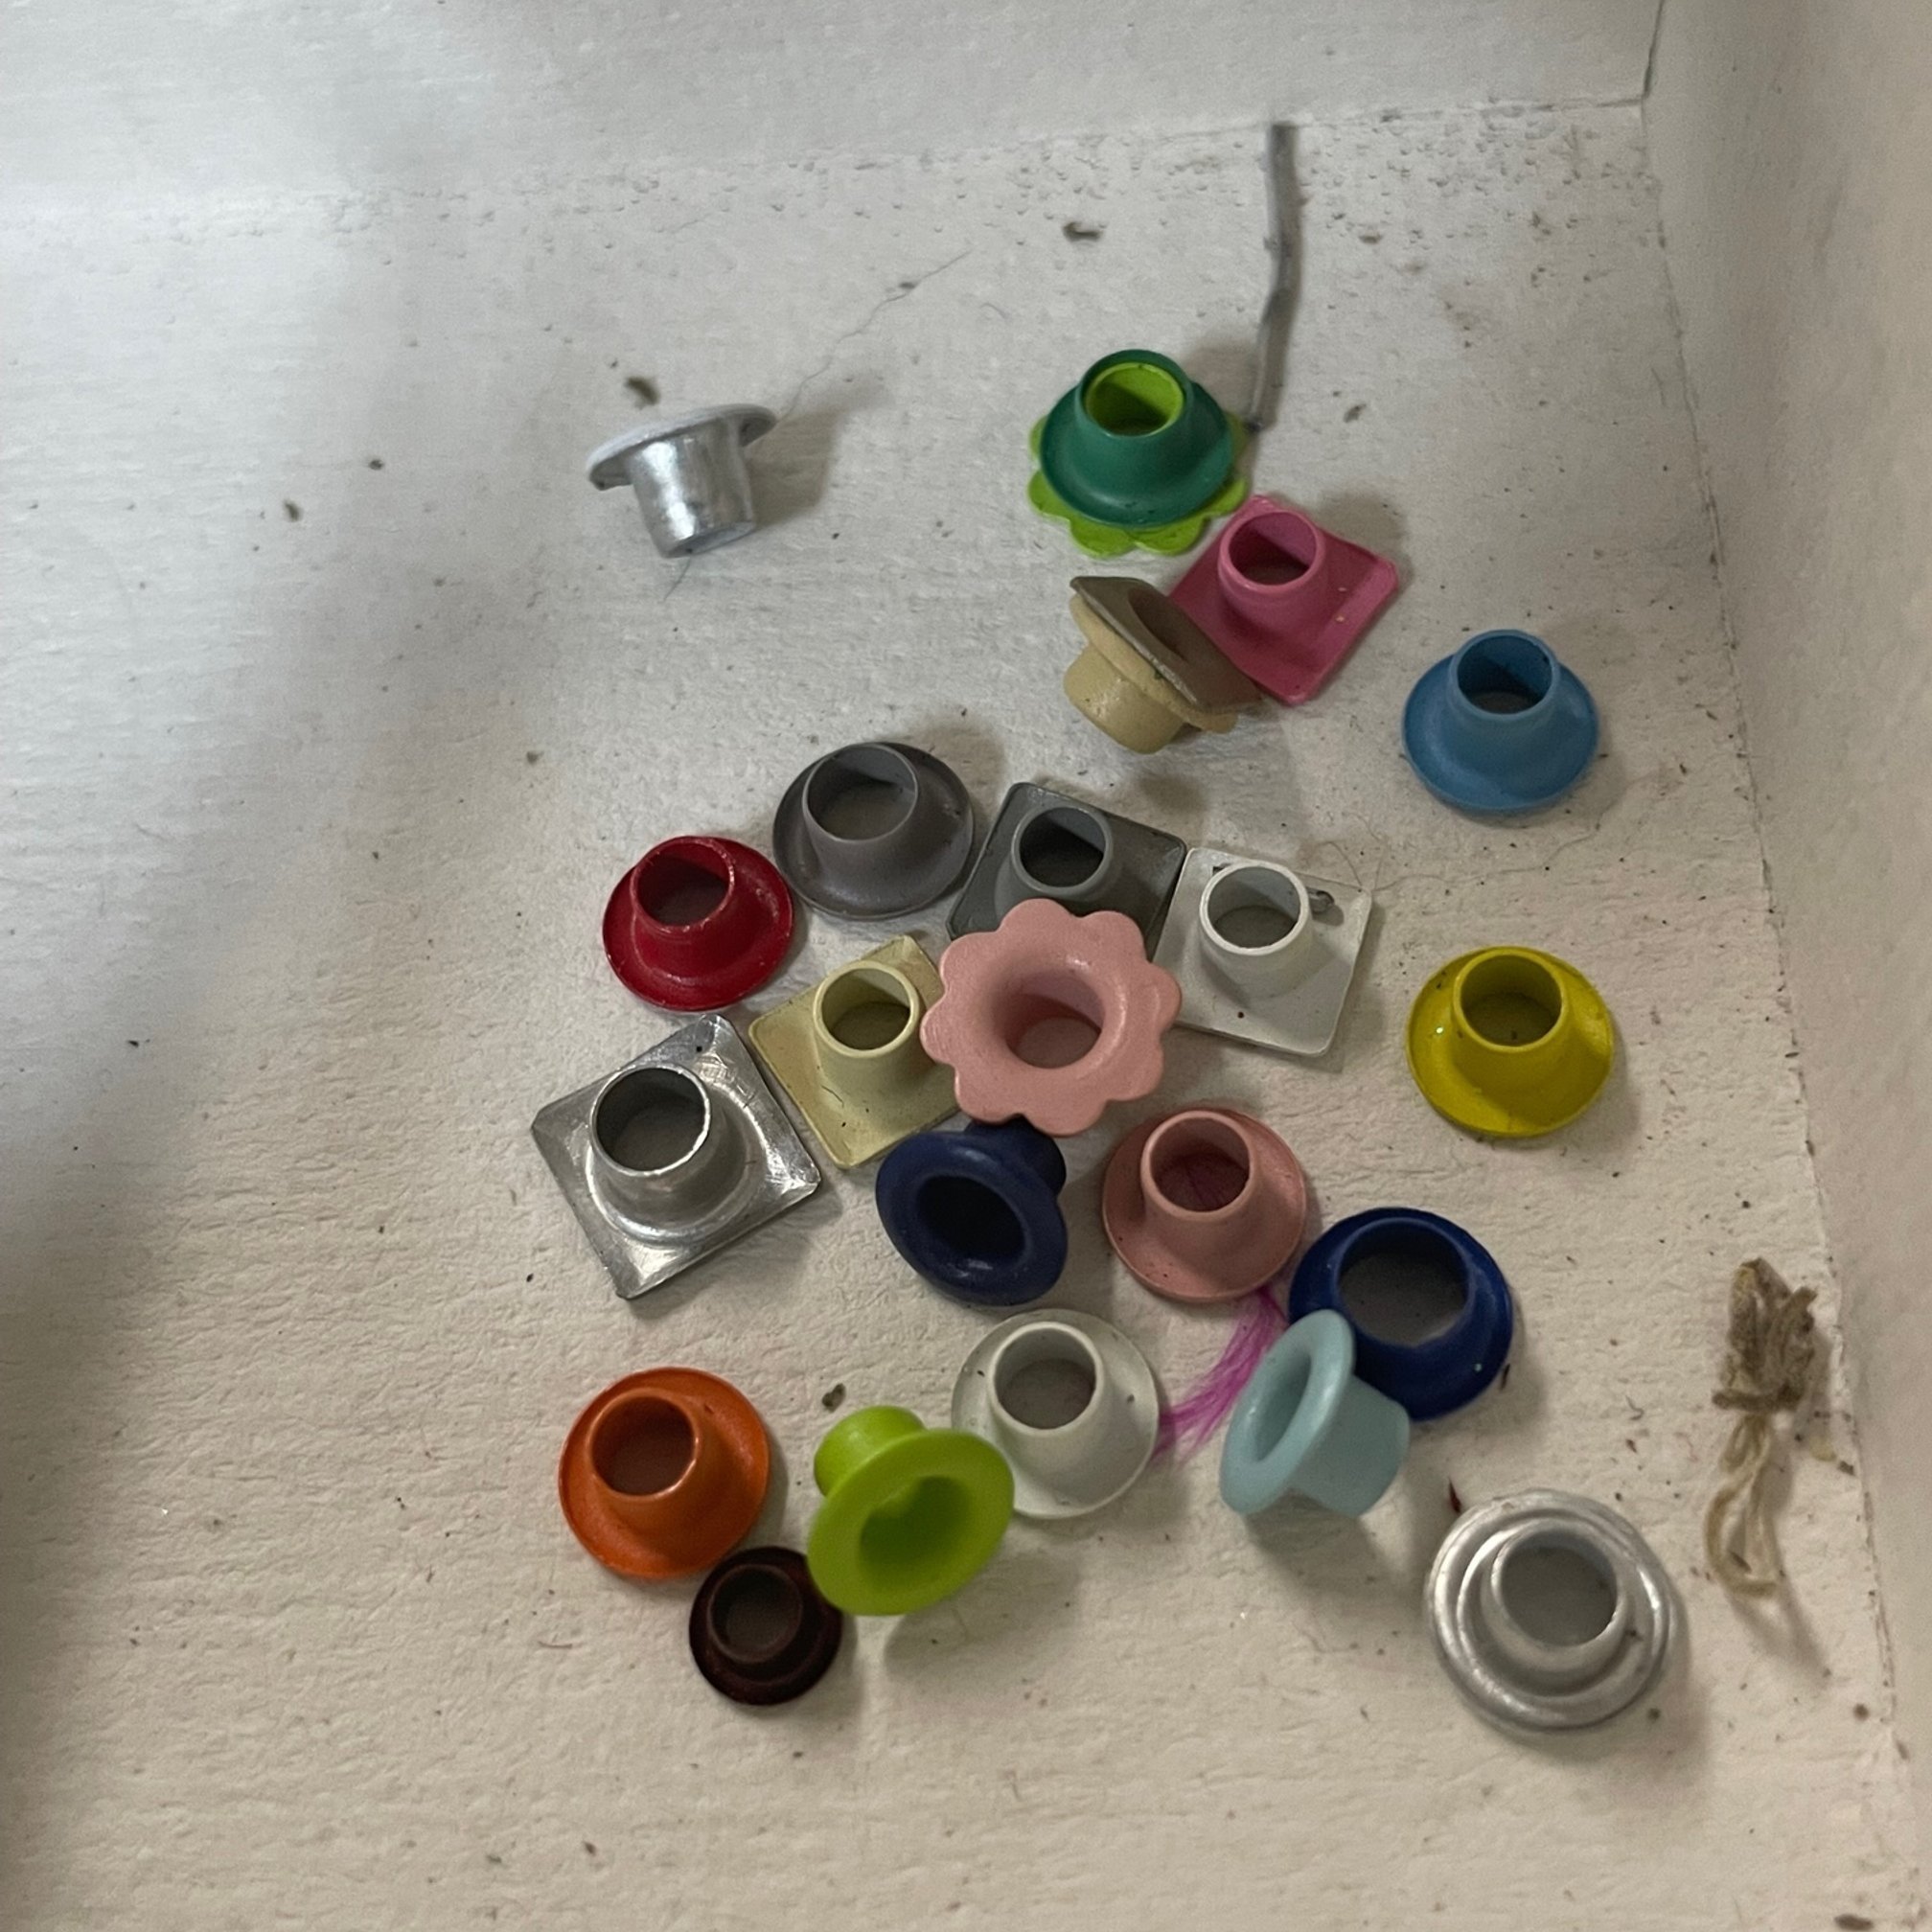
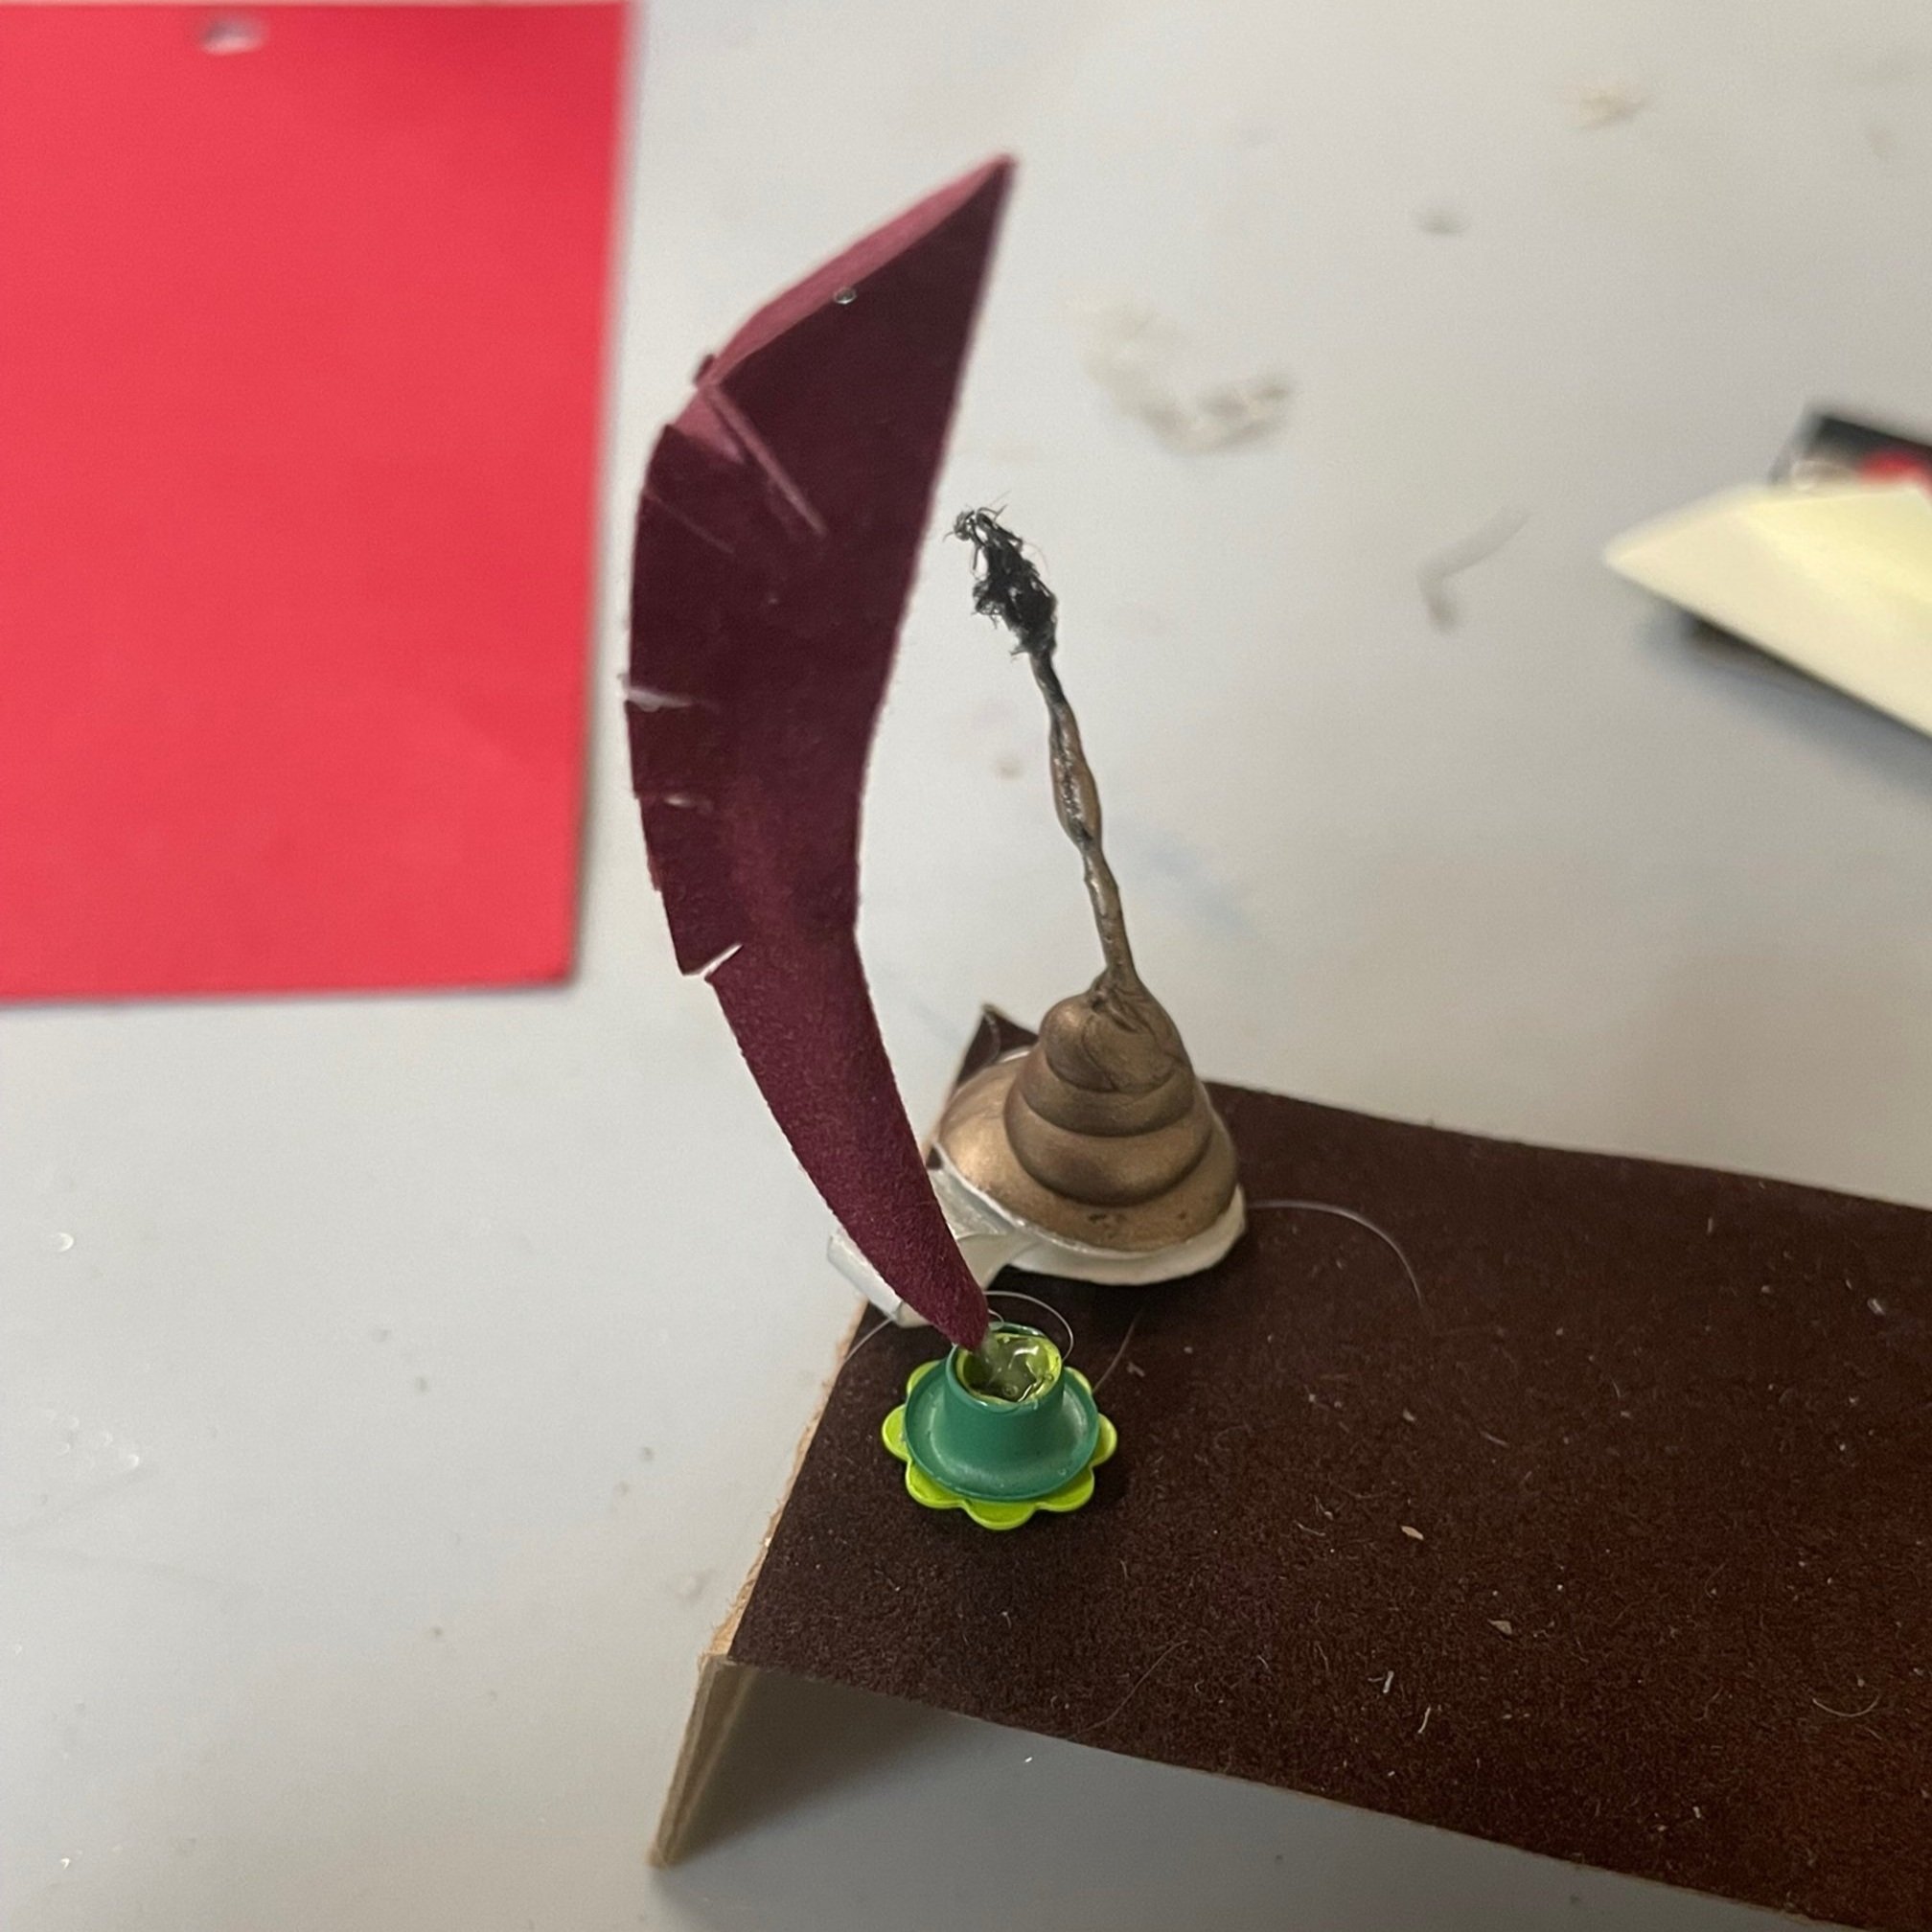
These eyelets will be perfect to act as our ink basin, choose your favorite! Use hot glue to glue it down then stick your quill inside!!
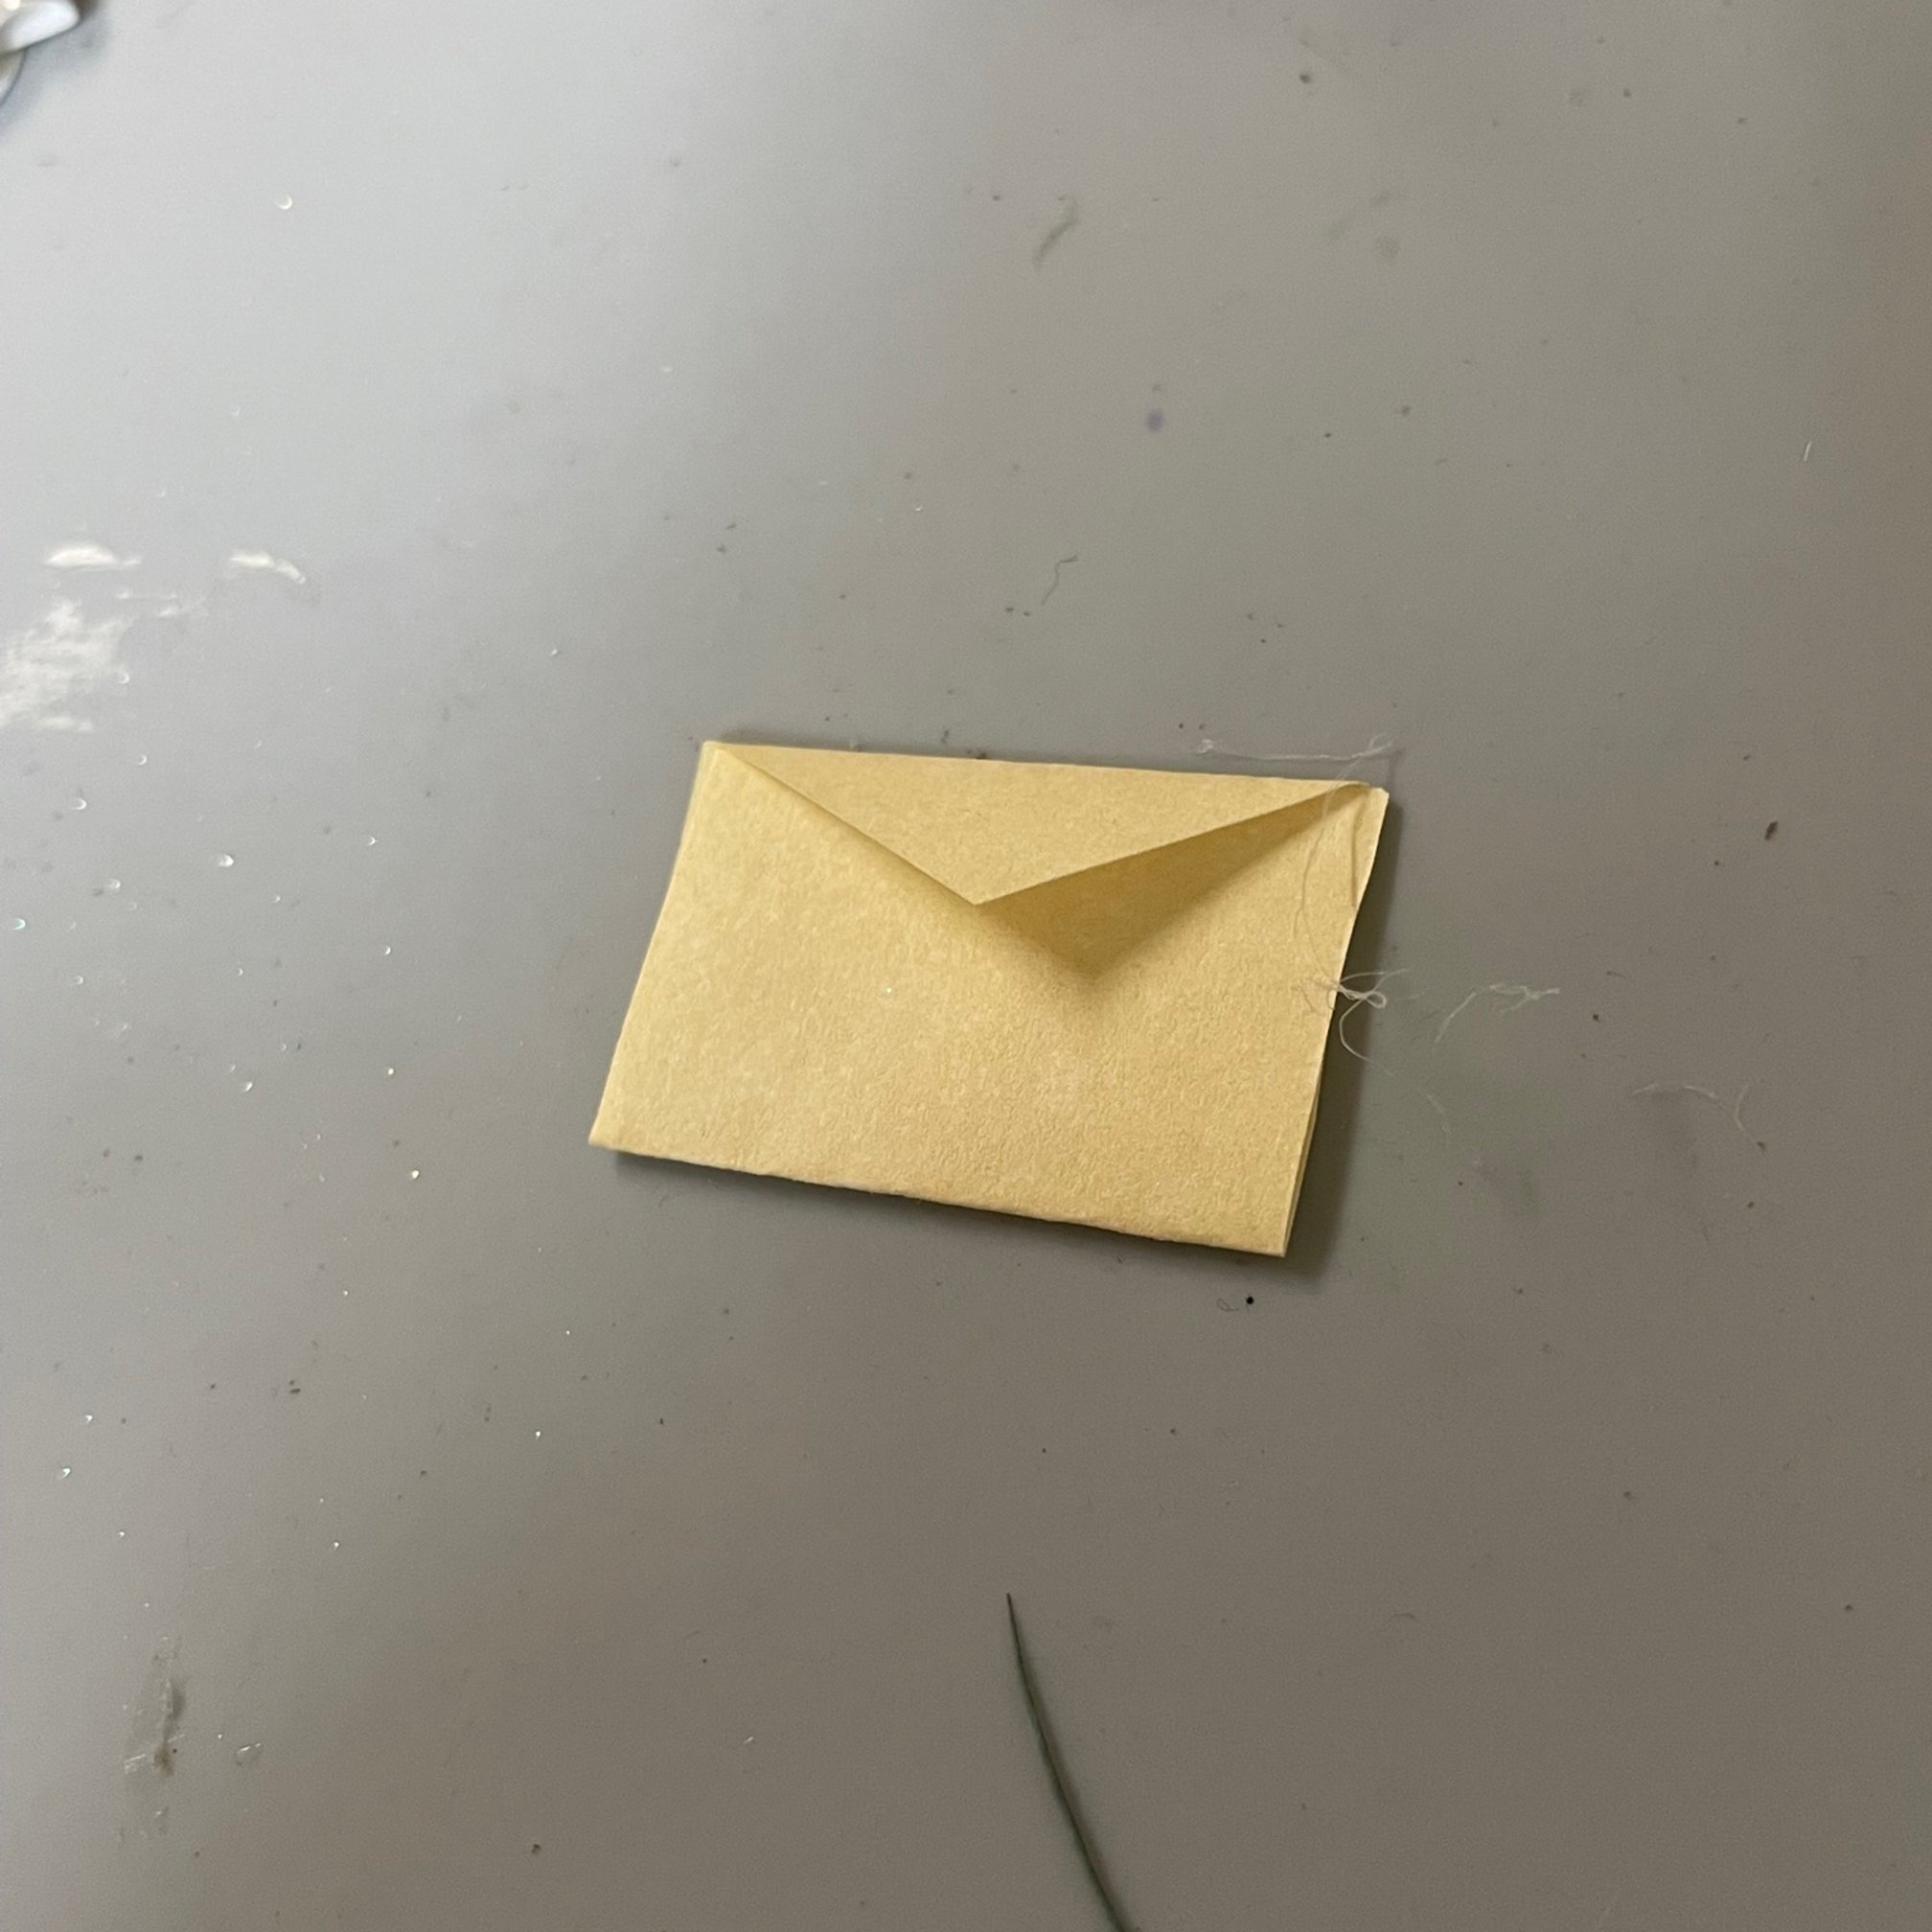
Do you have a letter all ready to send out? Time to make an envelope for it!
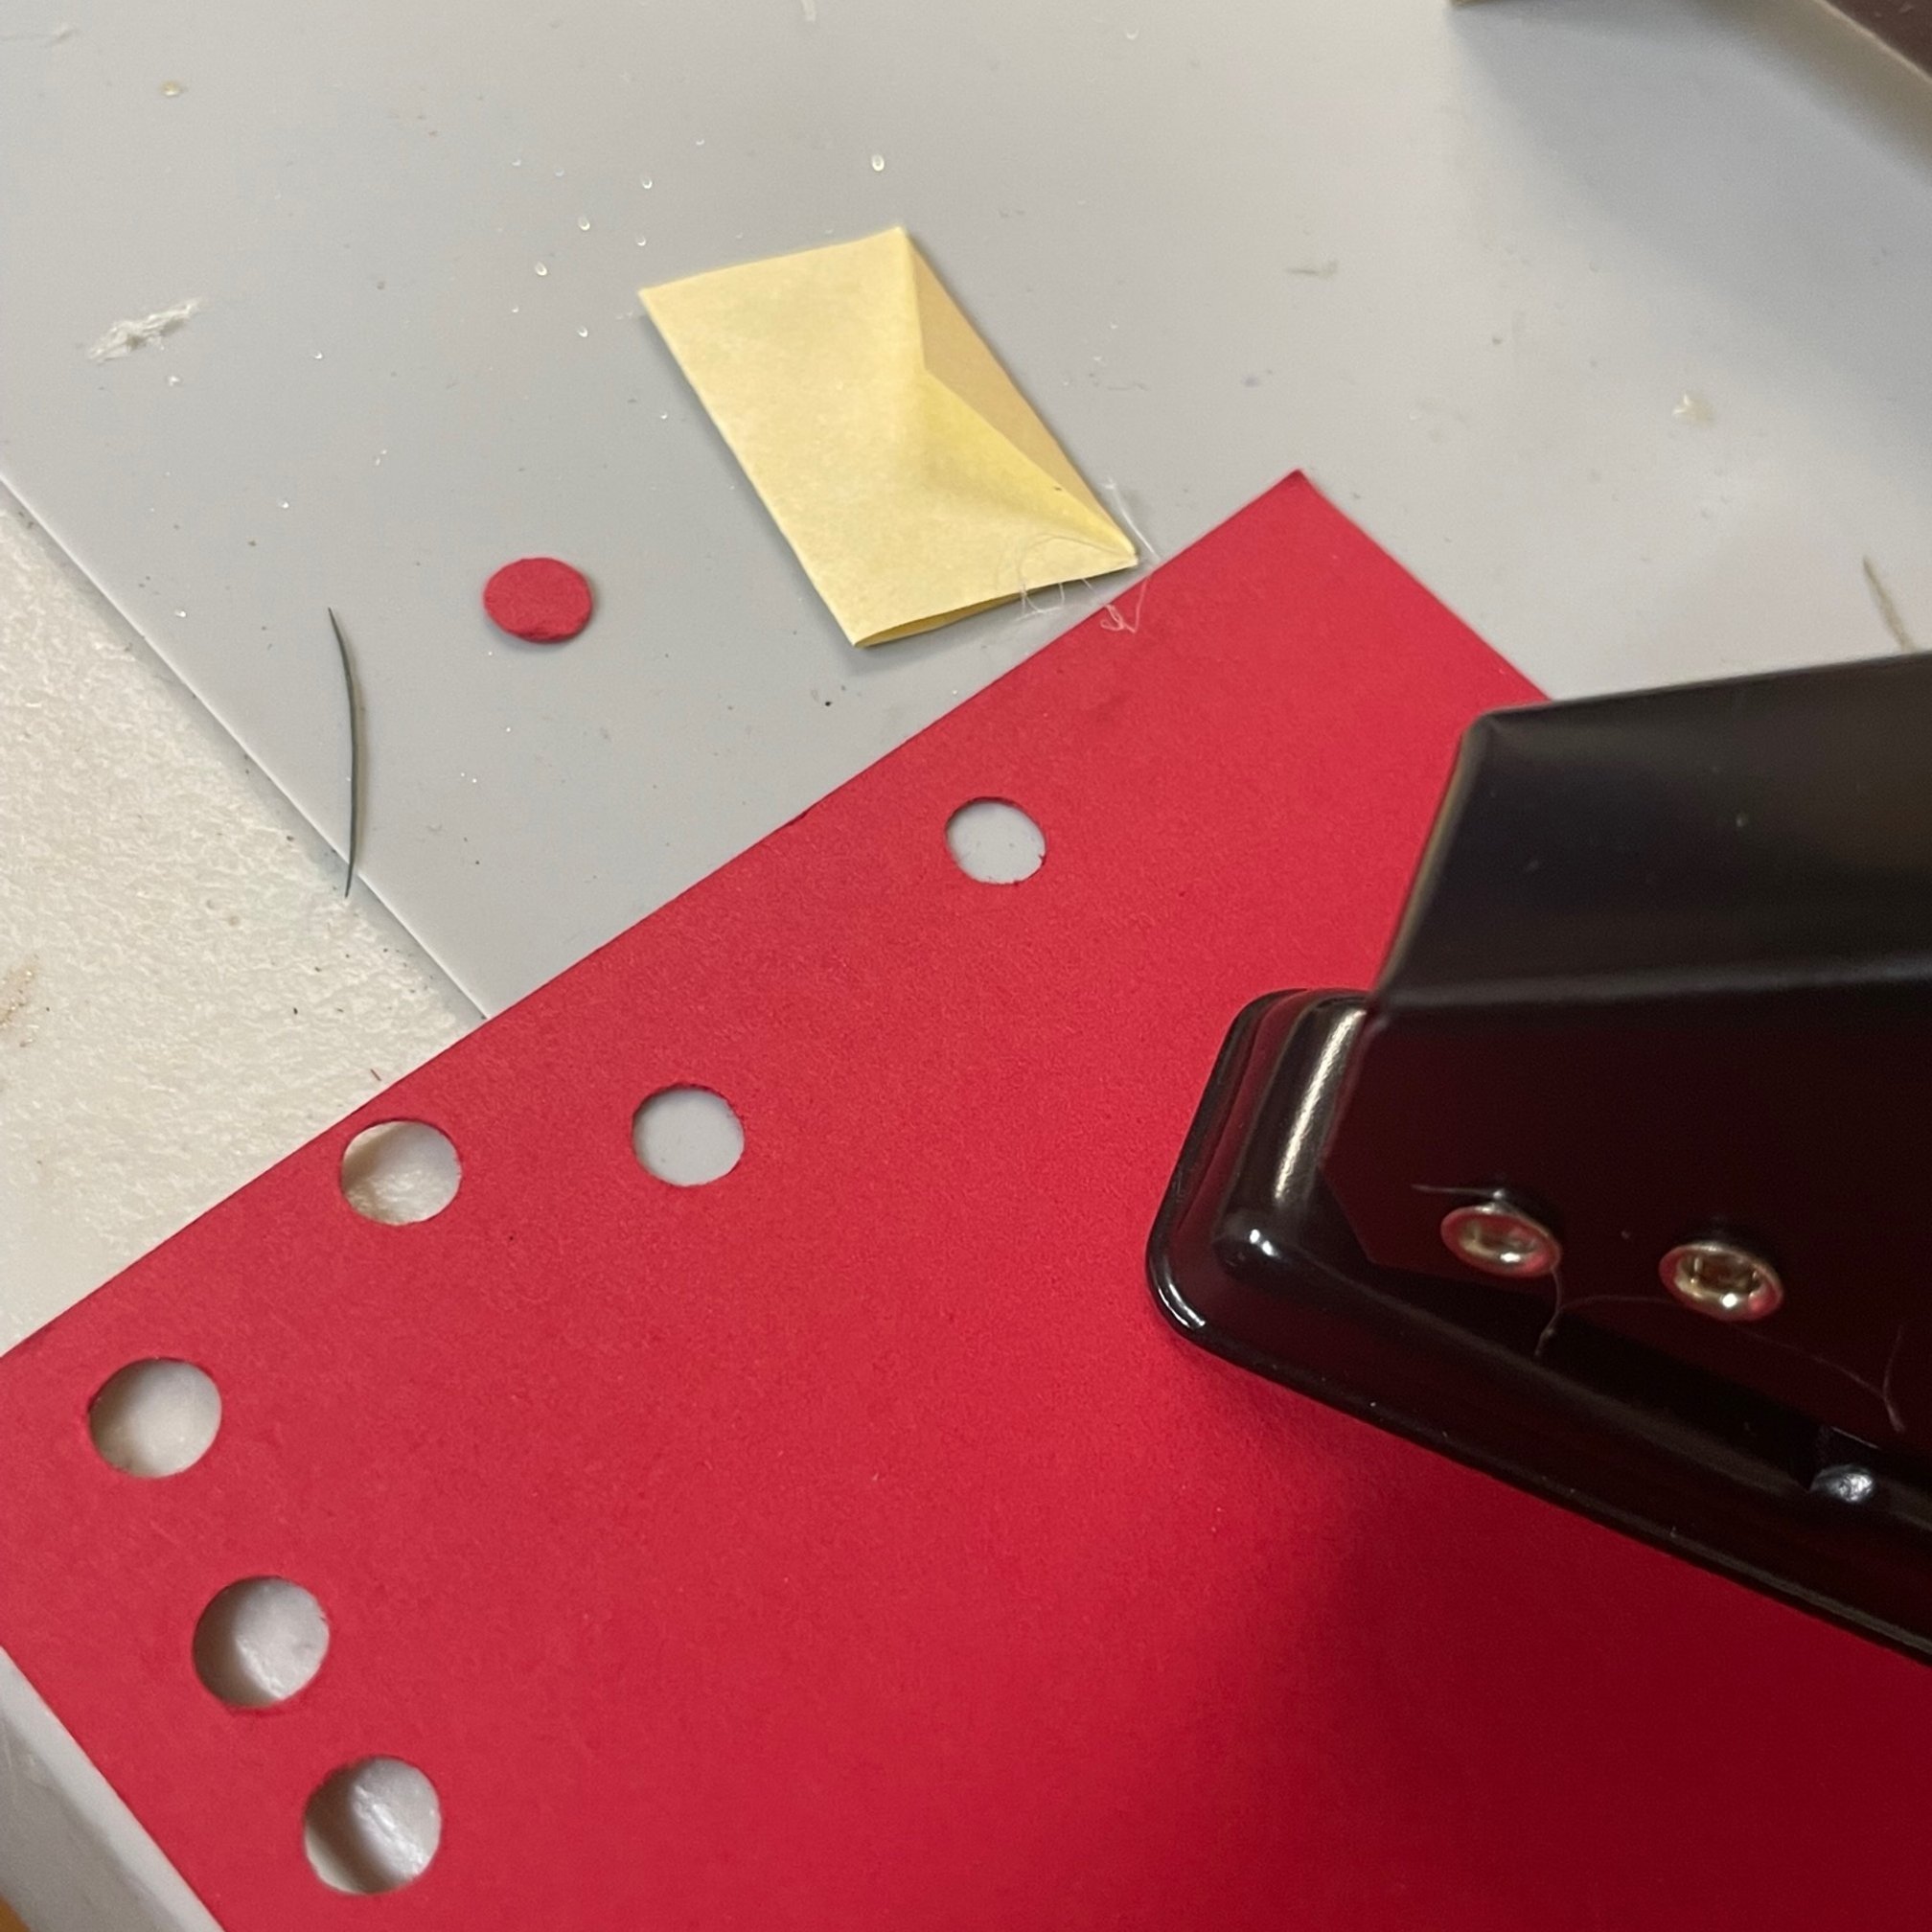
Take a strip of paper and fold it nearly in half, leaving a lip to fold over again. Trim that into a triangle and punch out a little red seal! You could even use a bit of the candle wax to add a more whimsical wax seal!
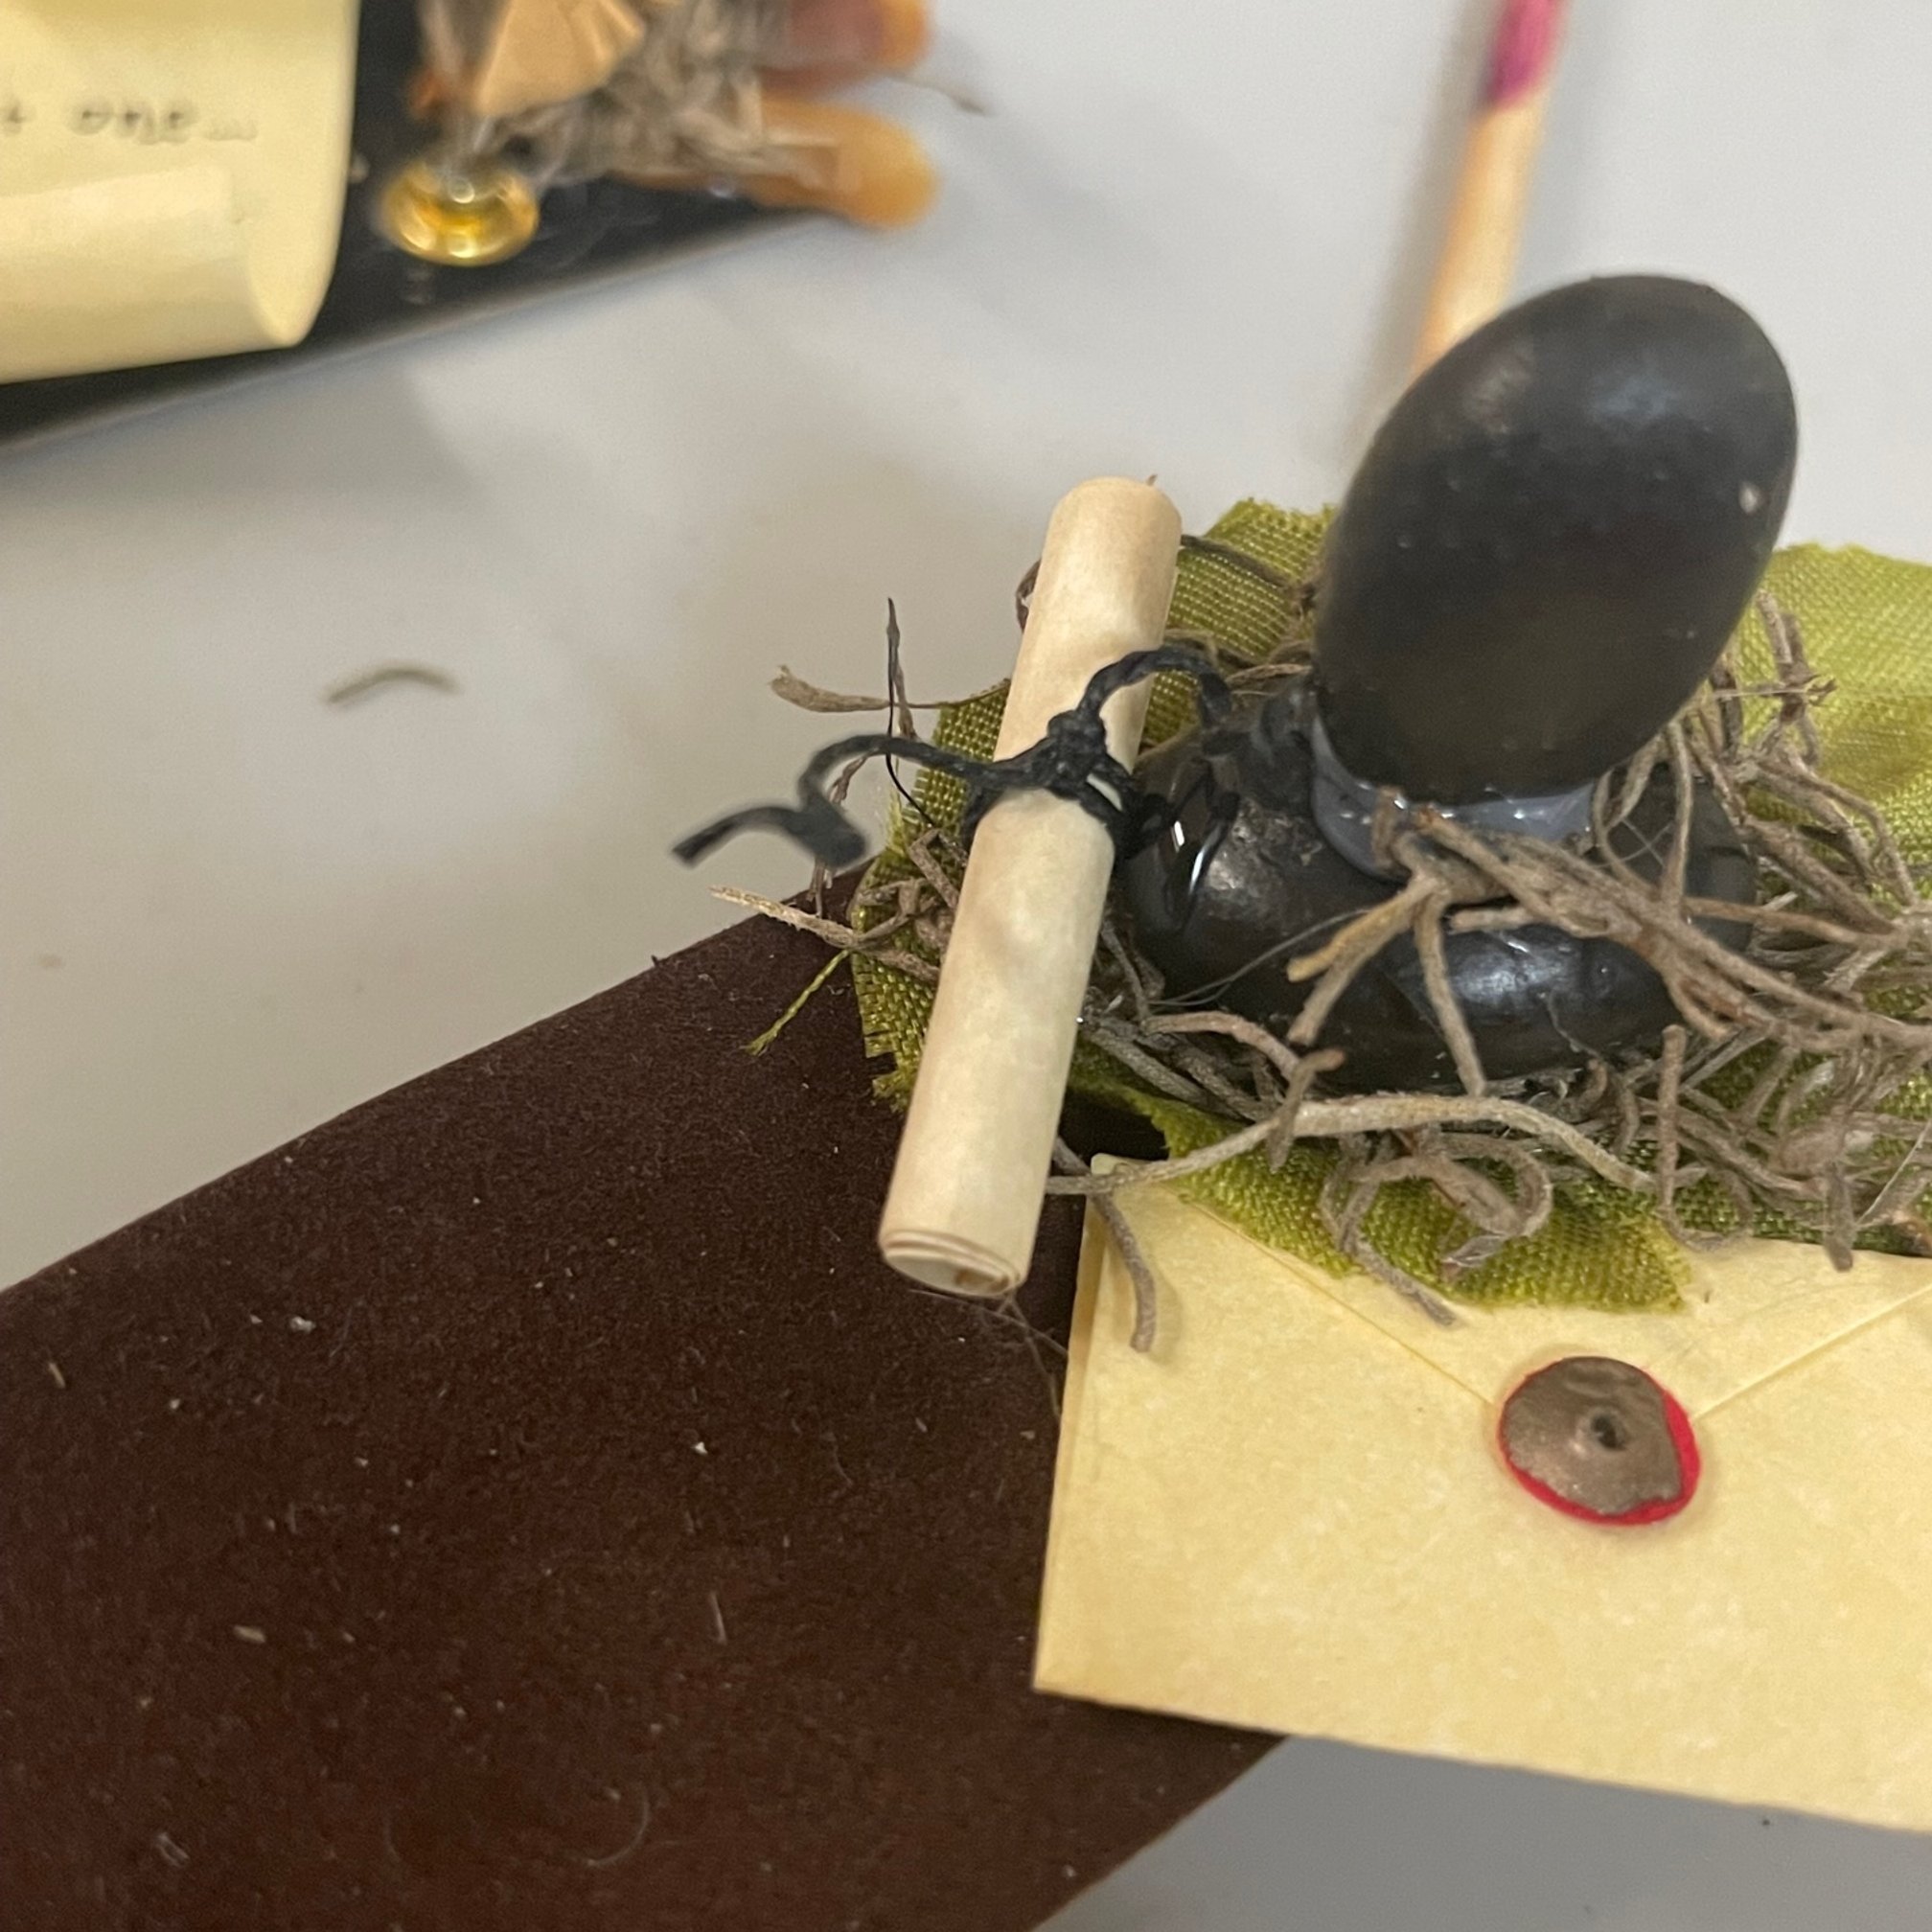
If you happen to have a scroll too, tie it shut with some thread and it will be ready to send out with your miniature envelope!
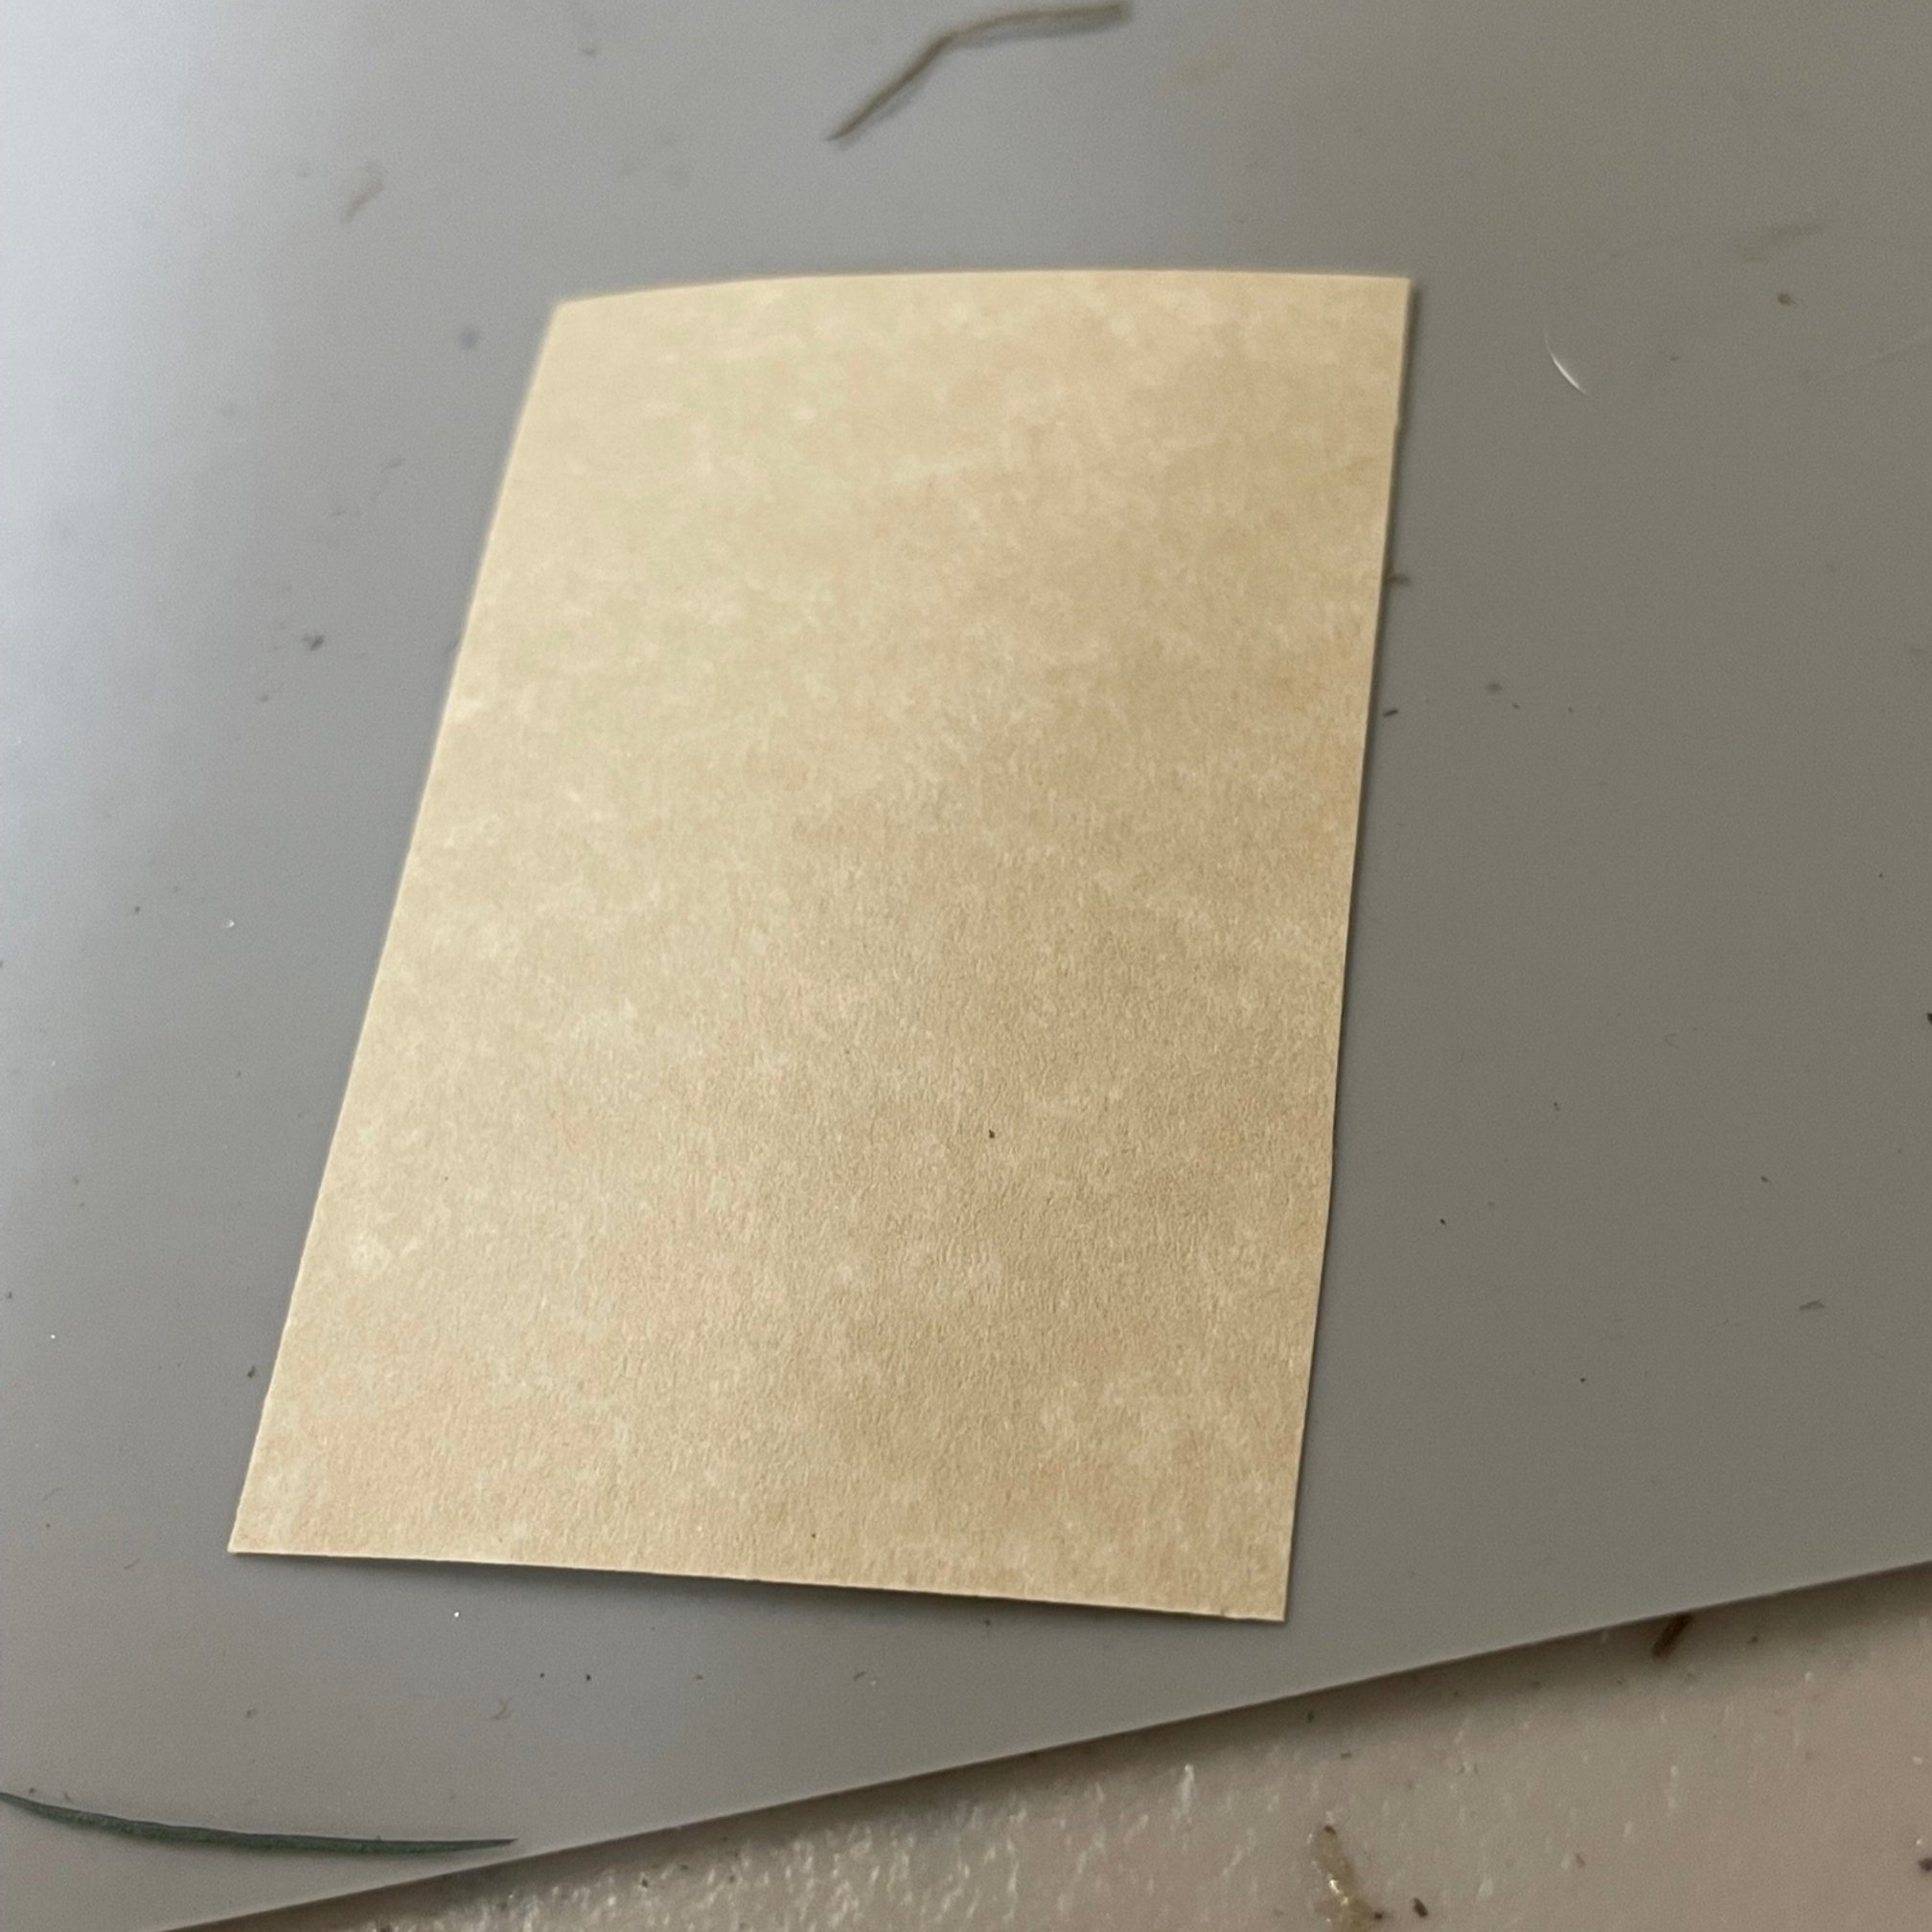
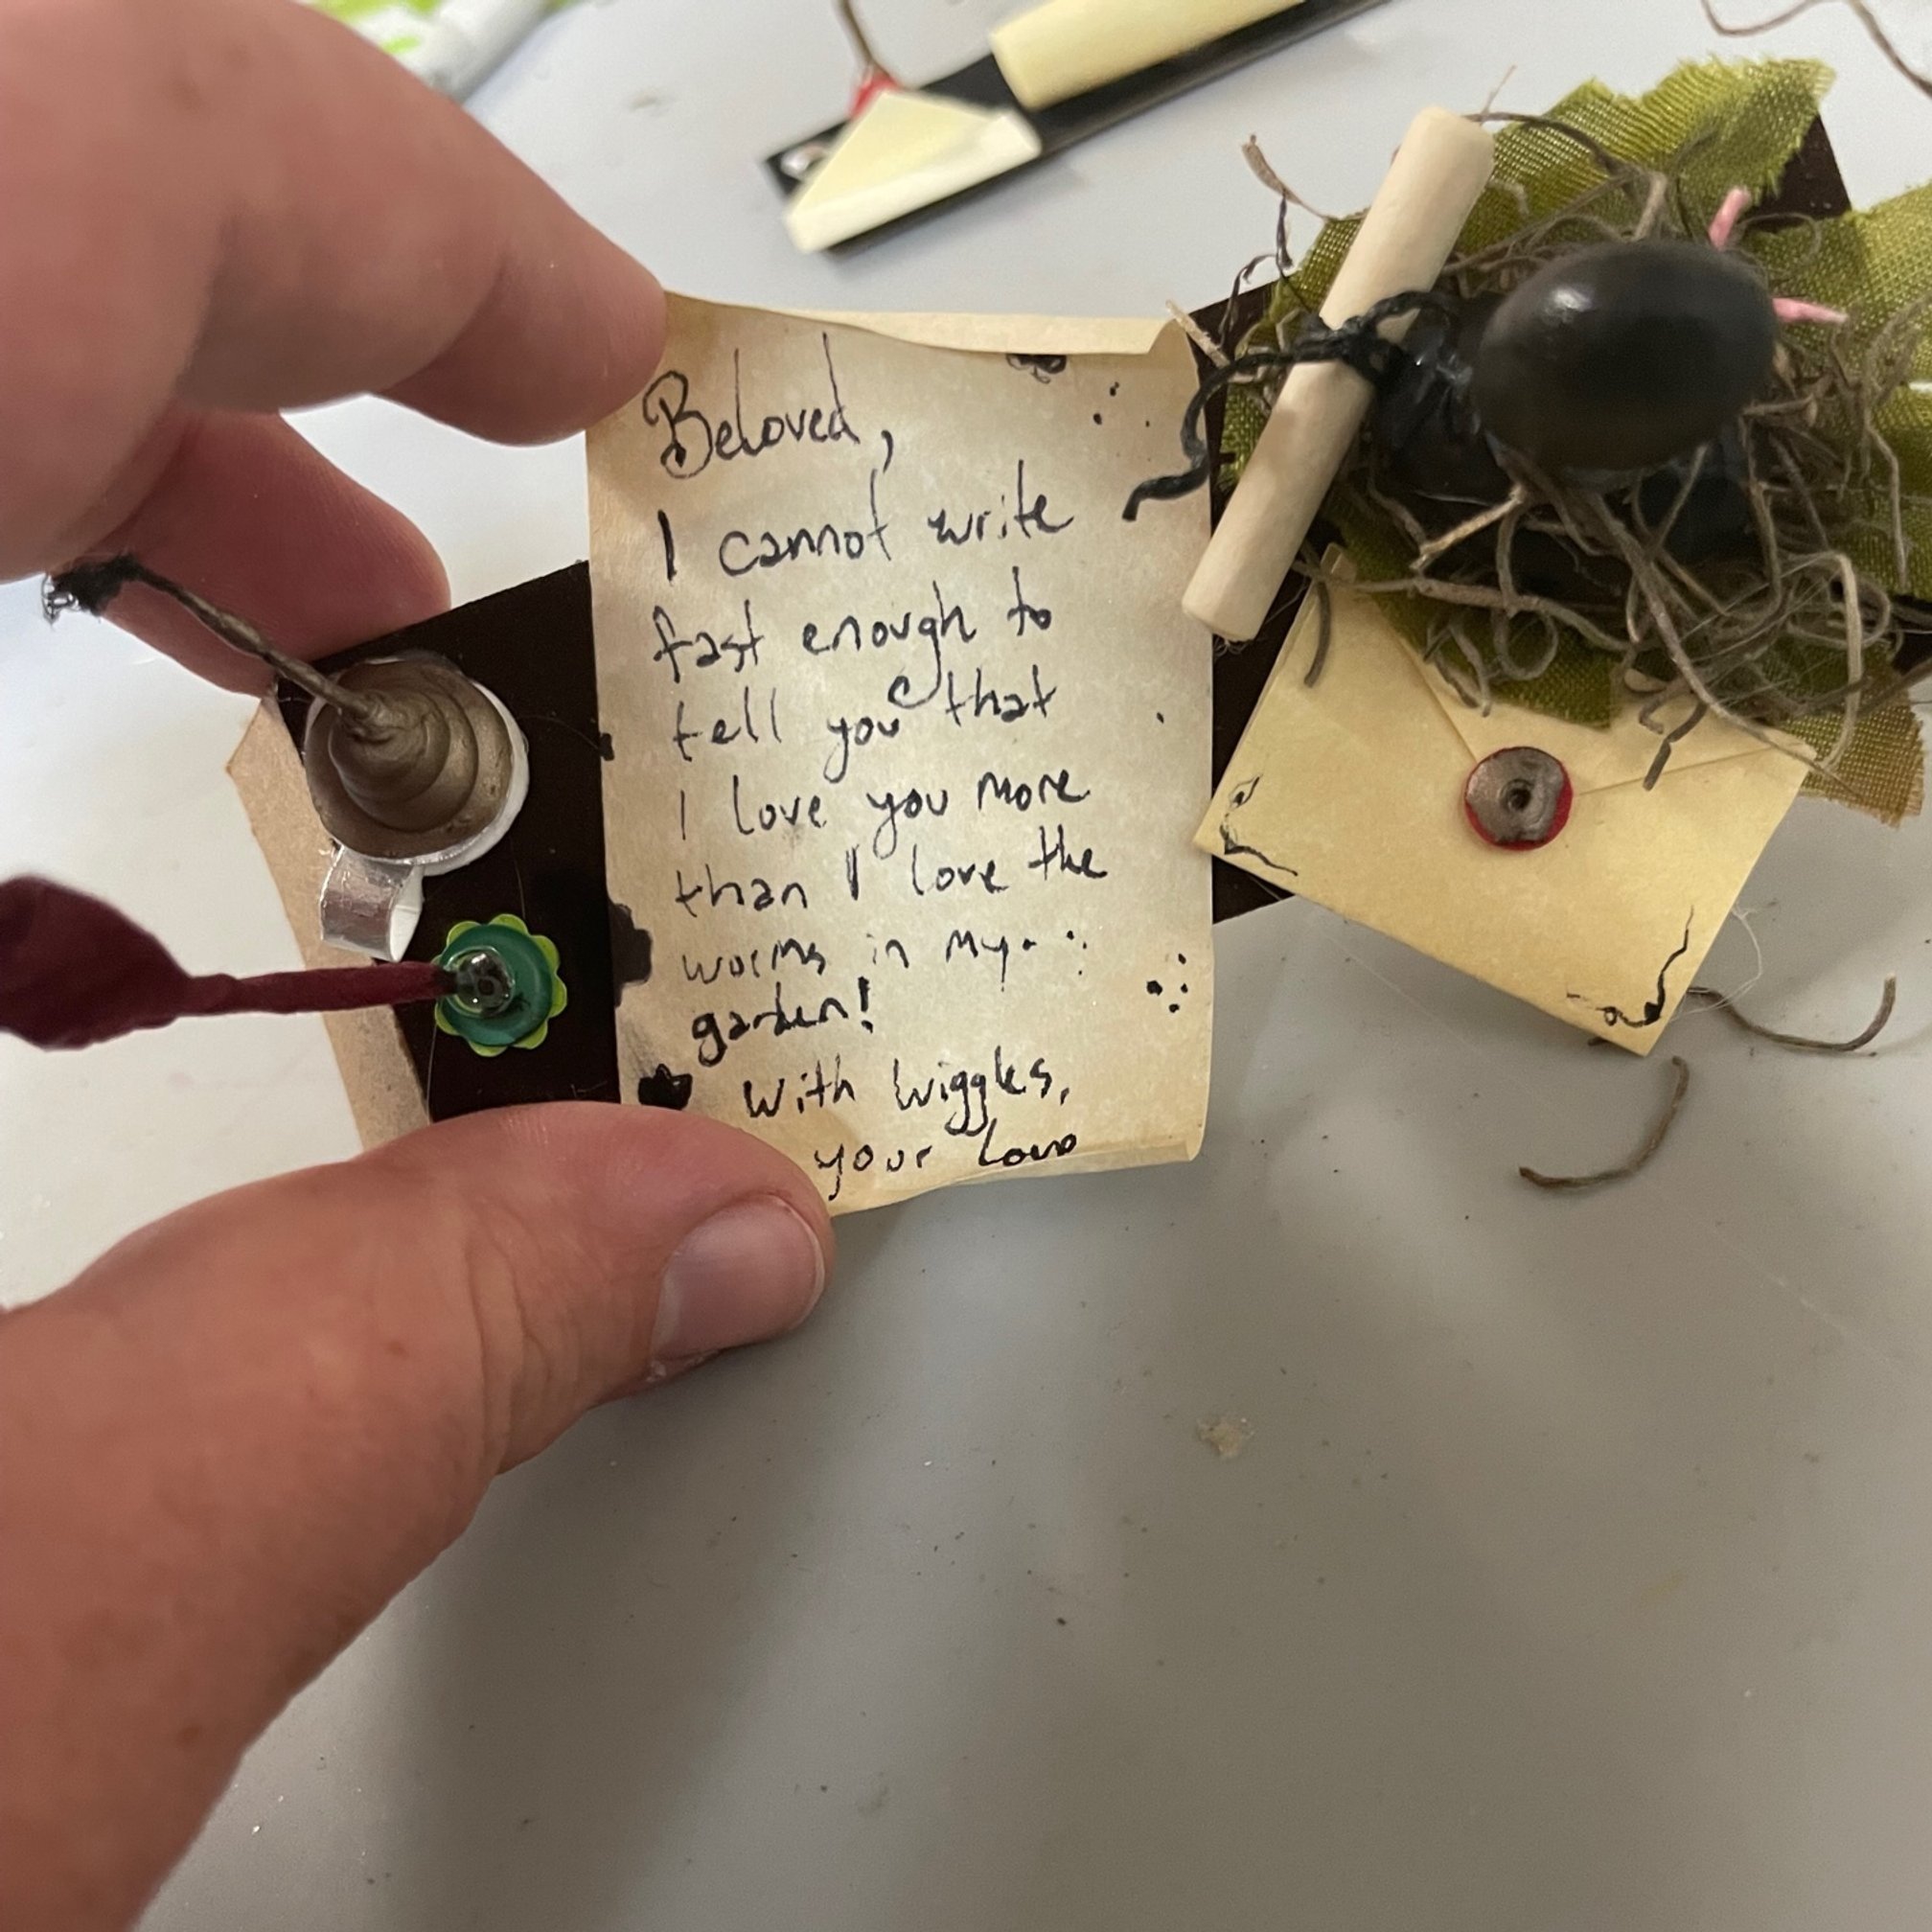
At last, it is time to write our note!
Cut out a rectangle that fits well on your desk. It might need to be trimmed if you have a cluttered desk like I do!
Feel free to tear the edges, spill ink on it, or keep it nice and neat! Whatever your writing style entails!
Now, what will you write? A Love note? A query for adventure? Perhaps you have a tiny fairy friend and must know what they had for dinner?
No matter what you’d like to write about, be sure to curl the edges of your writing to give it an extra touch of whimsy.
Are there other details your writing desk needs?
I made sure to spill lots of ink on my table, thankfully the brown table cloth hides it well. The note itself is a bit stained, but I was in a hurry to get my message across!
I added a little thread of pink to look like a worm amongst the moss, and even crafted a little snail out of a shell!
What is your favorite part of your desk?

Thank you so much for crafting today!!
I hope you had SO much fun making something so small but so Full of joy!!!
See you soon for another fun time making art!!
Art and Happiness
2004 James St
Bellingham WA 98225
Mon-Sat
10am-6pm
Sunday
12pm-5pm
(360)206-0389