
The second Make-n-Take we’re crafting this week is the sharpest little pencil card. Whether it’s for your favorite teacher or to sneak into your kiddo’s lunchbox, this card is sure to make them smile.

Inside your Make-and-Take kit, you’ll find:
Yellow card
Pink paper square
Shiny silver paper strip
Shimmery brown paper strip
Small black paper
Two choices of sentiment for inside the card
White envelope
Striped yellow paper embellishment
You’ll want to make sure you also have on hand:
White glue
Scissors
Black pen or fine-tipped marker
Ruler
Watch the video below or follow along with the instructions!

Step 1: Cut out your pencil
Fold the yellow card in half along the scored line. The outlined pencil shape should be facing outward so that you can use it as a guide to cut.
Be careful not to cut down the folded edge, or your card will no longer be able to fold in once piece.
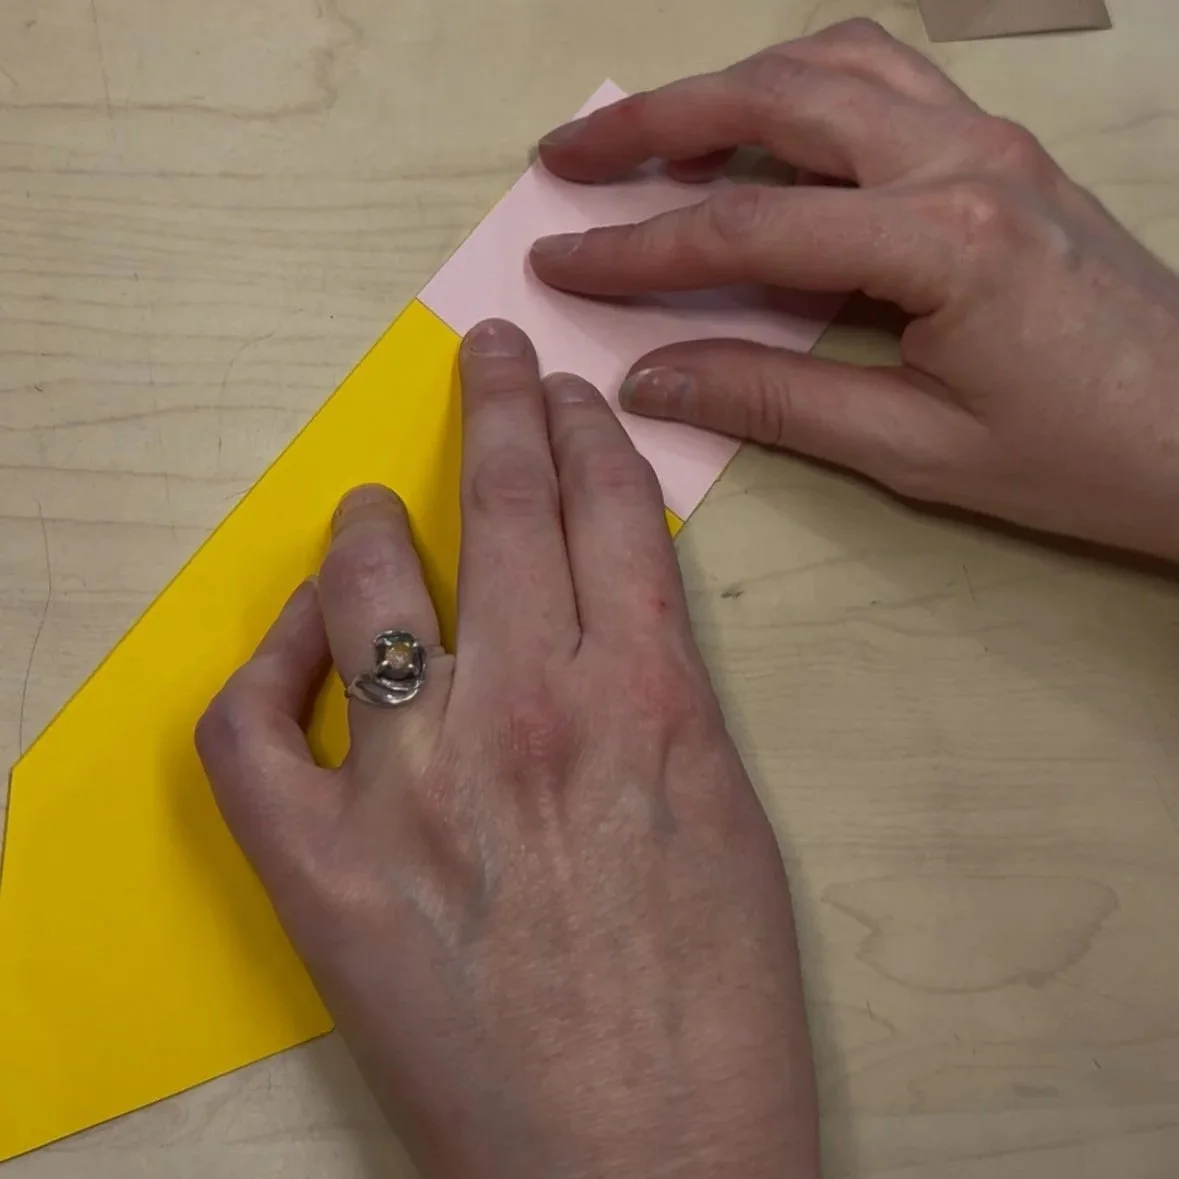
Step 2: Give your pencil an eraser
Glue the pink paper square to the top end of your pencil card. It’s okay if it sticks out on the end a little bit.
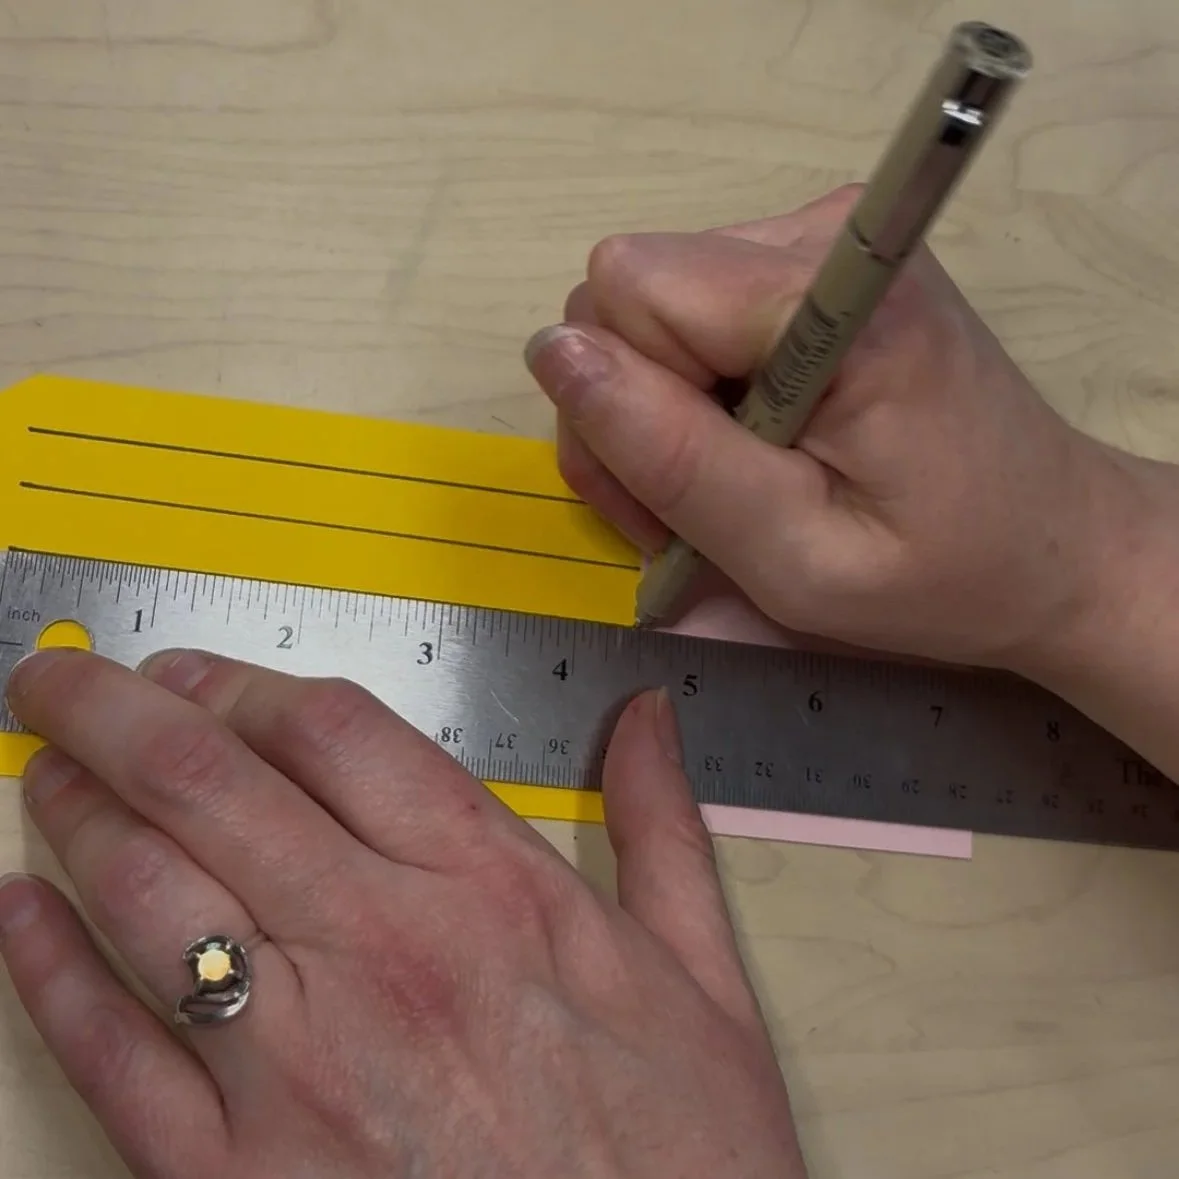
Step 3: Add lines to the pencil
Using a ruler and a black pen or a black fine-tipped marker, add some straight lines going up the length of your pencil right up to the eraser. Continue the lines all the way down the body of your pencil.
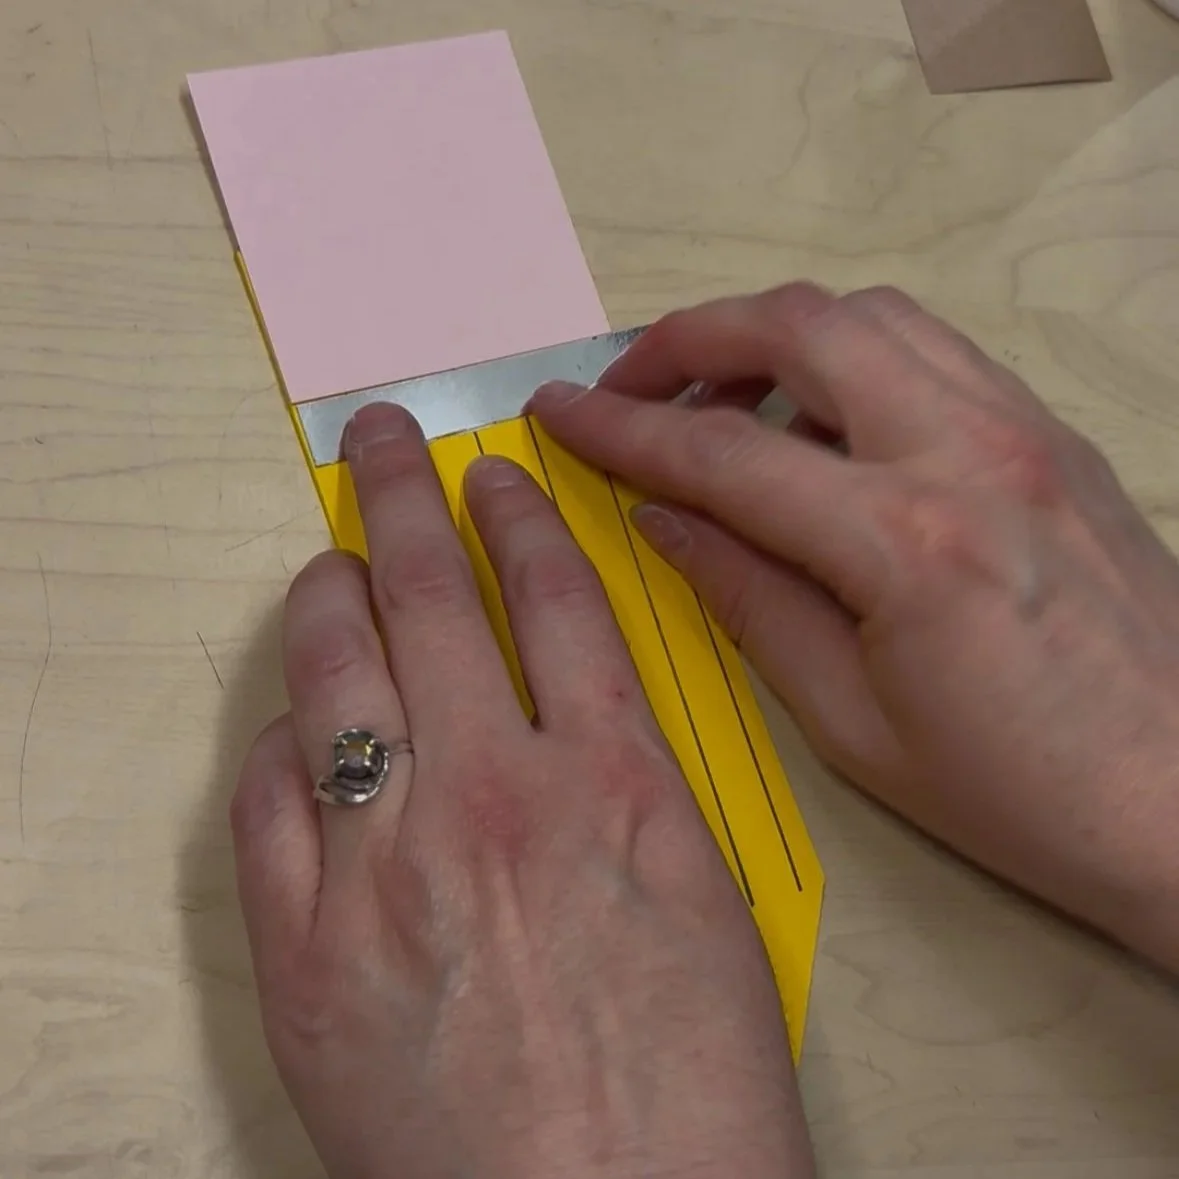
Step 4: Add the silver strip
Glue the silver paper strip just below the eraser. This will stick out on the end a little bit — that’s okay for now!
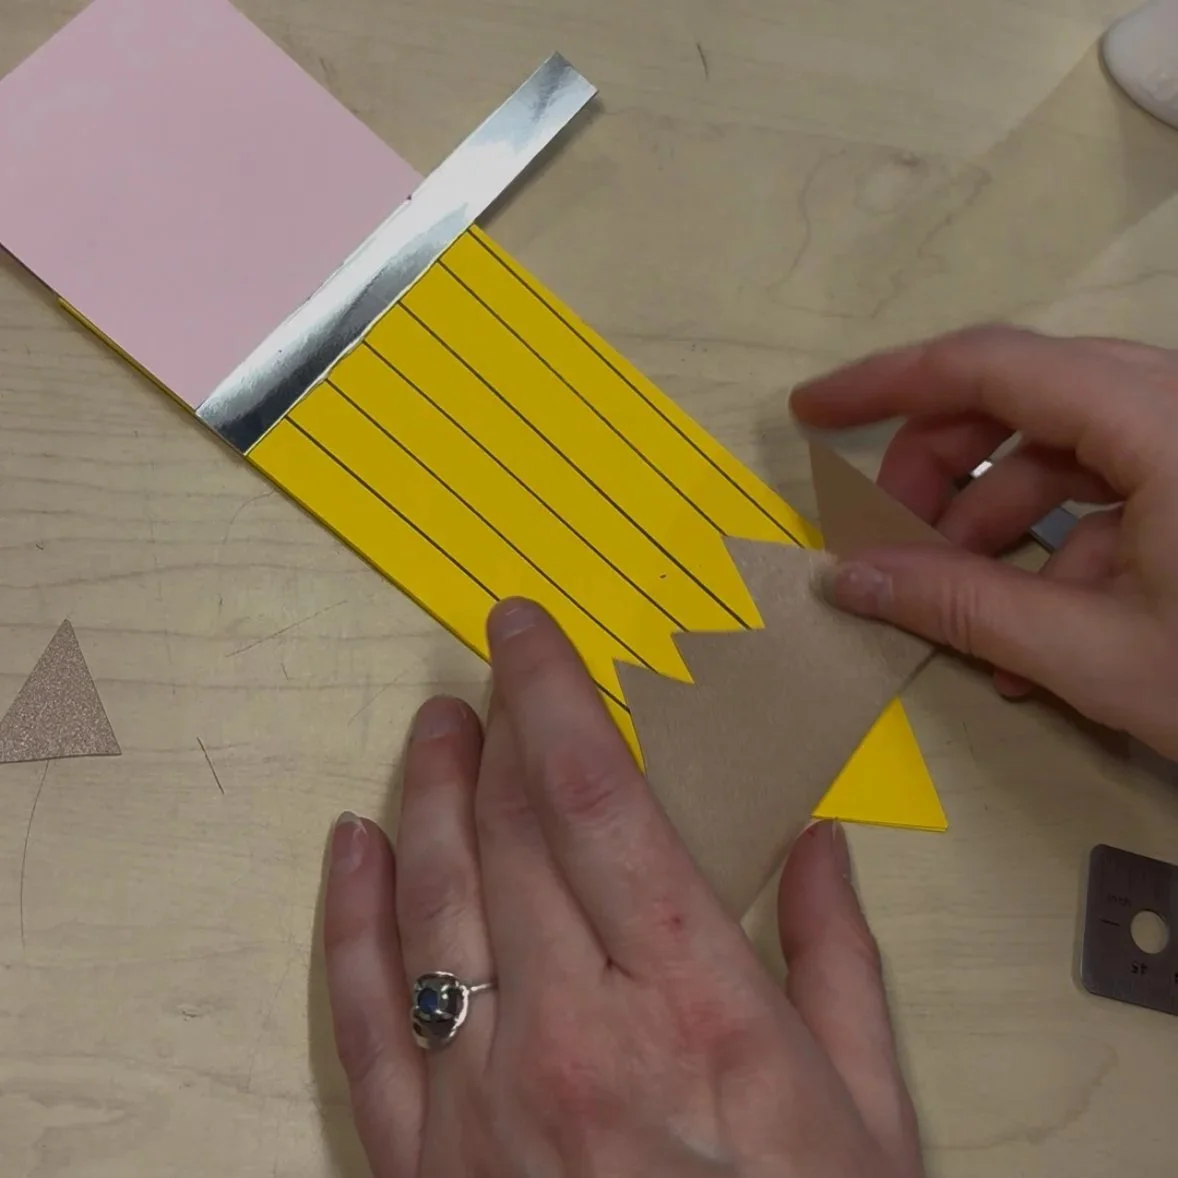
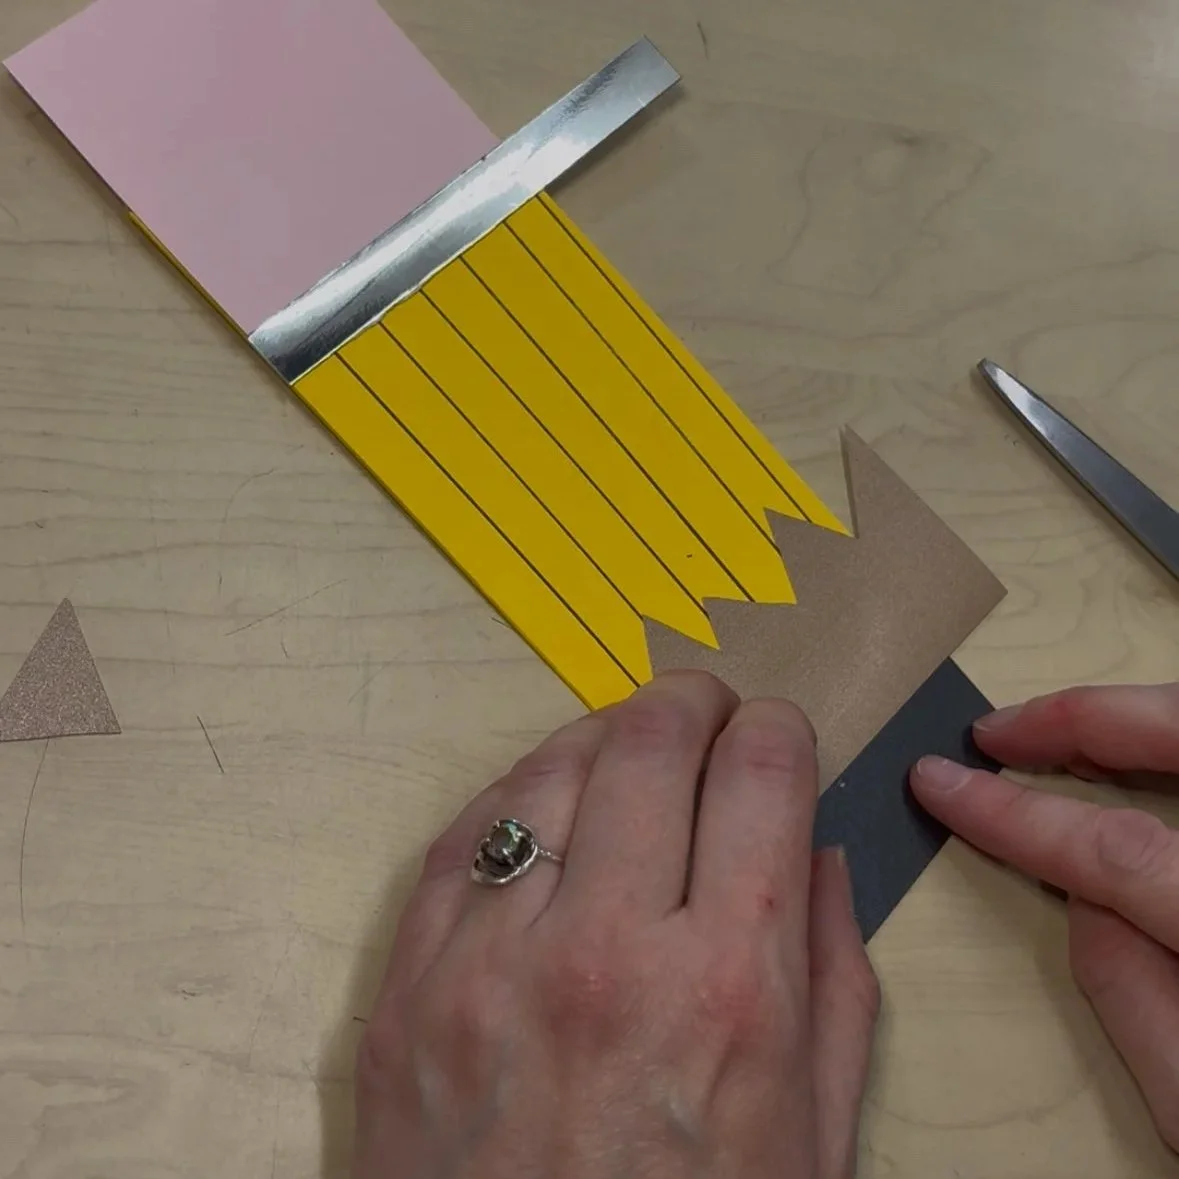
Step 5: Add pencil shavings
Use your scissors to cut some zig zags along the bottom of the shimmery brown paper strip. Glue it to the end of the pencil, with the zig zags facing the eraser. Leave some space at the bottom for the pencil tip.

Step 6: Glue the pencil tip
Glue the little black piece of paper on the tip of the pencil. Tuck it slightly under the shimmery brown layer.
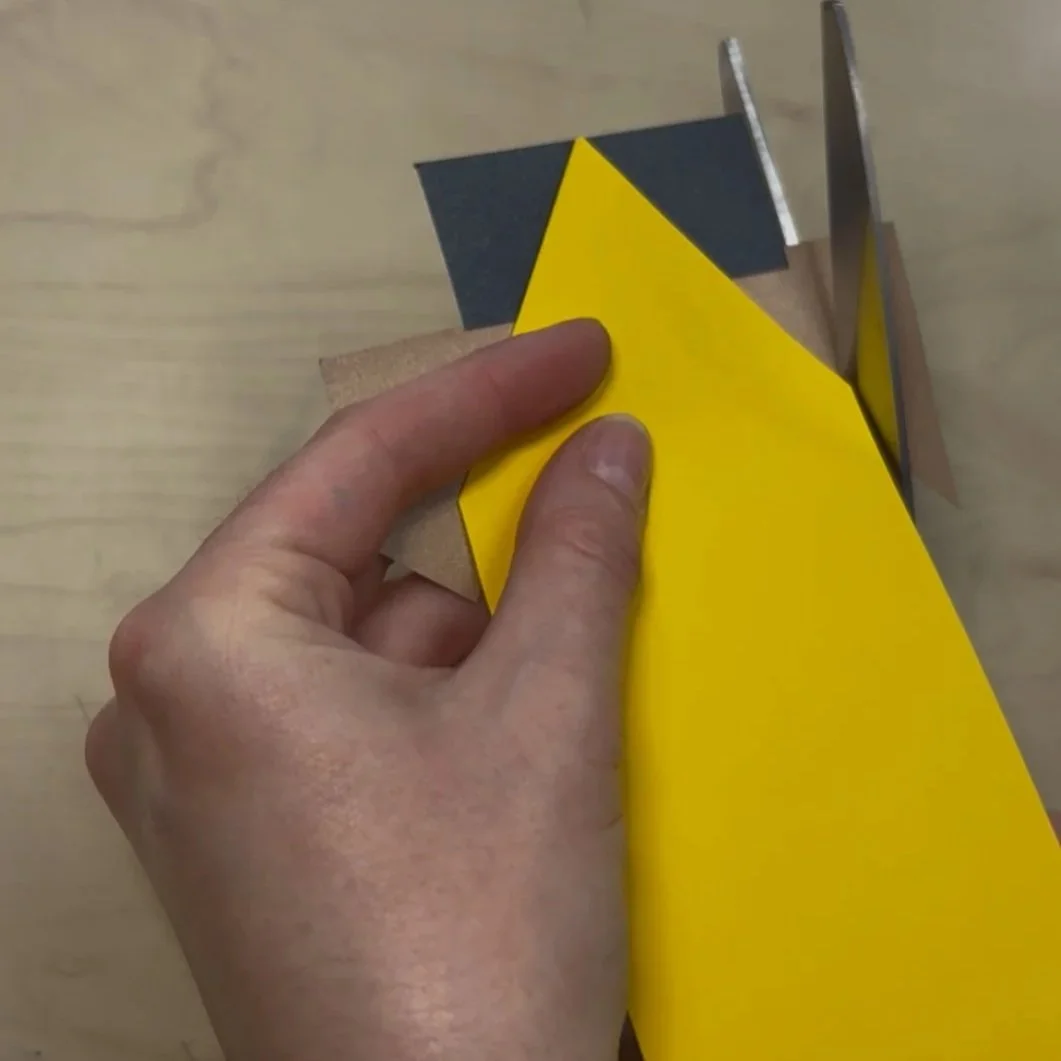
Step 7: cut off the excess
Flip the card over so you can see where the edges of the pencil end, and use that as a guide to trim off the excess paper on the end of the pencil, the silver paper, and the eraser.

Step 8: Add your sentiment
Select which sentiment you would like to add, and glue it inside the card.
Step 9: Glue yellow embellishment to envelope
Add a small amount of glue to the back side of the lined yellow paper strip, and glue it to your envelope.
Now it’s ready to address and tuck your card inside!

Thanks for creating with us today!!
We can’t wait to make another craft with you!
See you soon, friends!
Art and Happiness
2004 James St
Bellingham WA 98225
Mon-Sat
10am-6pm
Sunday
Noon-5pm
(360)206-0389