Spring has sprung, and all this sunshine has given the fairies a little extra pep in their step! Here’s all of the events and happenings where you can find our fairies spreading a little extra magic and whimsy this April!!!
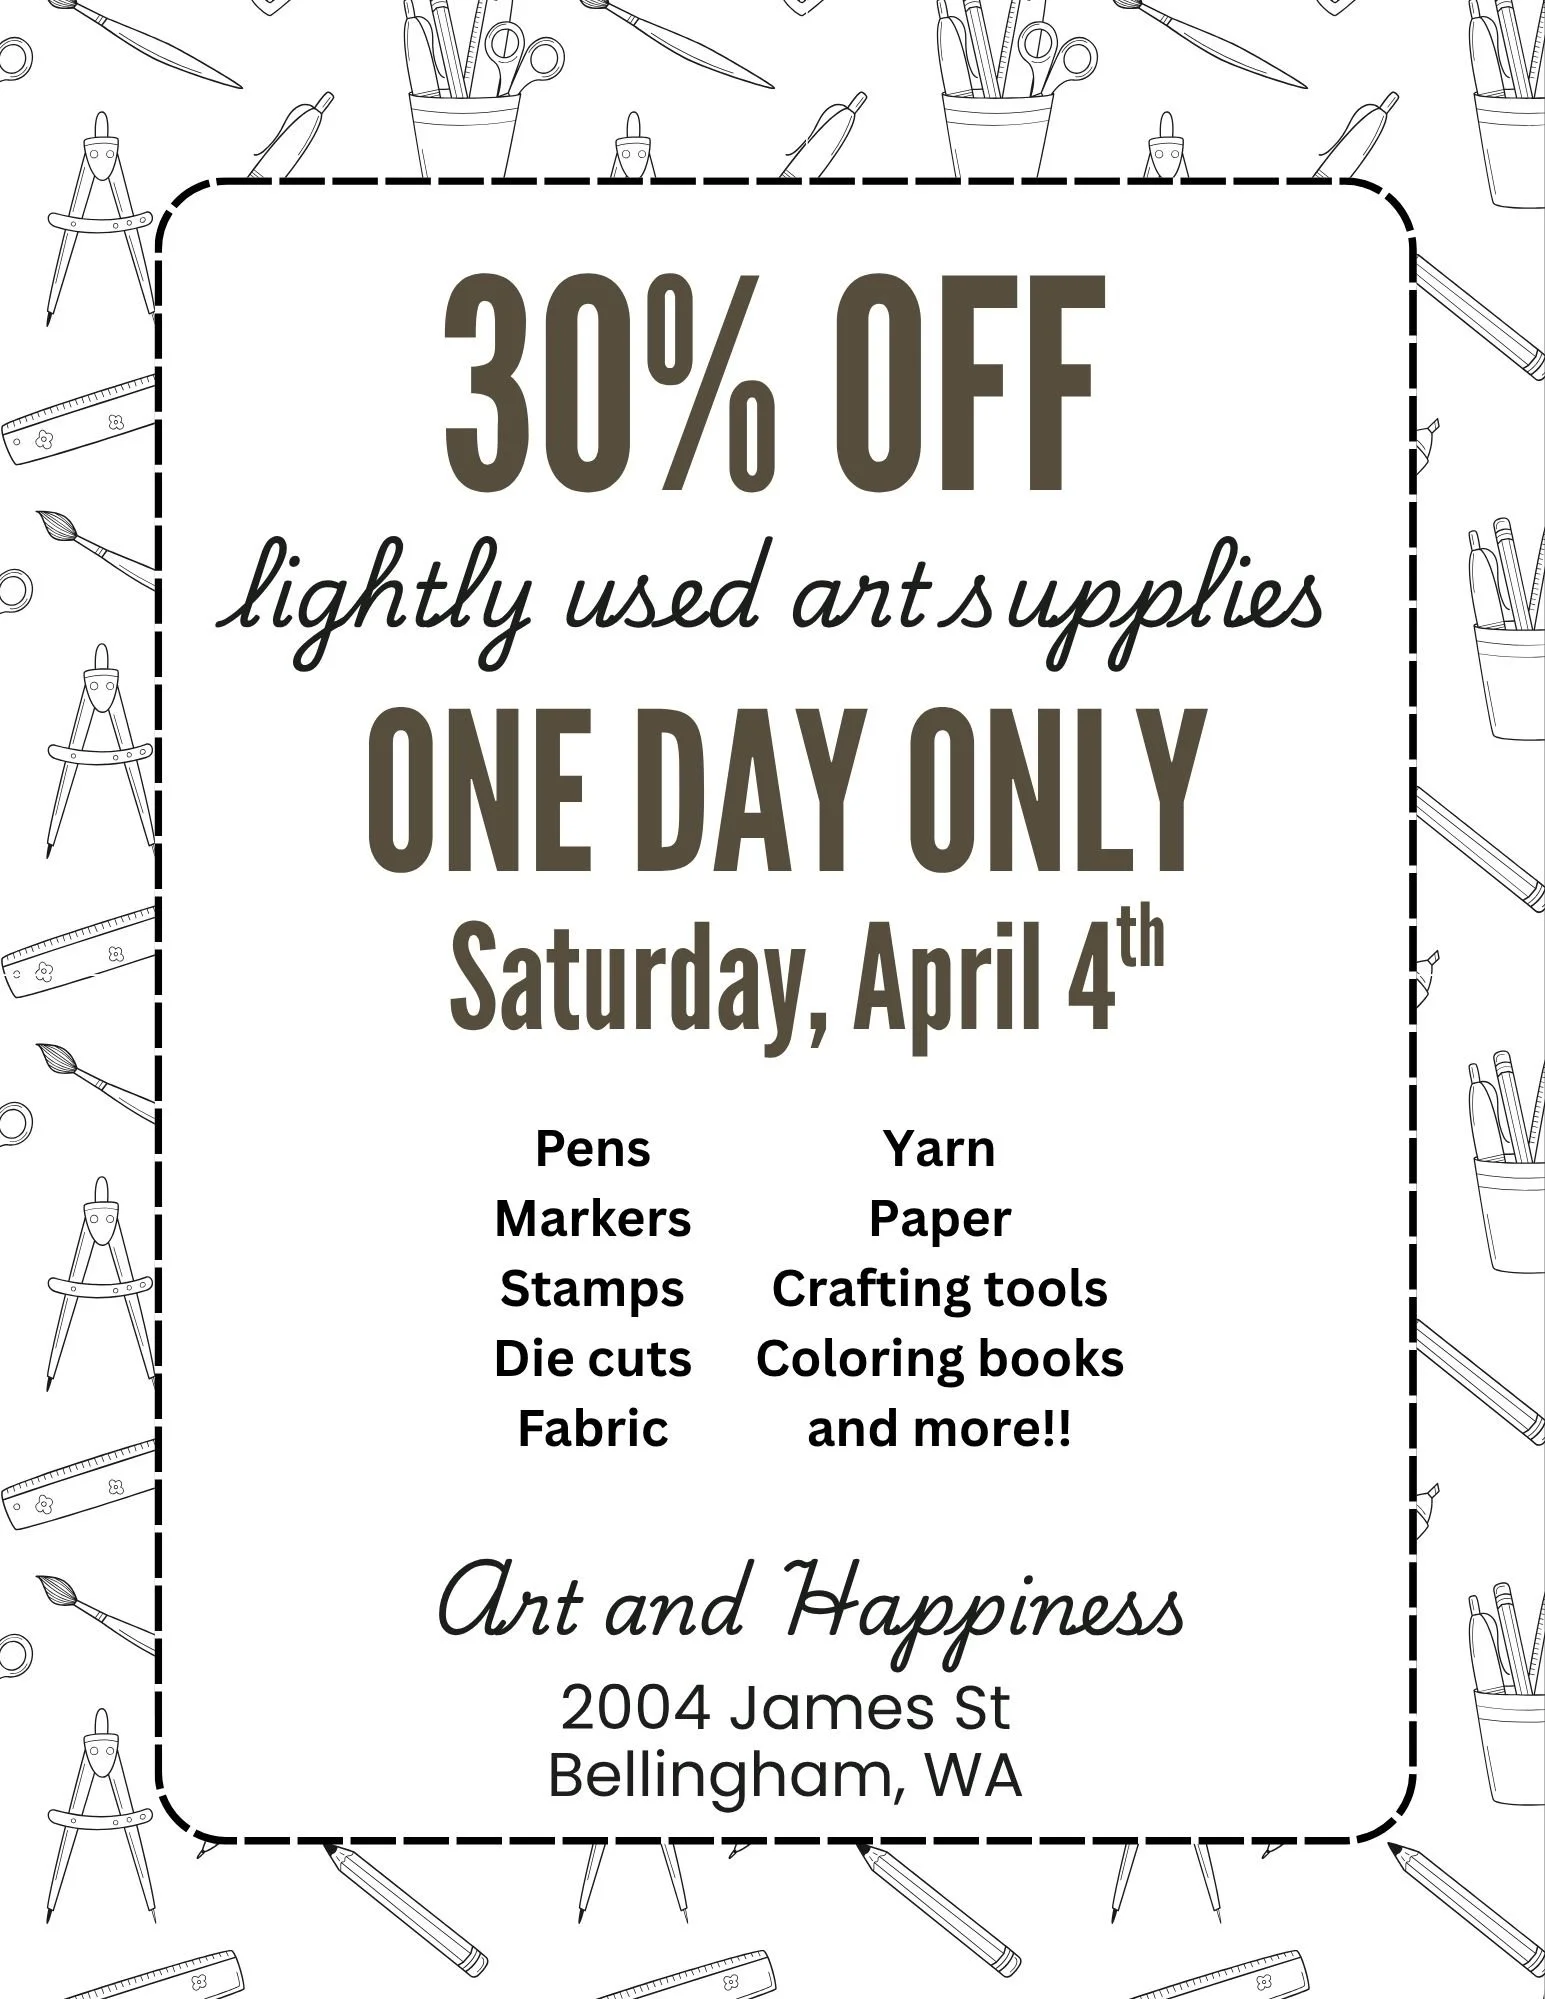
Lightly Used Art Supplies Sale!
Saturday, April 4th
10am - 4pm
Art and Happiness - 2004 James St. in Bellingham
Thanks to the generosity of our artistic community, our Lightly Used Art Supplies section is overflowing! That means it’s time for another HUGE sale!!! Everything in the Lightly Used section is 30% off for one day only!!! That means you’ll get an even better deal on already-affordably, high-quality, wonderful art supplies!!!
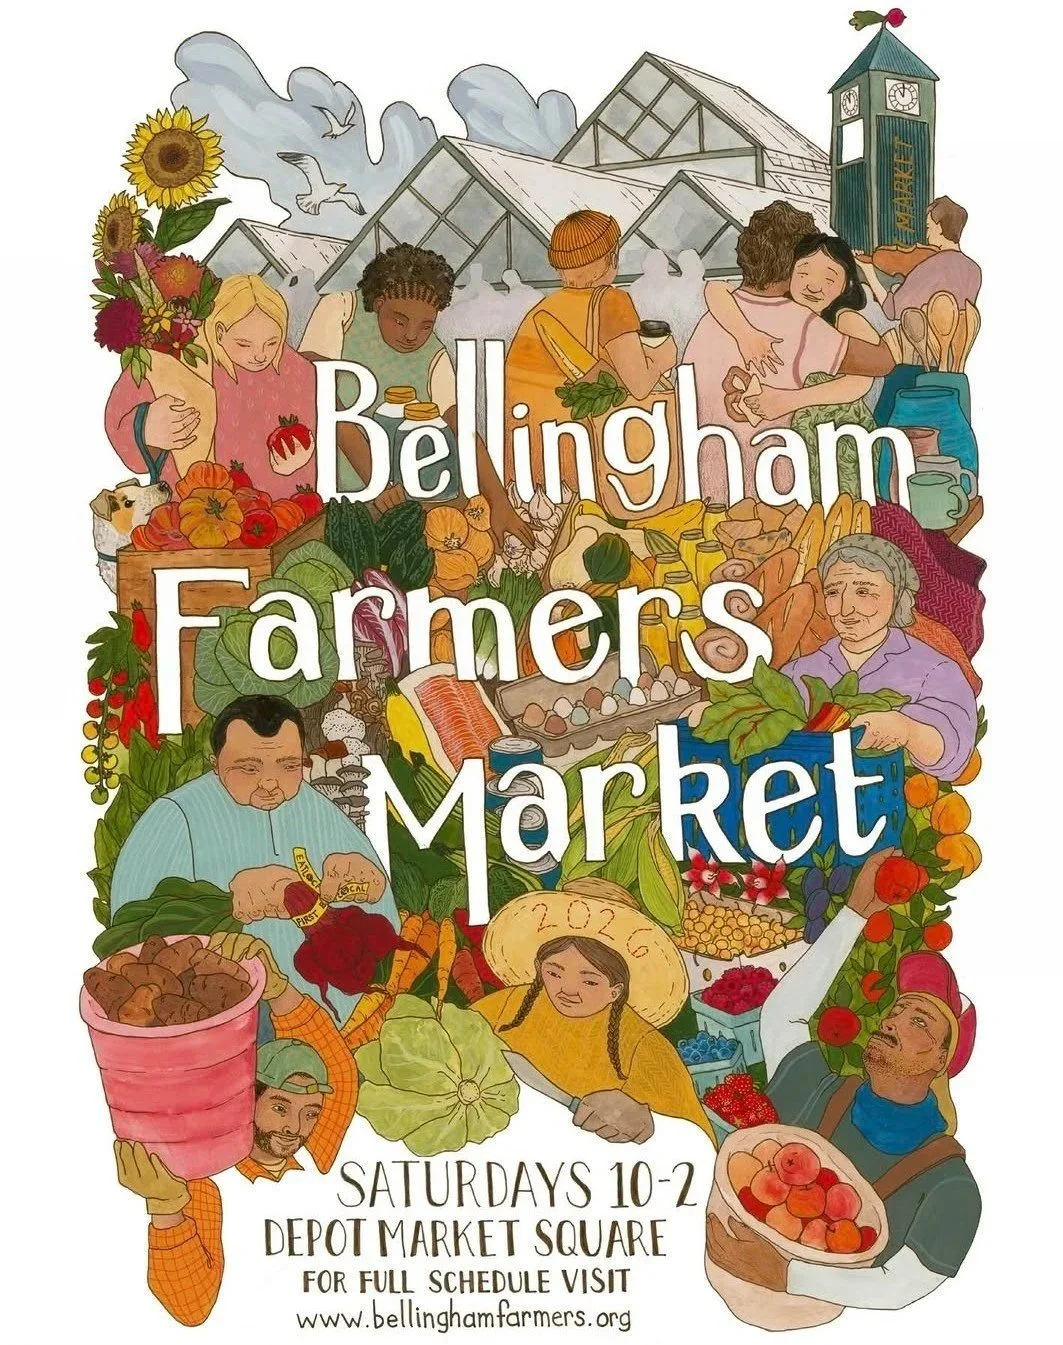
Bellingham Farmer’s Market OPENING DAY
Saturday, April 4th
10am - 2pm
Depot Market Square - 1100 Railroad Ave in Bellingham
While the shop fairies tend to the Lightly Used sale, you can ALSO find our fairies at Bellingham Farmer’s Market’s OPENING DAY for magical facepainting and balloon animals!! We will only be at the farmer’s market for opening day, so stop by and let us add some sparkle to your spring shopping!
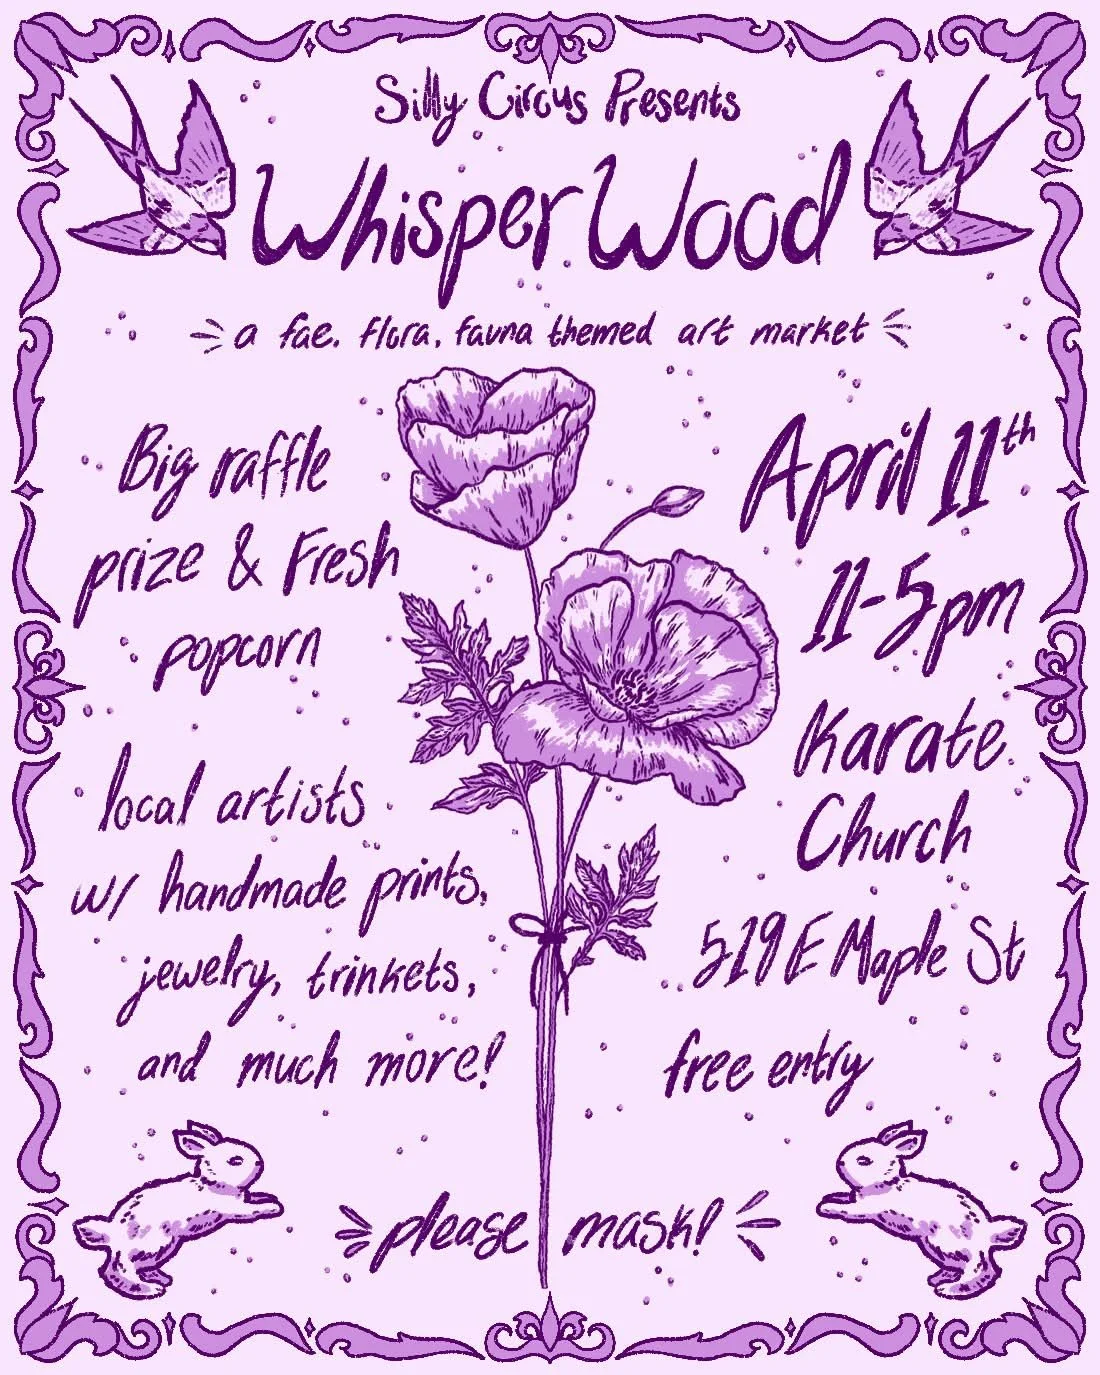
Whisperwood by Silly Circus Markets
Saturday, April 11th
11am - 5pm
Karate Church - 519 E Maple St in Bellingham
Silly Circus Market has put together a magically whimsical market themed around Fae, Flora, and Fauna — so it’s no wonder our fairies will be there spreading glitter and laughter!
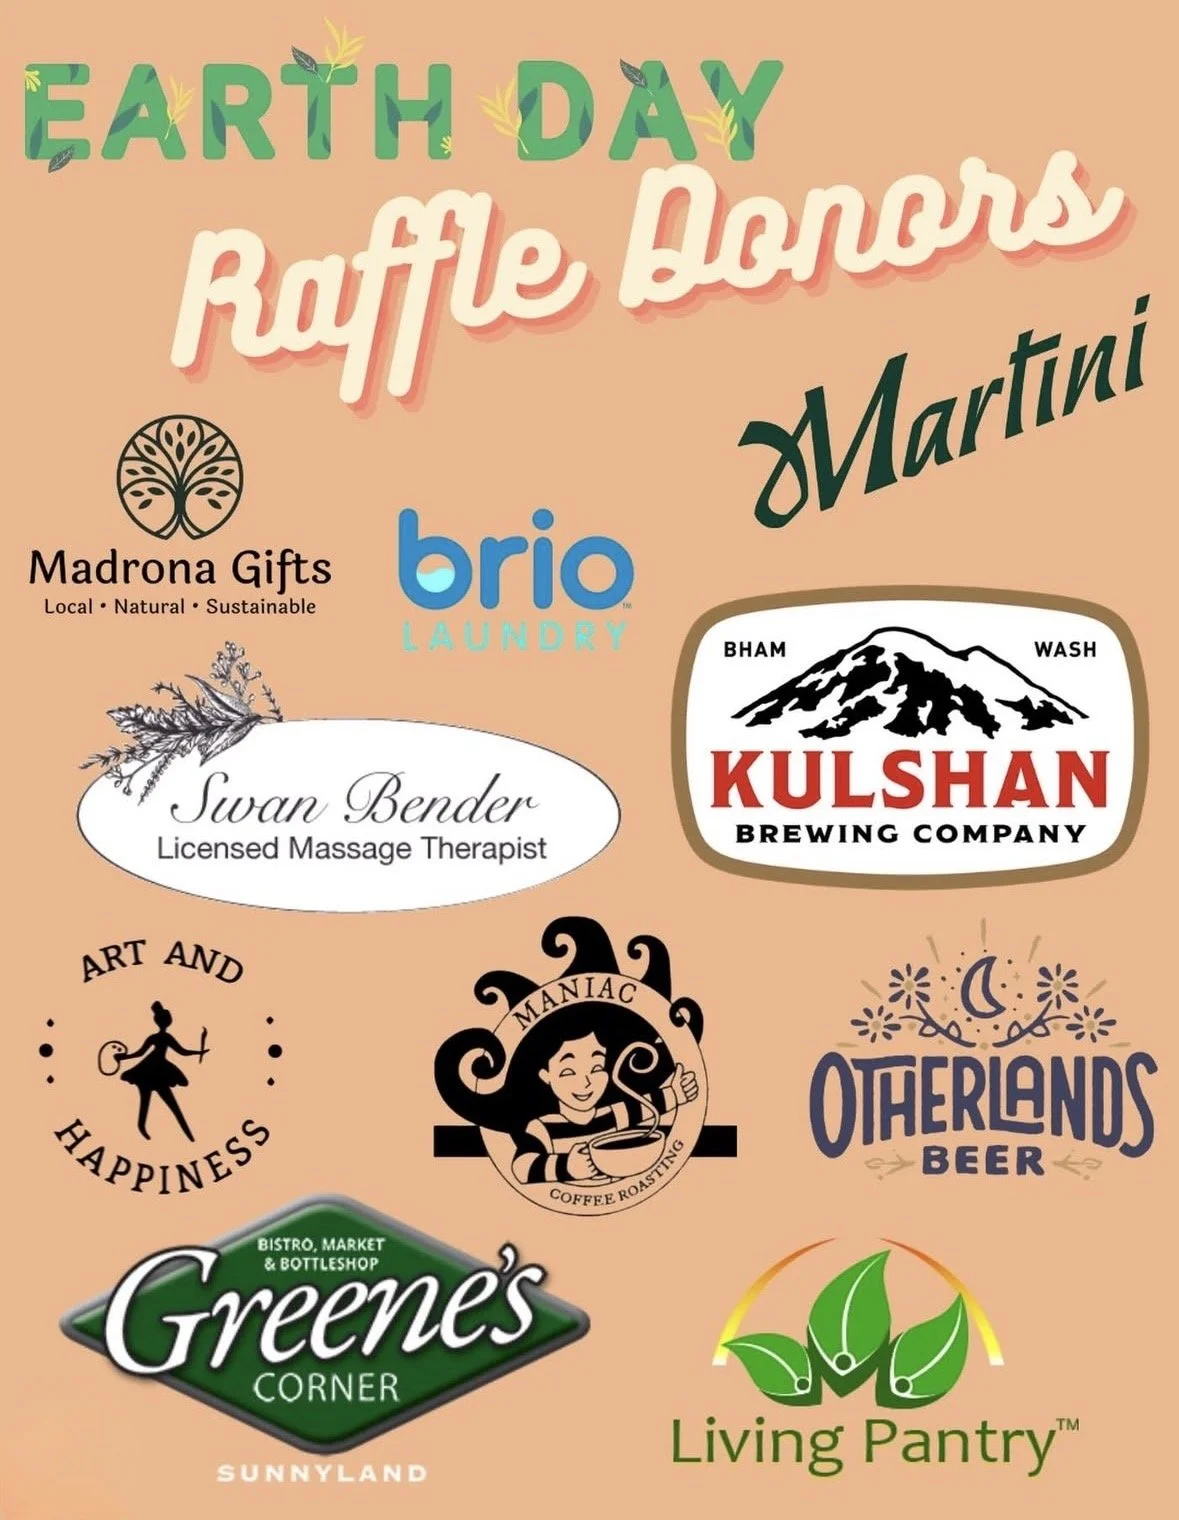
Sunnyland Earth Day Celebration
Saturday, April 18th
10am - 1pm
Sunnyland Park - 2338 Humboldt St. in Bellingham
The Sunnyland Neighborhood’s fourth annual Earth Day Celebration is a free event for the community, and we are so excited that our fairies will be offering magical facepainting for free!!!!! There will also be a plant and seed swap for humans with an interest in gardening, a REALLY COOL raffle, a tree and native plant giveaway, free nature-based learning activities for all ages, a mending tent hosted by Ragfinery if you have any clothes that need mending, and food available for purchase! It’s going to be a fantastic time, and we can’t wait to see you there!!!
Lynden Home and Lifestyle Show Family Day
Saturday, April 25th
10am - 4pm
NW Washington Fairgrounds - 1775 Front St. in Lynden
Our fairies will be spreading magic and sparkles at the largest free Home Show north of Seattle with facepainting and balloon animals! You’ll also be able to check out an official Lego-building competition, a professionally-sanctioned BBQ Competition by PNWBA, engaging workshops, a beer garden (if you’re a fully grown human over 21), live demonstrations, and so much more!!