
Tiny Mushroom Shadowbox Craft
Hello friends and welcome to the Tiny Mushroom Shadowbox Blog!!
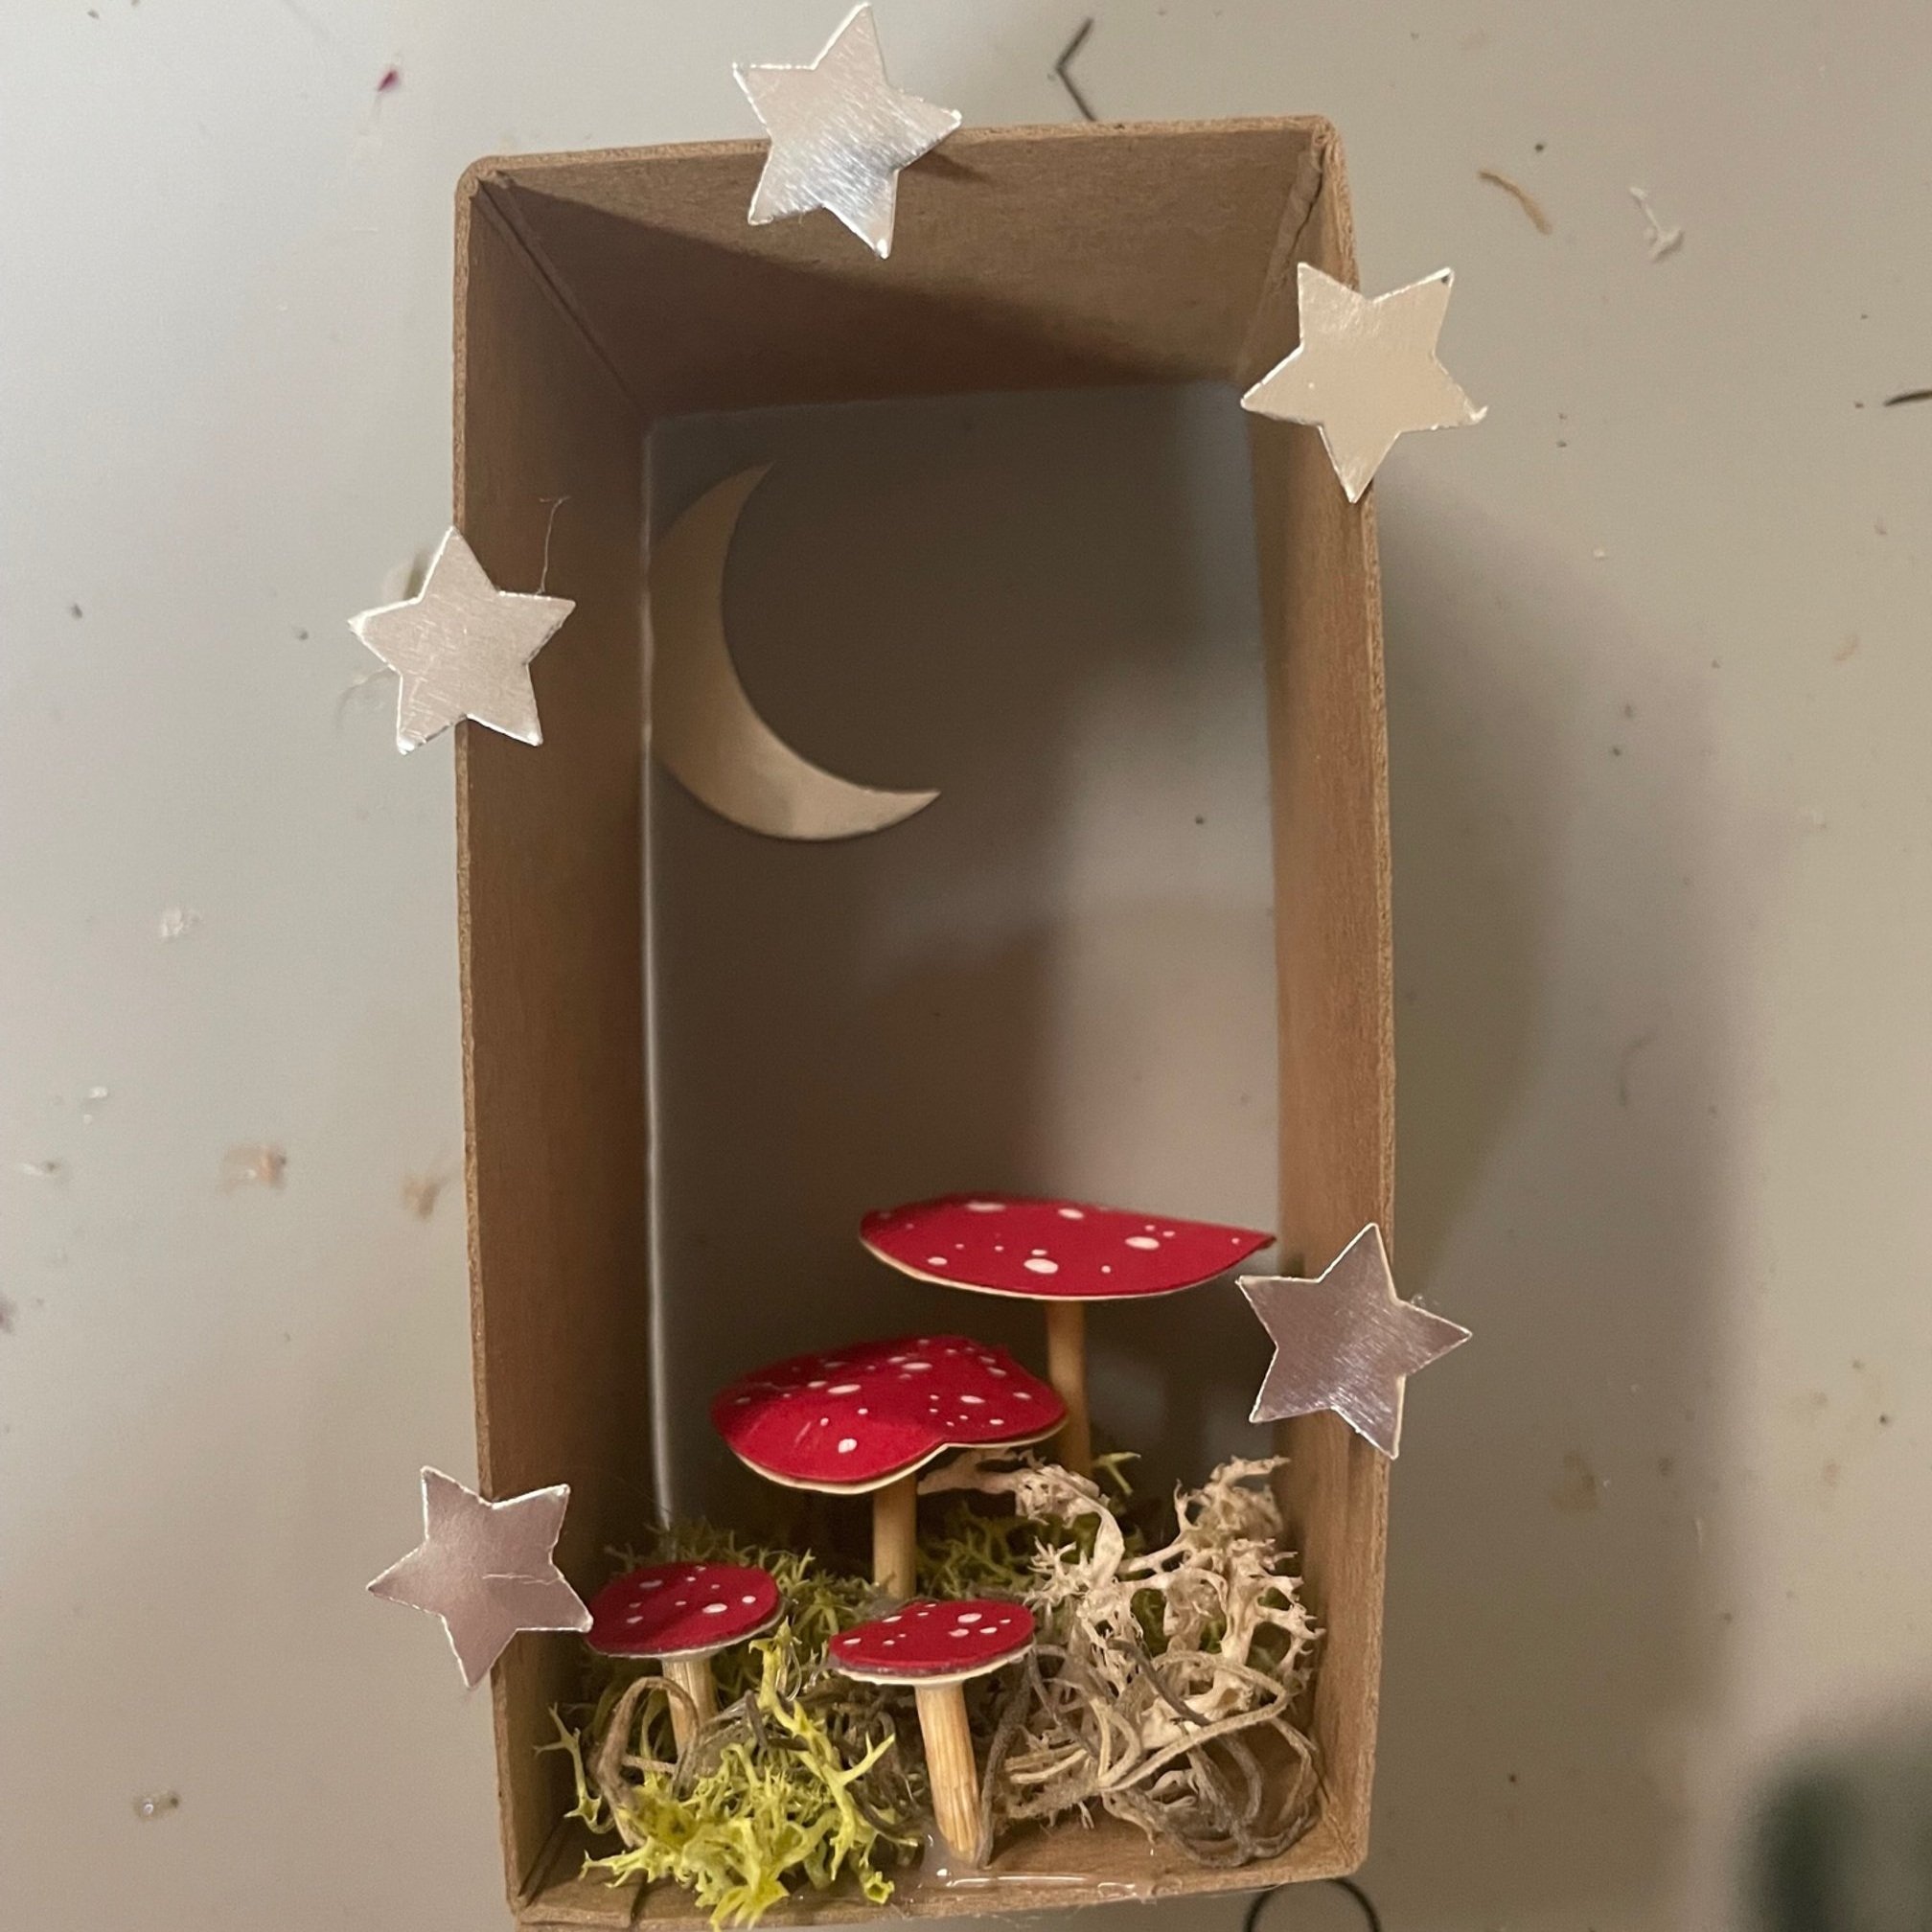
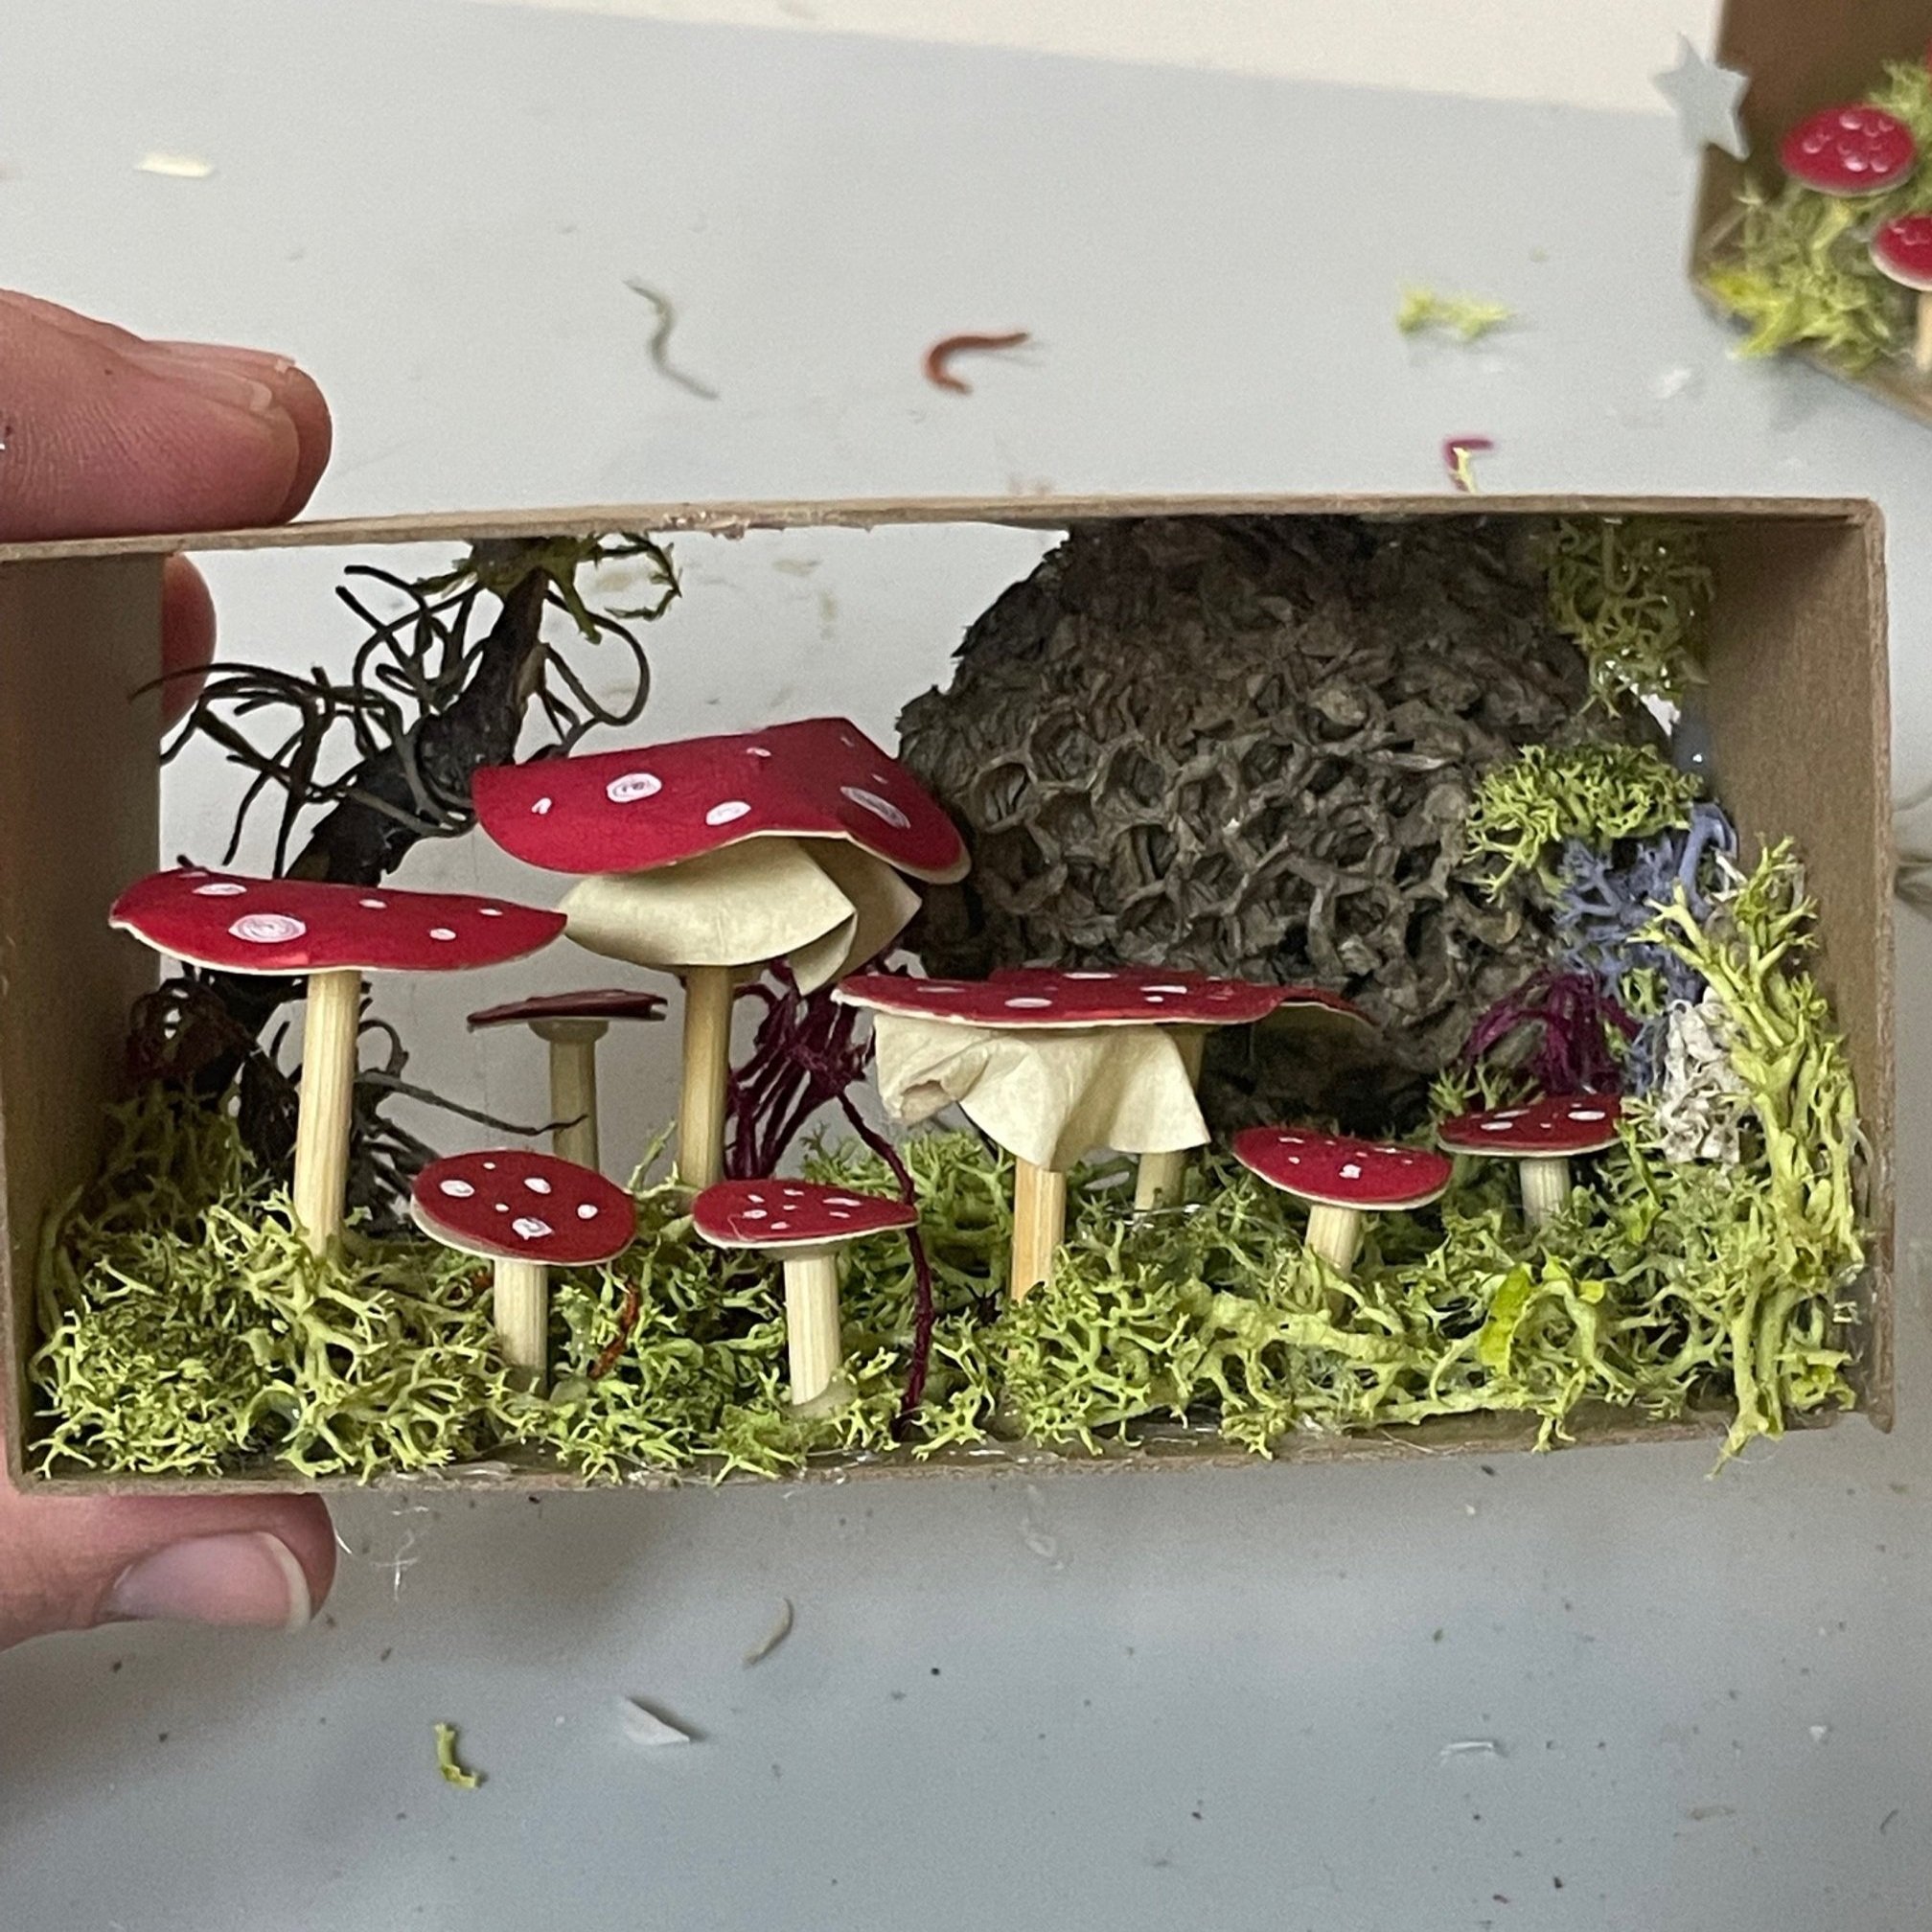
I wanted to create an adorable scene PERFECT for the Fall Season!! Of course, I HAD to make it mushroom theme!!
Check out the Video Tutorial below:
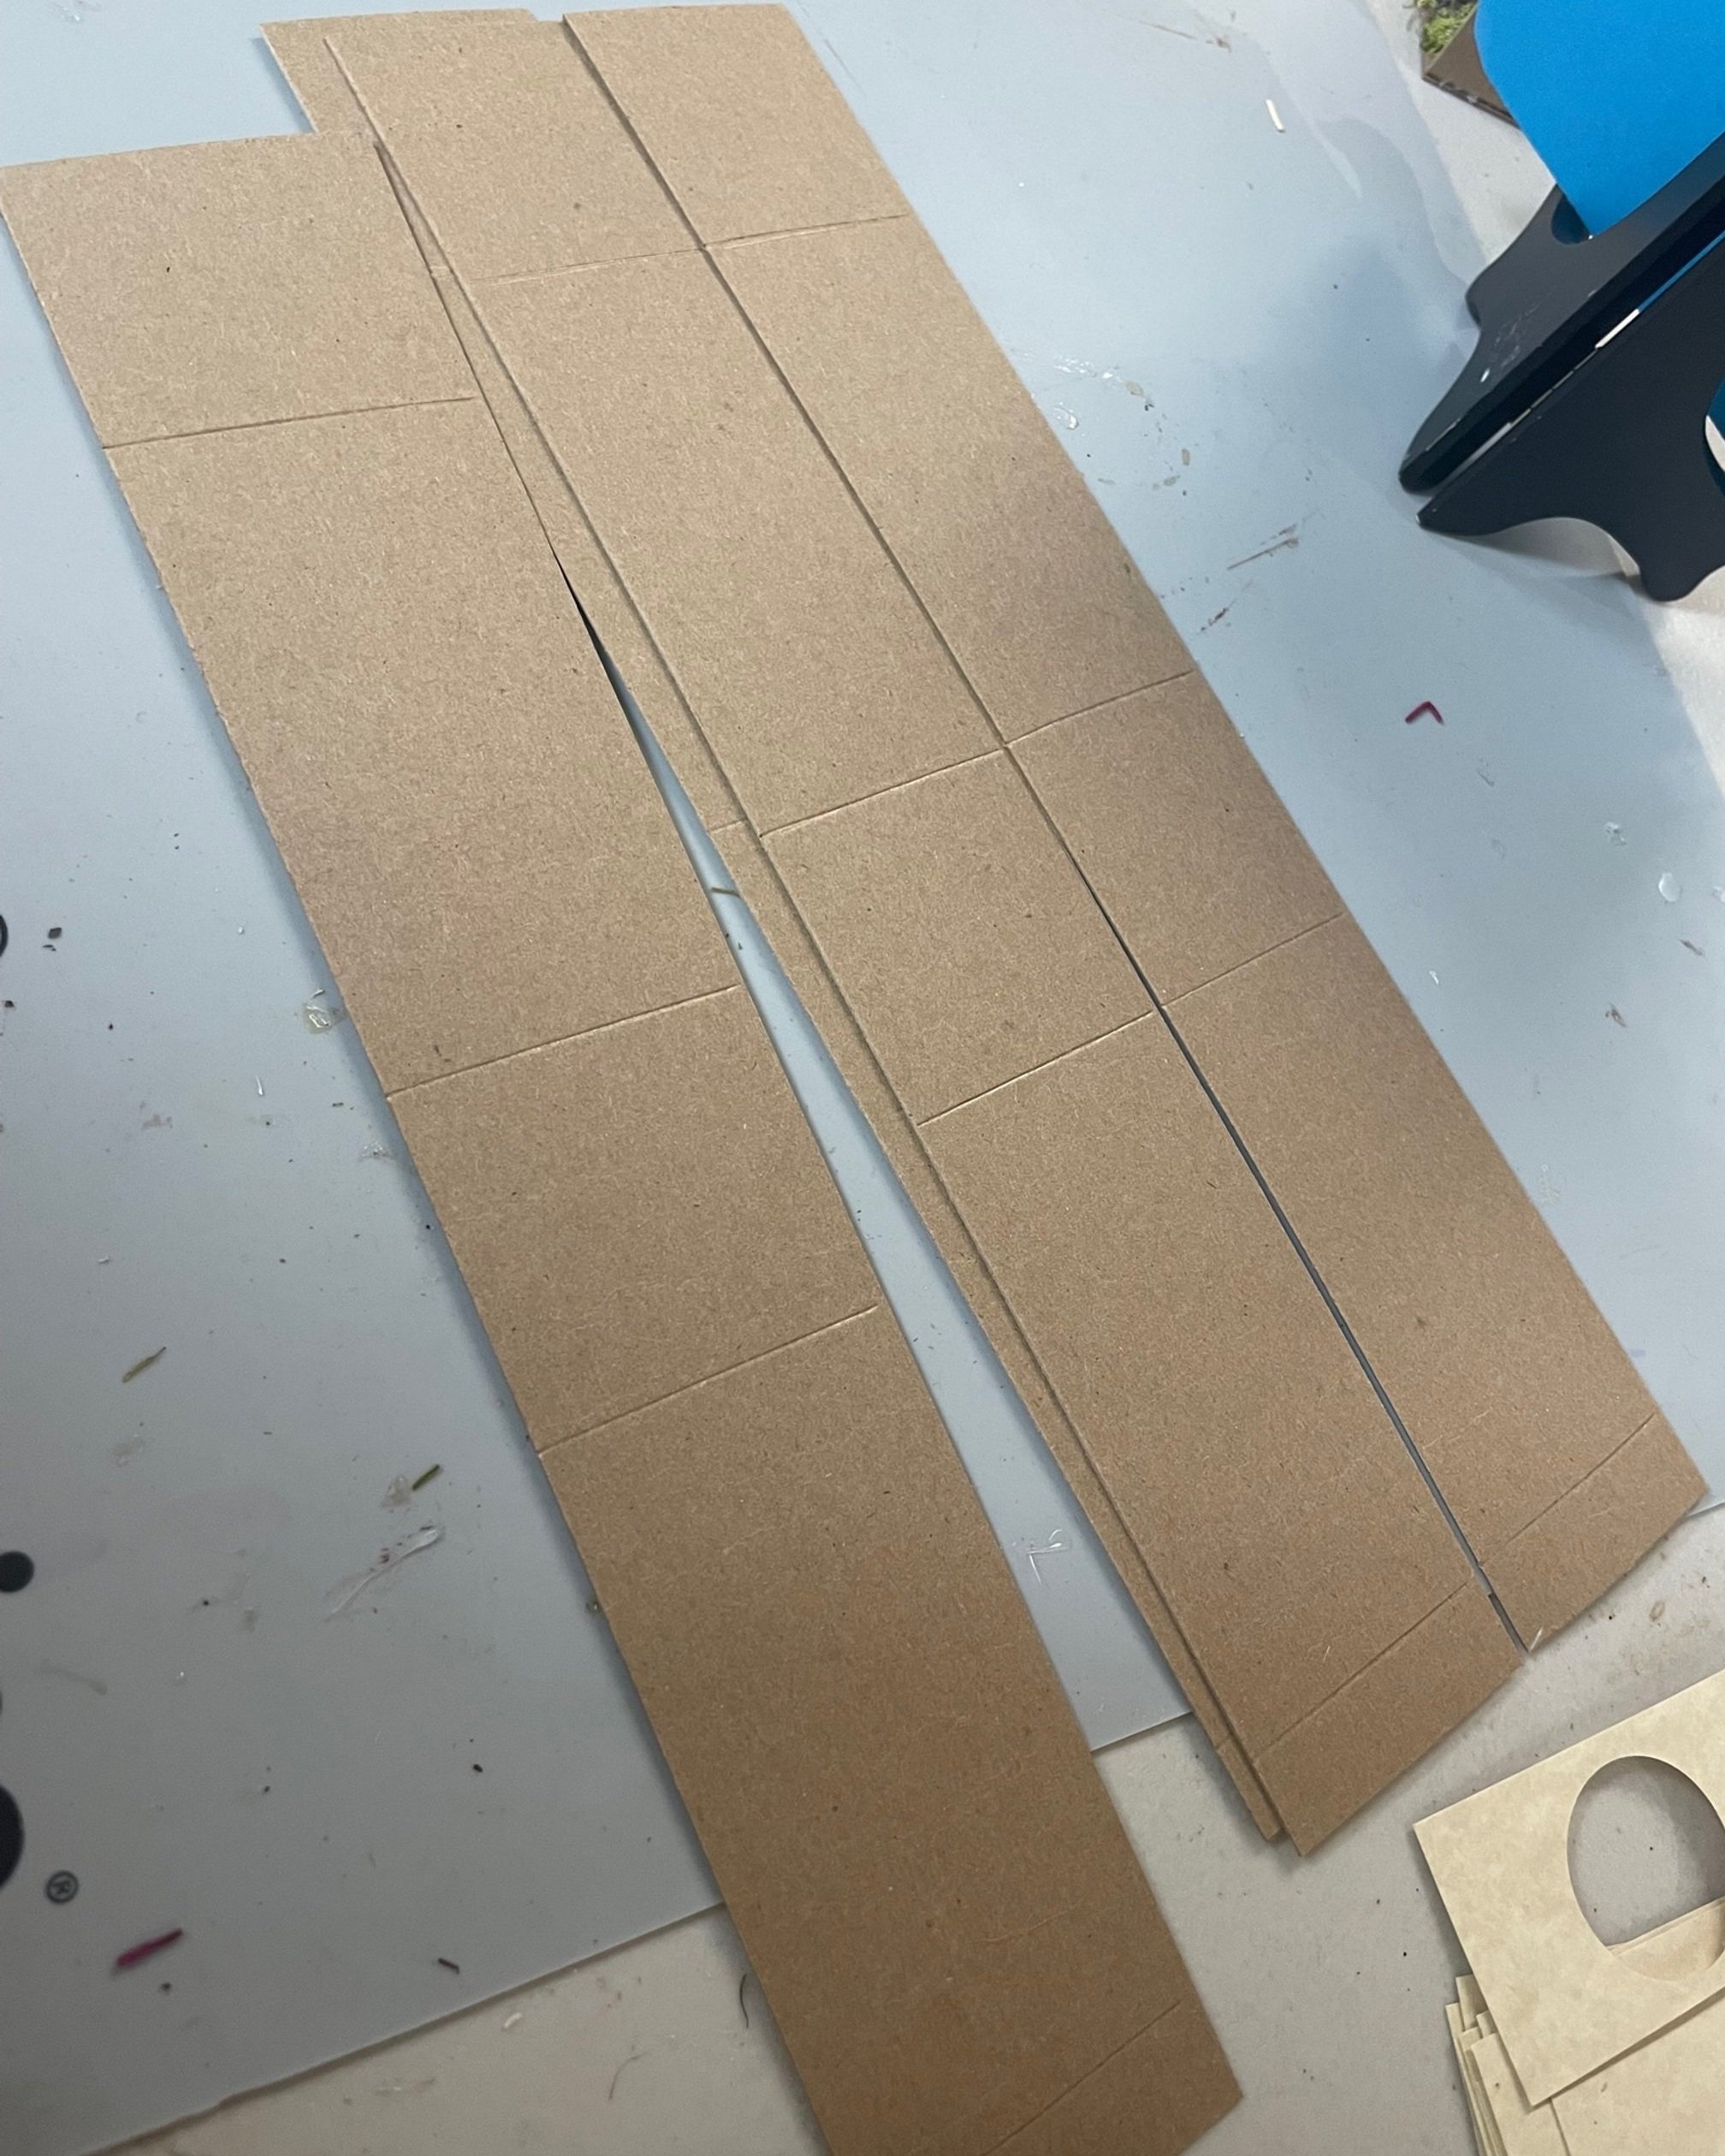
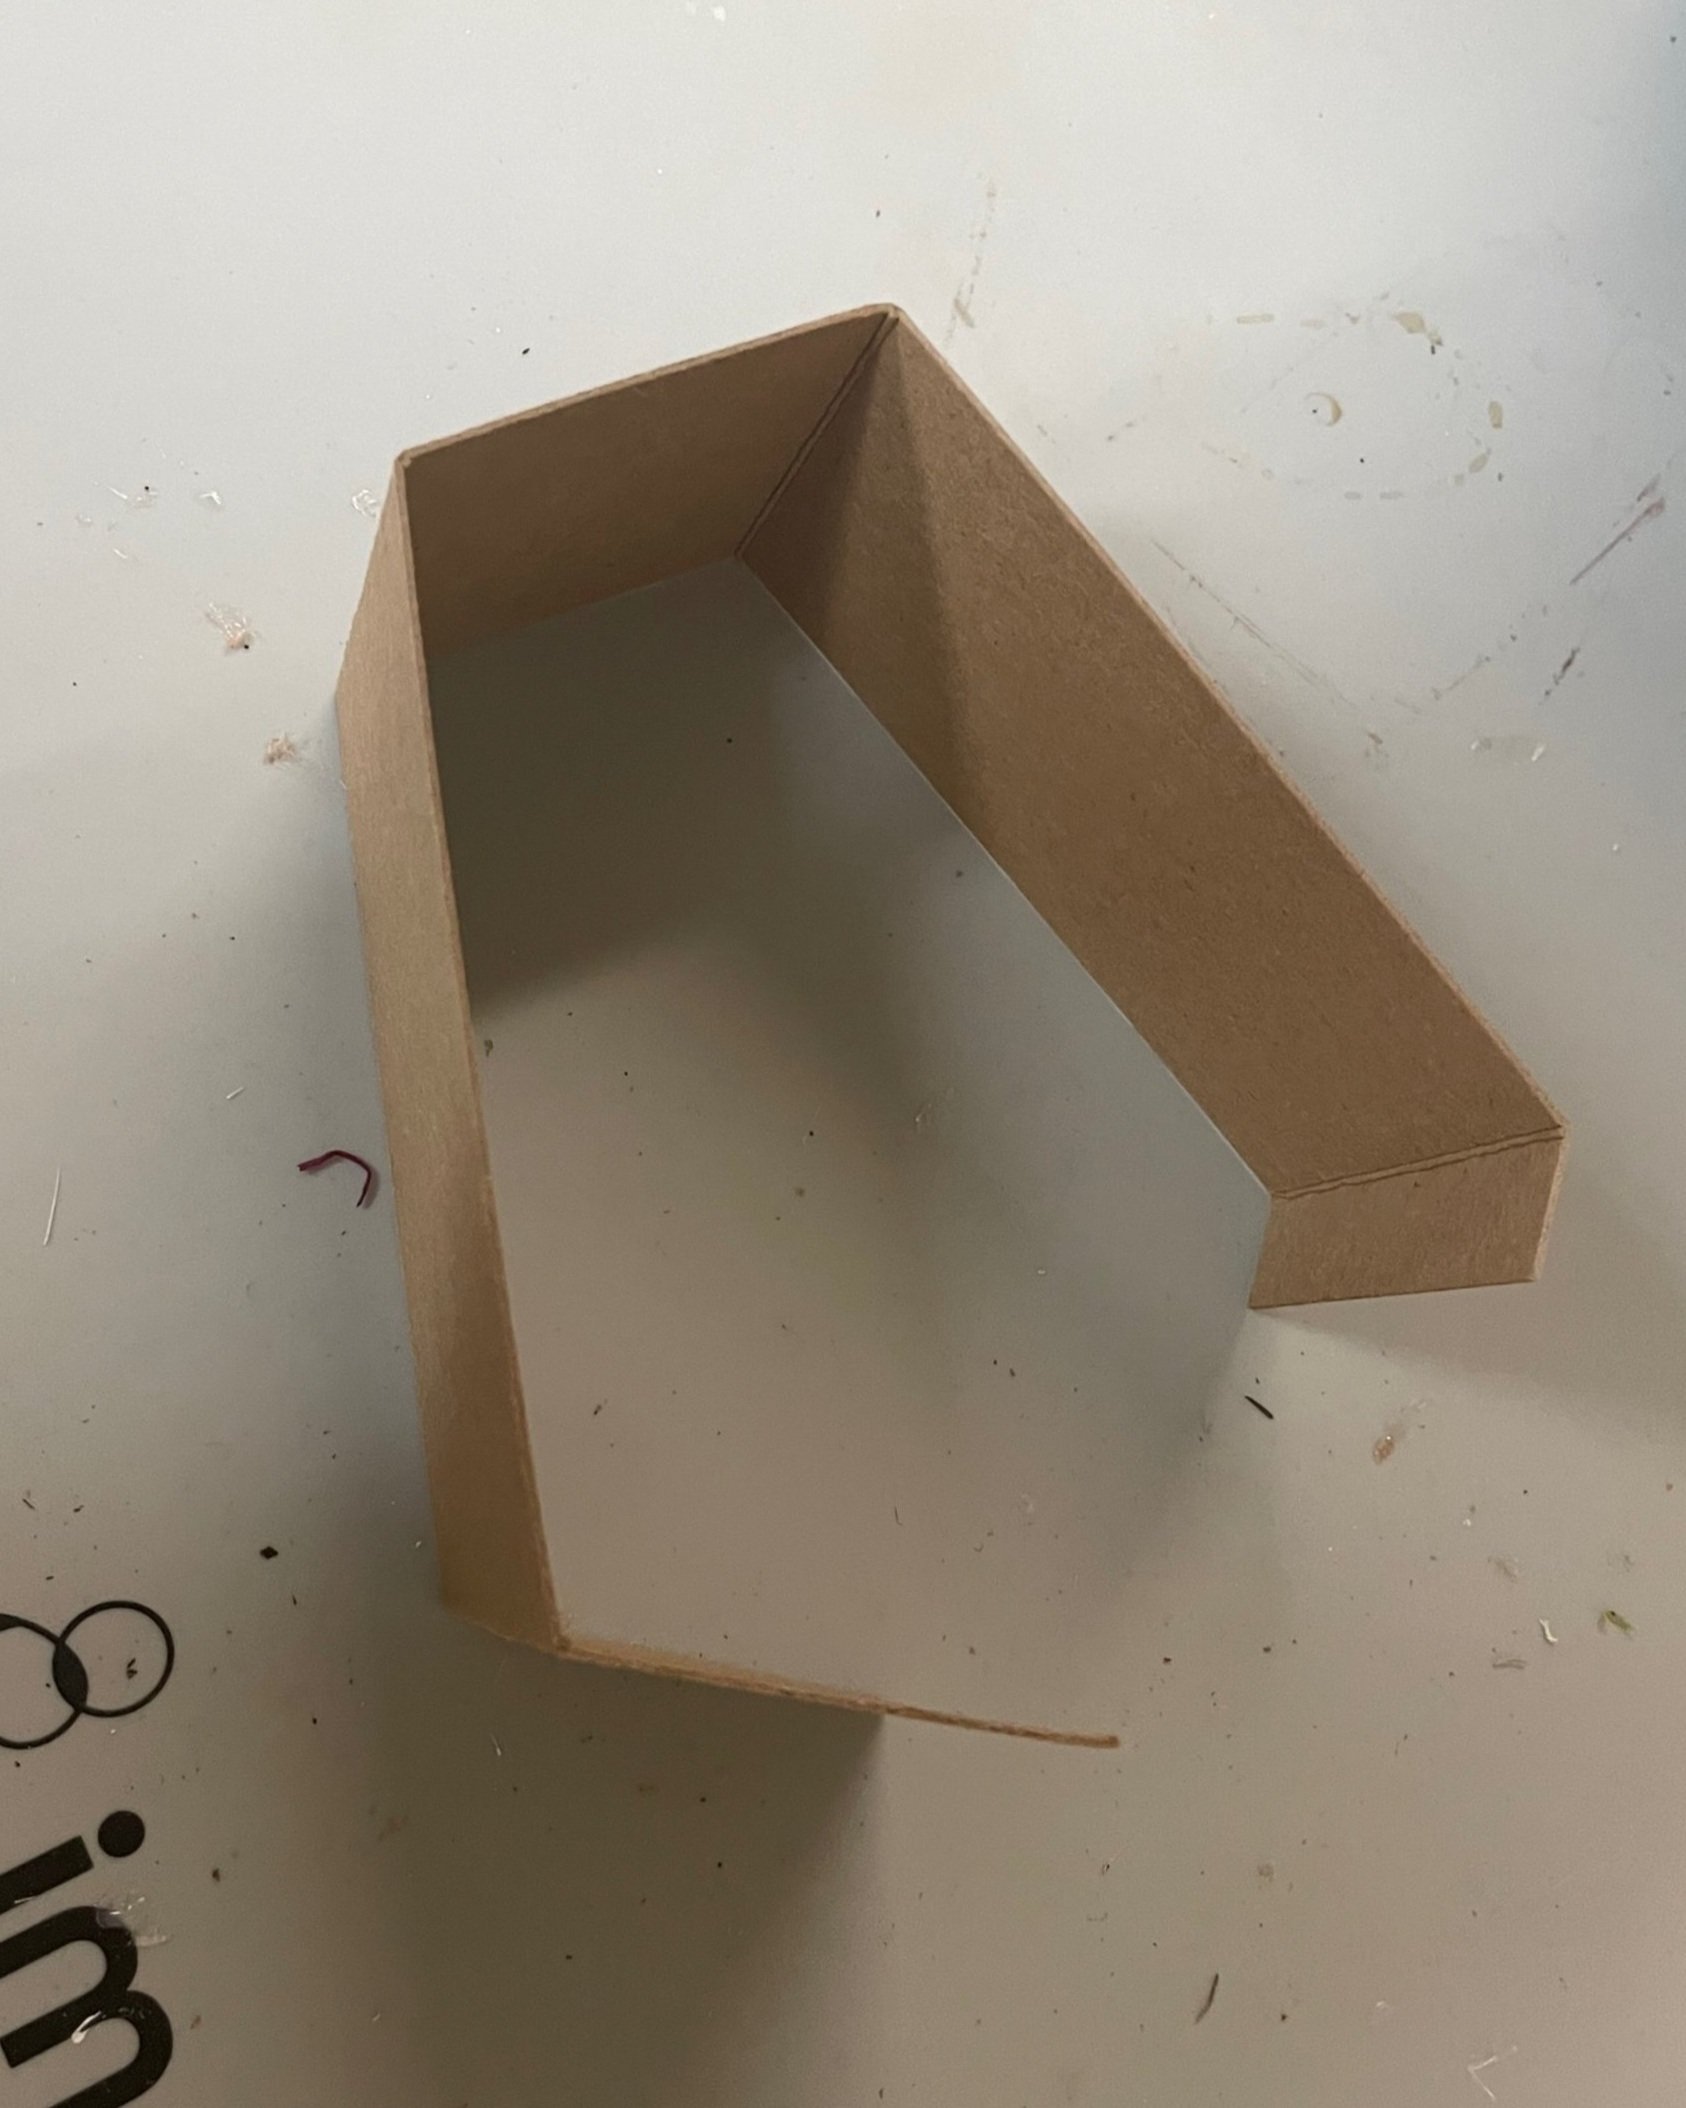
First thing we’ve got to build is the shadowbox!
Take the length of chipboard and fold it along the score marks, this will create a rectangle with a little extra flap to adhere to the inside of the box.
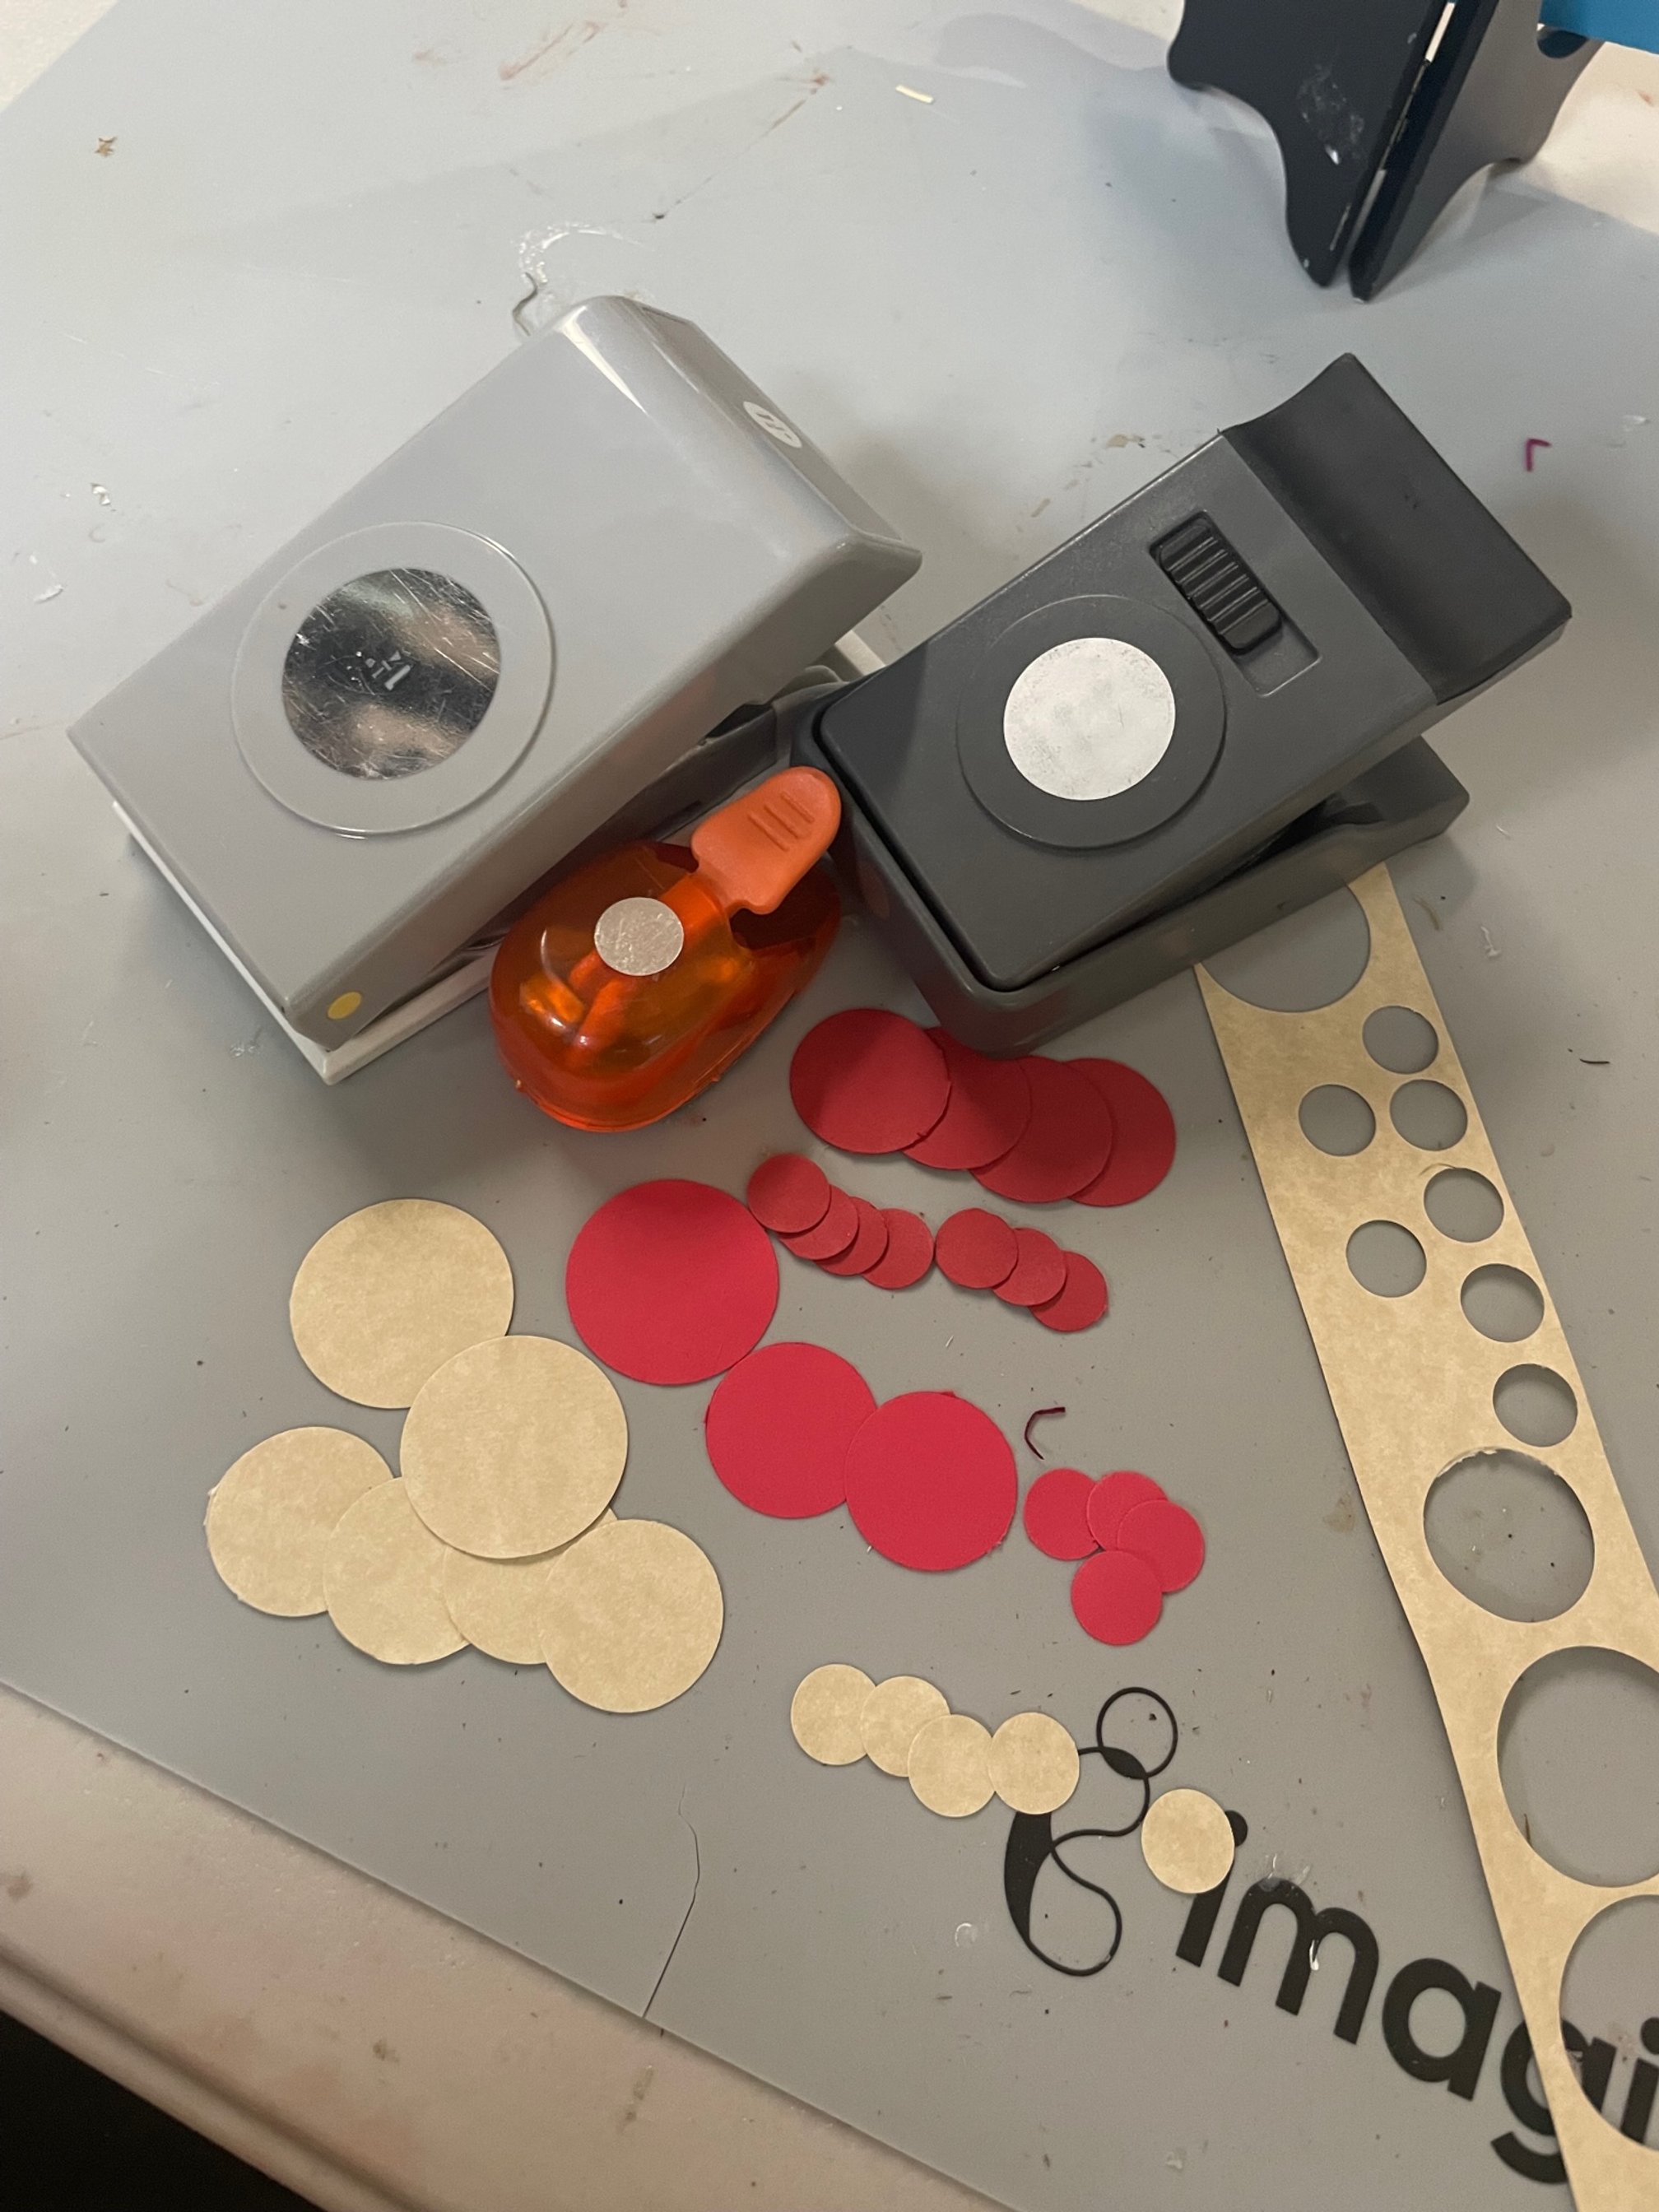
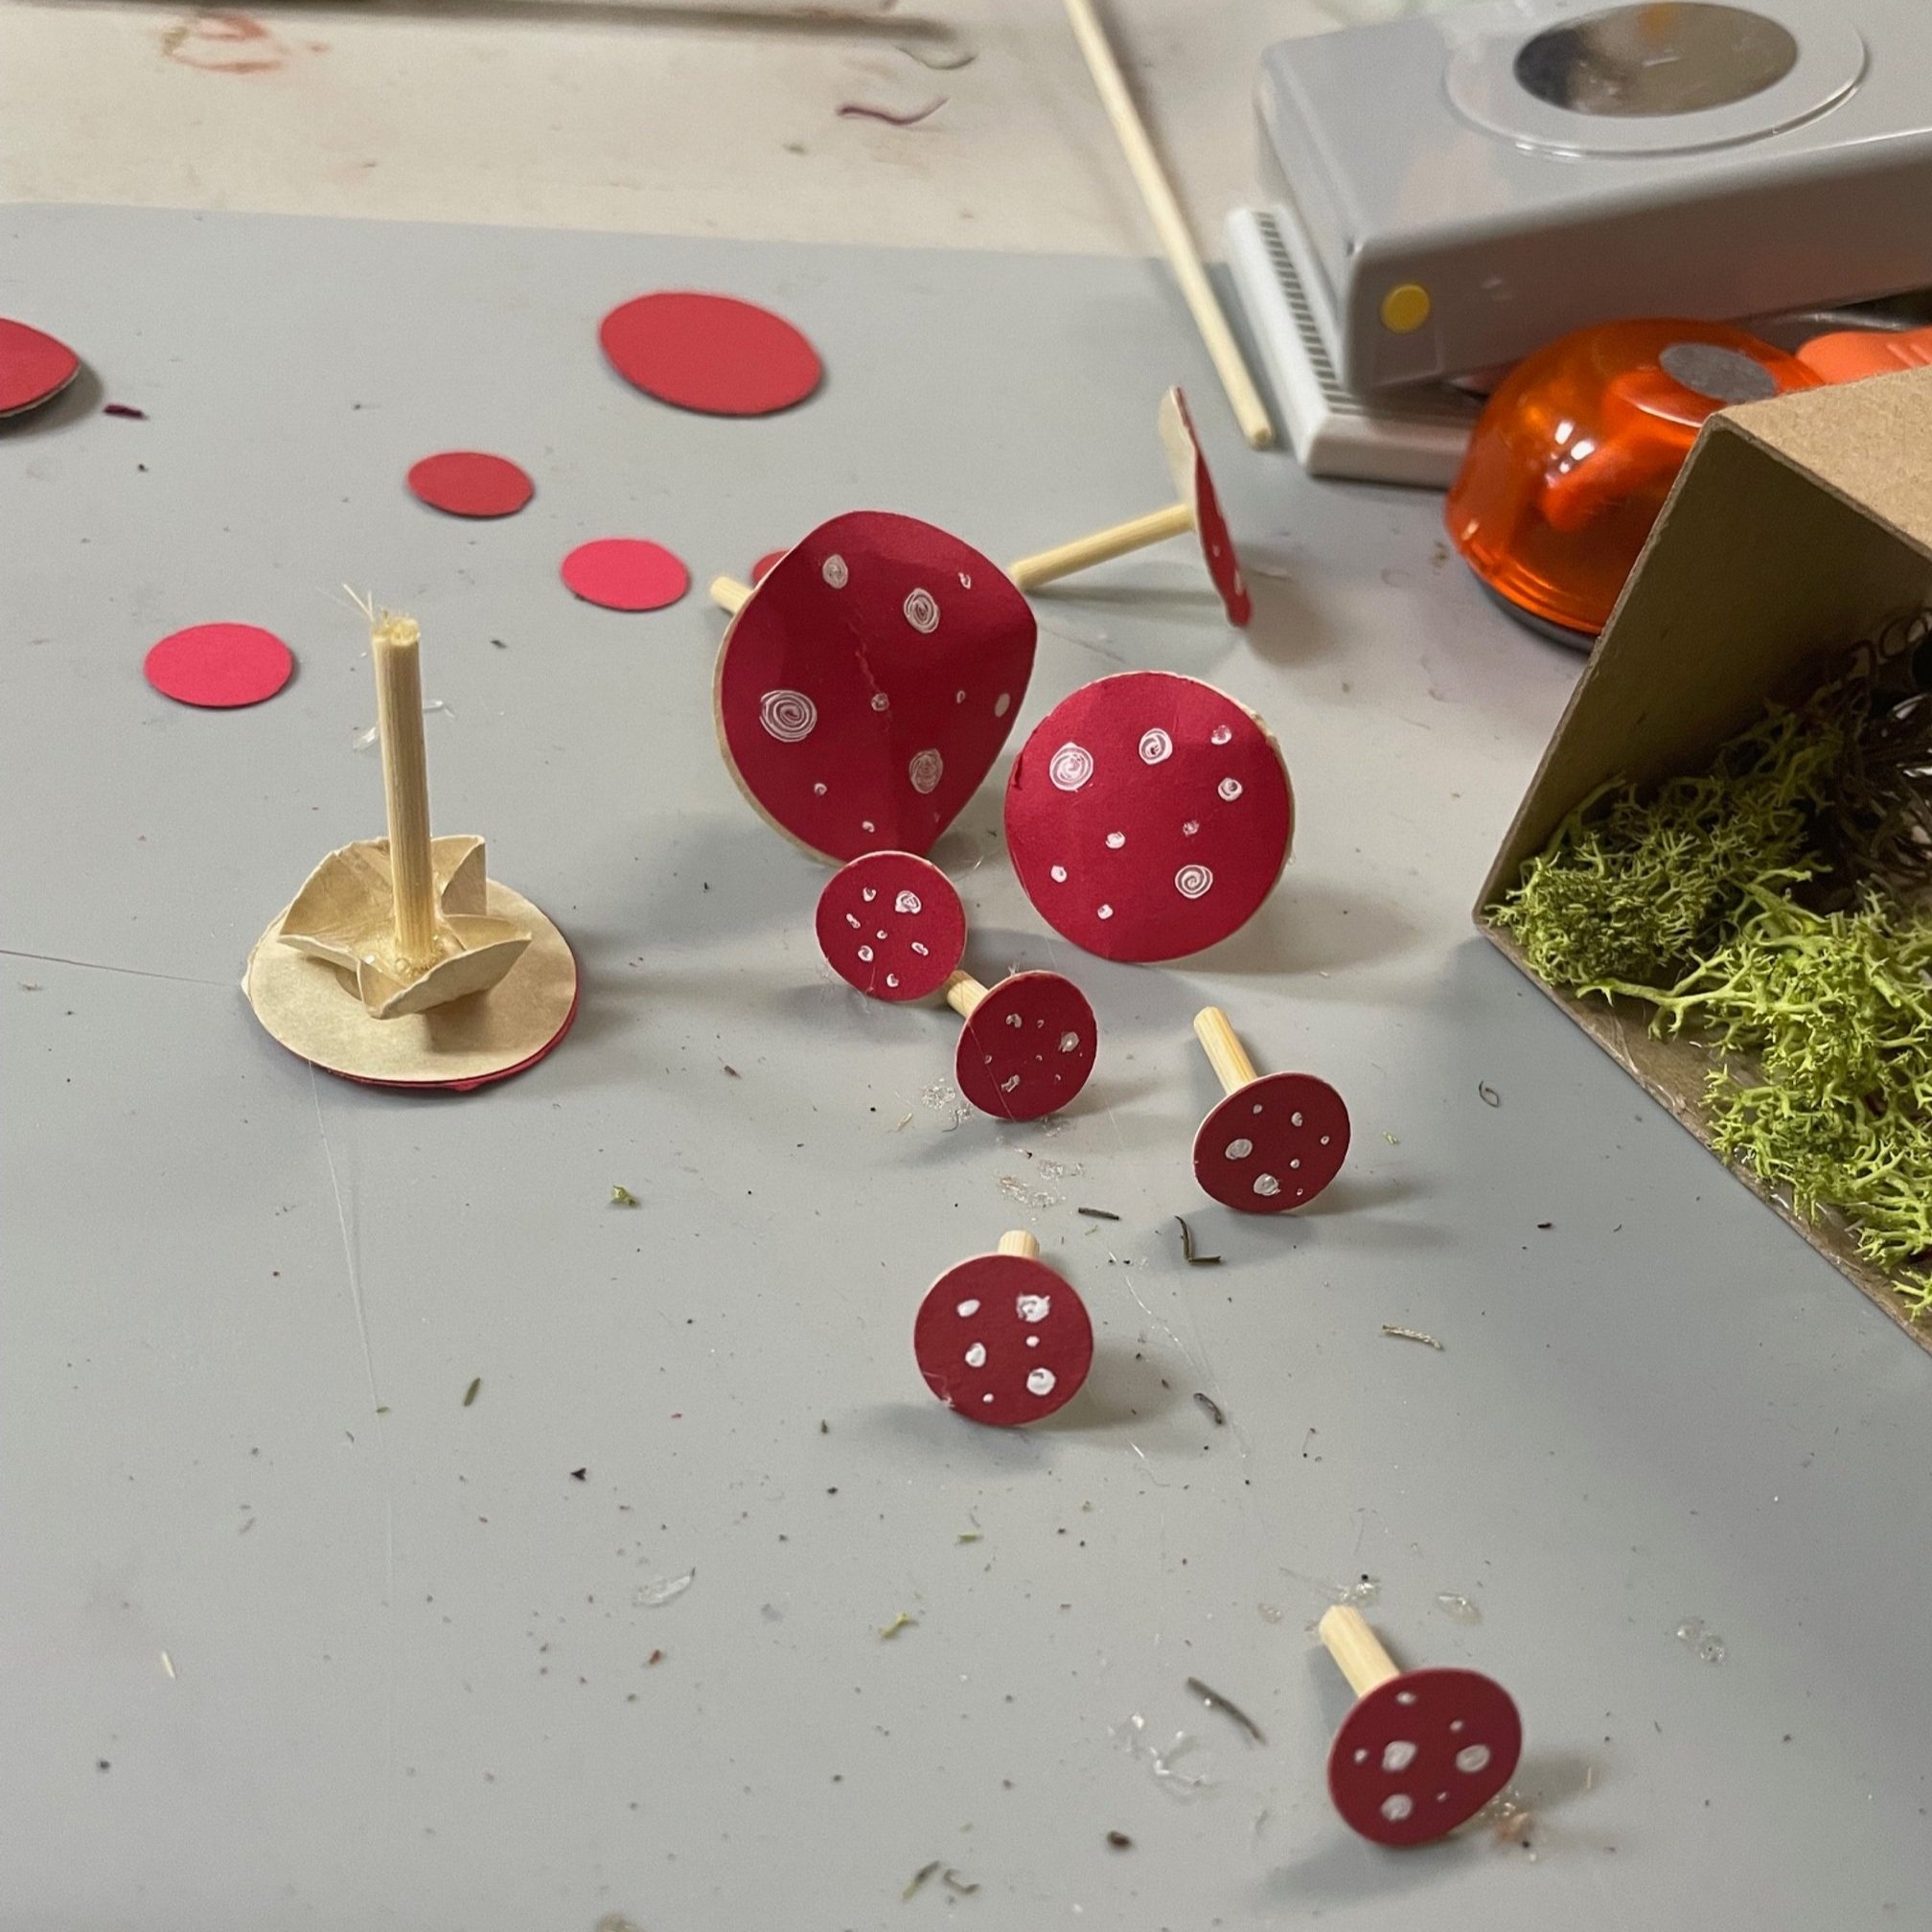
Now we can start punching out some mushroom tops and gills with our circle paper punches.
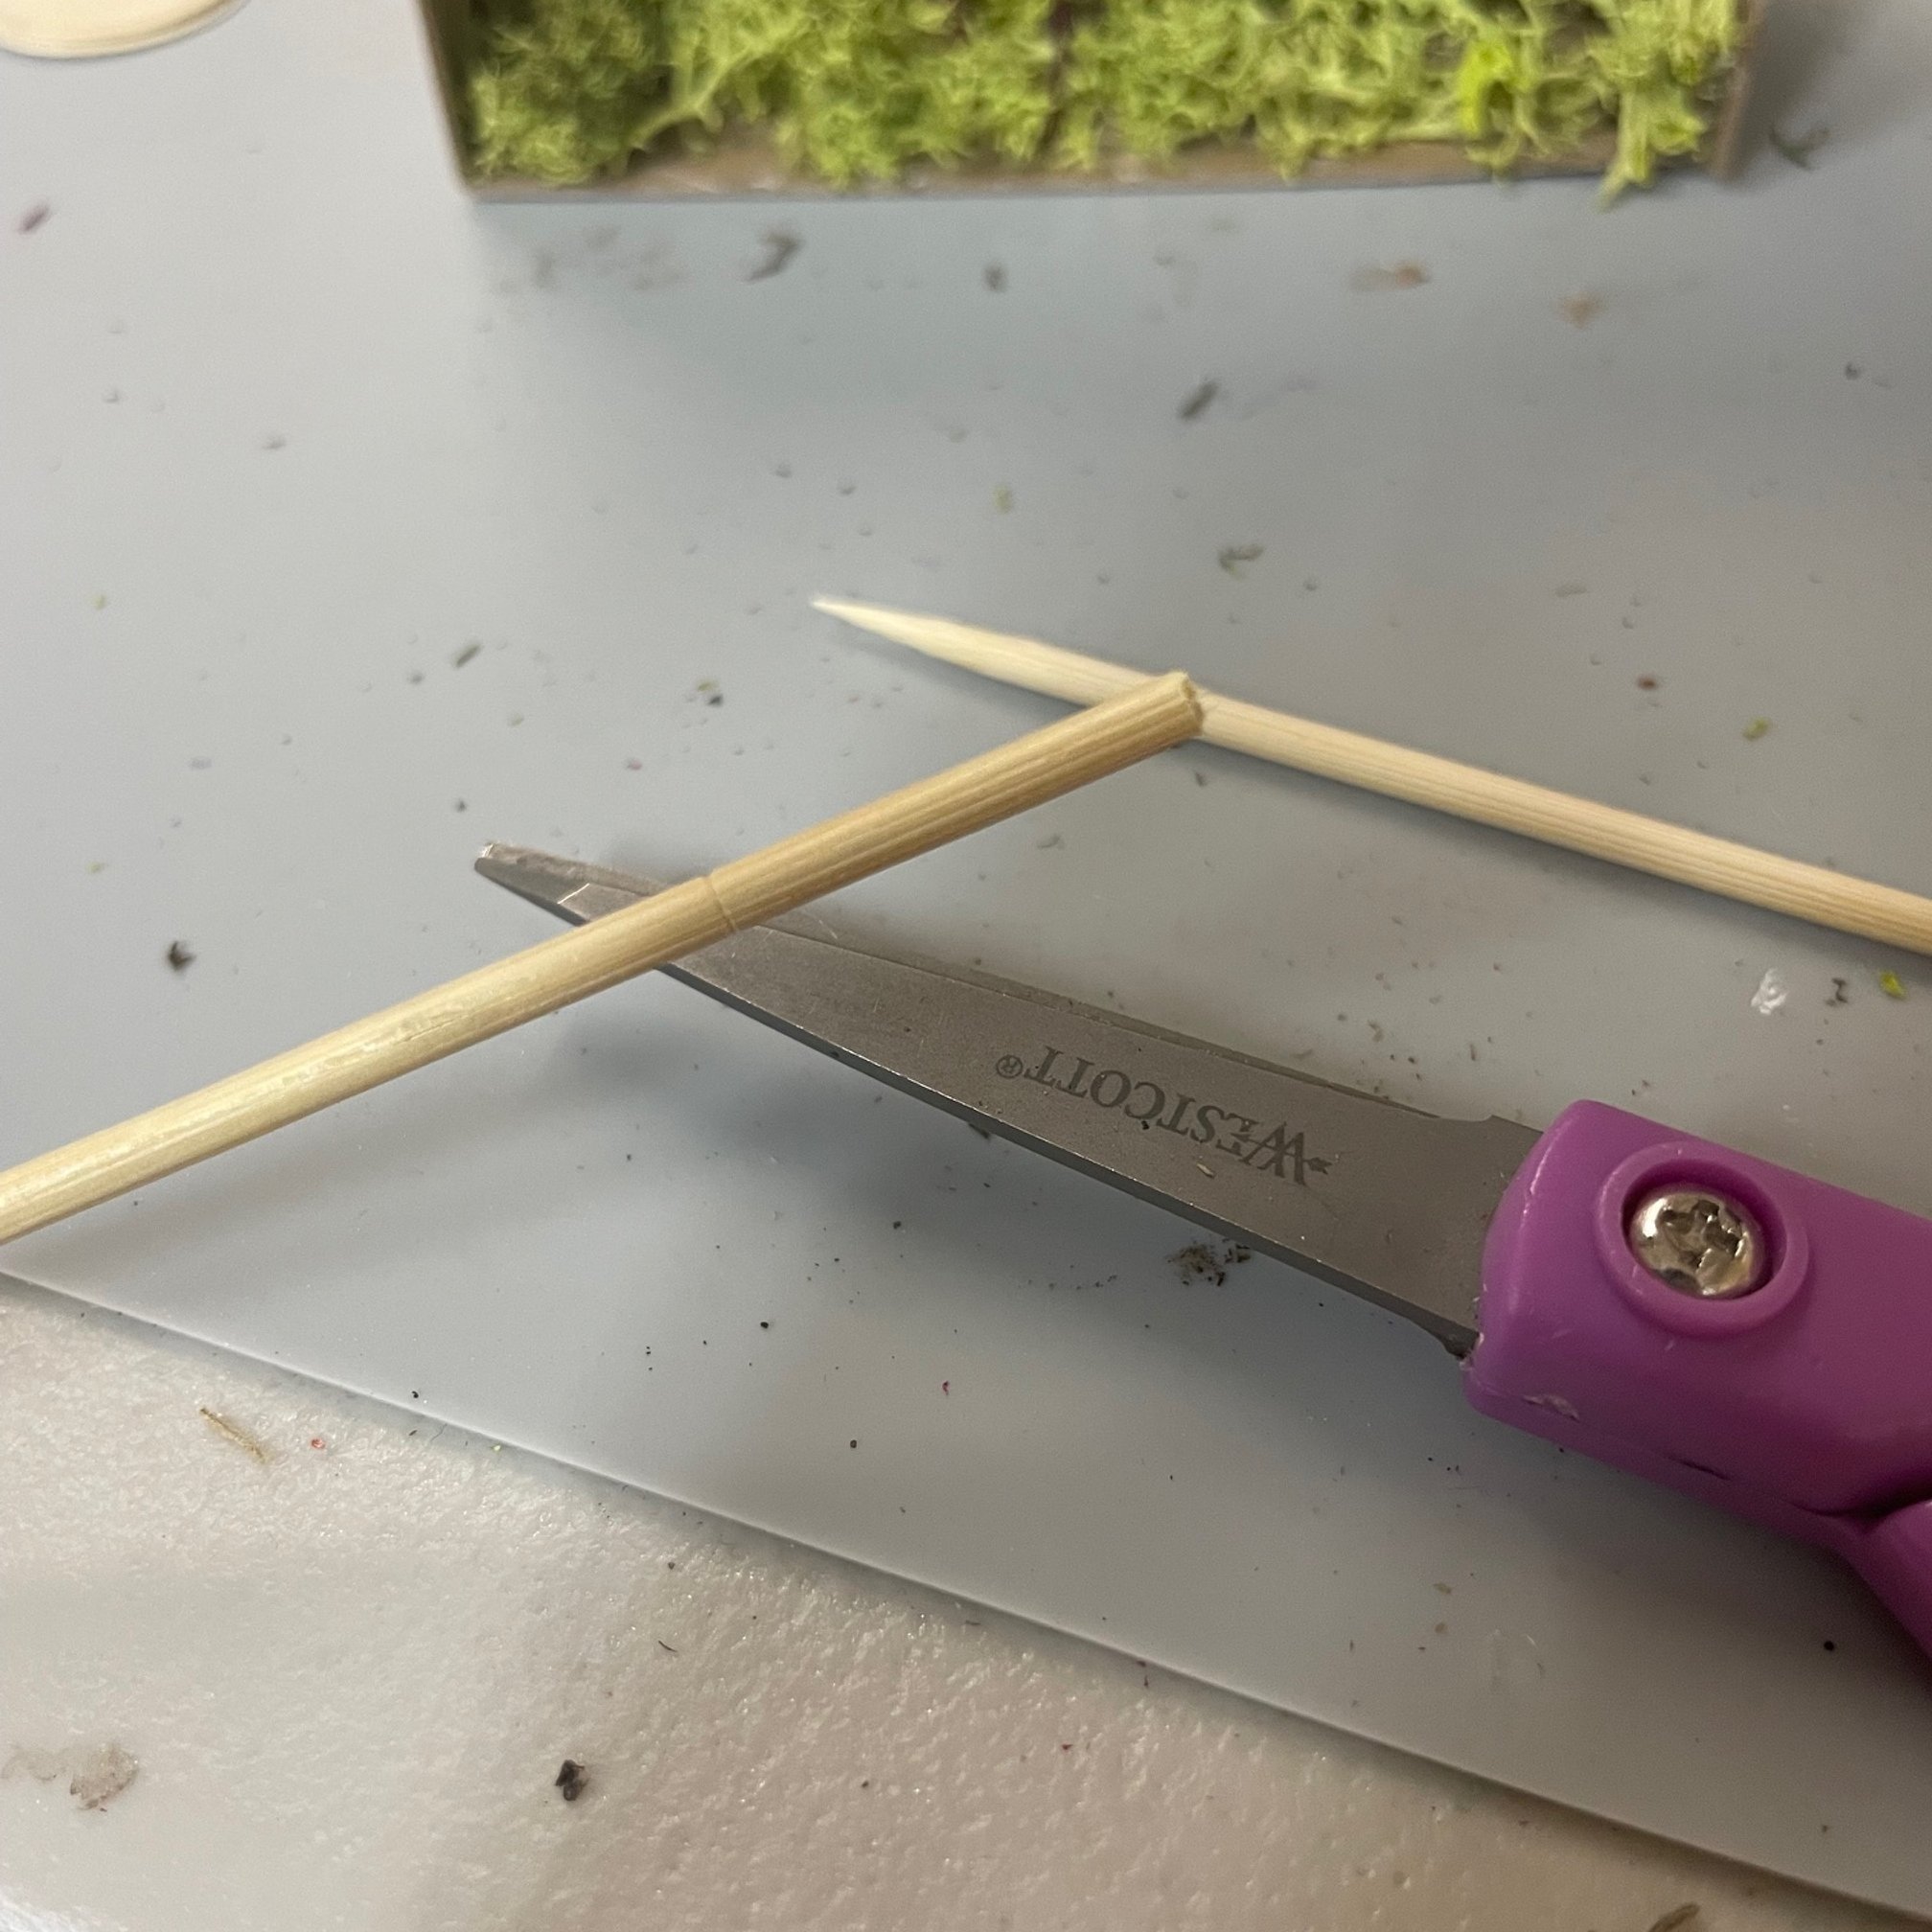
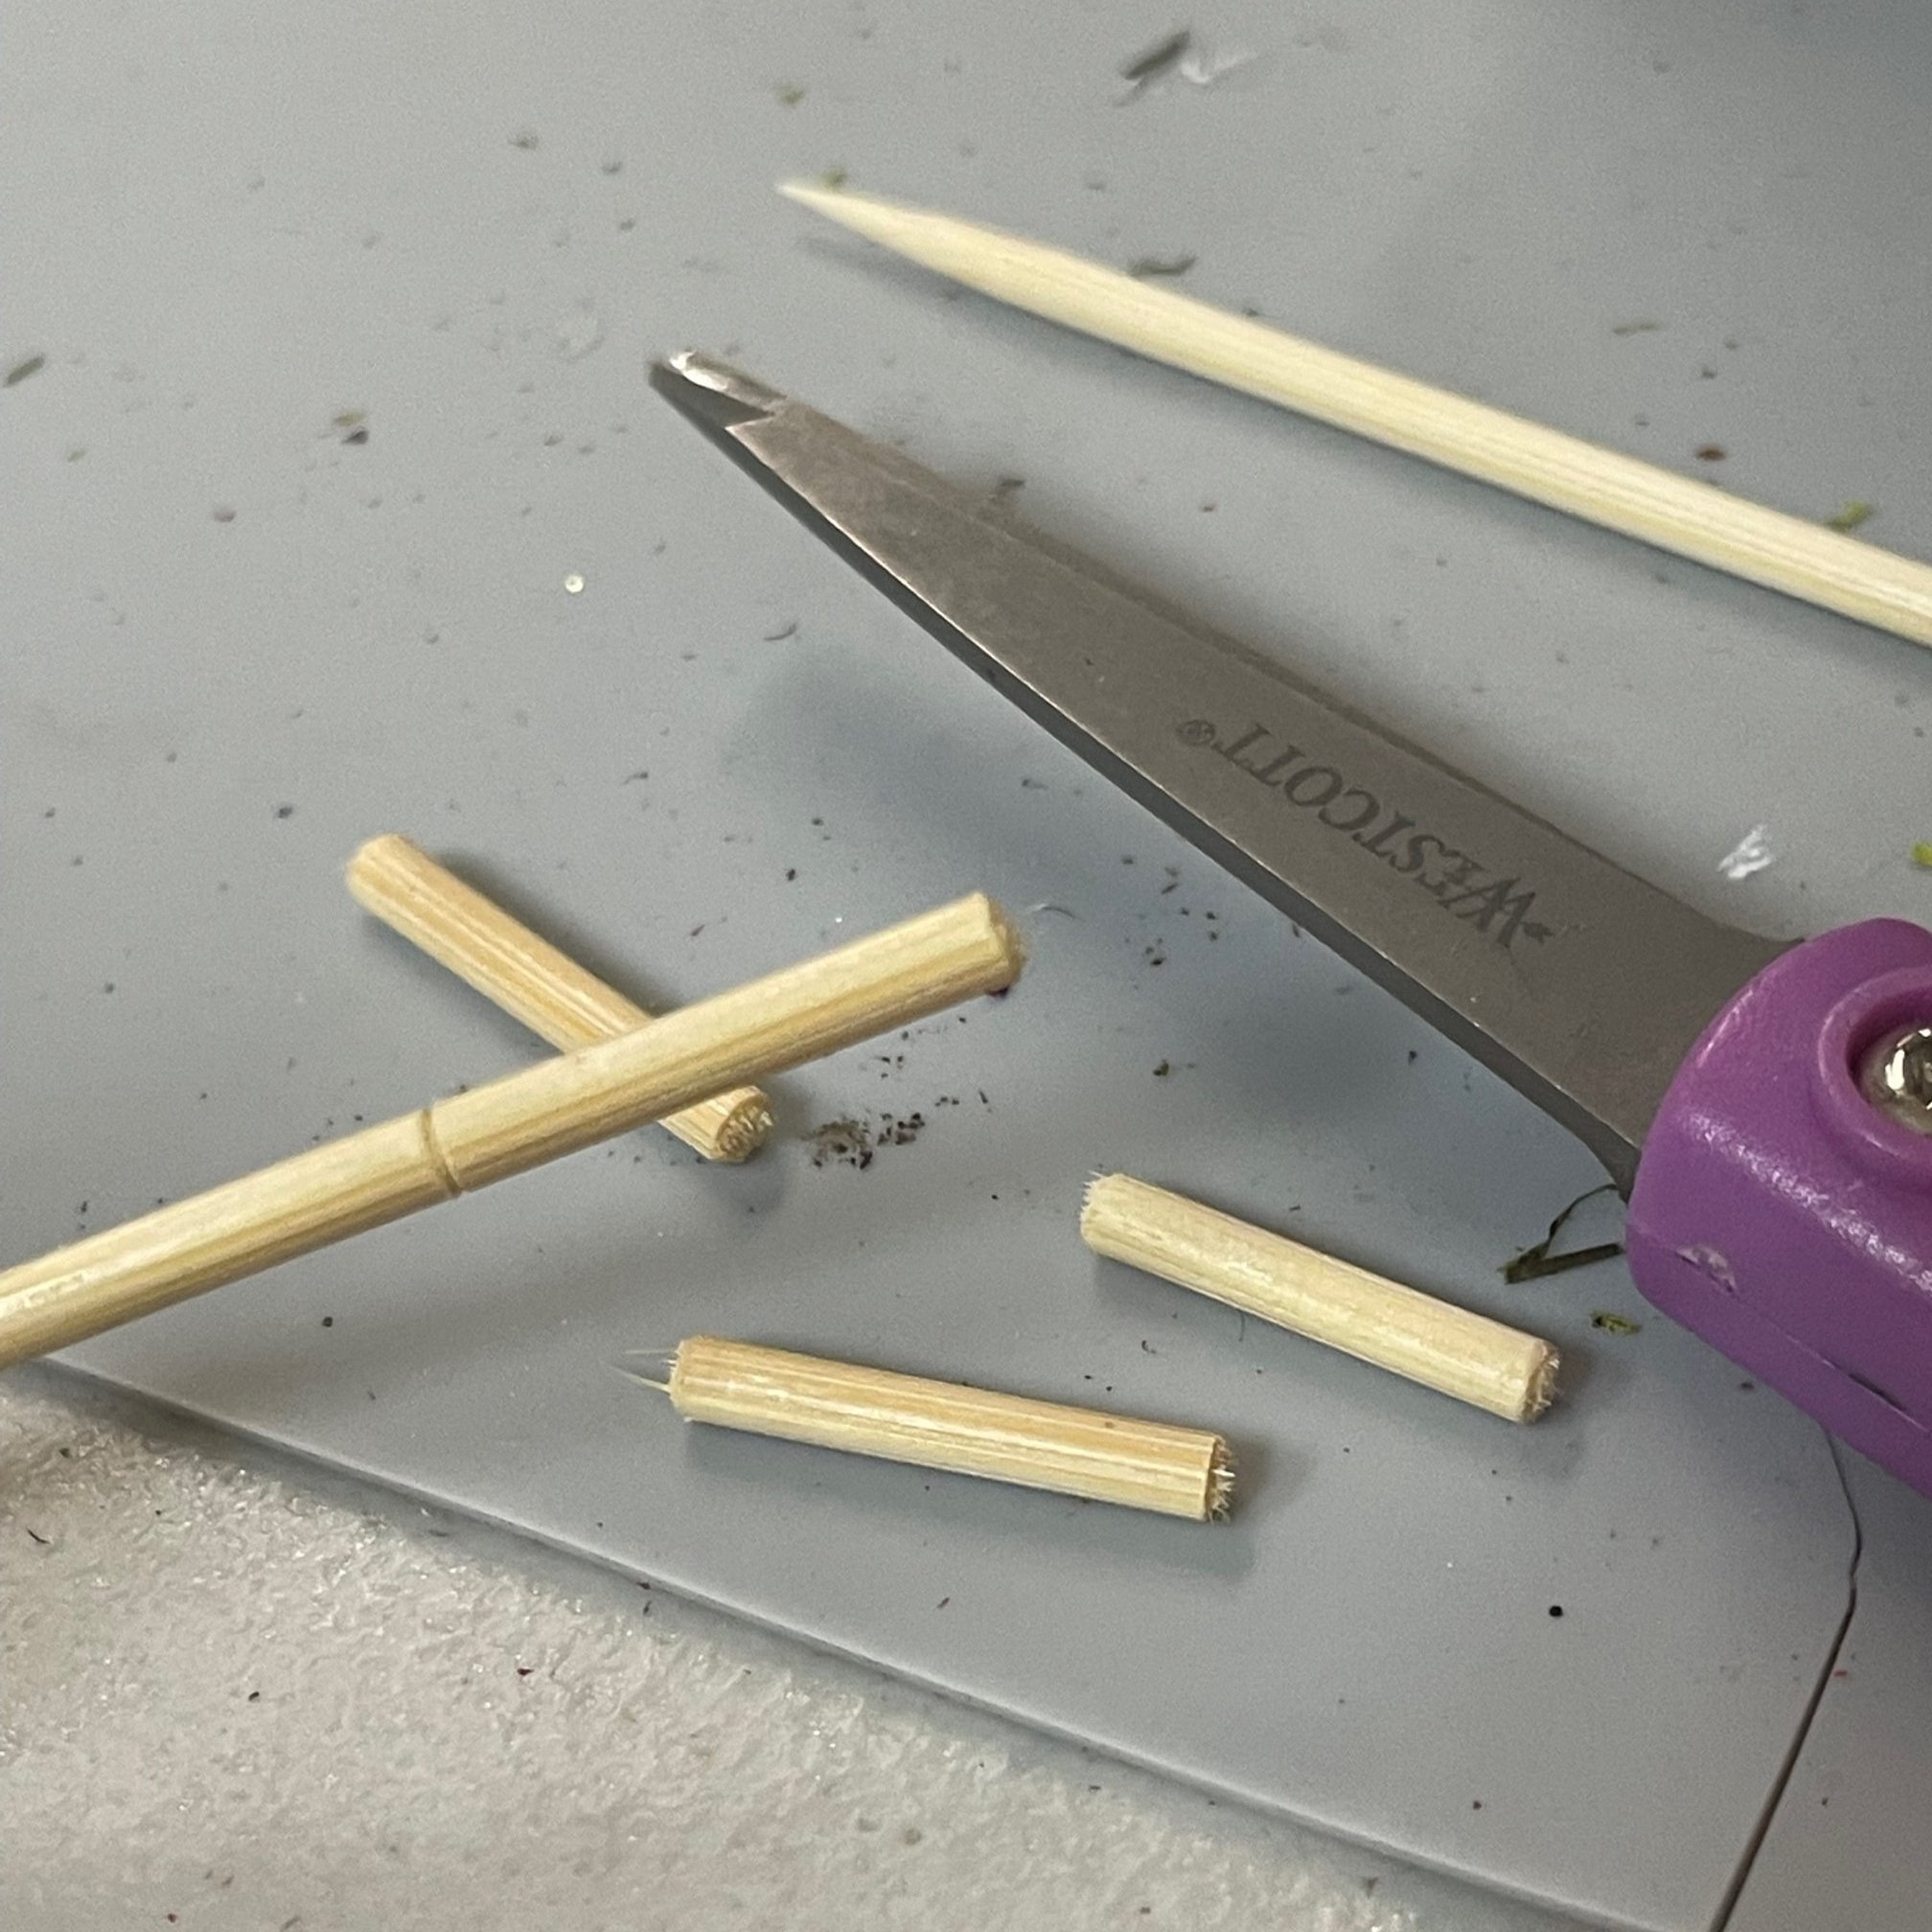
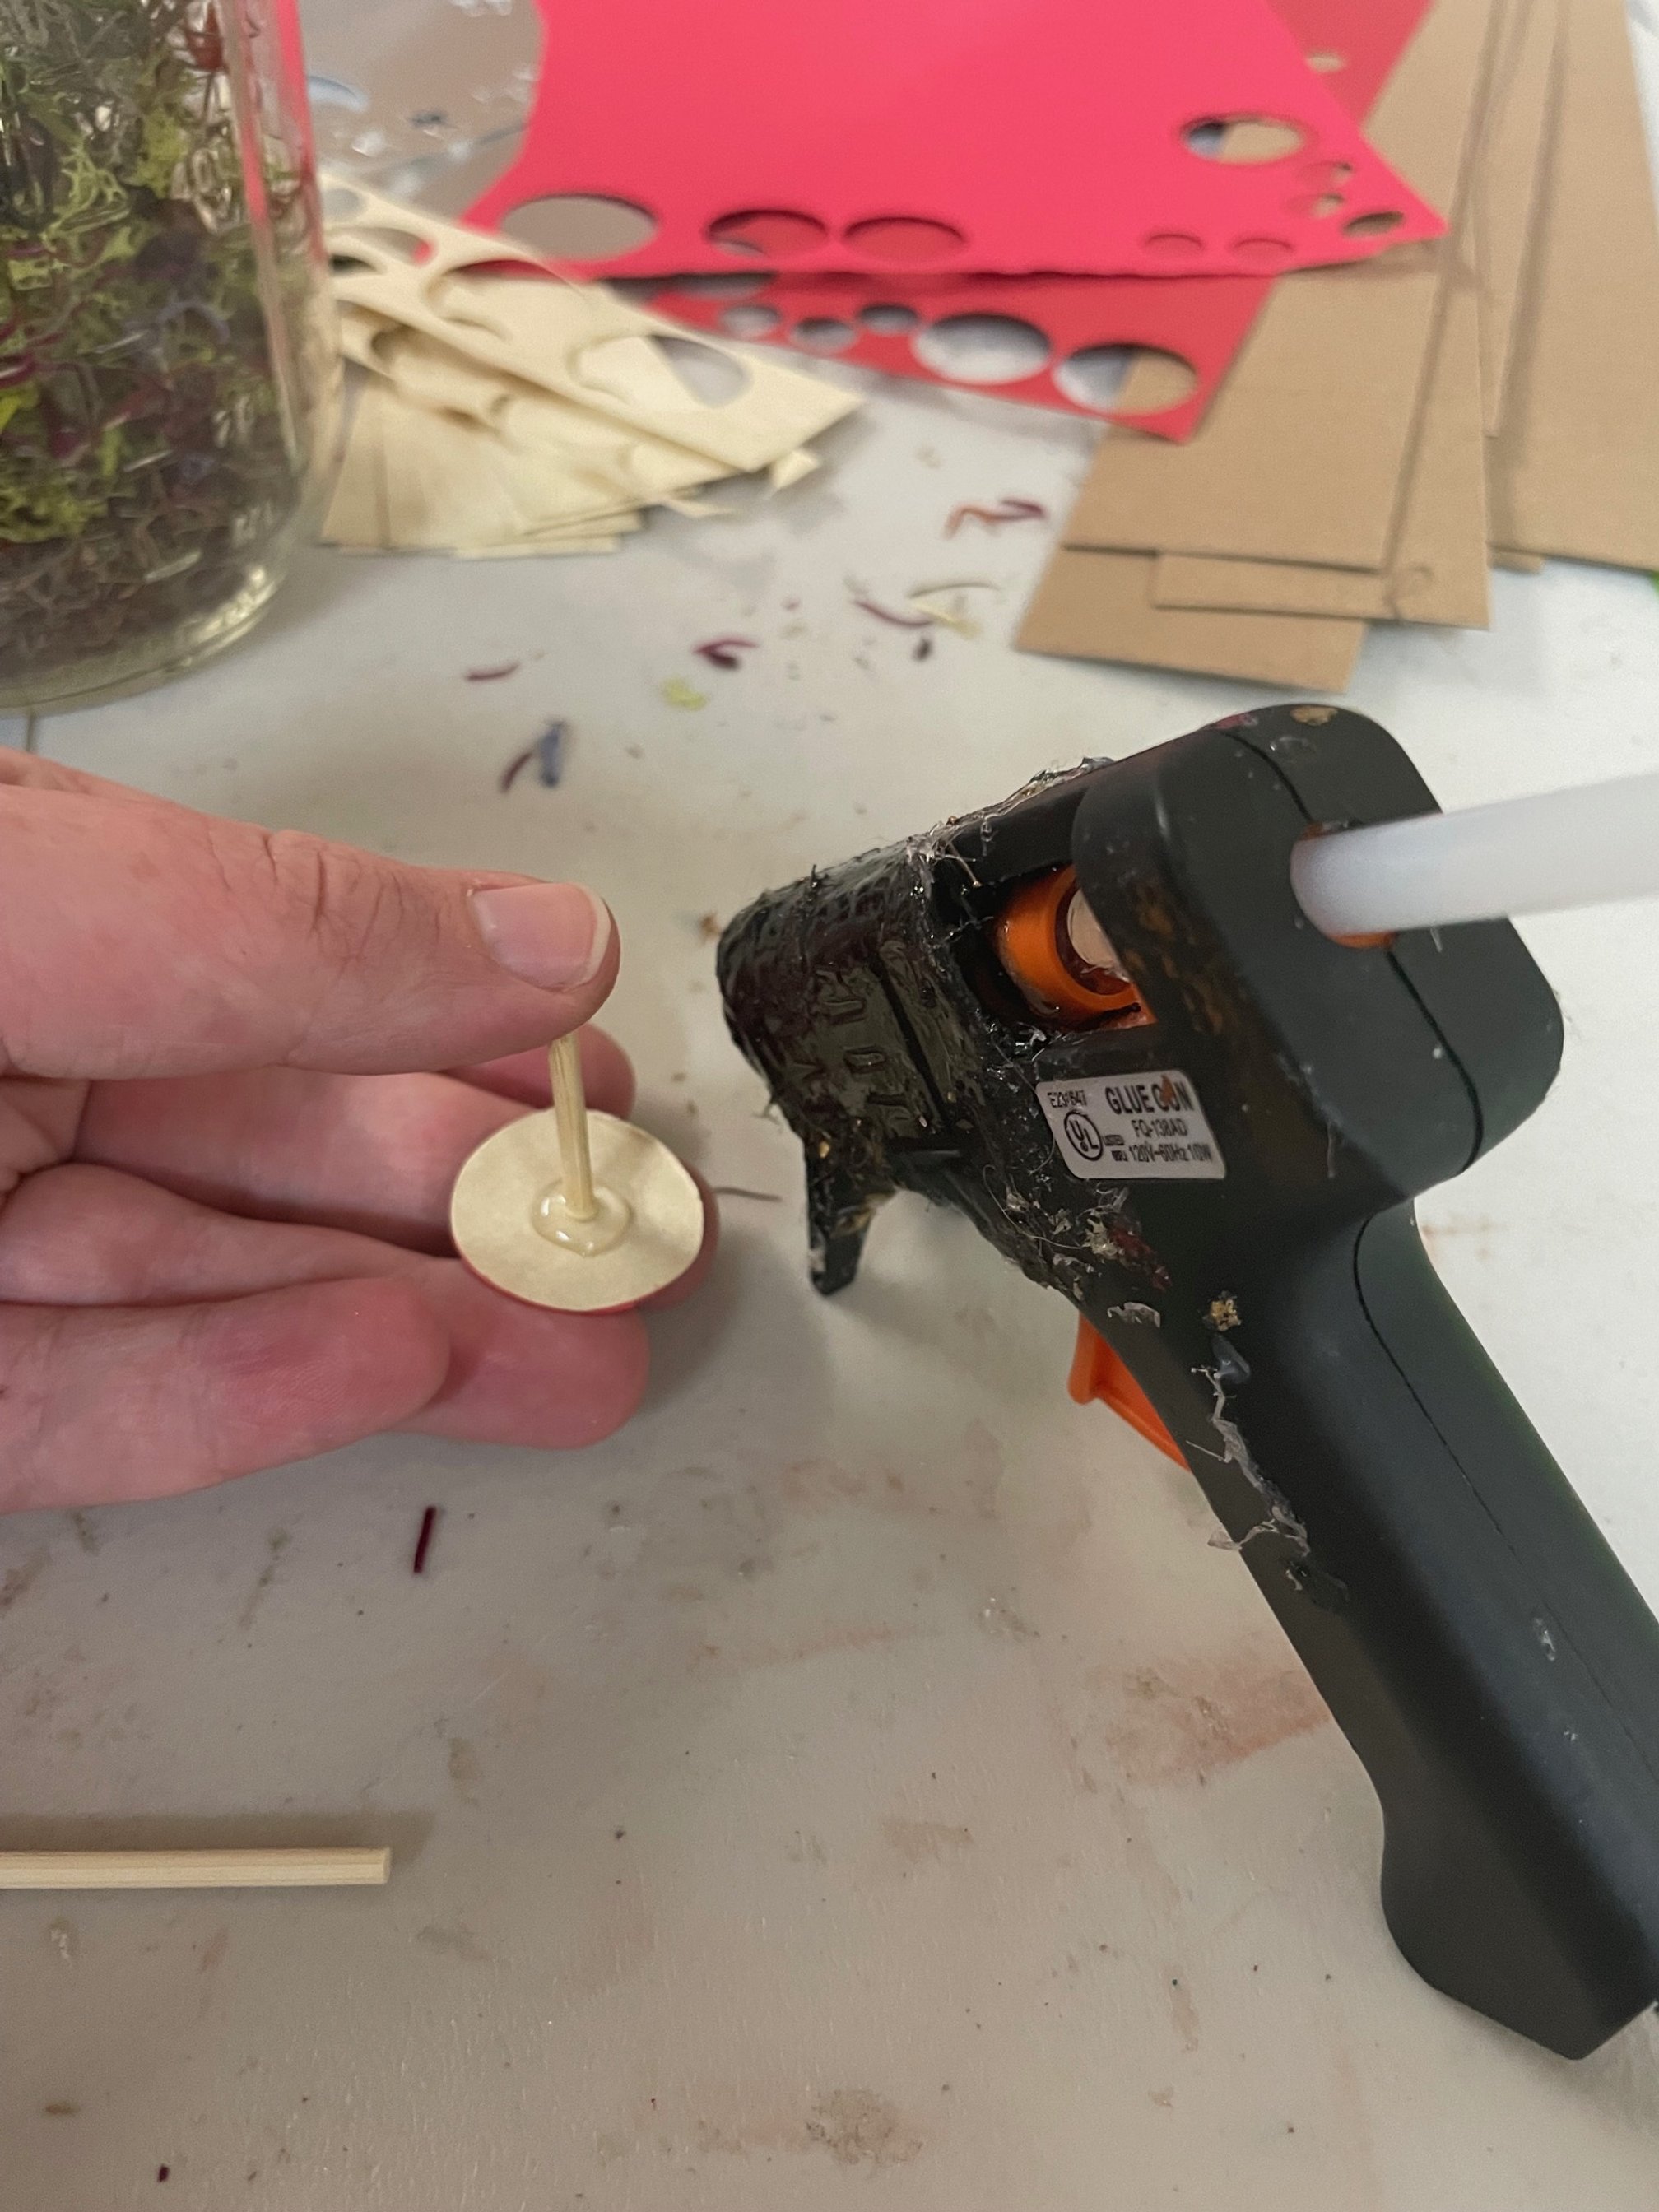
To make the stems of our mushrooms, we’ll trim some wooden skewers! Take your scissors and score along the skewer how long you’d like it, then snap it off.
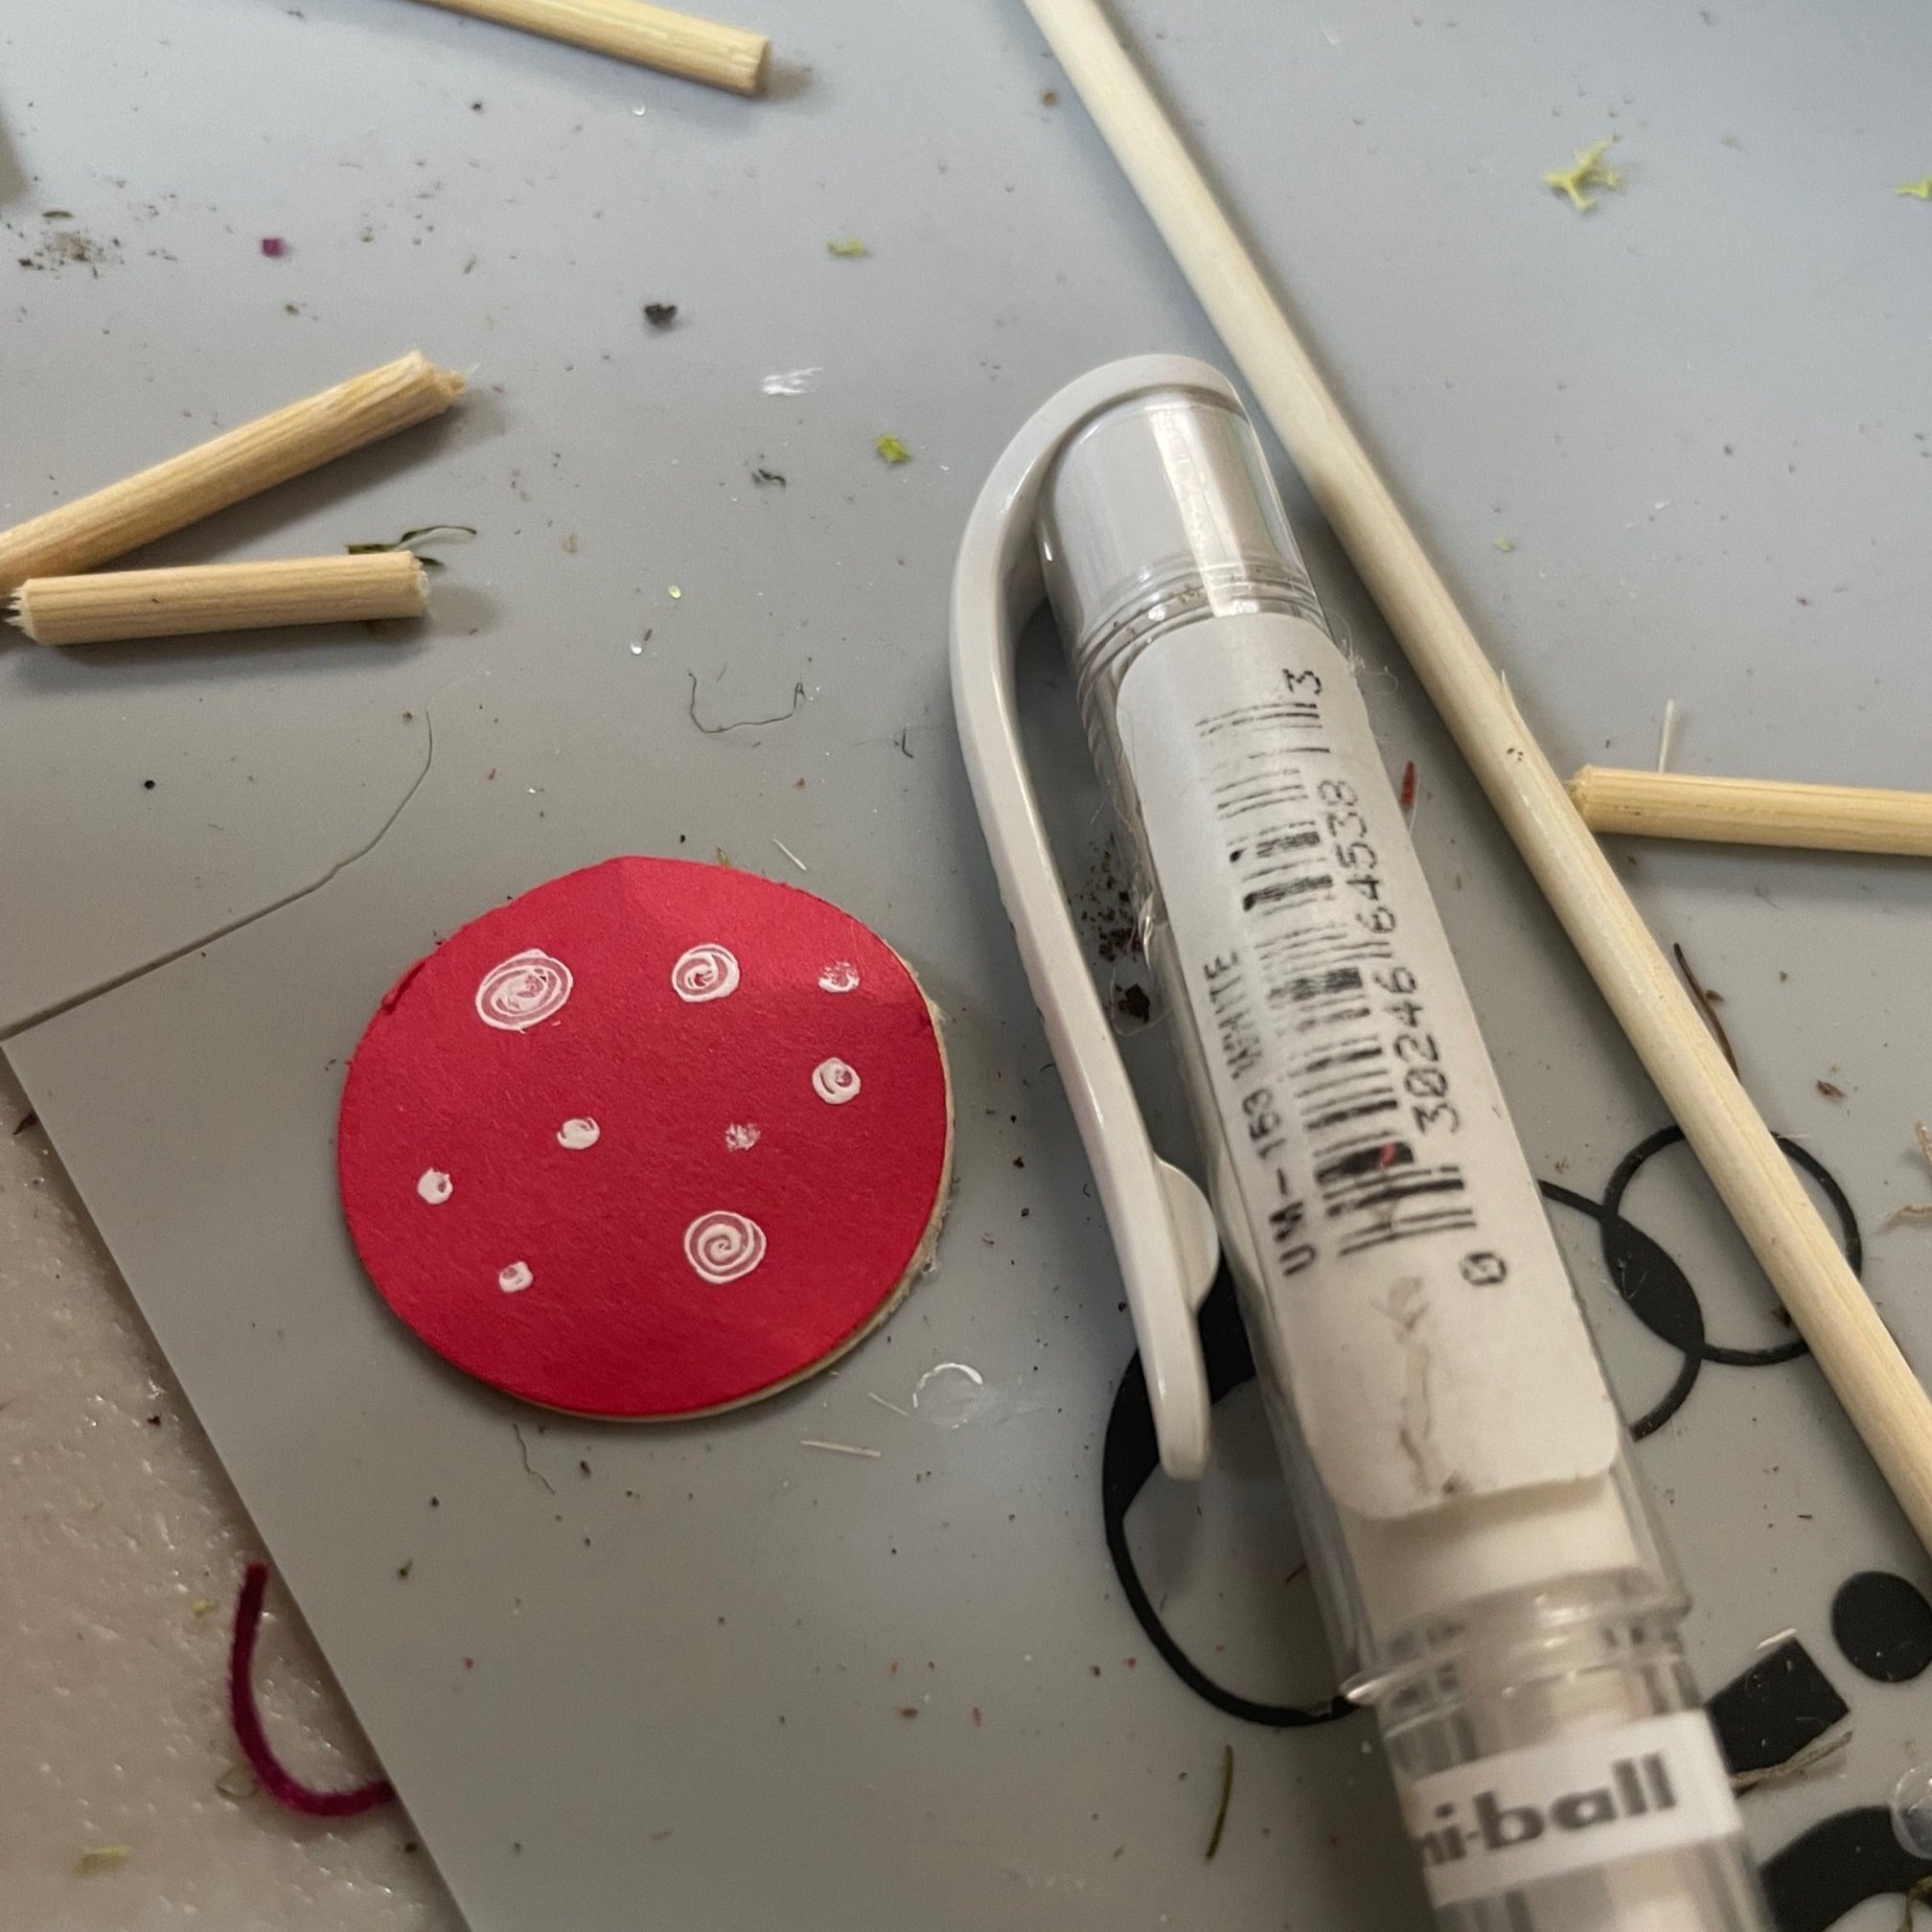
Do you like your mushrooms to have spots? Draw some on with a white pen!
Give your mushroom cap a bit of a fold and then hot glue the skewer inside. You can first glue some frills to the underside of the cap, if you’d like some extra whimsy!

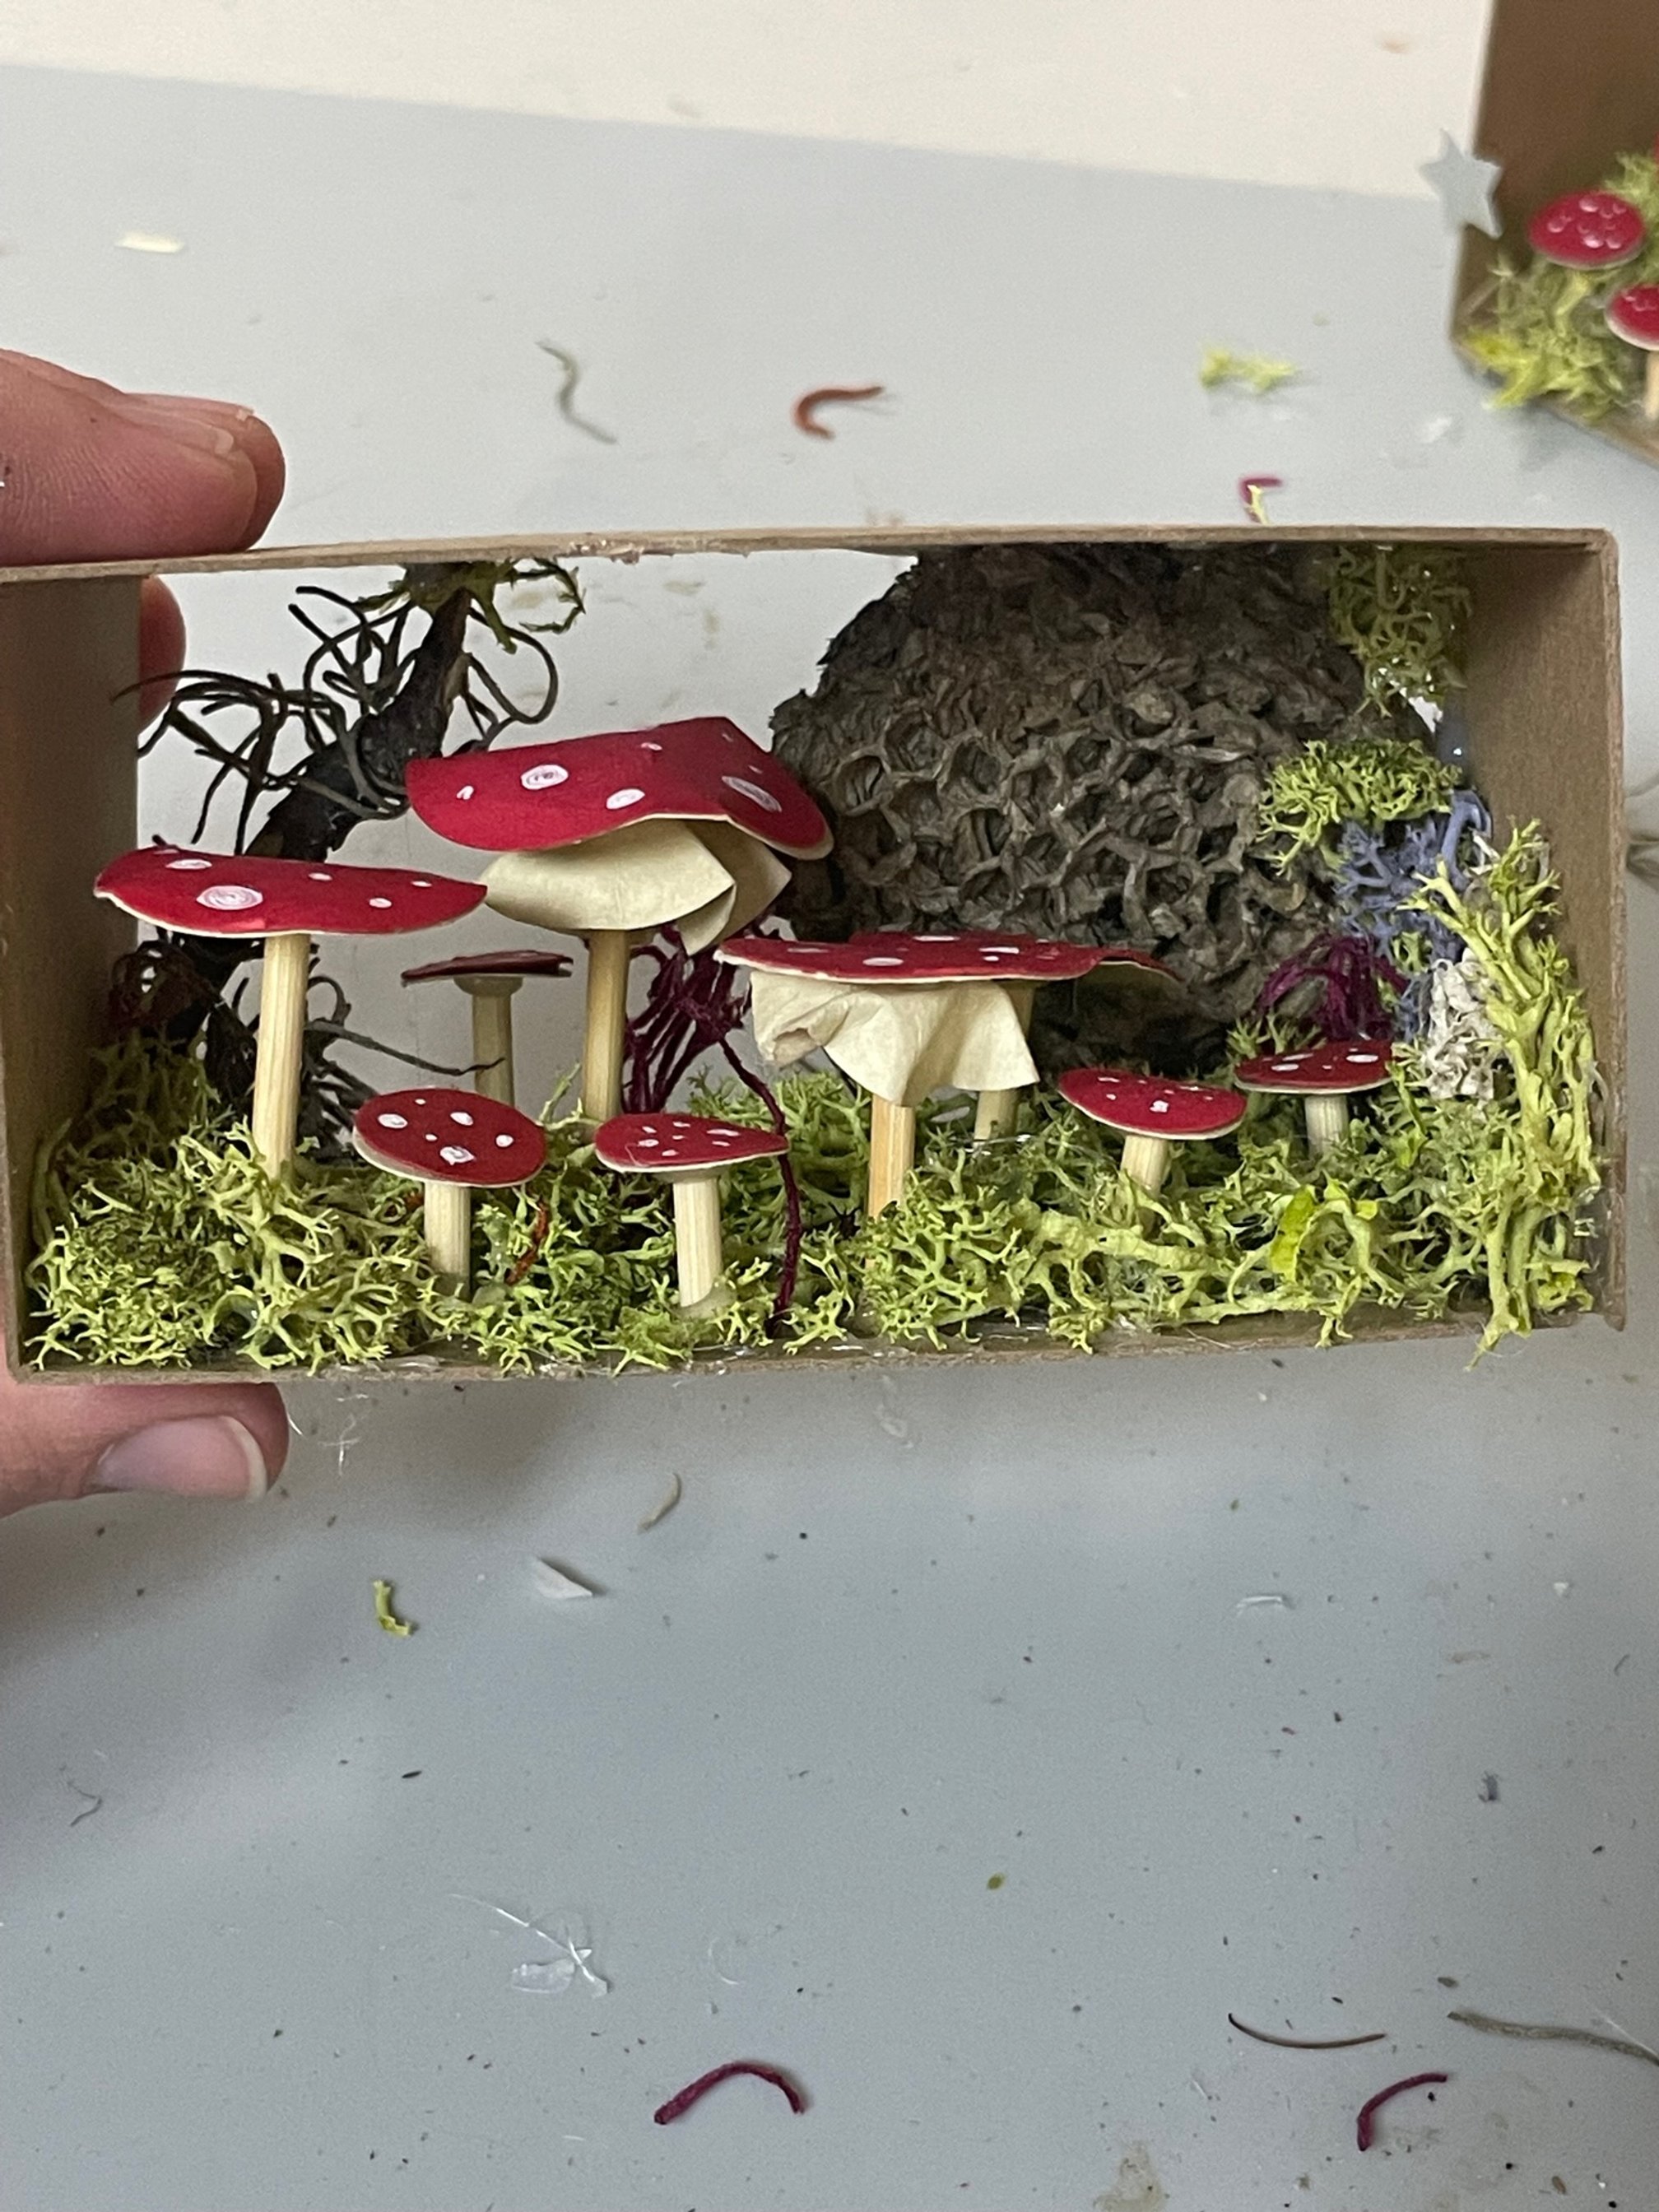
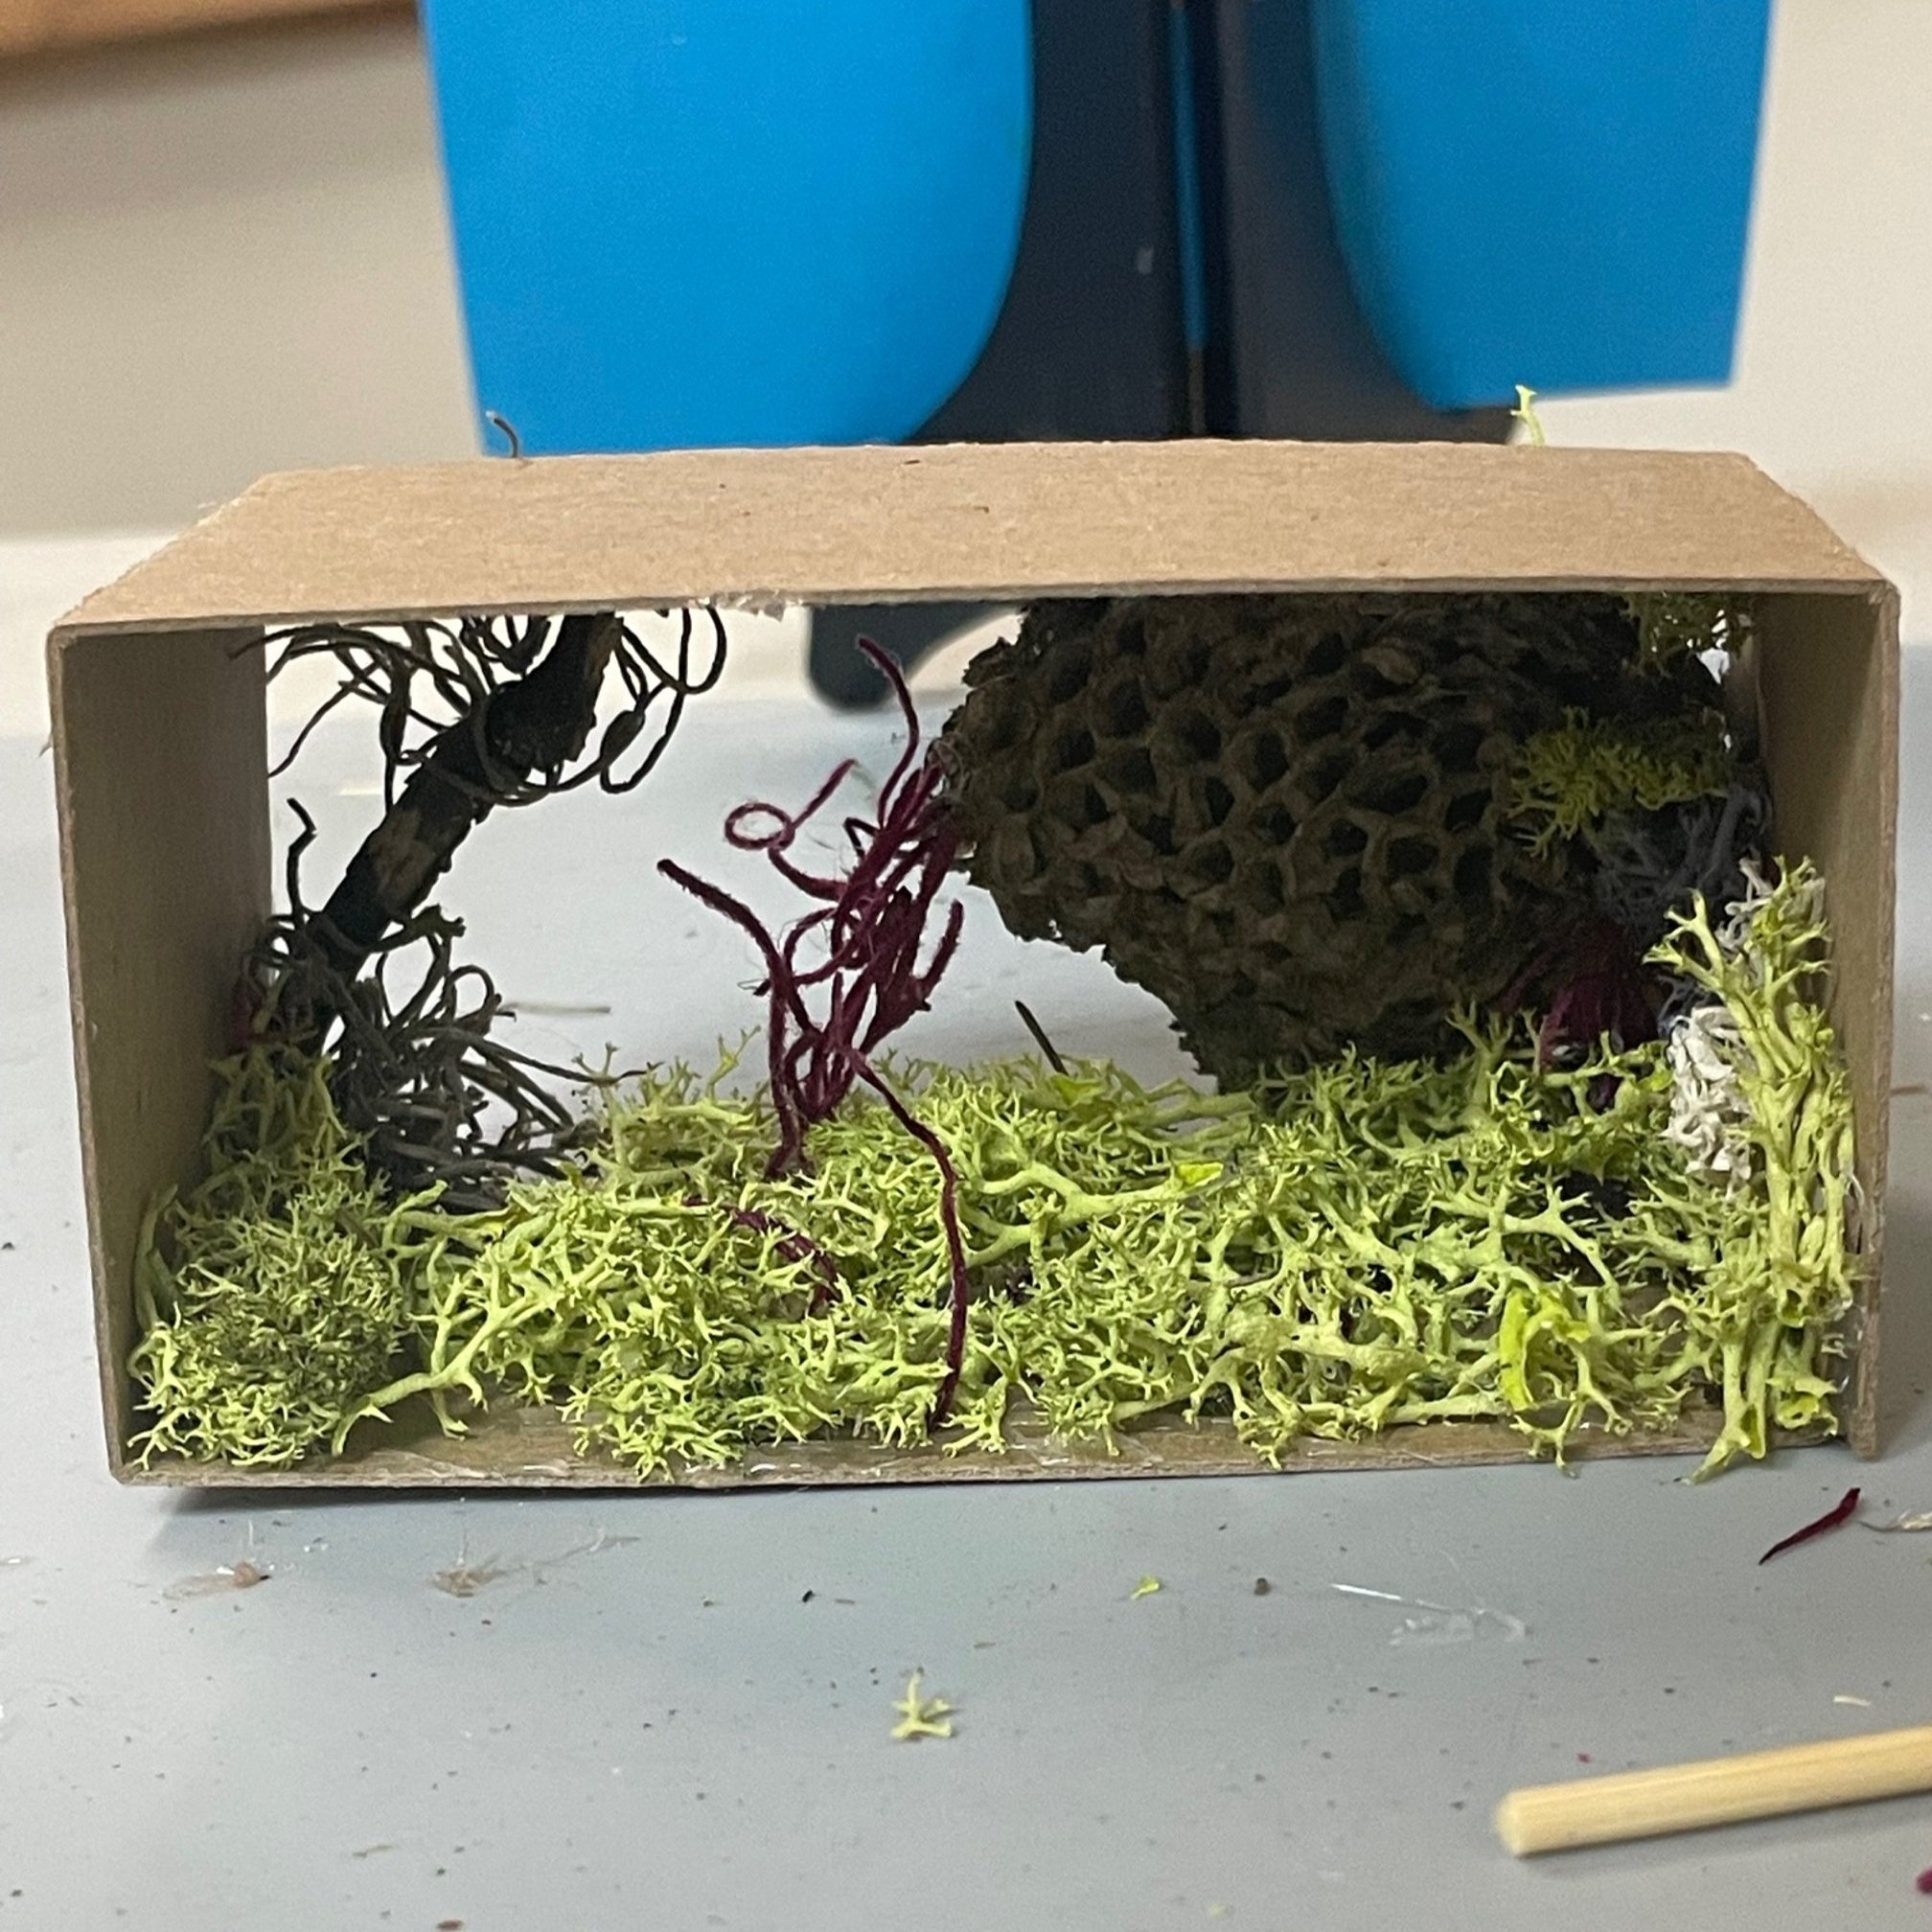
Now that you’ve made so many mushrooms, let’s add some moss to the shadowbox!
You could make a layer of moss, add sticks, secret gemstones, a wasps nest, whatever brings you joy!
Tall mushrooms, short mushrooms, you could even make some other colors if you wanted to!
Do you have paper you love? You could create some stars or add in a moon!! Wow!
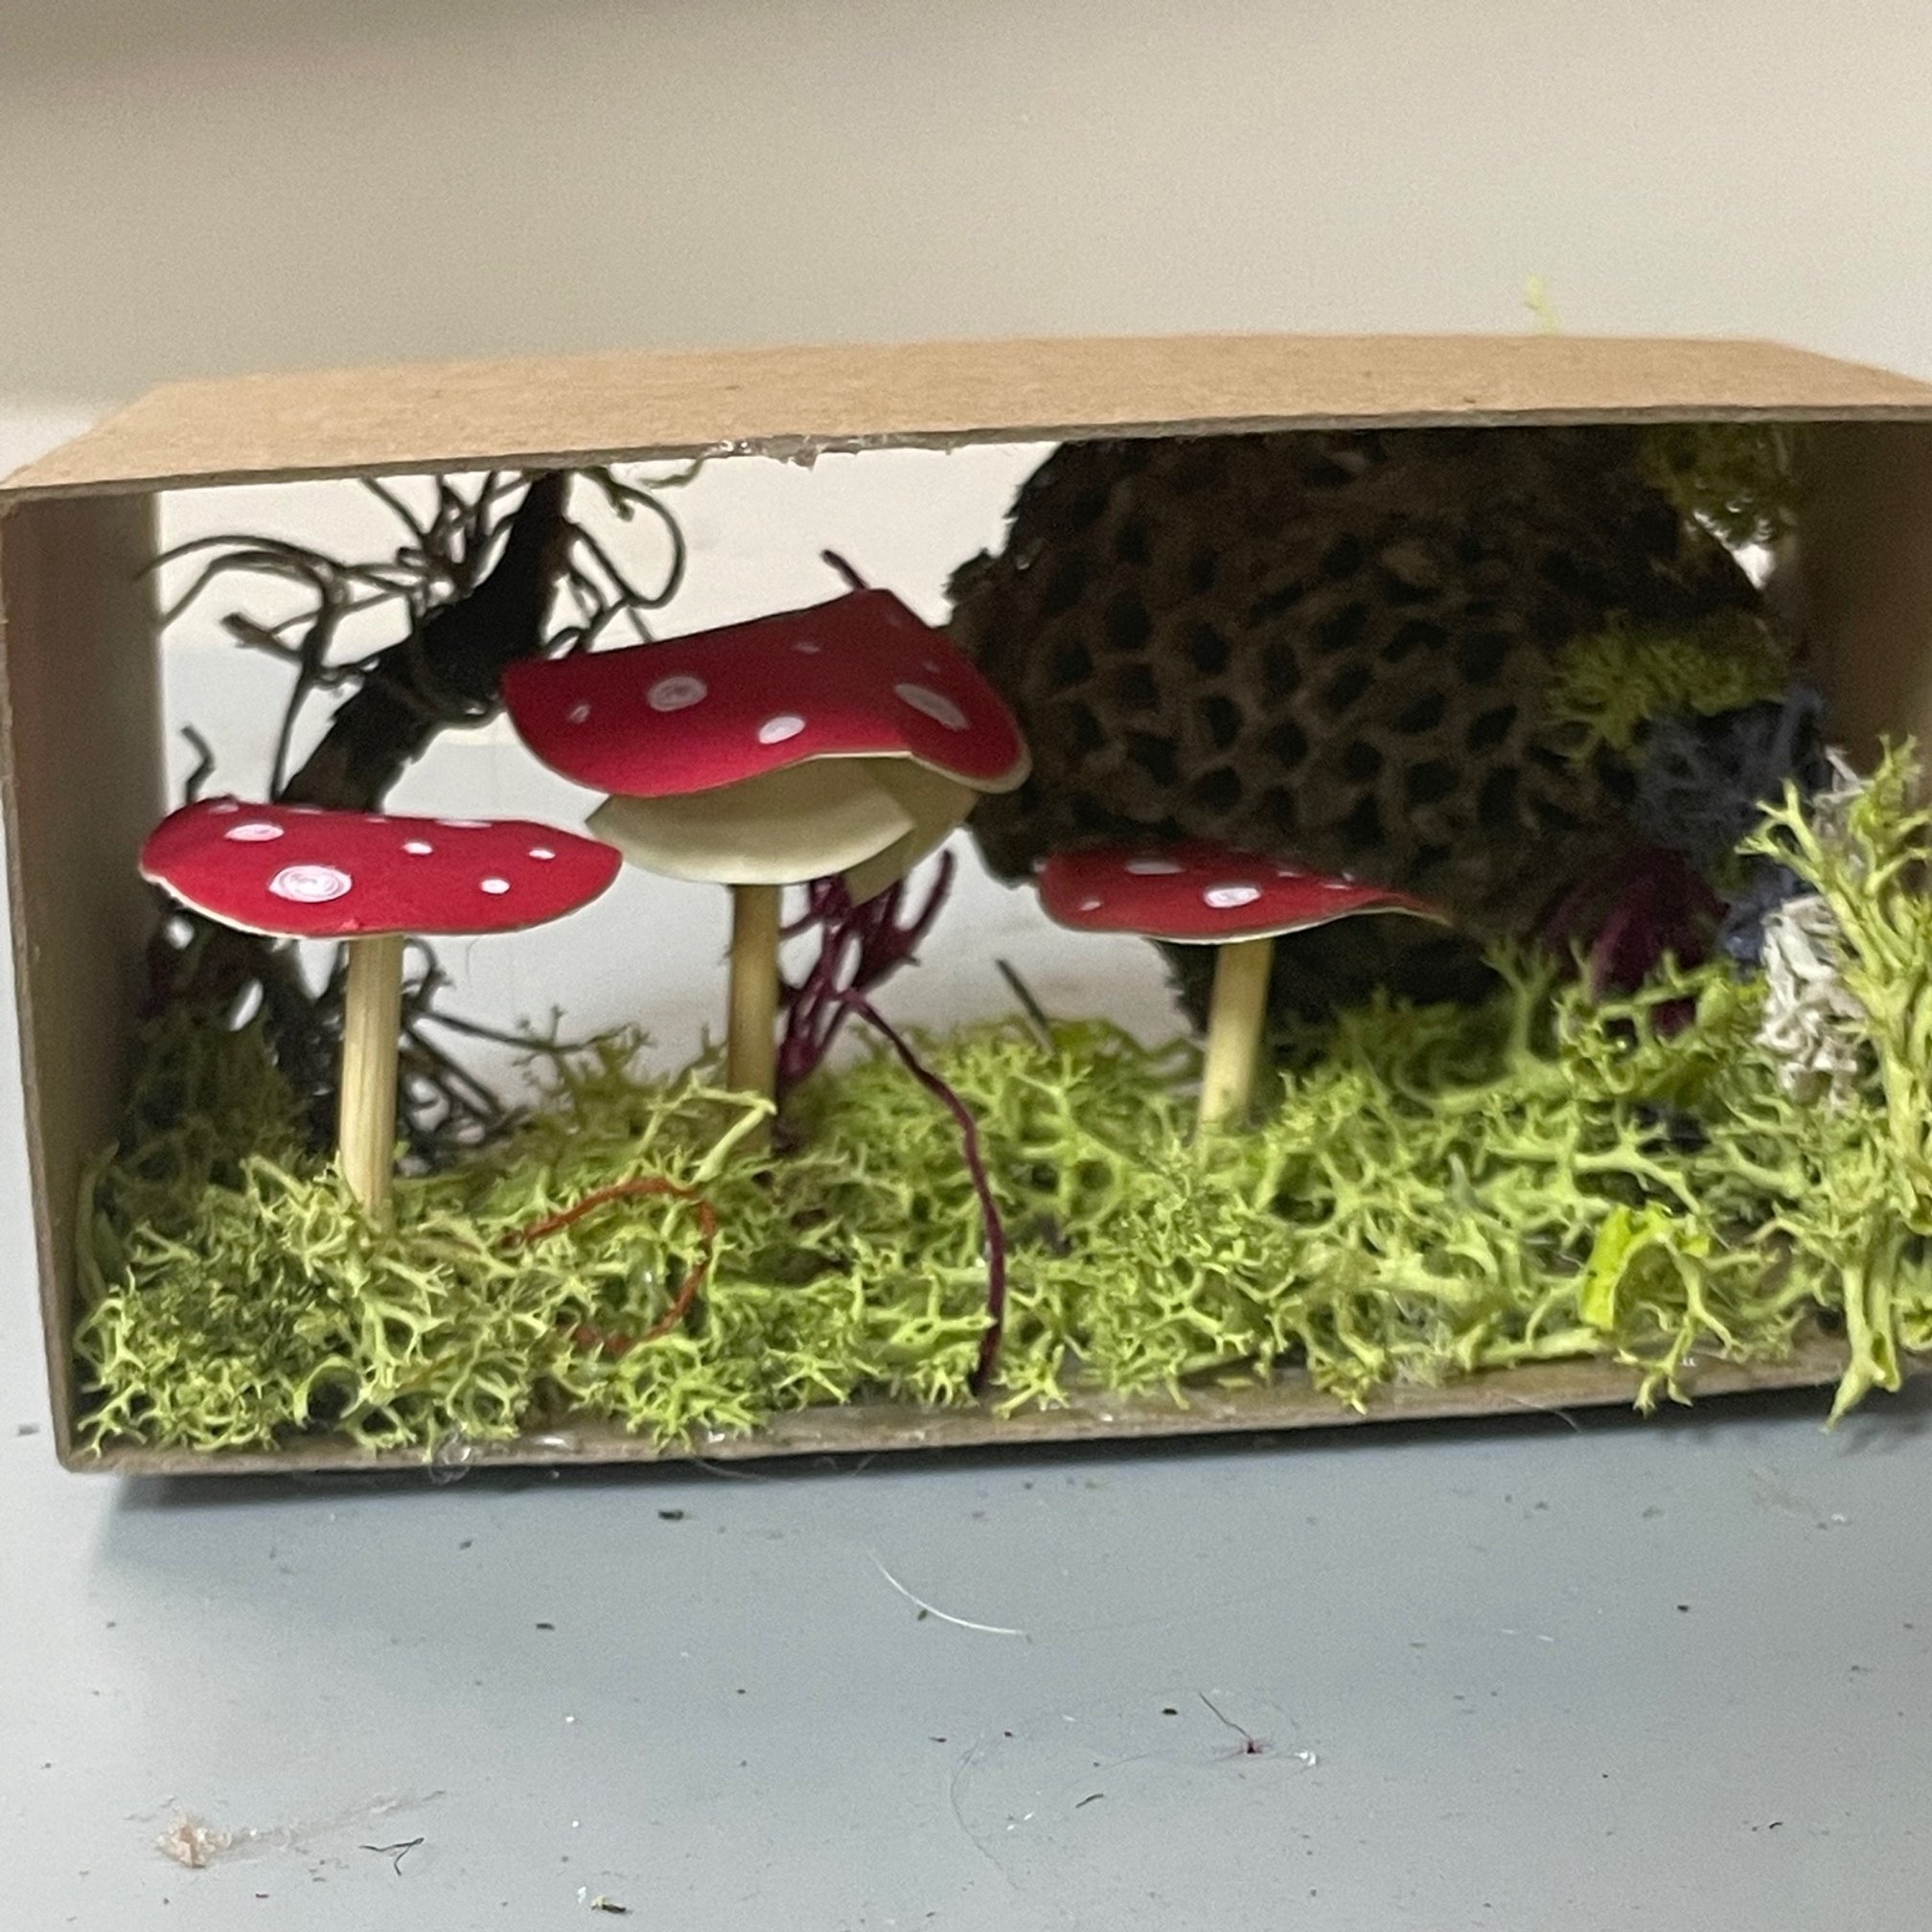
What a great mushroom shadowbox you’ve created!! That is so MUSH fun!!!

Thanks for creating with us today!!
You’re always welcome to show off your creations in store or send pictures to us! We can’t wait to see what you’ve created!
Happy crafting!
Art and Happiness
2004 James St
Bellingham WA 98225
Mon-Sat
10am-6pm
Sunday
Noon-5pm
(360)206-0389