
Card Class November 3rd
The last Card Making Class was lots of fun!!!
This week for Card Class, we played with some new concepts, and spent some time using the Home Die-Cut Machine!
Check out how fun these cards are!!

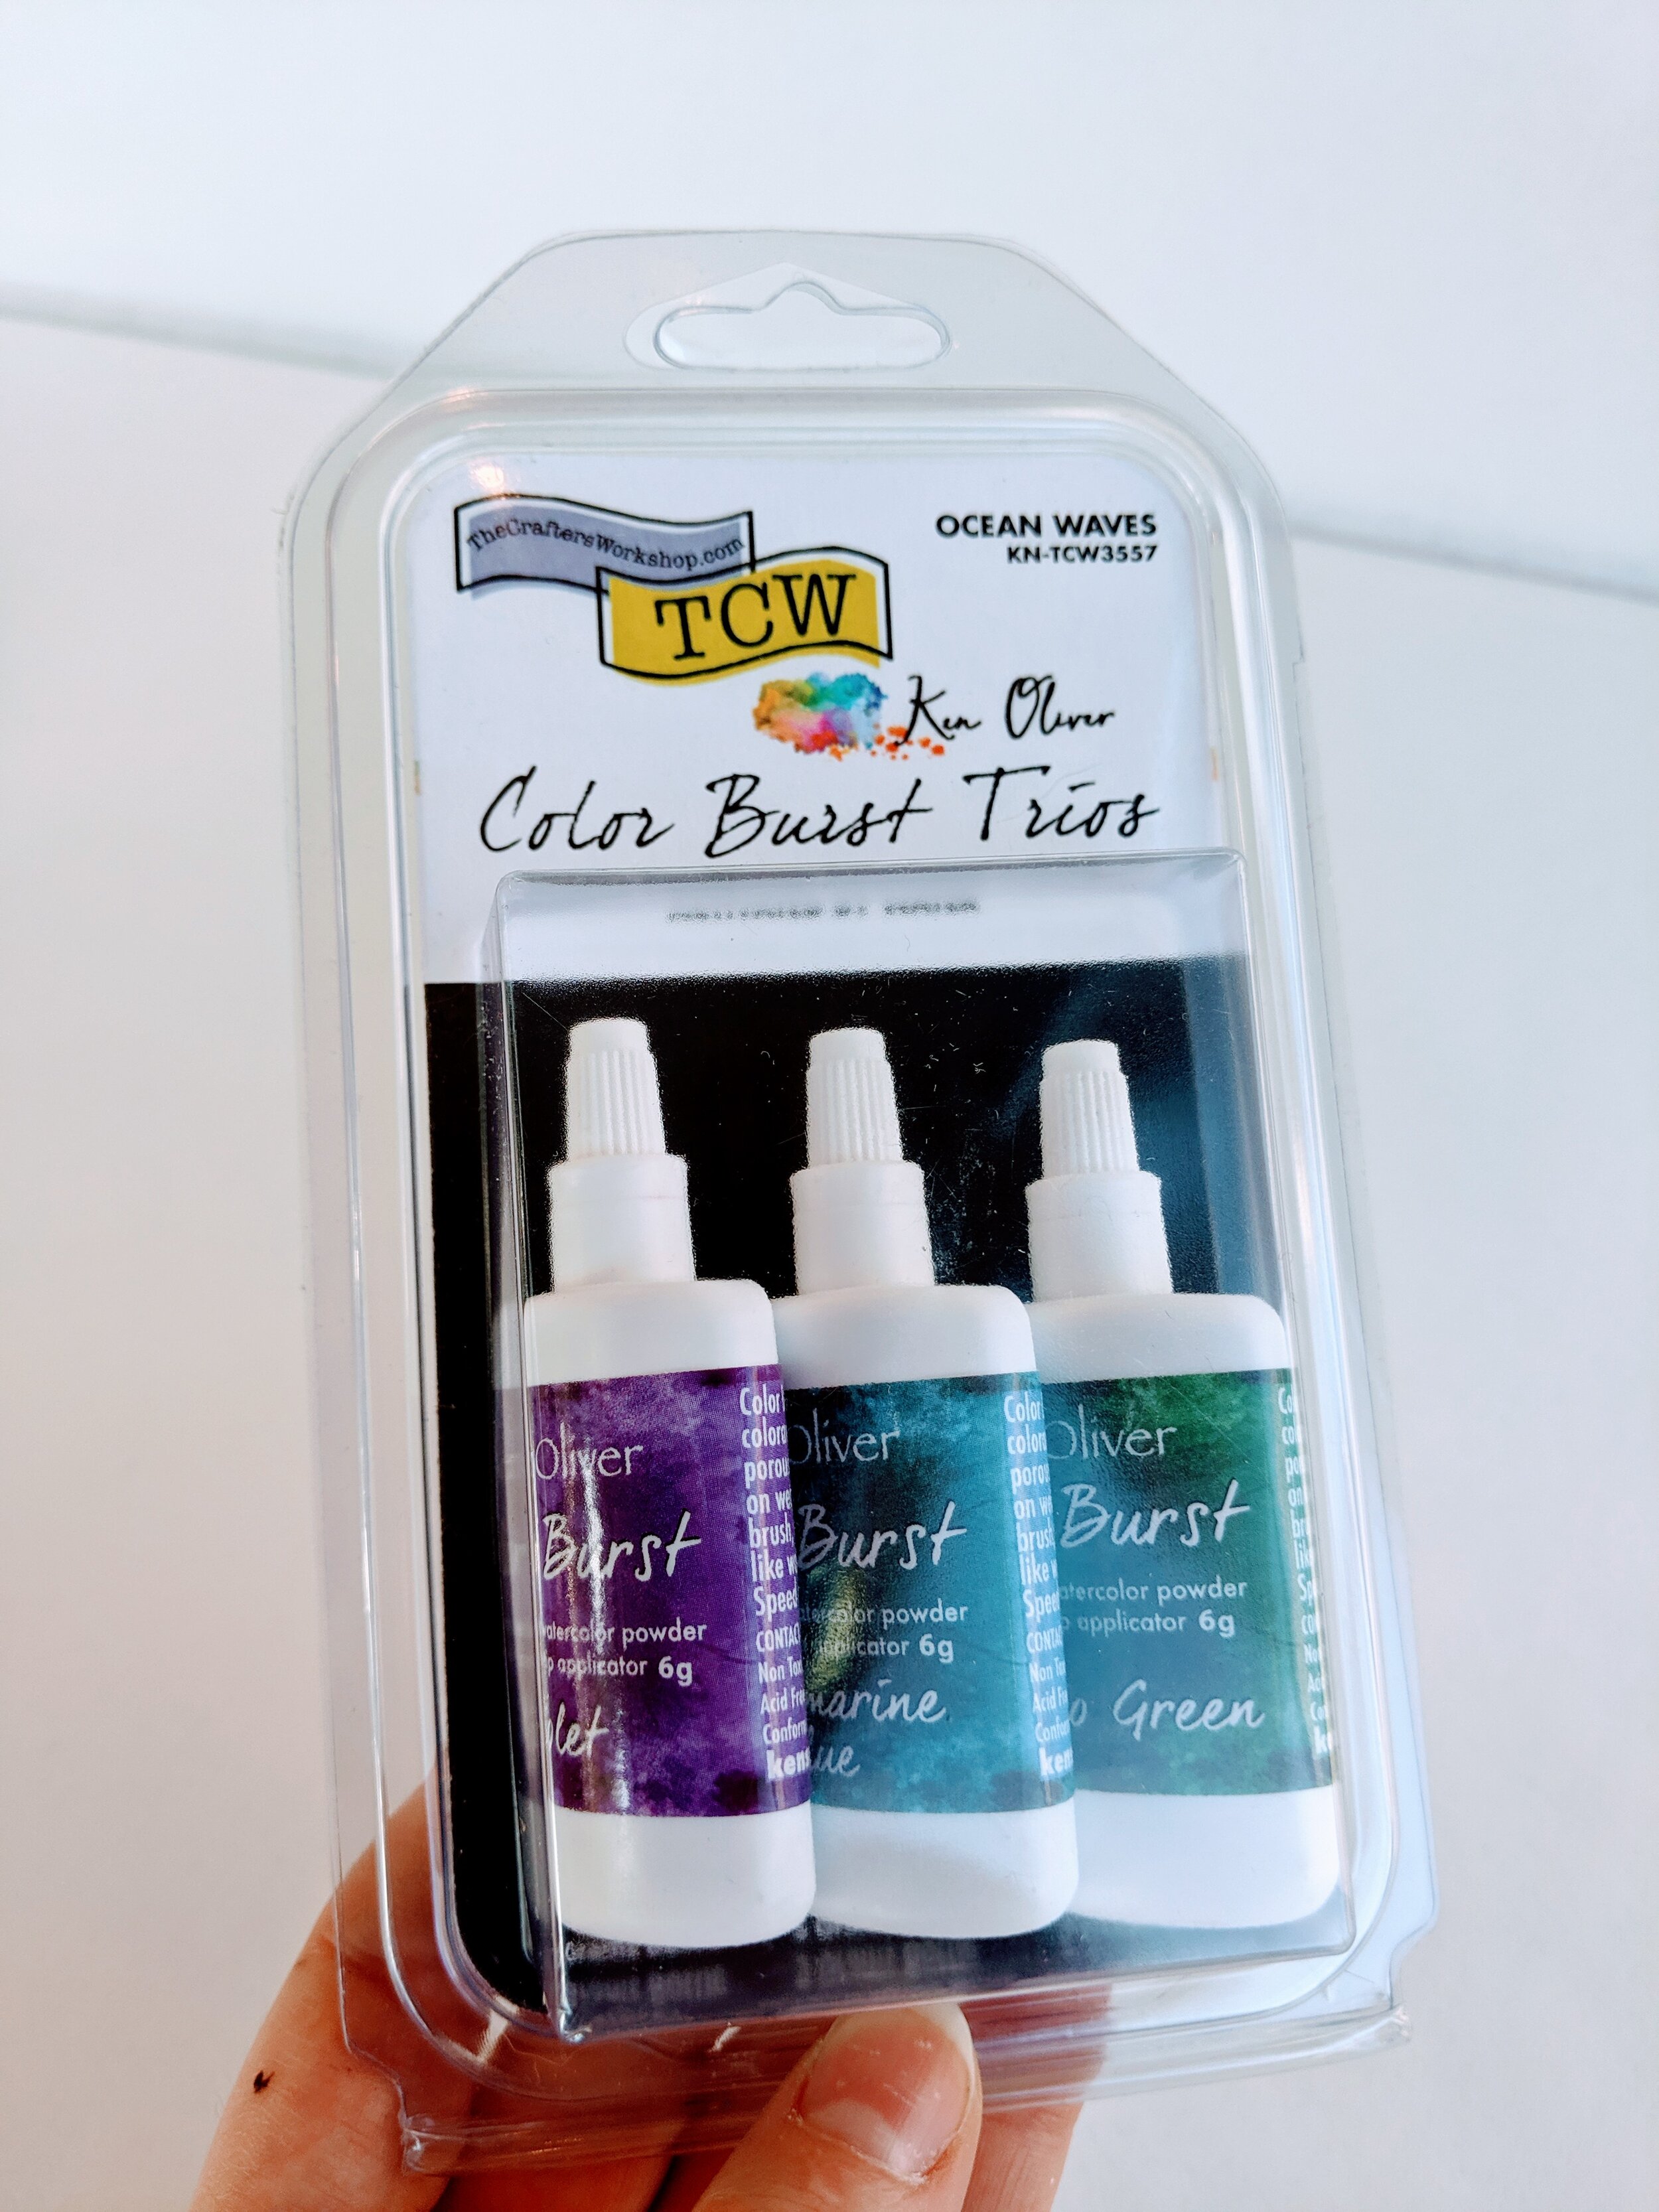
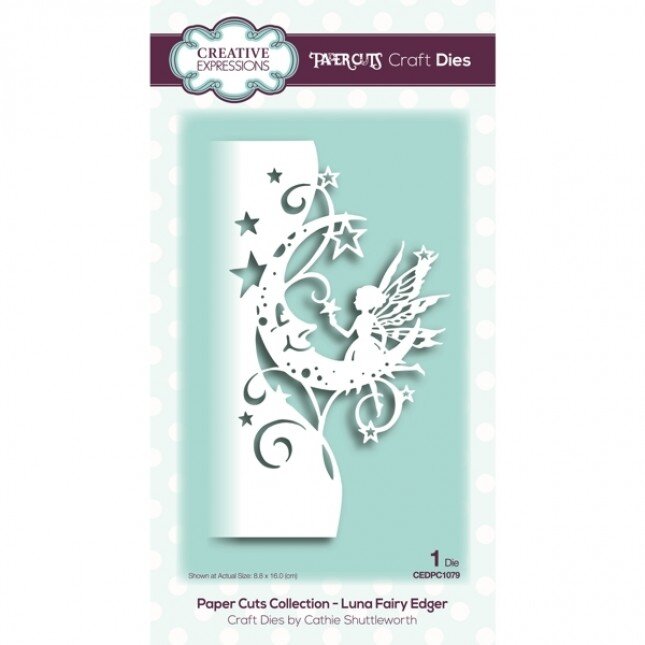
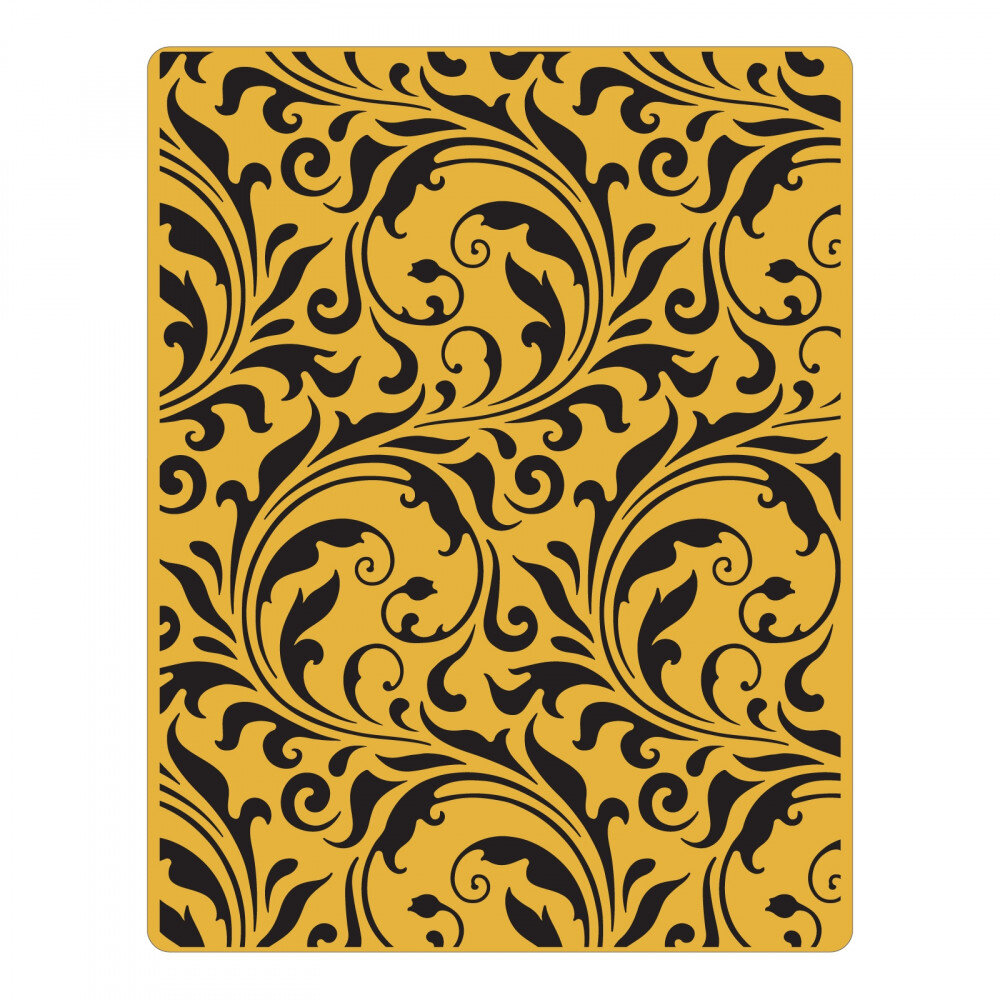
The first card was inspired by Ken Oliver’s Color Burst, Creative Expressions die-cut: Luna Fairy Edger, and this embossing folder from Sizzix: Flourish
To make the card:
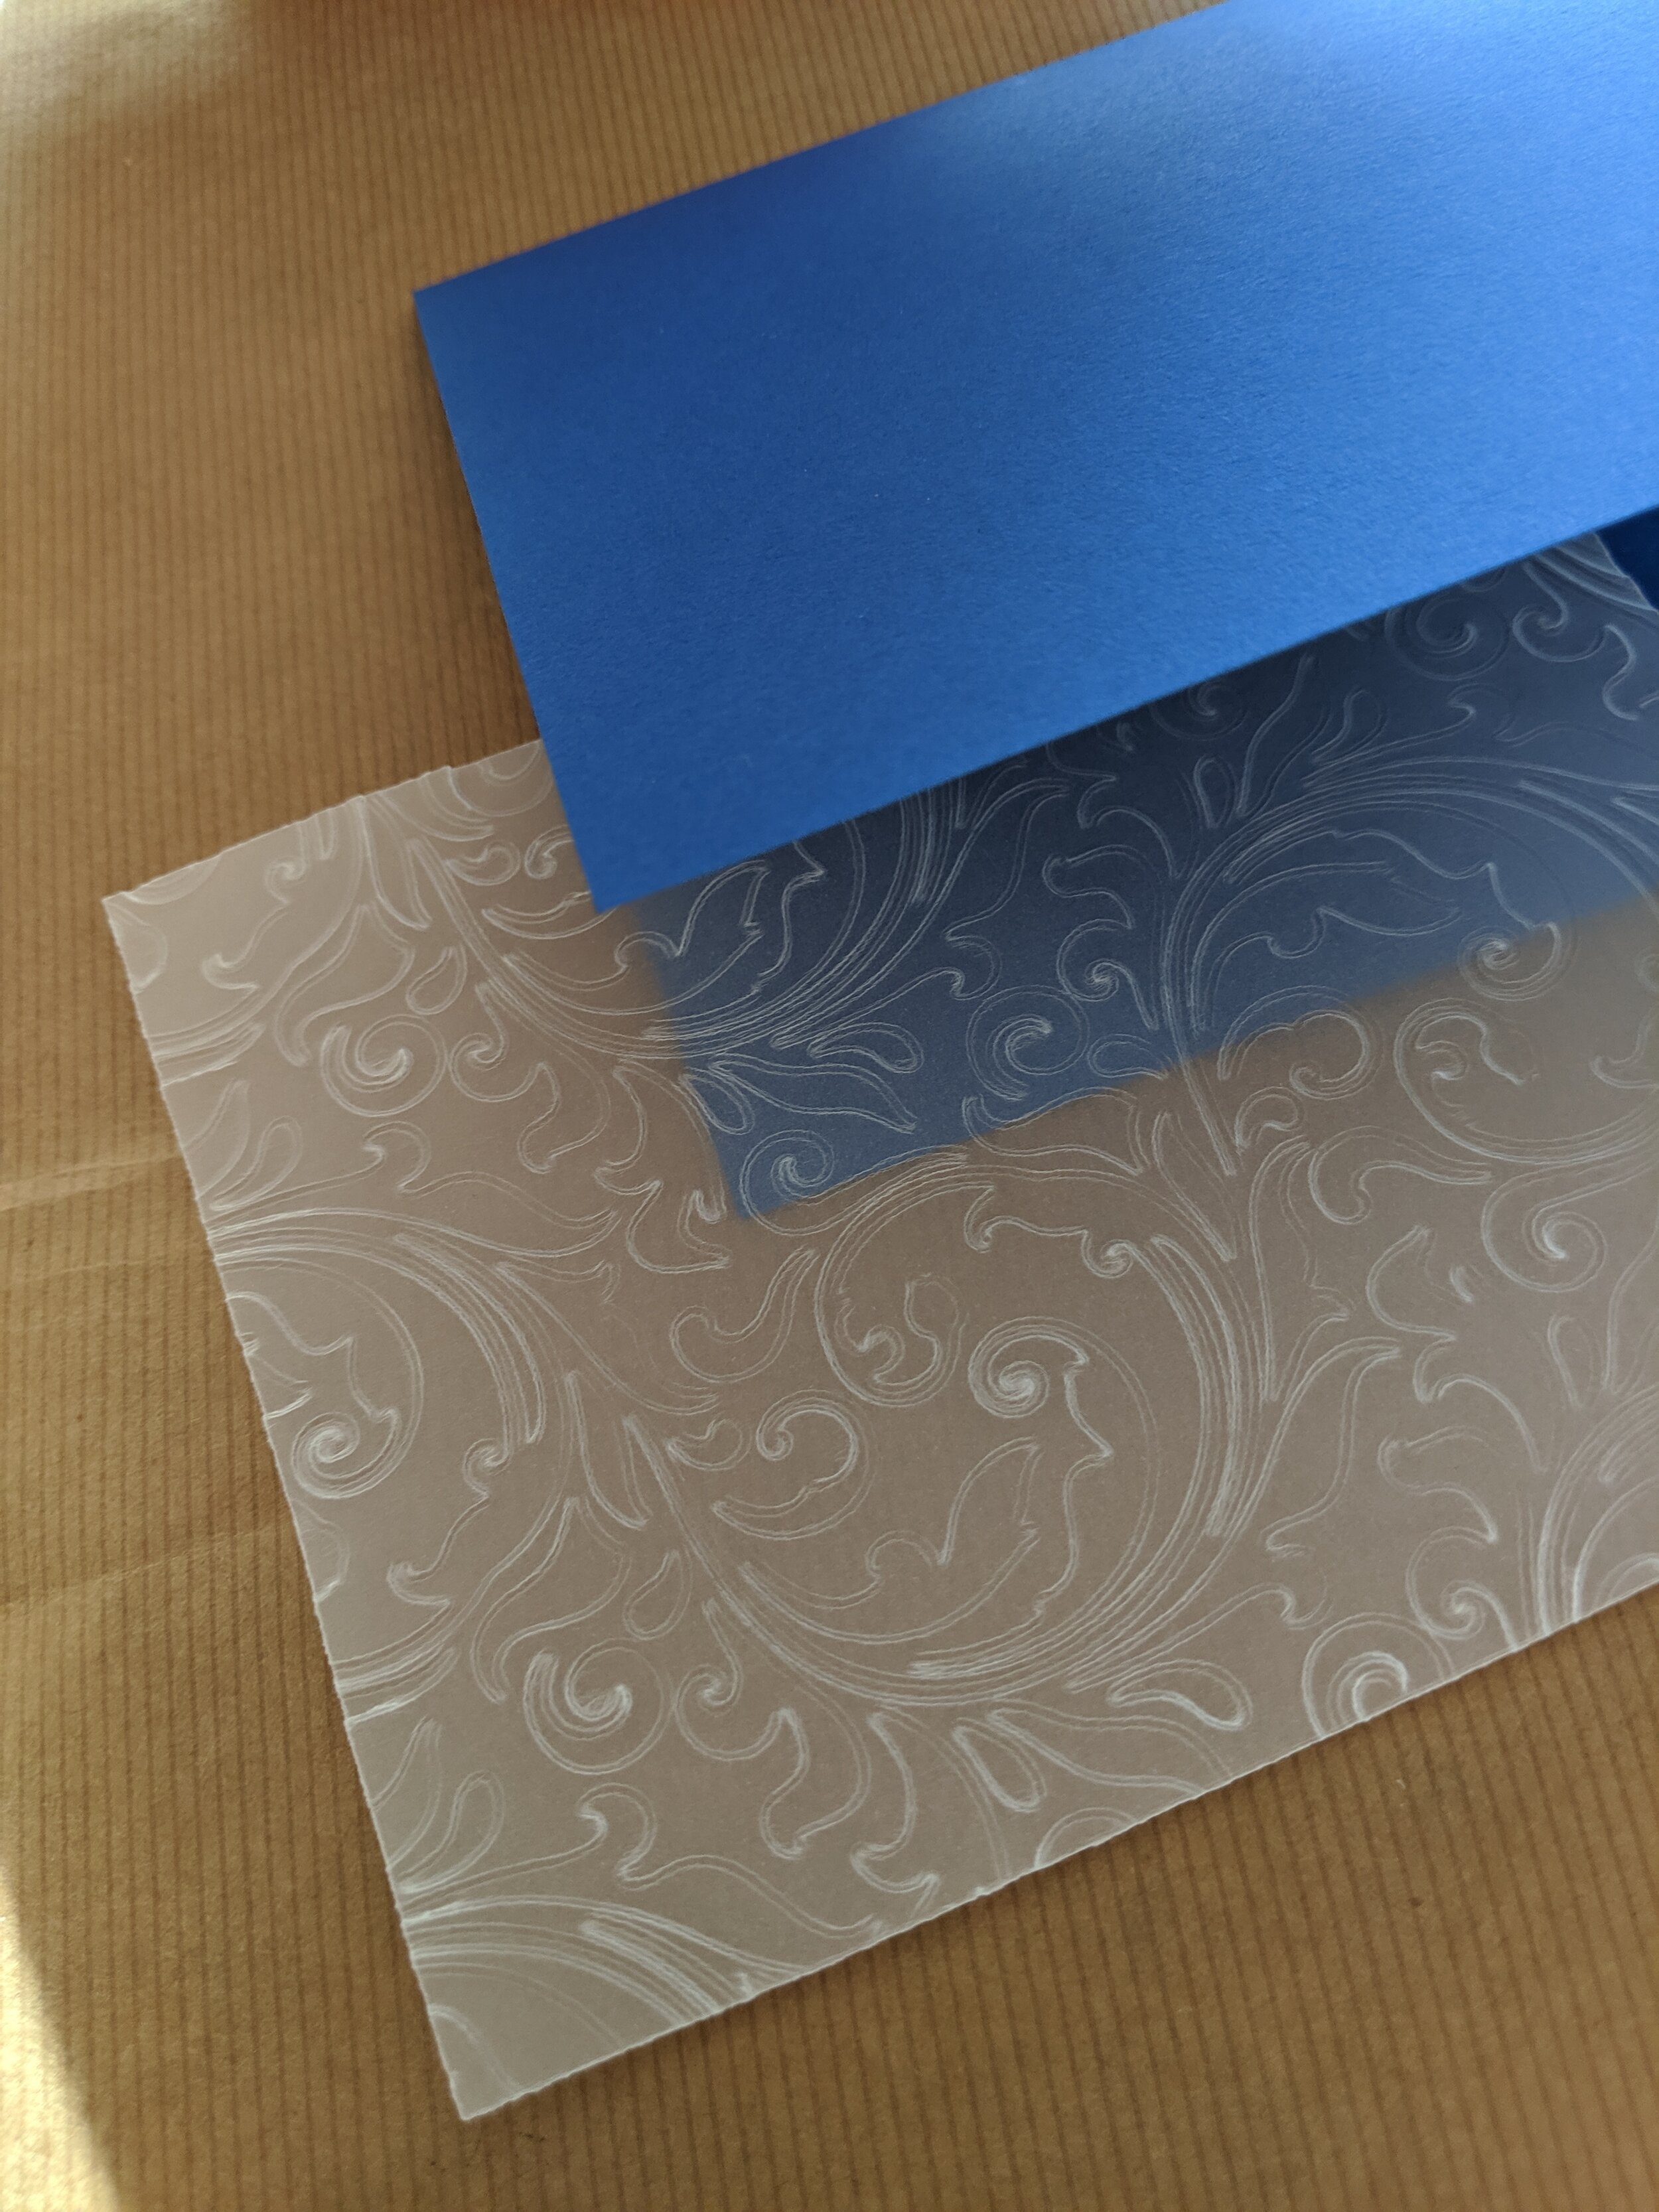
Start out with a dark blue card stock card base
Use a thick piece of Vellum (36 lb.) and emboss it with the Flourish Embossing Folder by running it through your Home-Die-Cut Machine
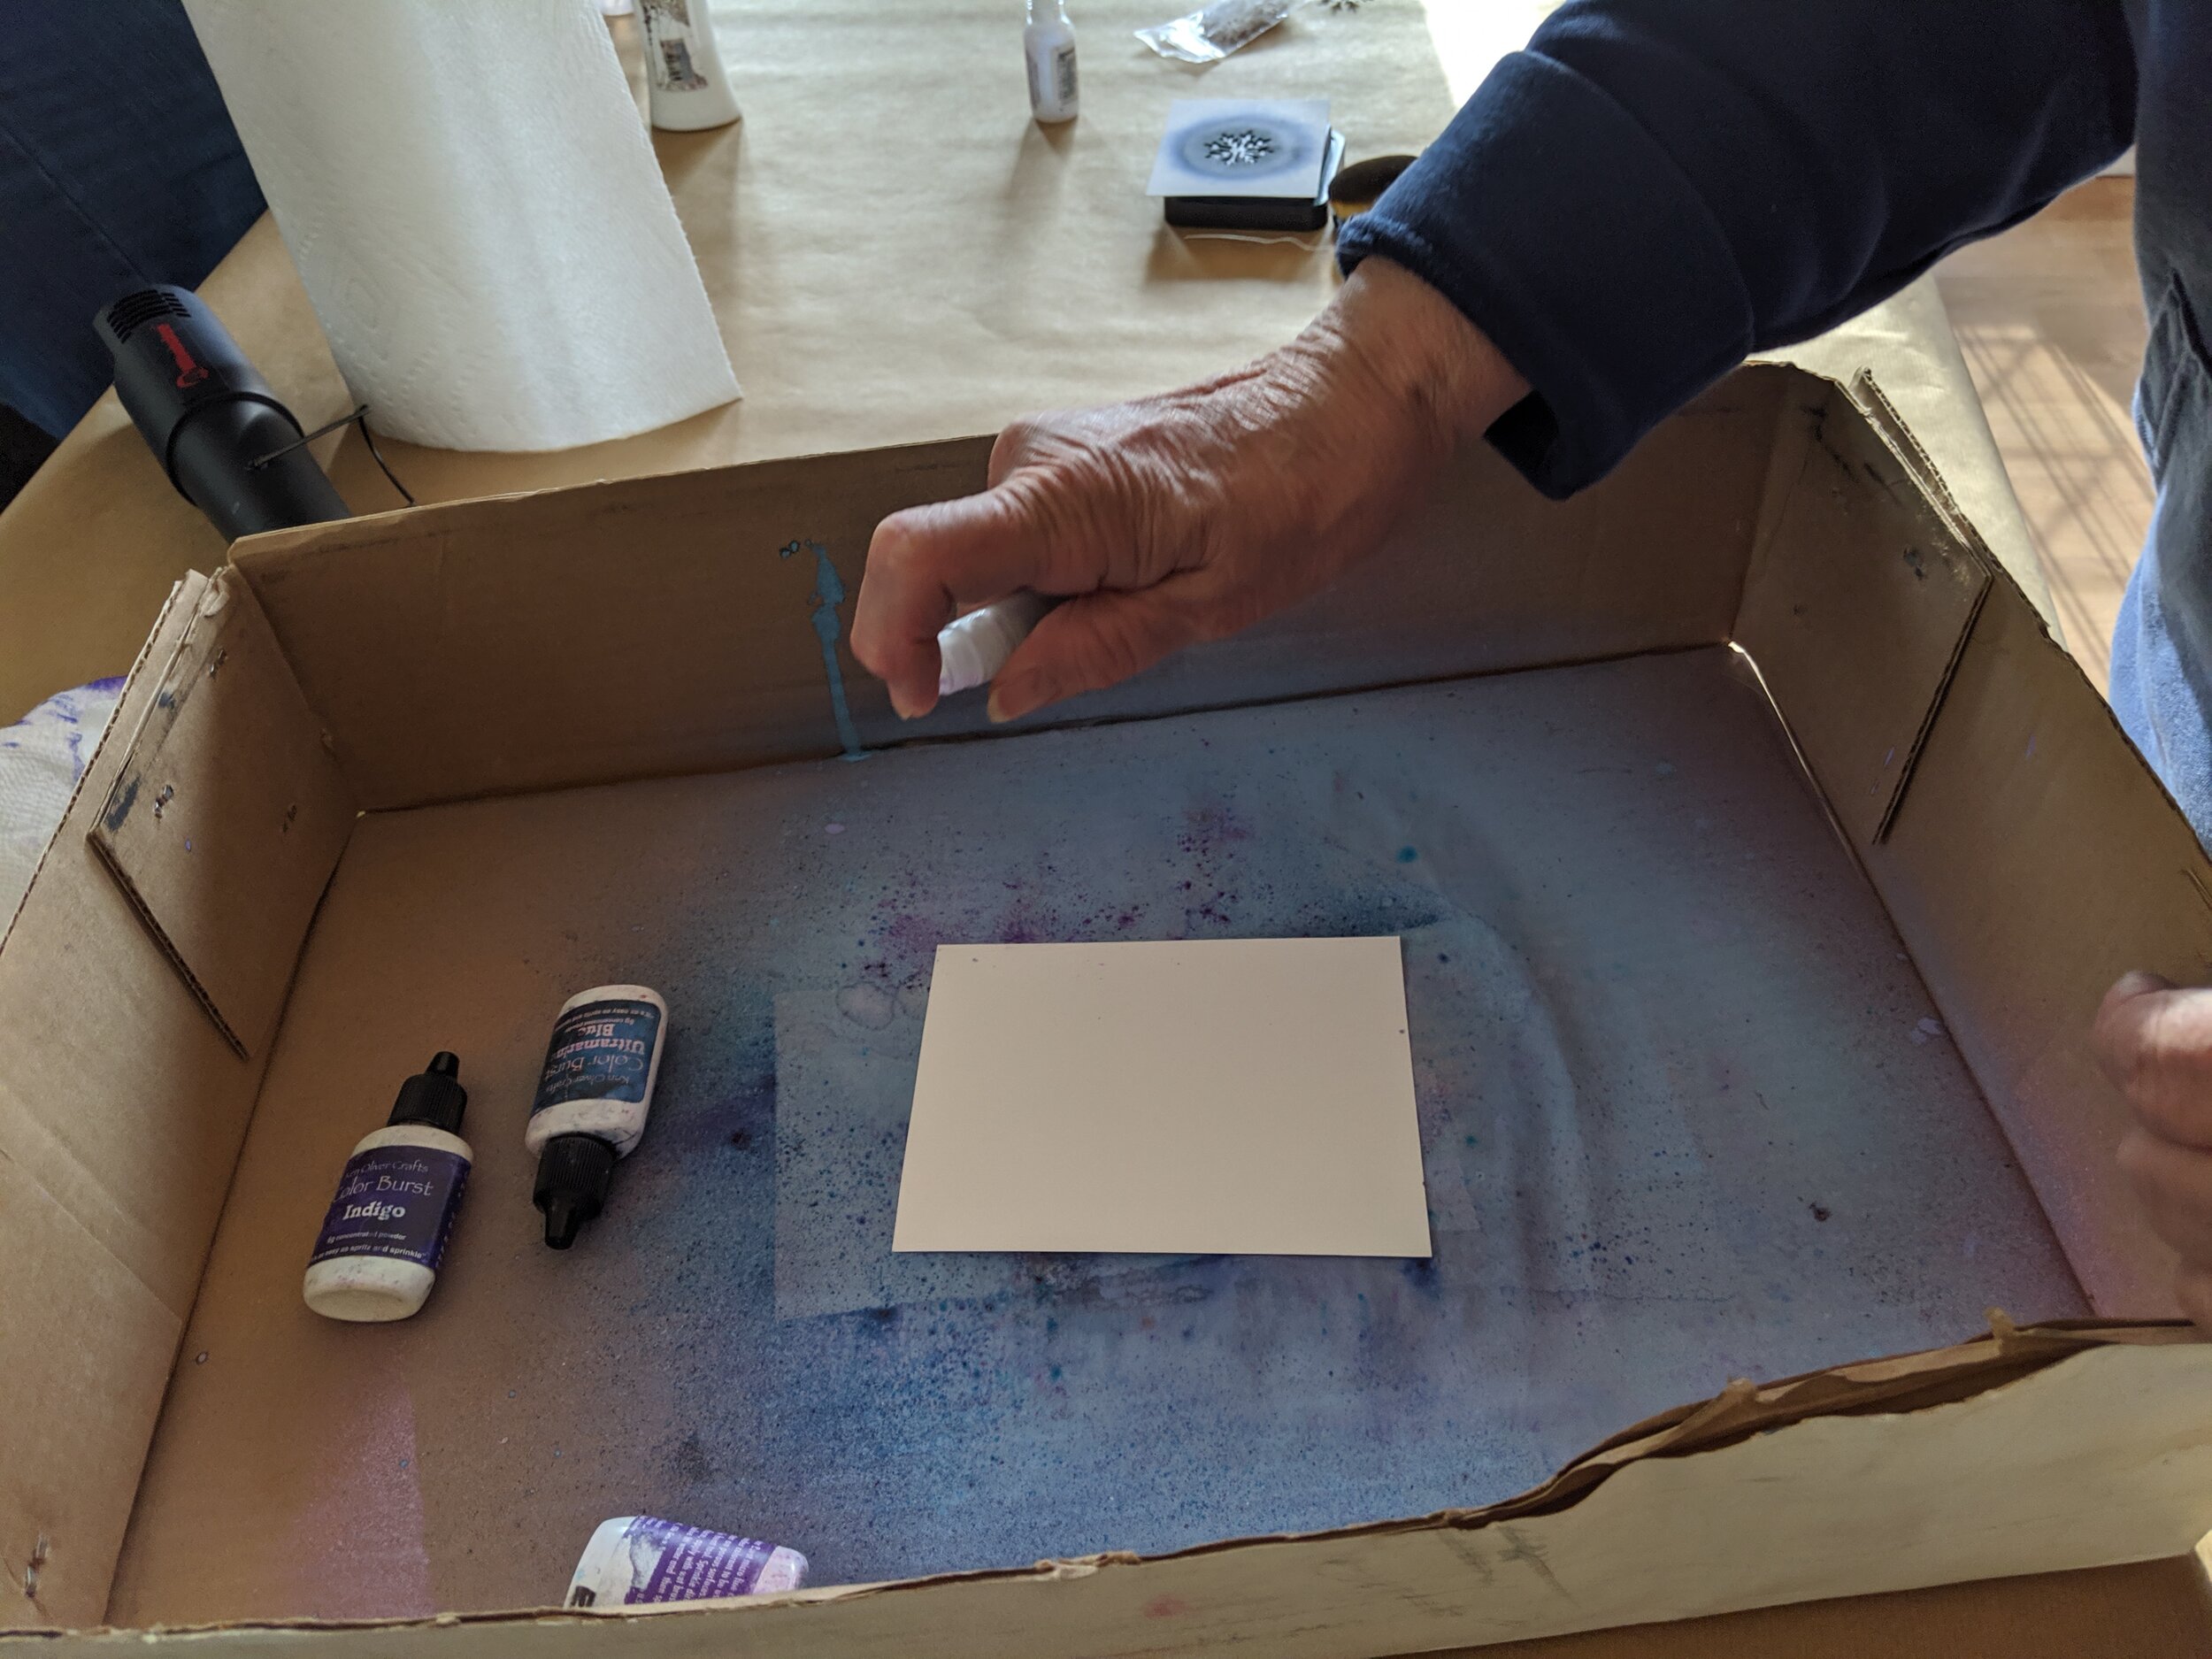
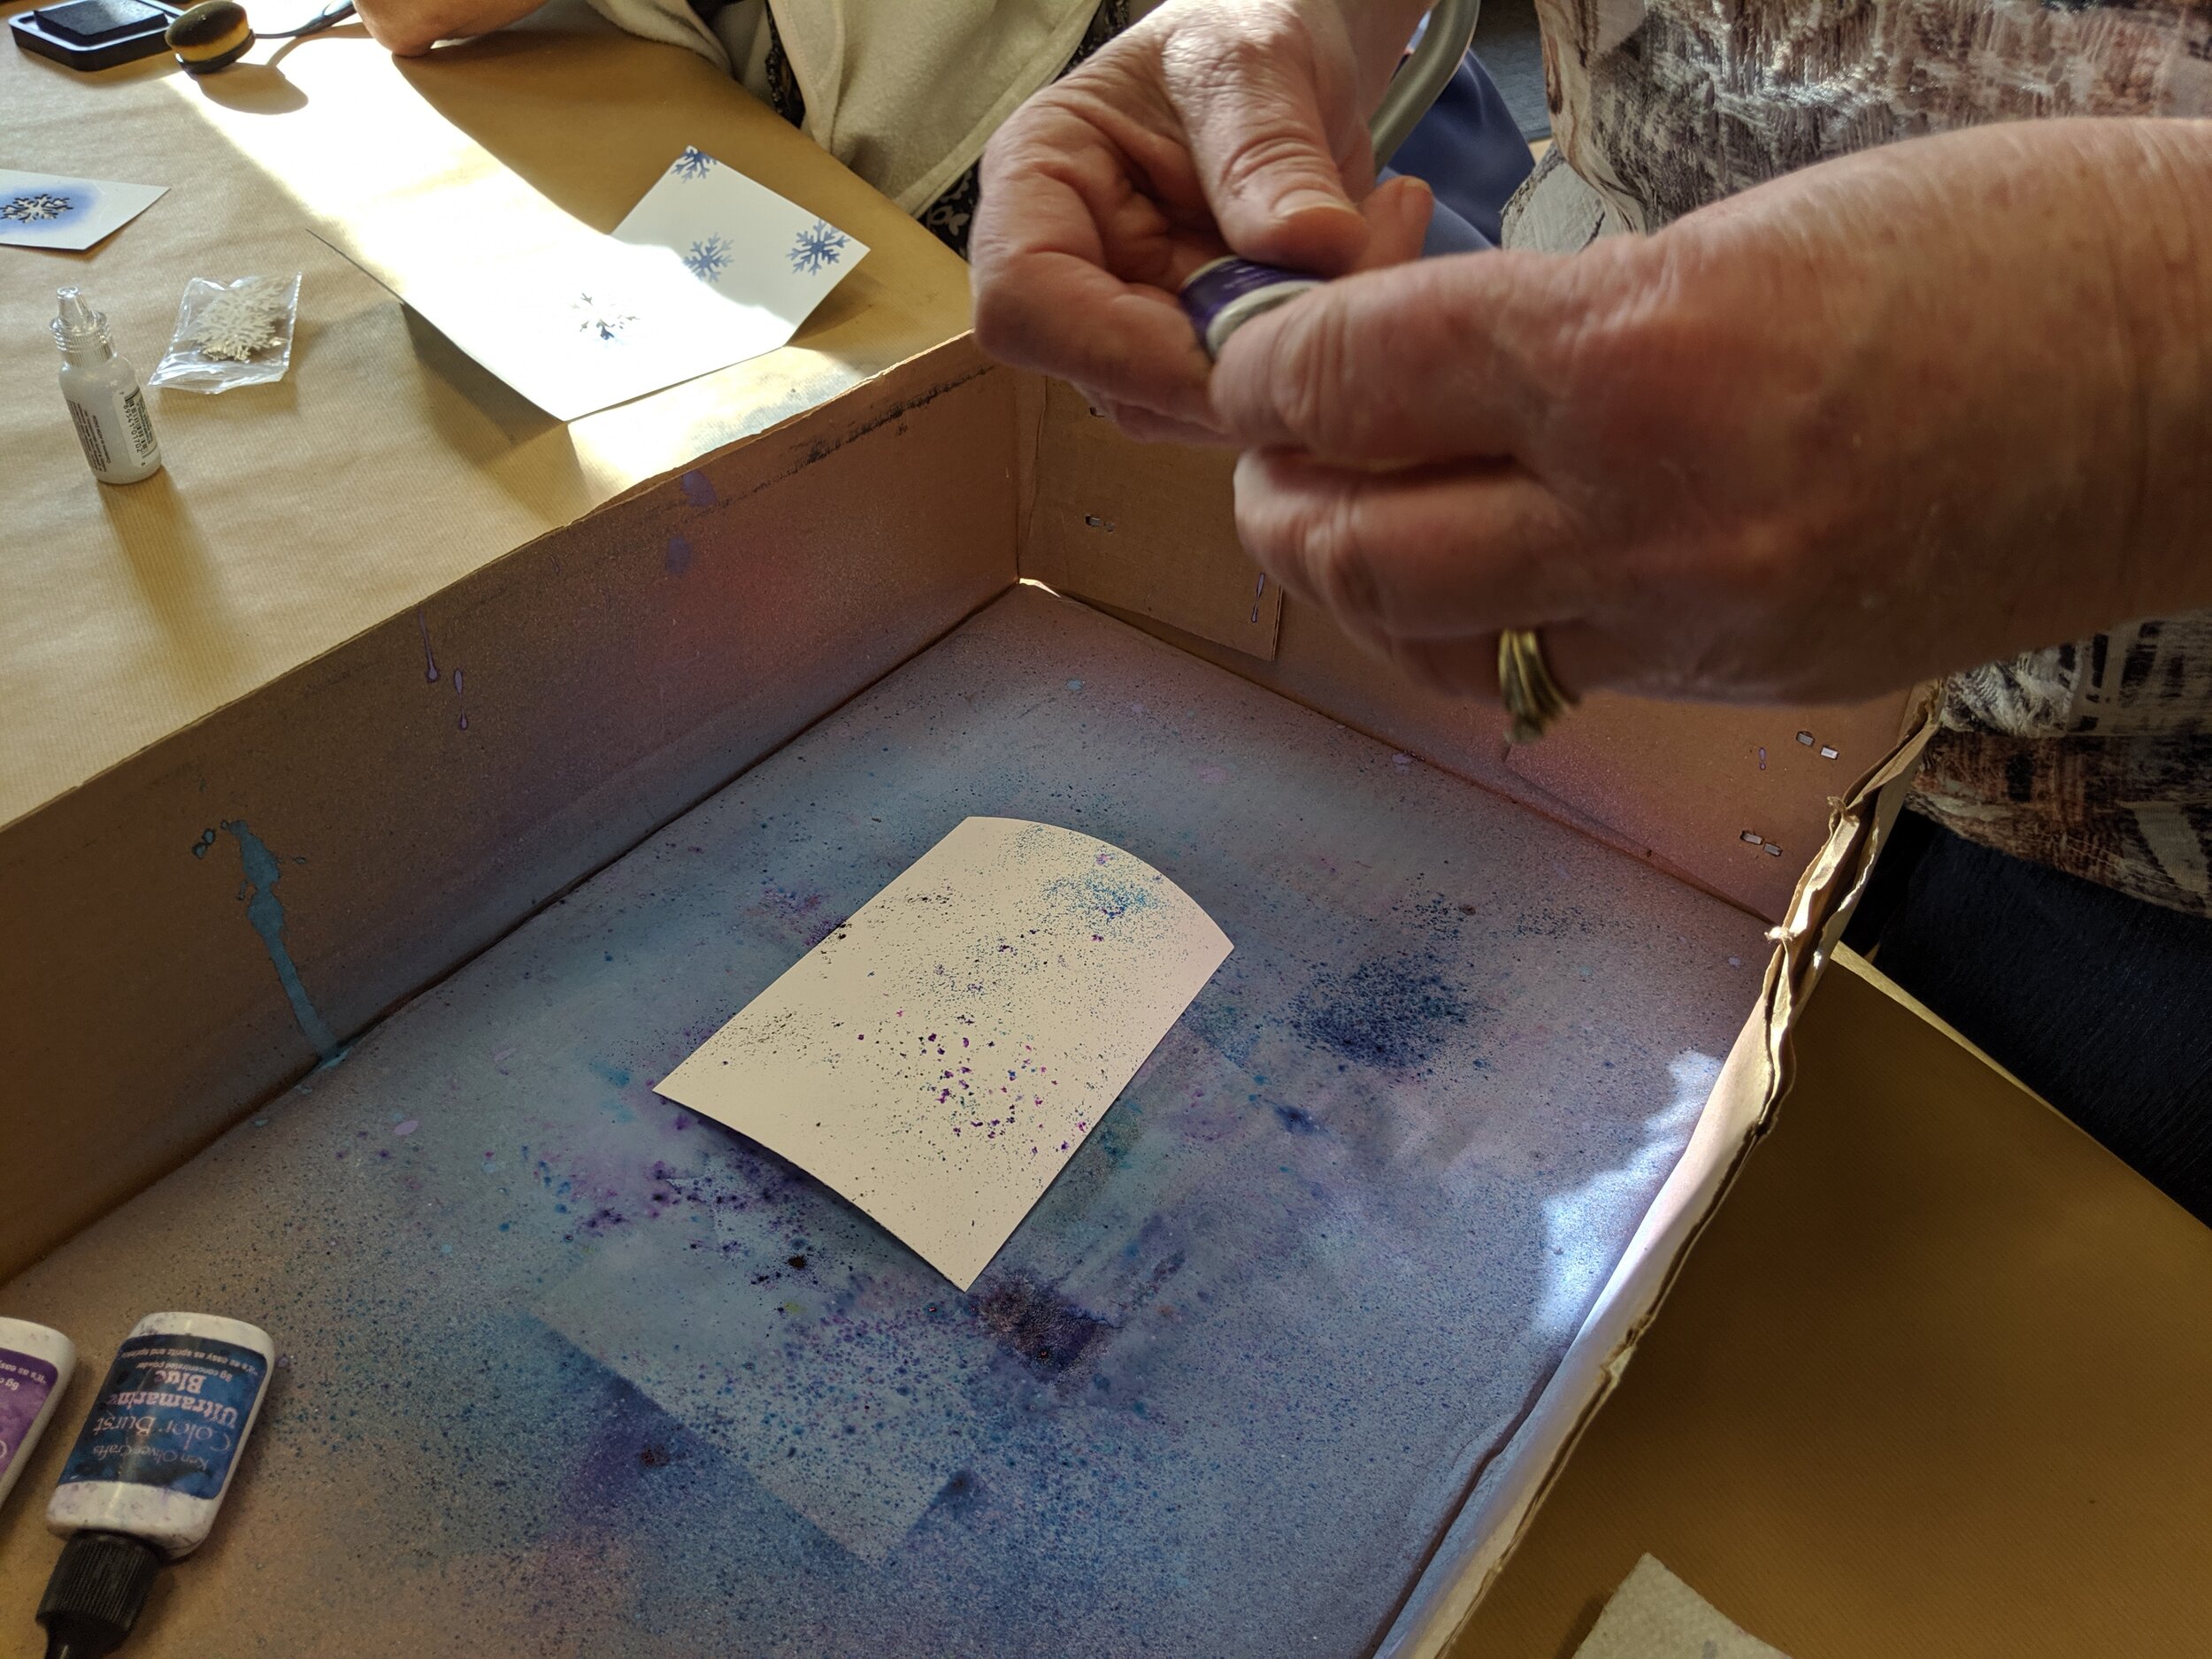
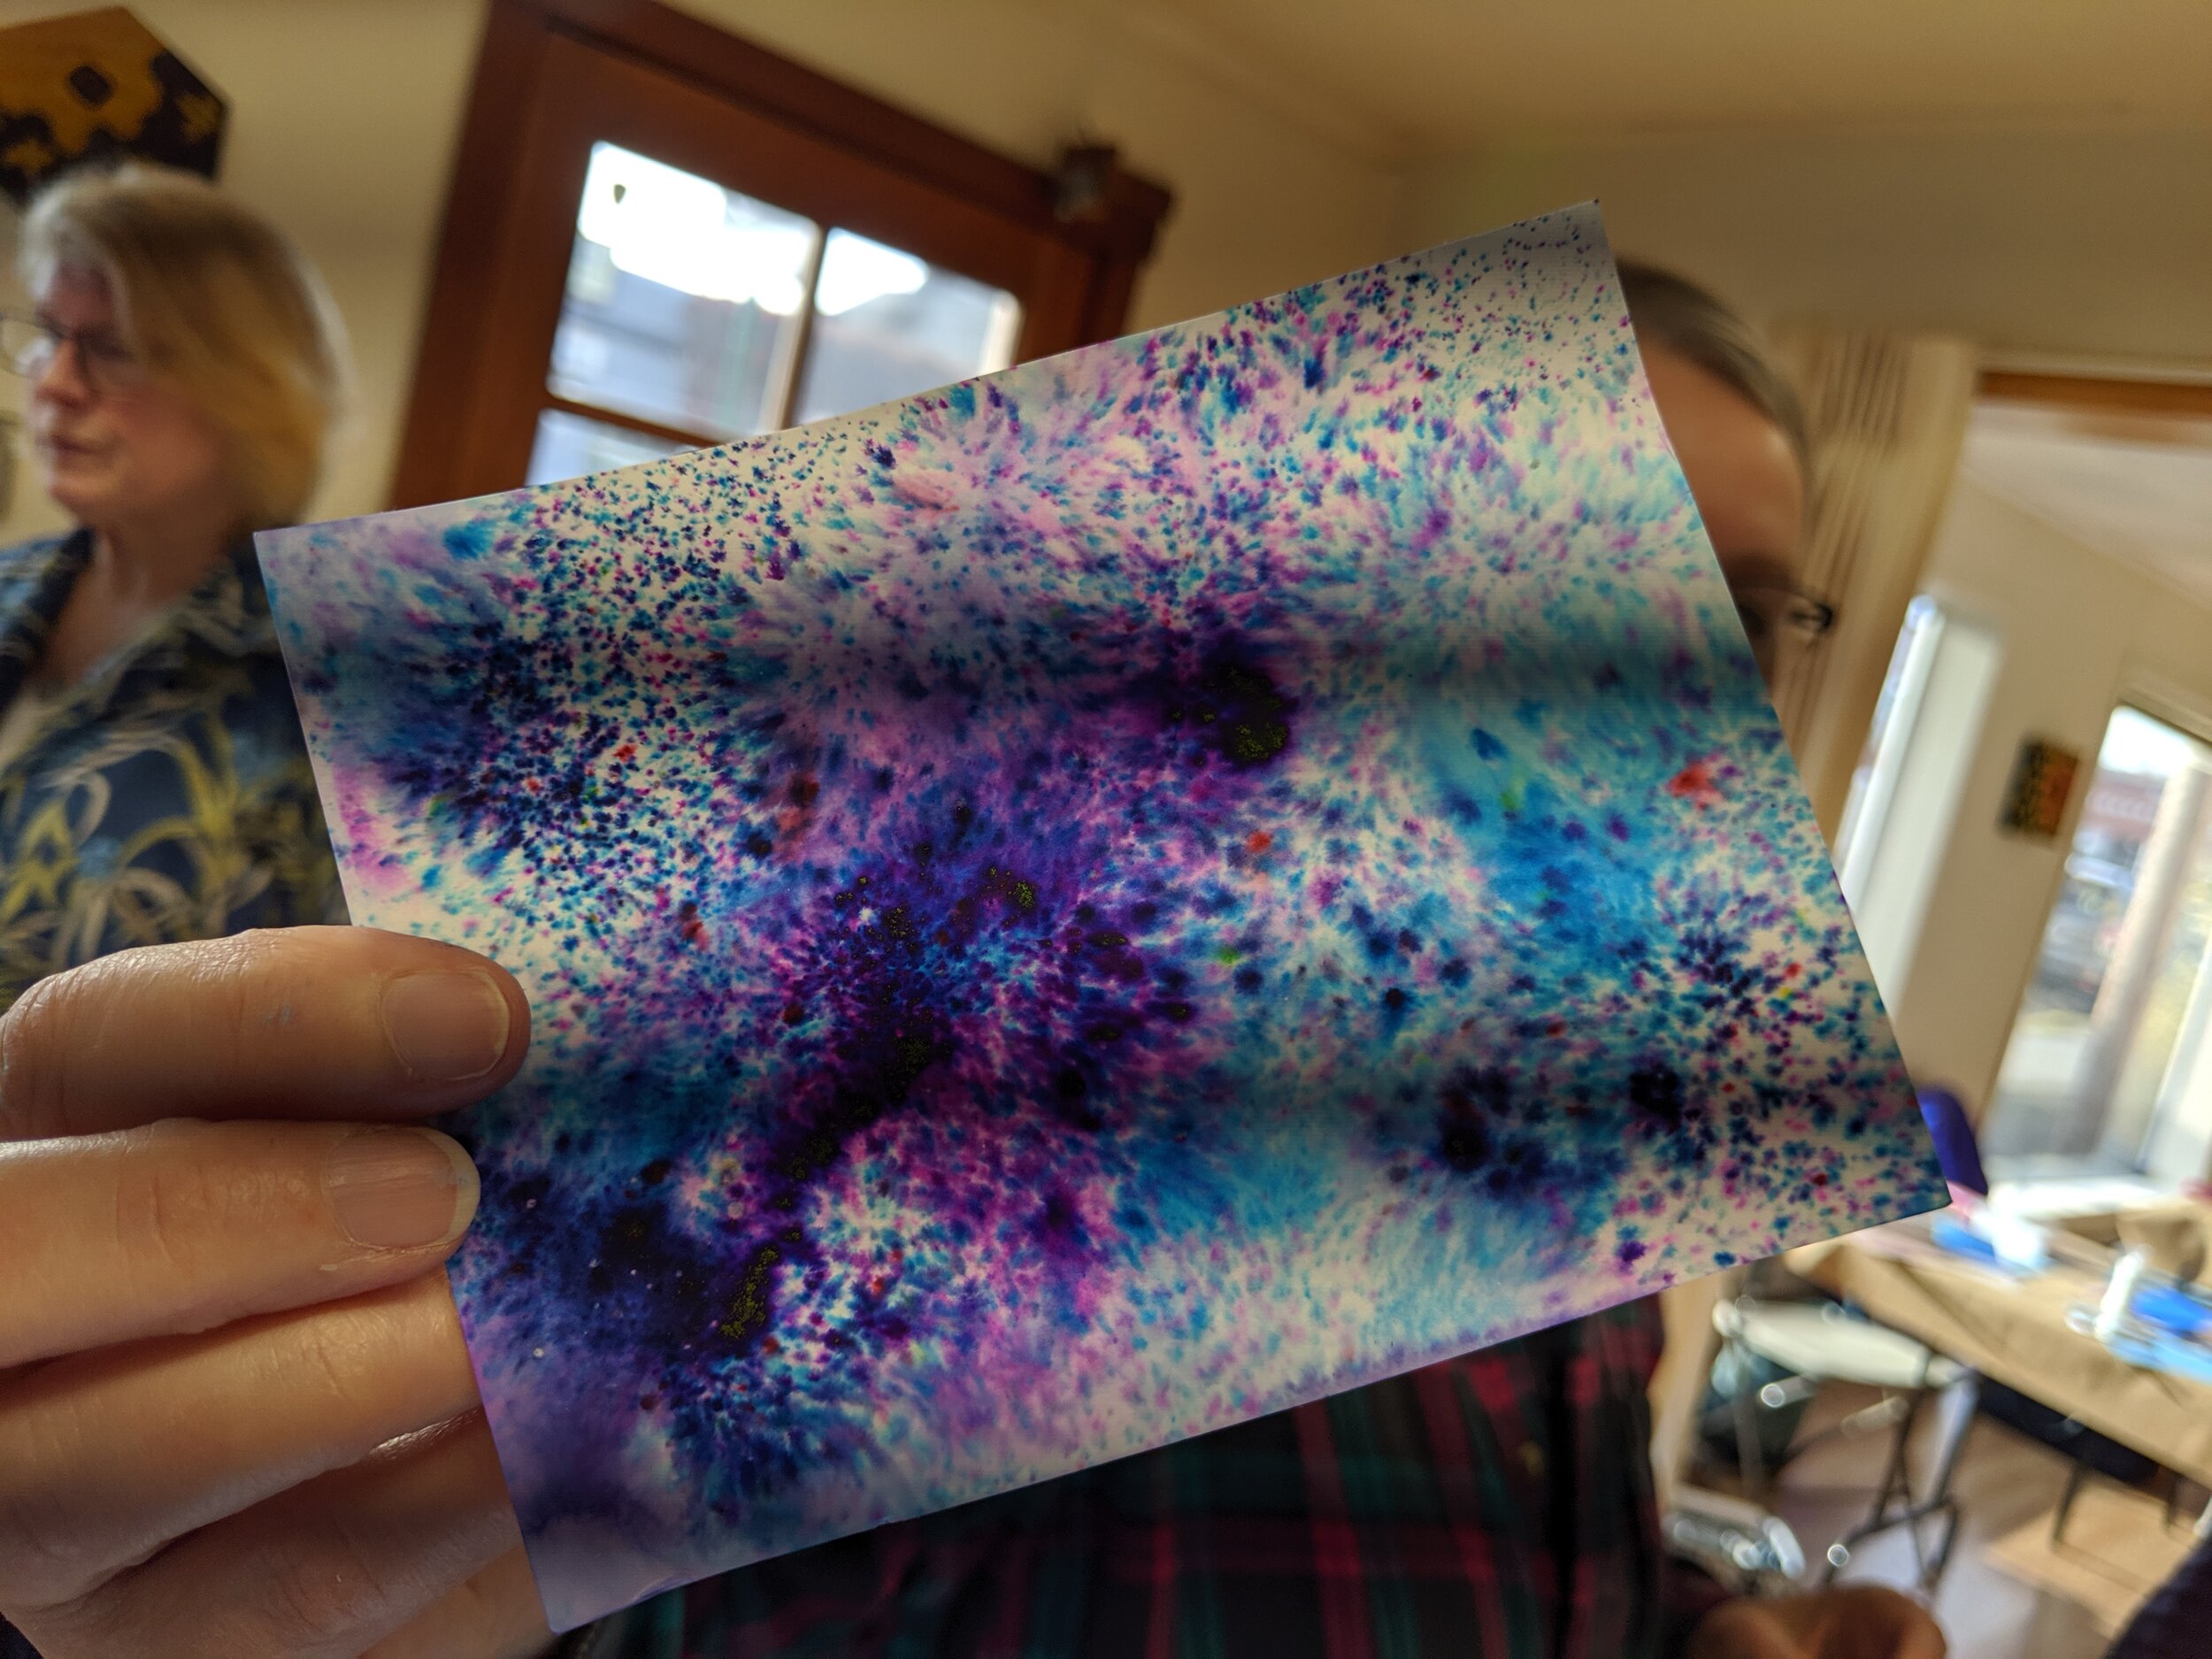
Now take a smaller piece (about a quarter-sheet size) of Solar White Card Stock. Do this in a box lid or some other spray-ink box. Spritz the card stock with a mini-mister so the page is wet. THEN tap out a little bit of Color Burst onto the card stock. You will see right away the colors activating and becoming vibrant!! I used Purple, Ultramarine, and Indigo colors of Color Burst. You can spritz more water to create different effects. If you like the particles of color showing, use less water. If you like the color flowing freely, use more water.
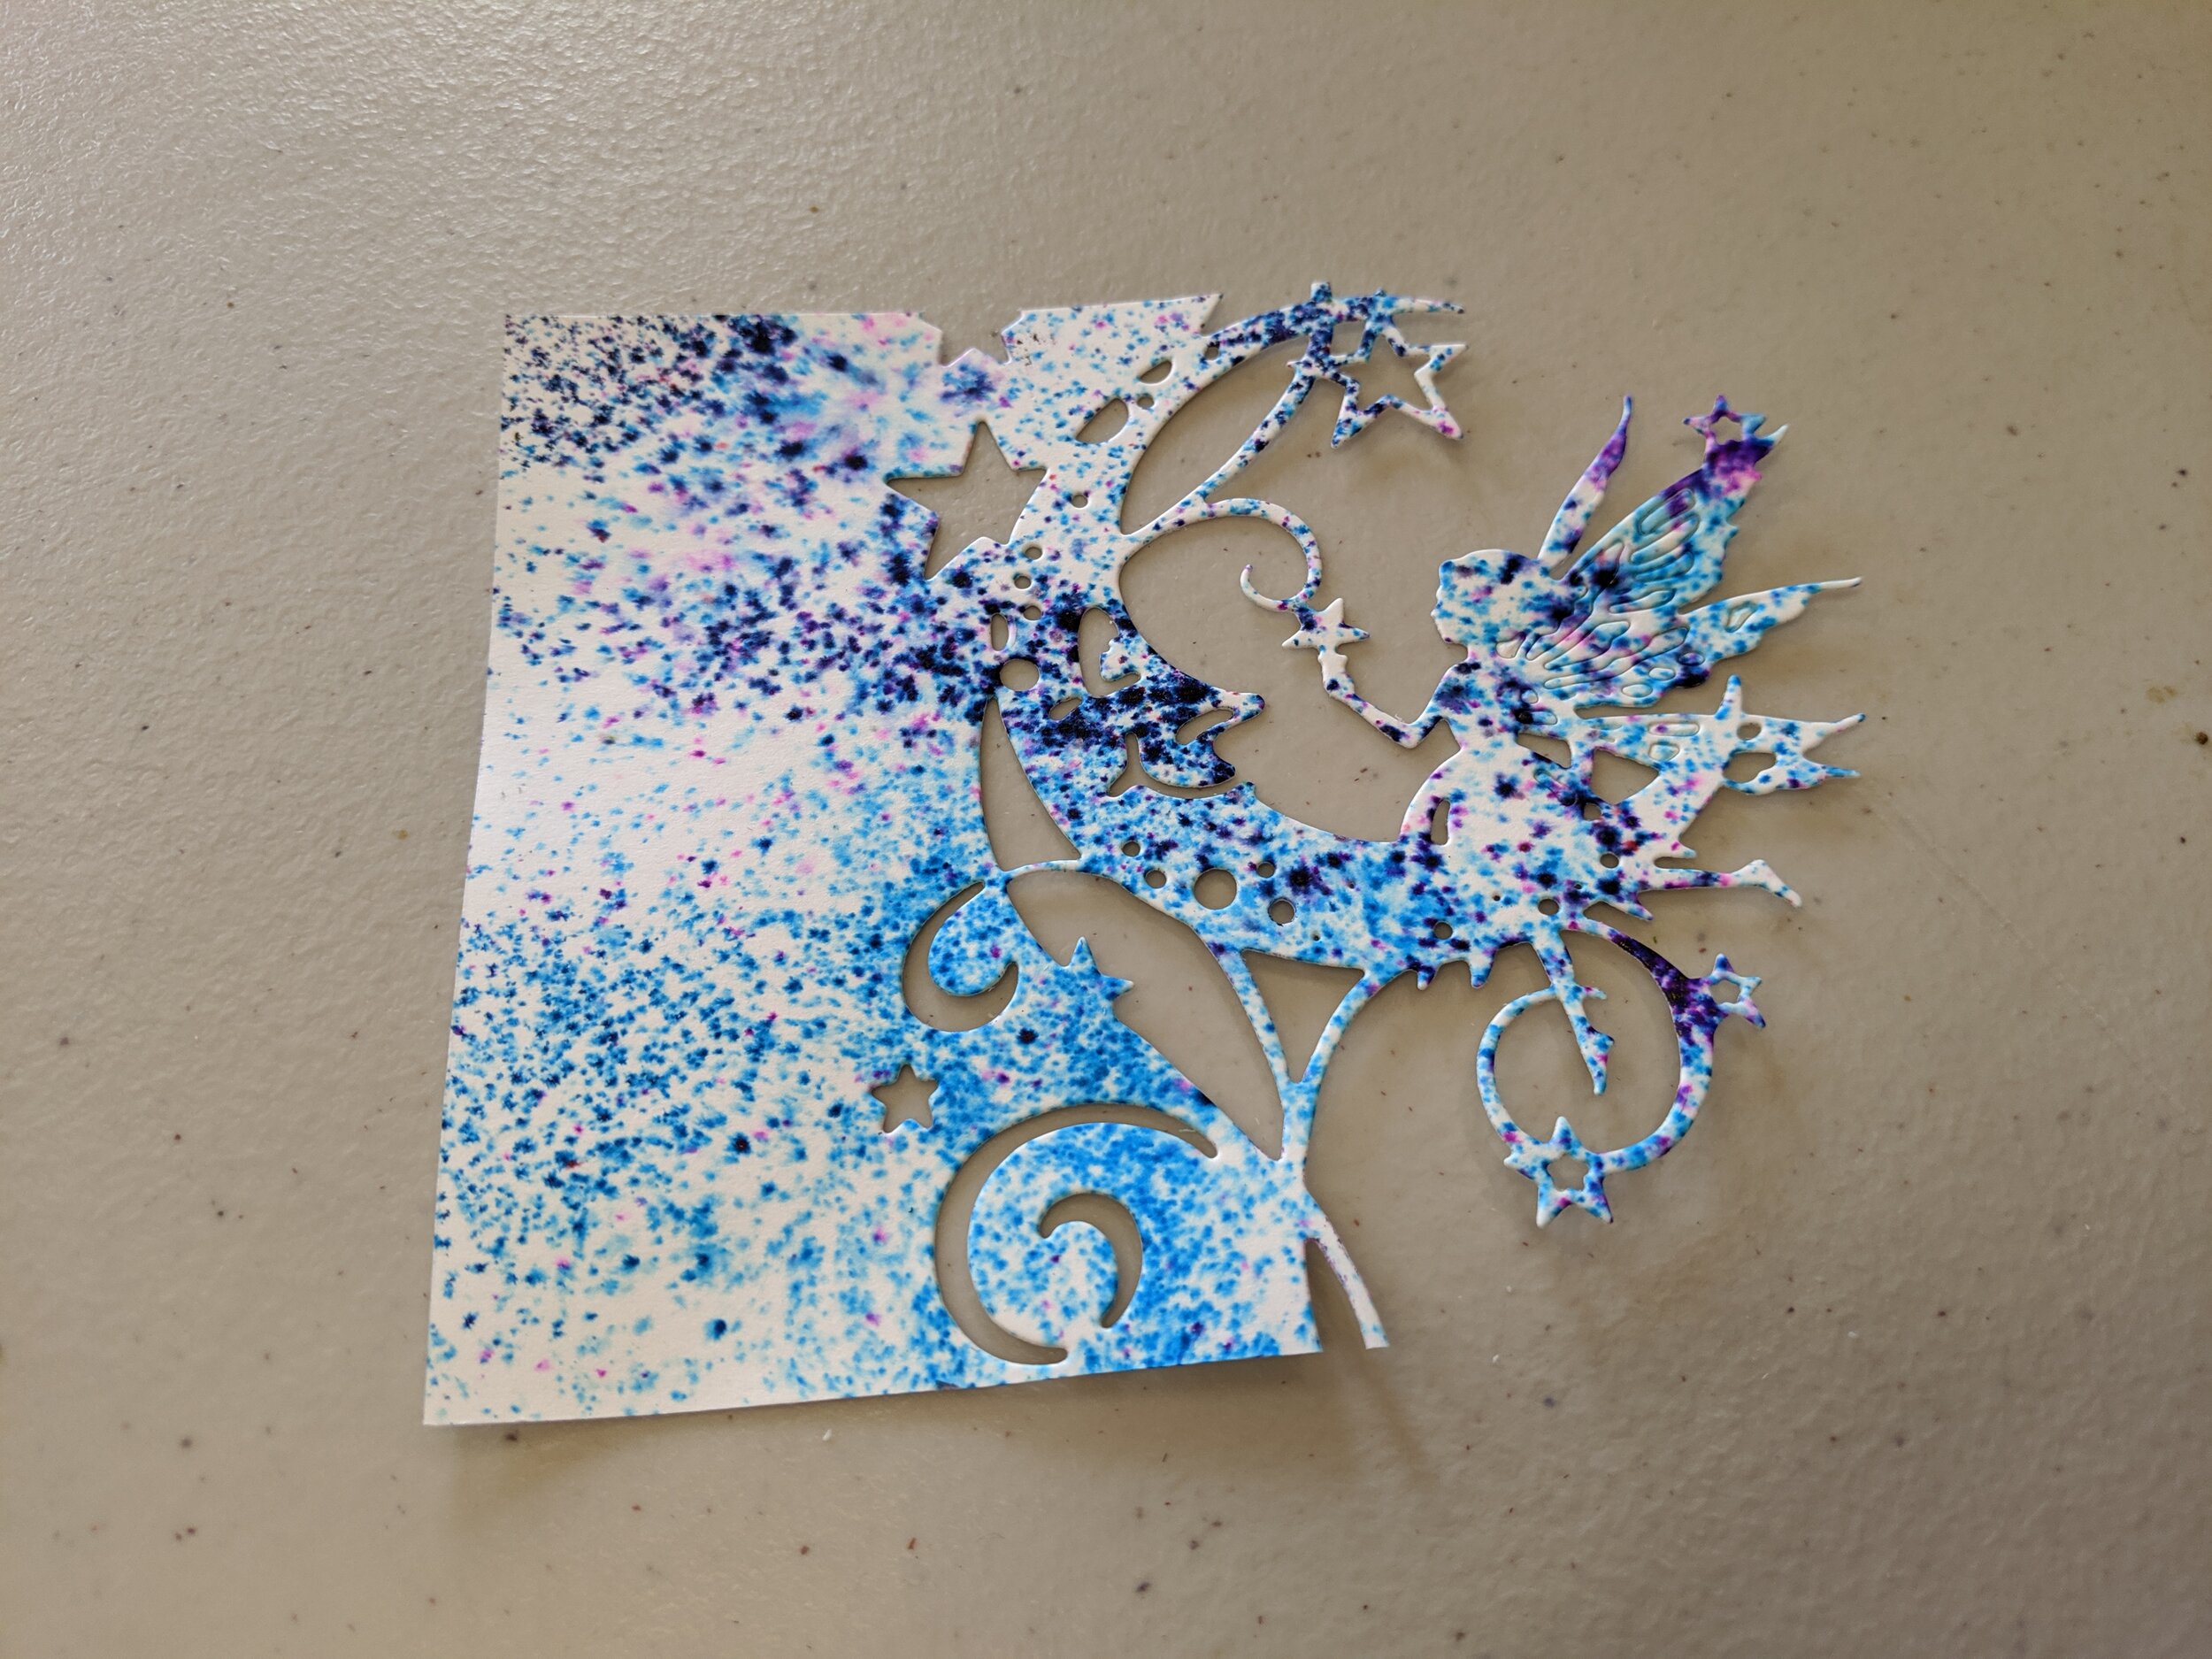
Now use the Home Die-Cut Machine to cut out the Luna Fairy Edger from the Color Burst background you created.
Use your Nuvo Deluxe Adhesive to adhere the Fairy Image to the front of your Vellum. I used Adhesive on the LEFT side of the image and used Pop Dots to pop-up the moon image on the RIGHT side. I put a pop dot behind the fairy’s head and behind the moon.
To adhere the Vellum to the card base, only put glue on the Vellum where you will not see the glue. Vellum is see-through so you want to make sure you use the adhesive in secret areas… like on the left side of the vellum where it is hidden behind the die-cut or behind the wing of the fairy.
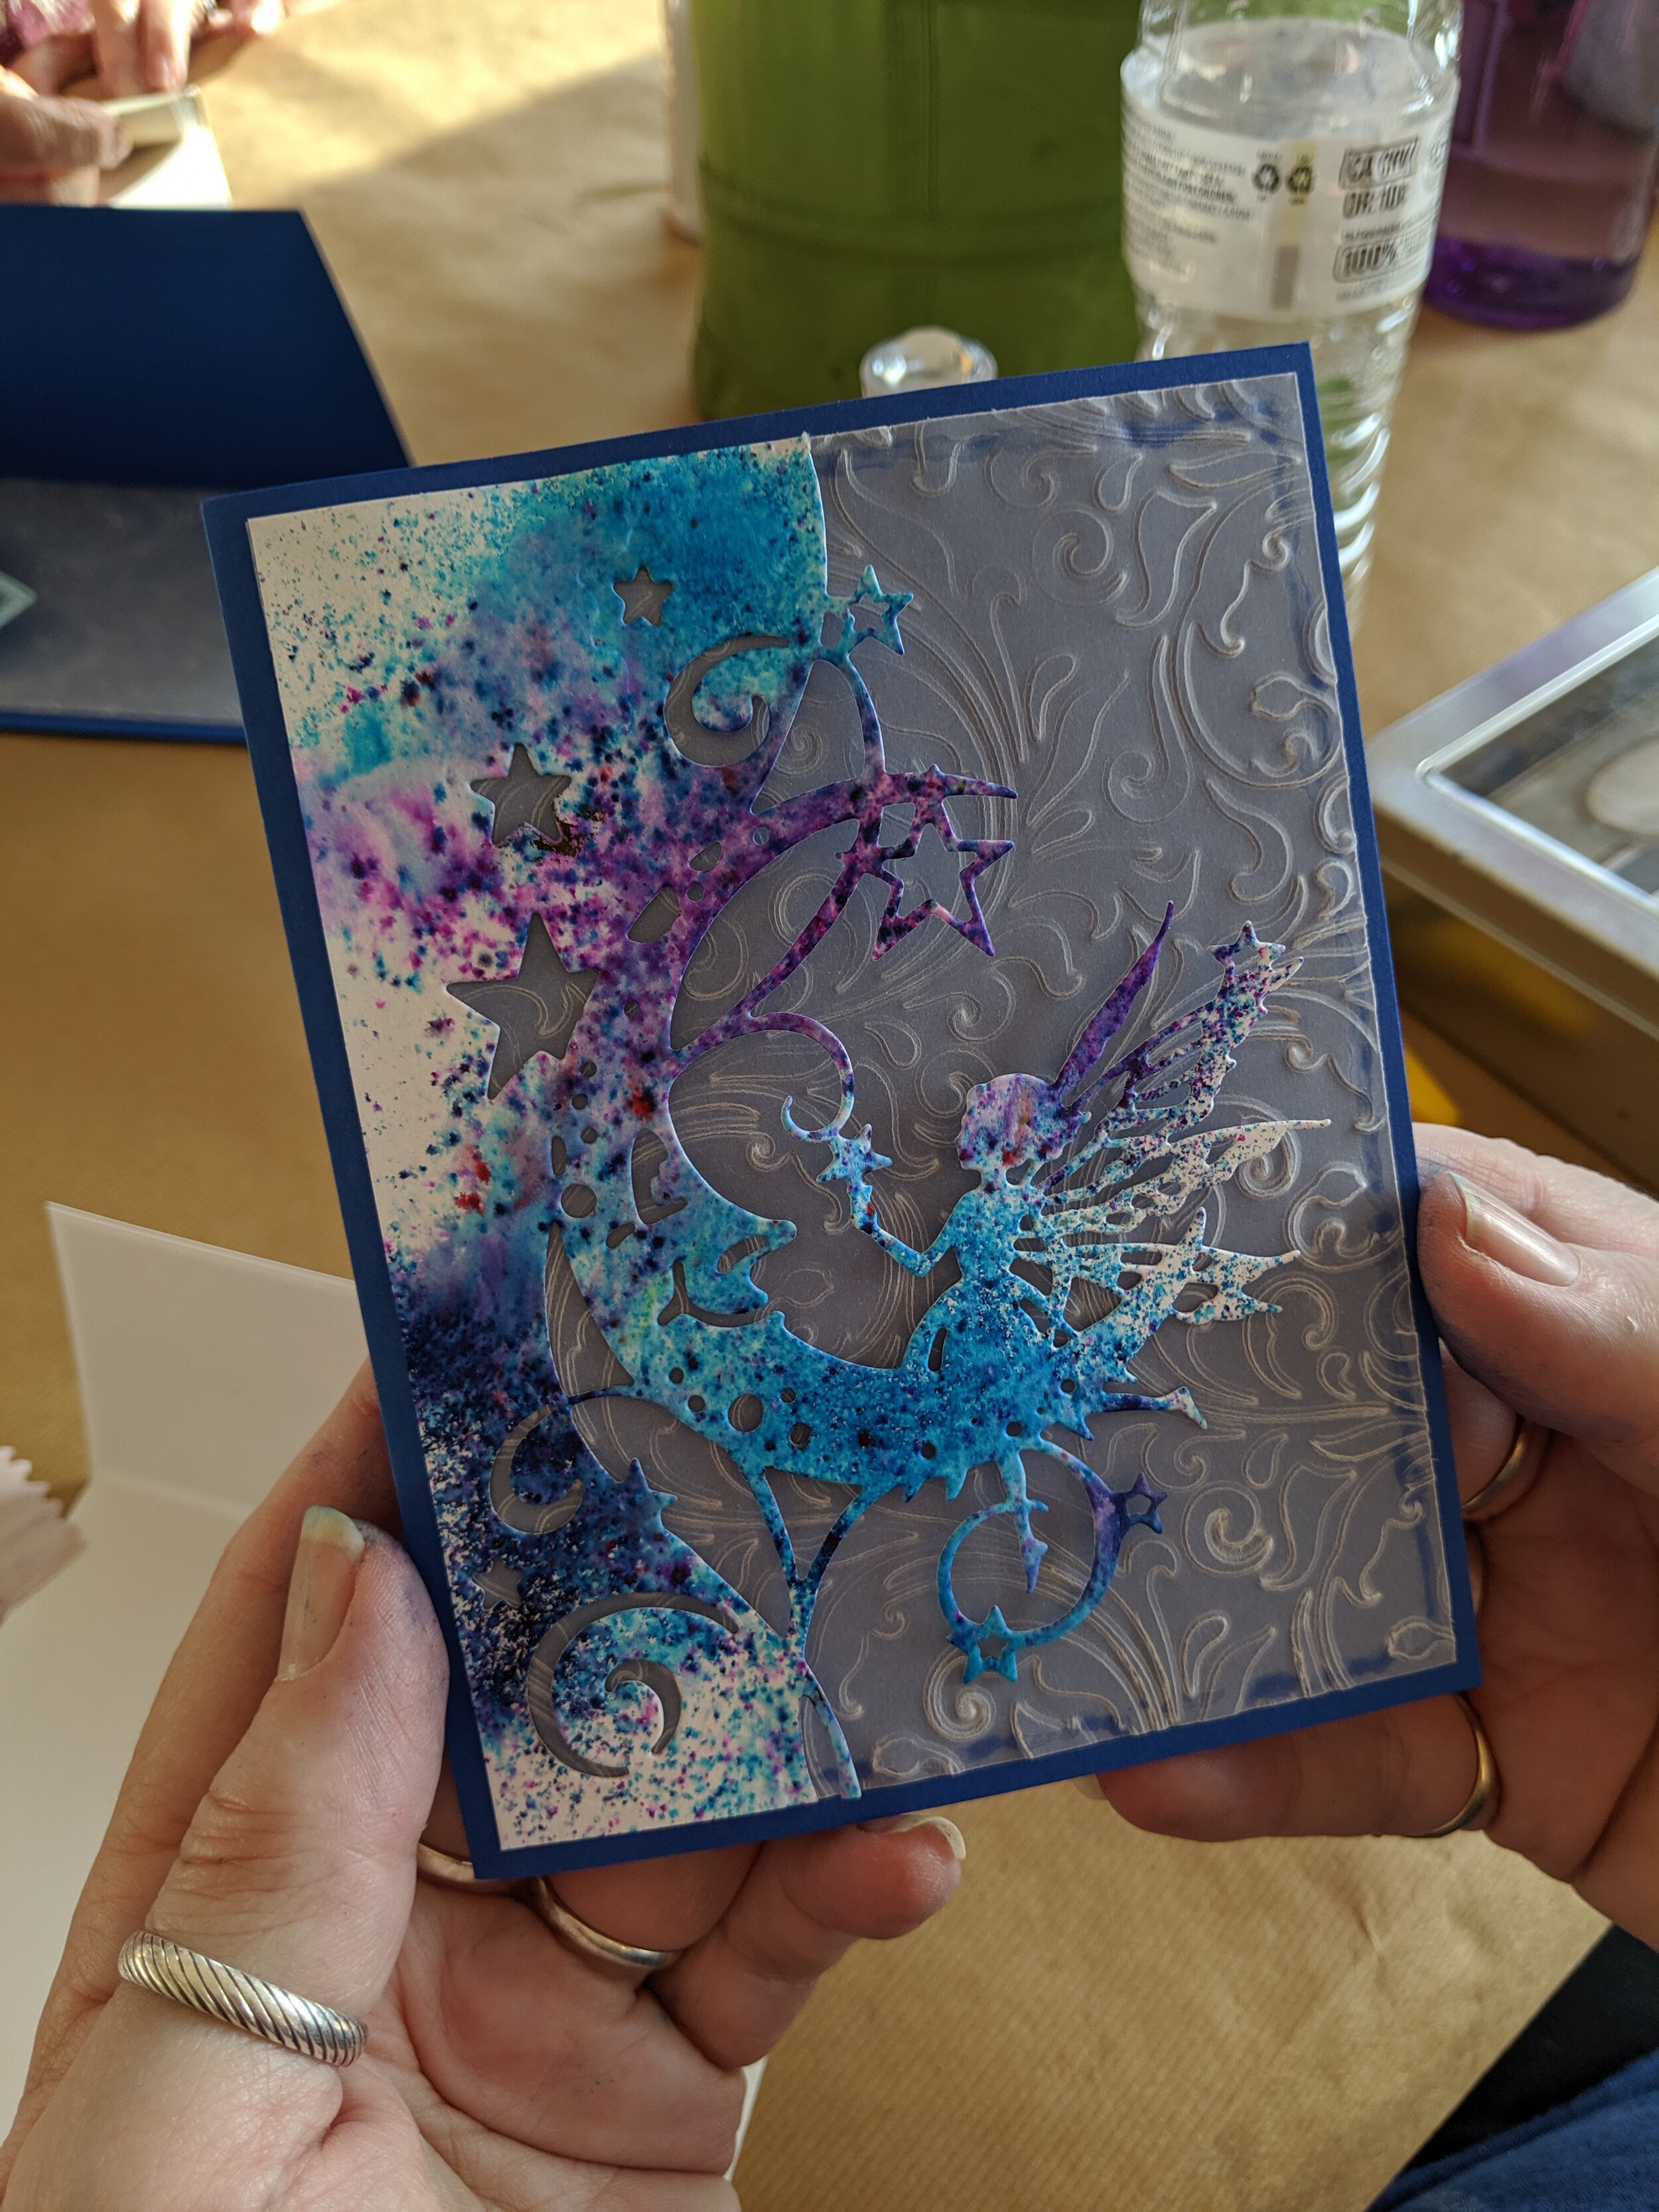
I love how this card turned out!!!
What’s cool about this idea with the edger die-cut is that you can make your card Portrait OR Landscape…
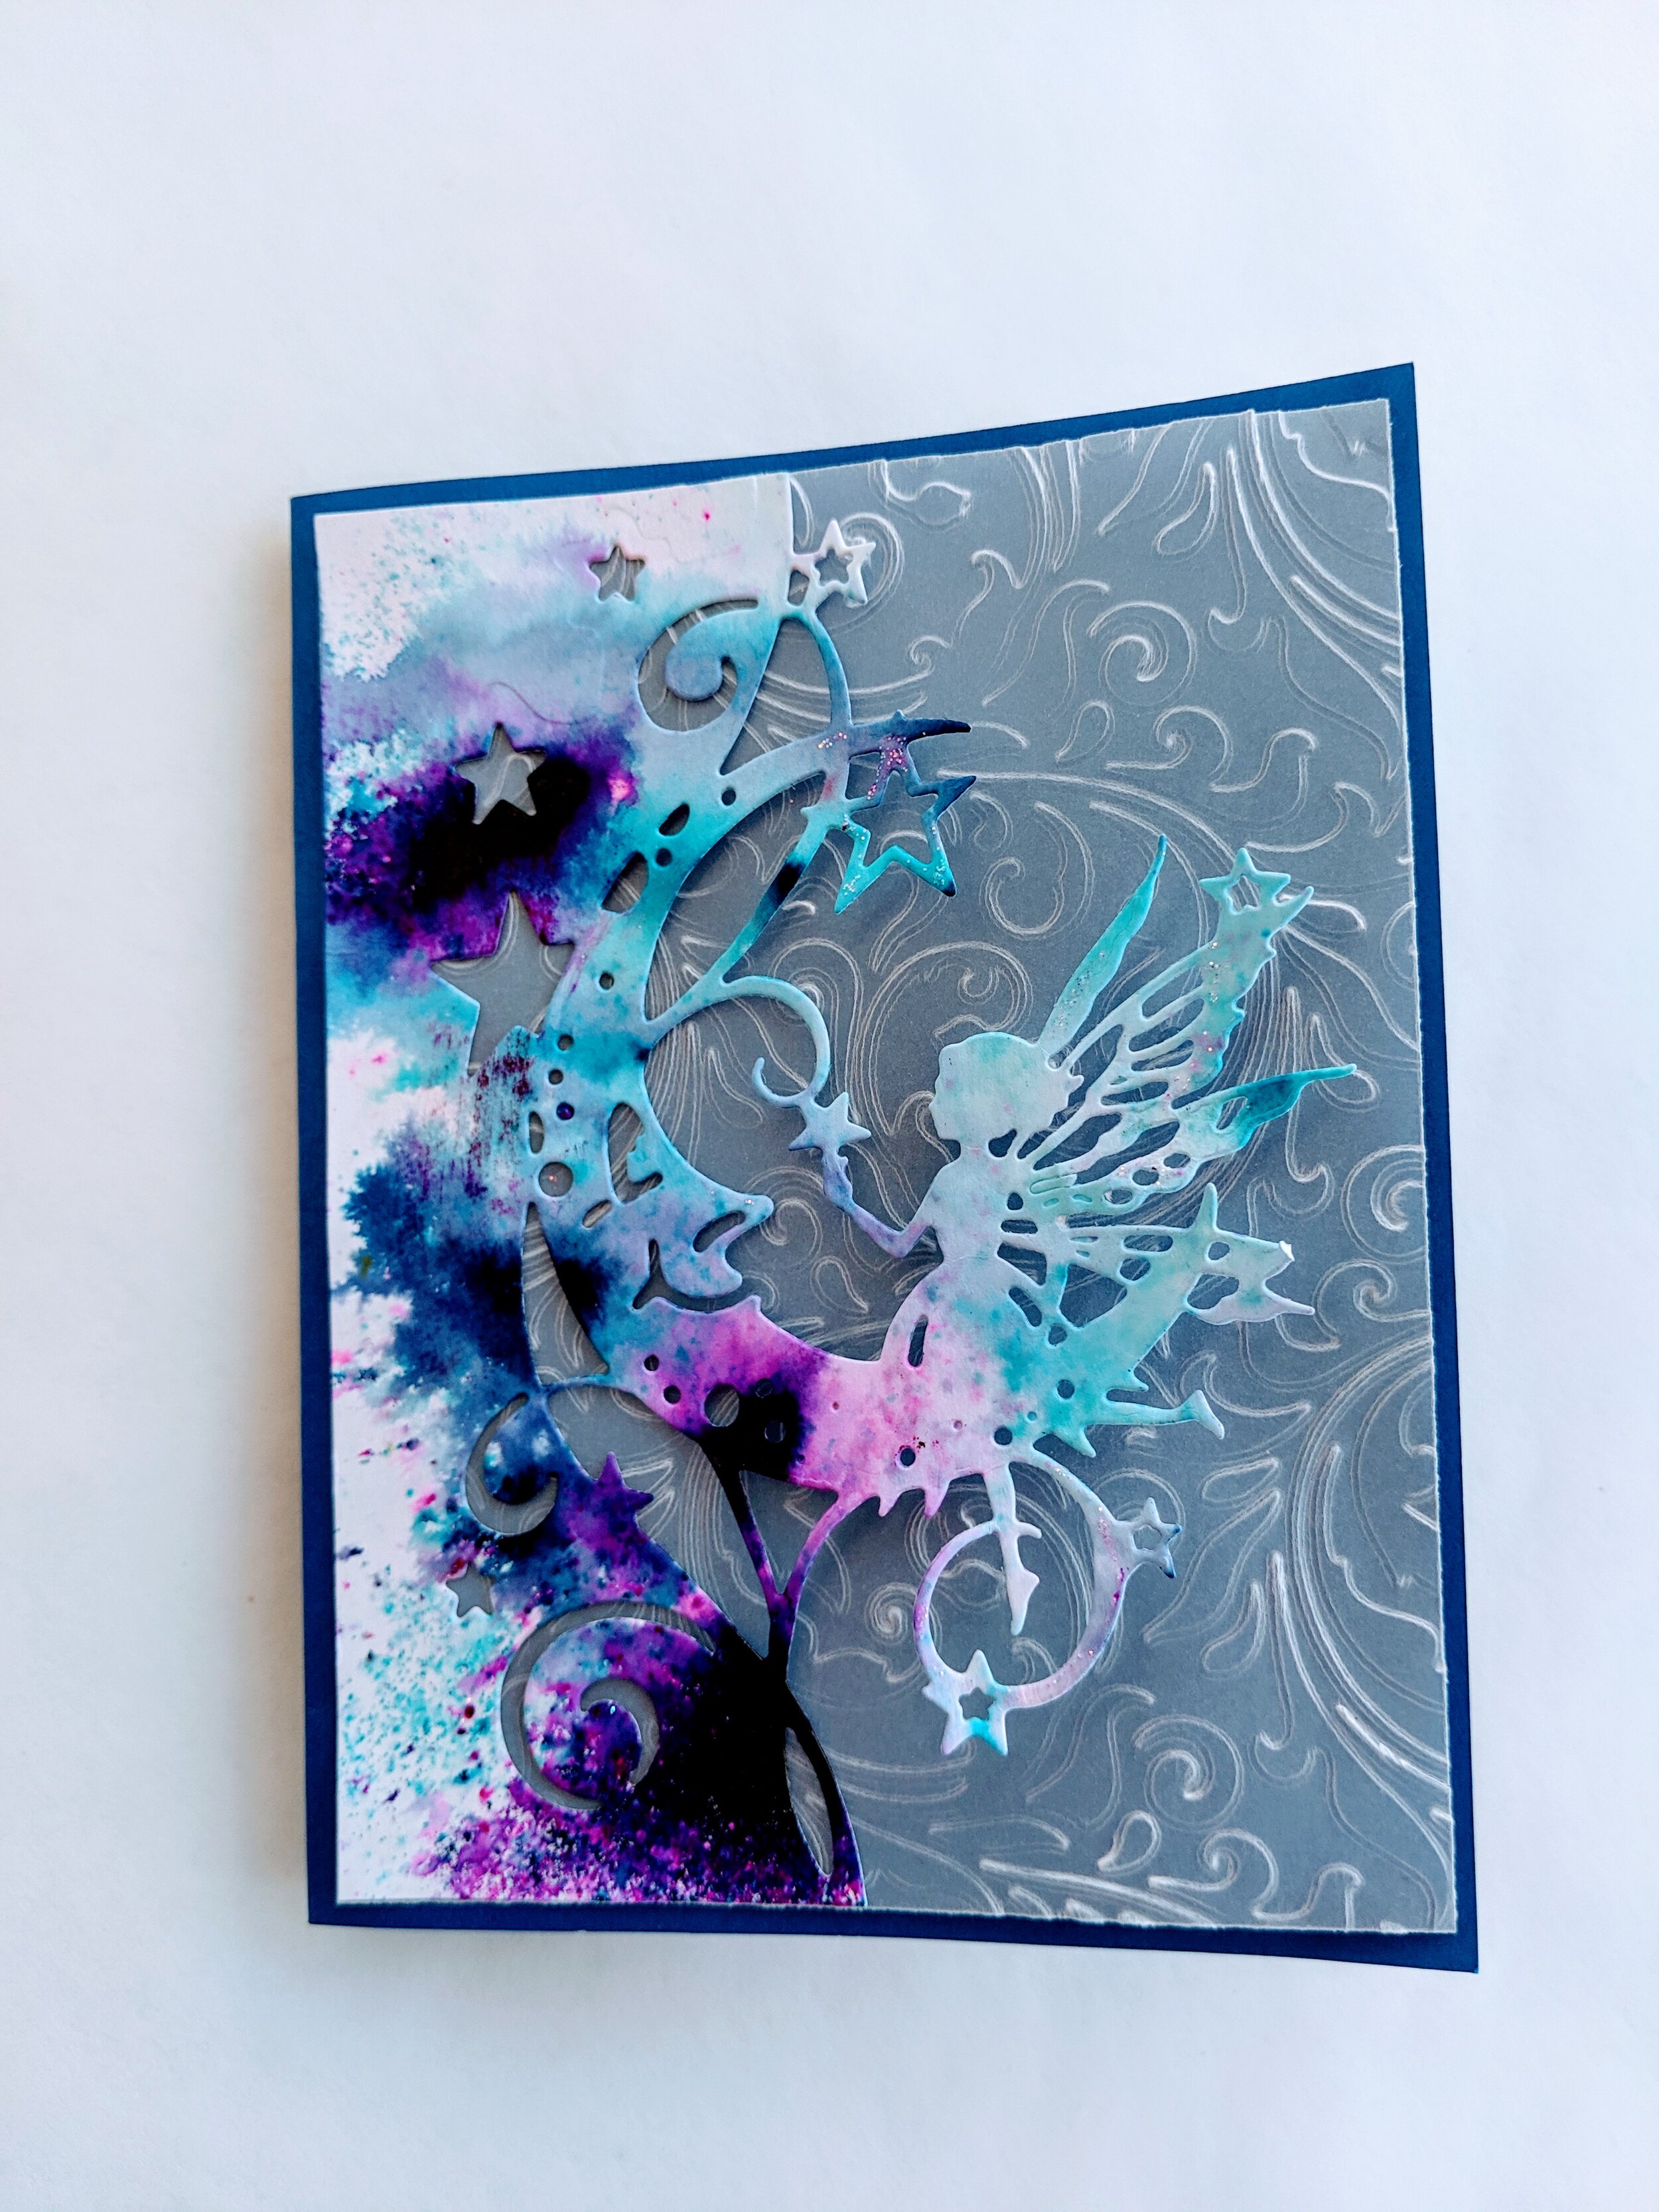
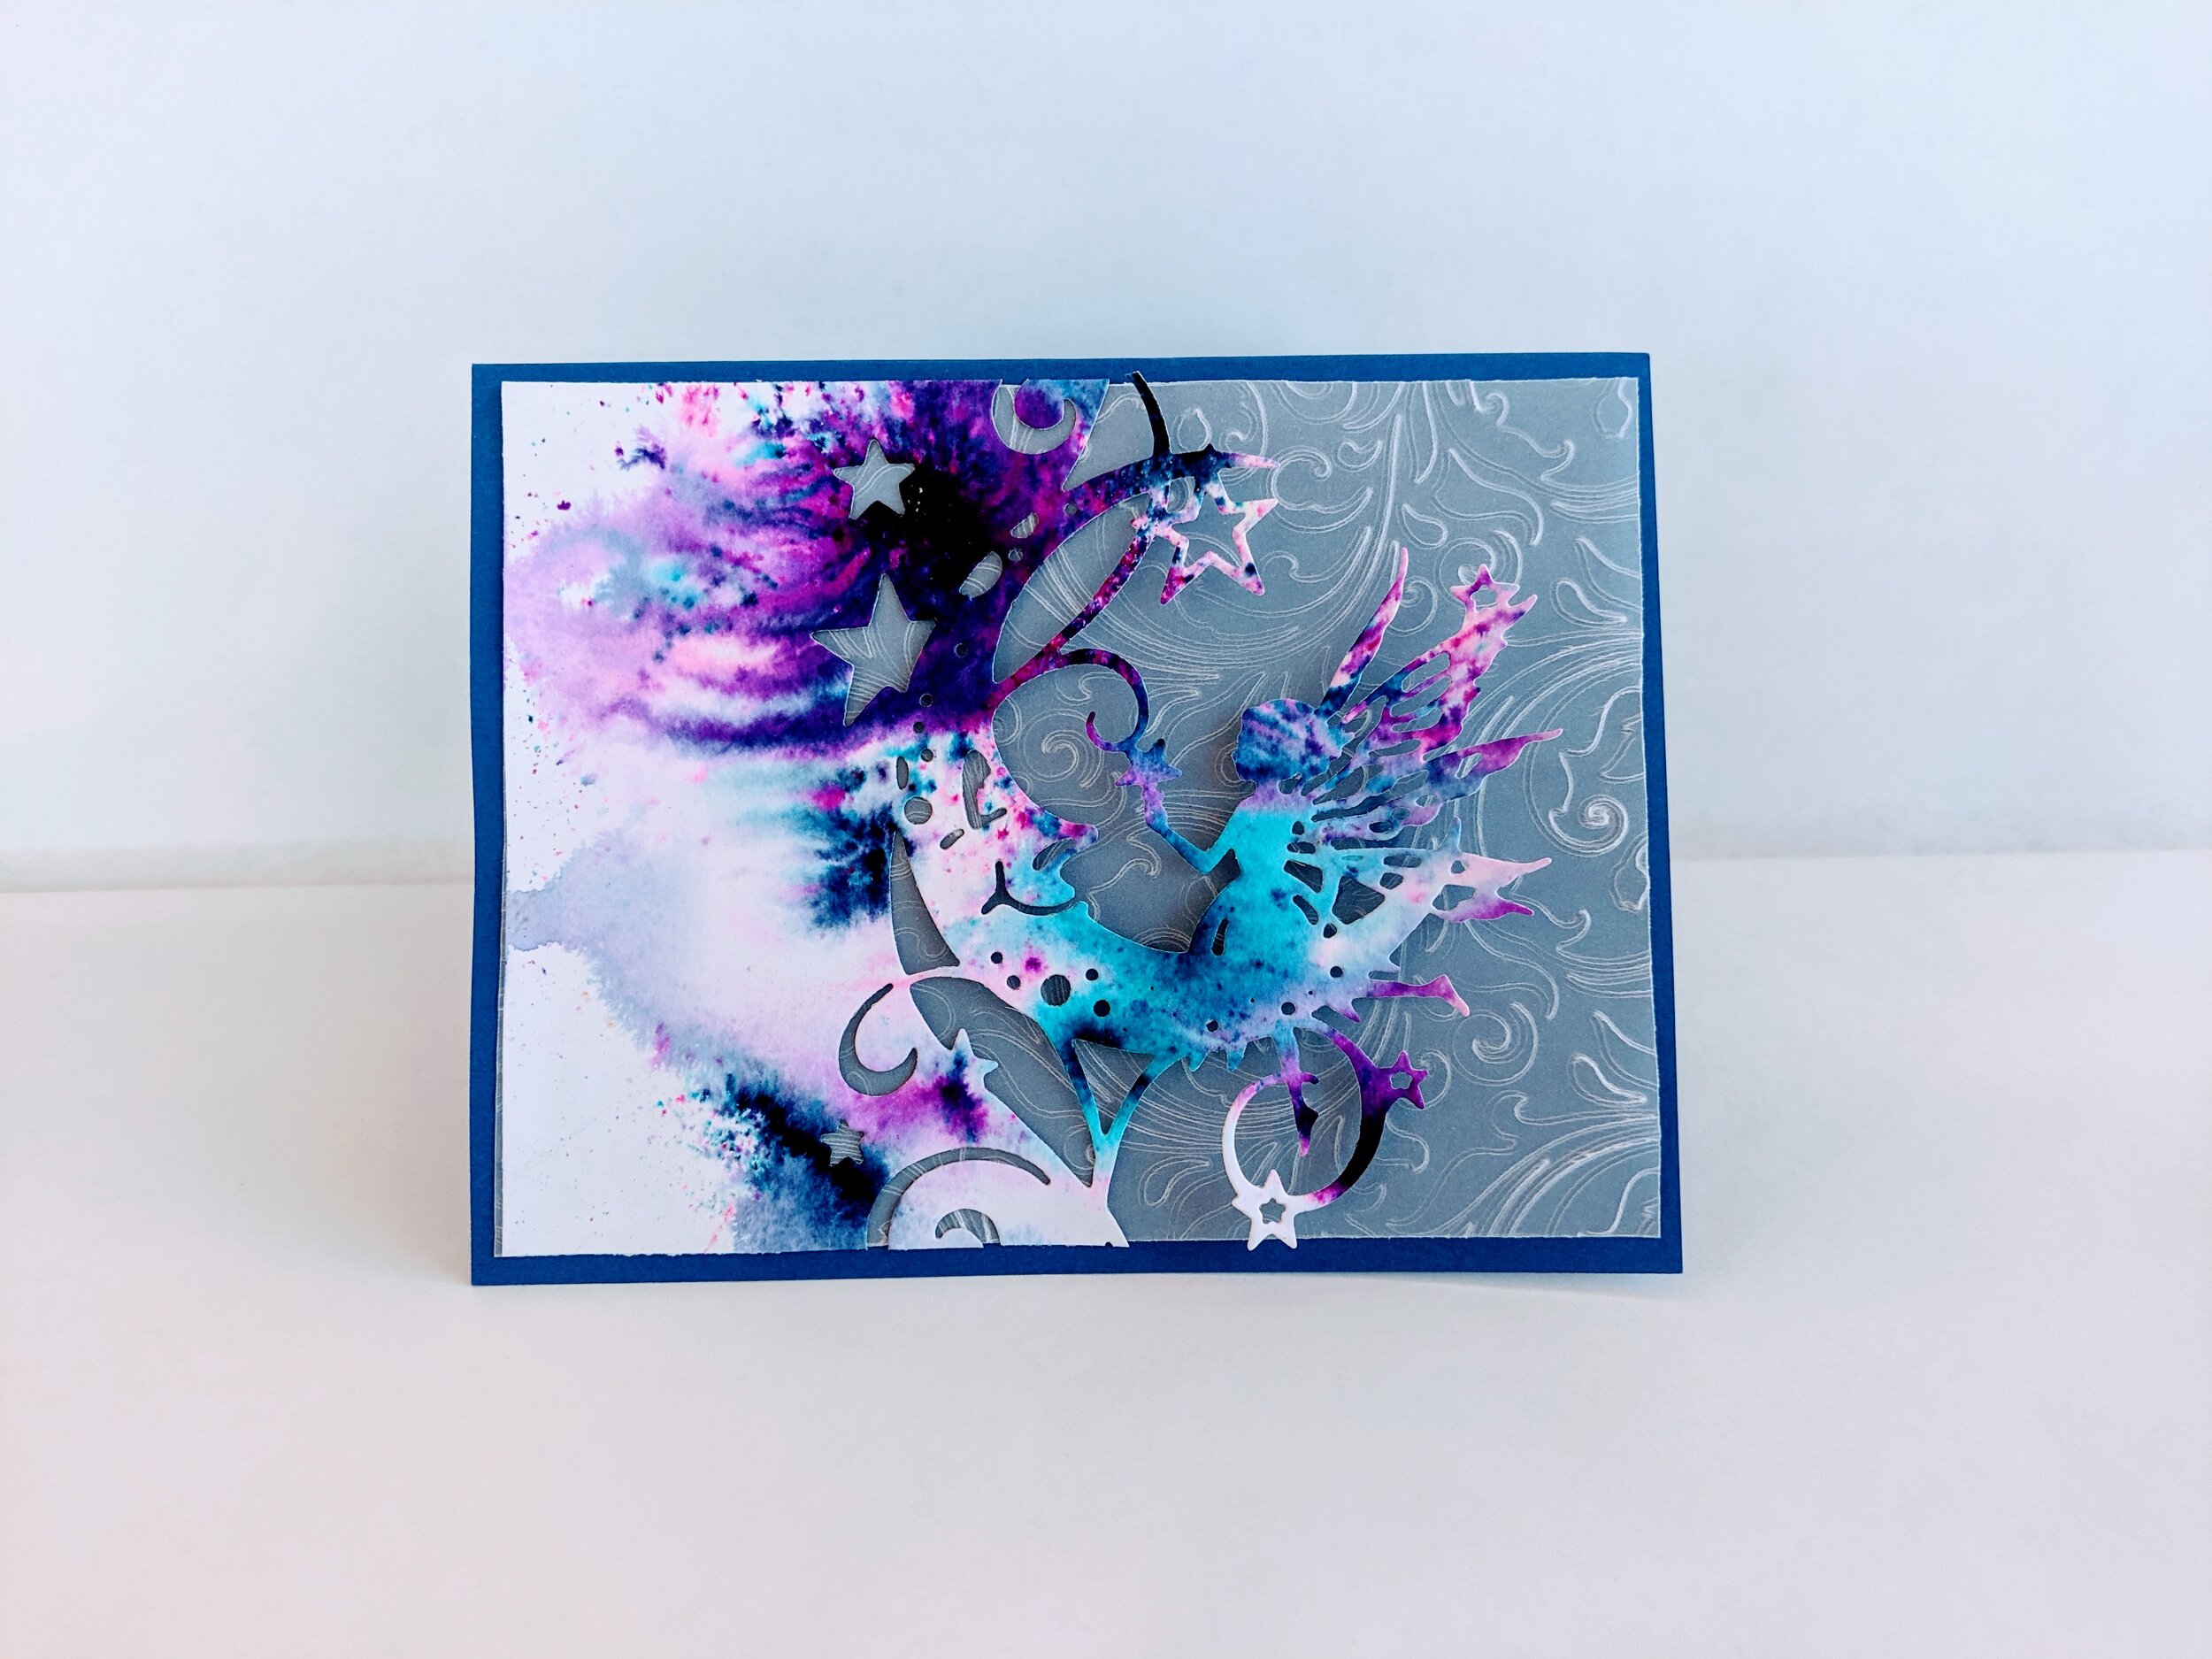
I love this idea… when you die-cut the Luna Fairy Edger, you get these tiny little stars!! Denise found some of them and added them onto the front of the card!! Great idea and a great way to use scraps!!!

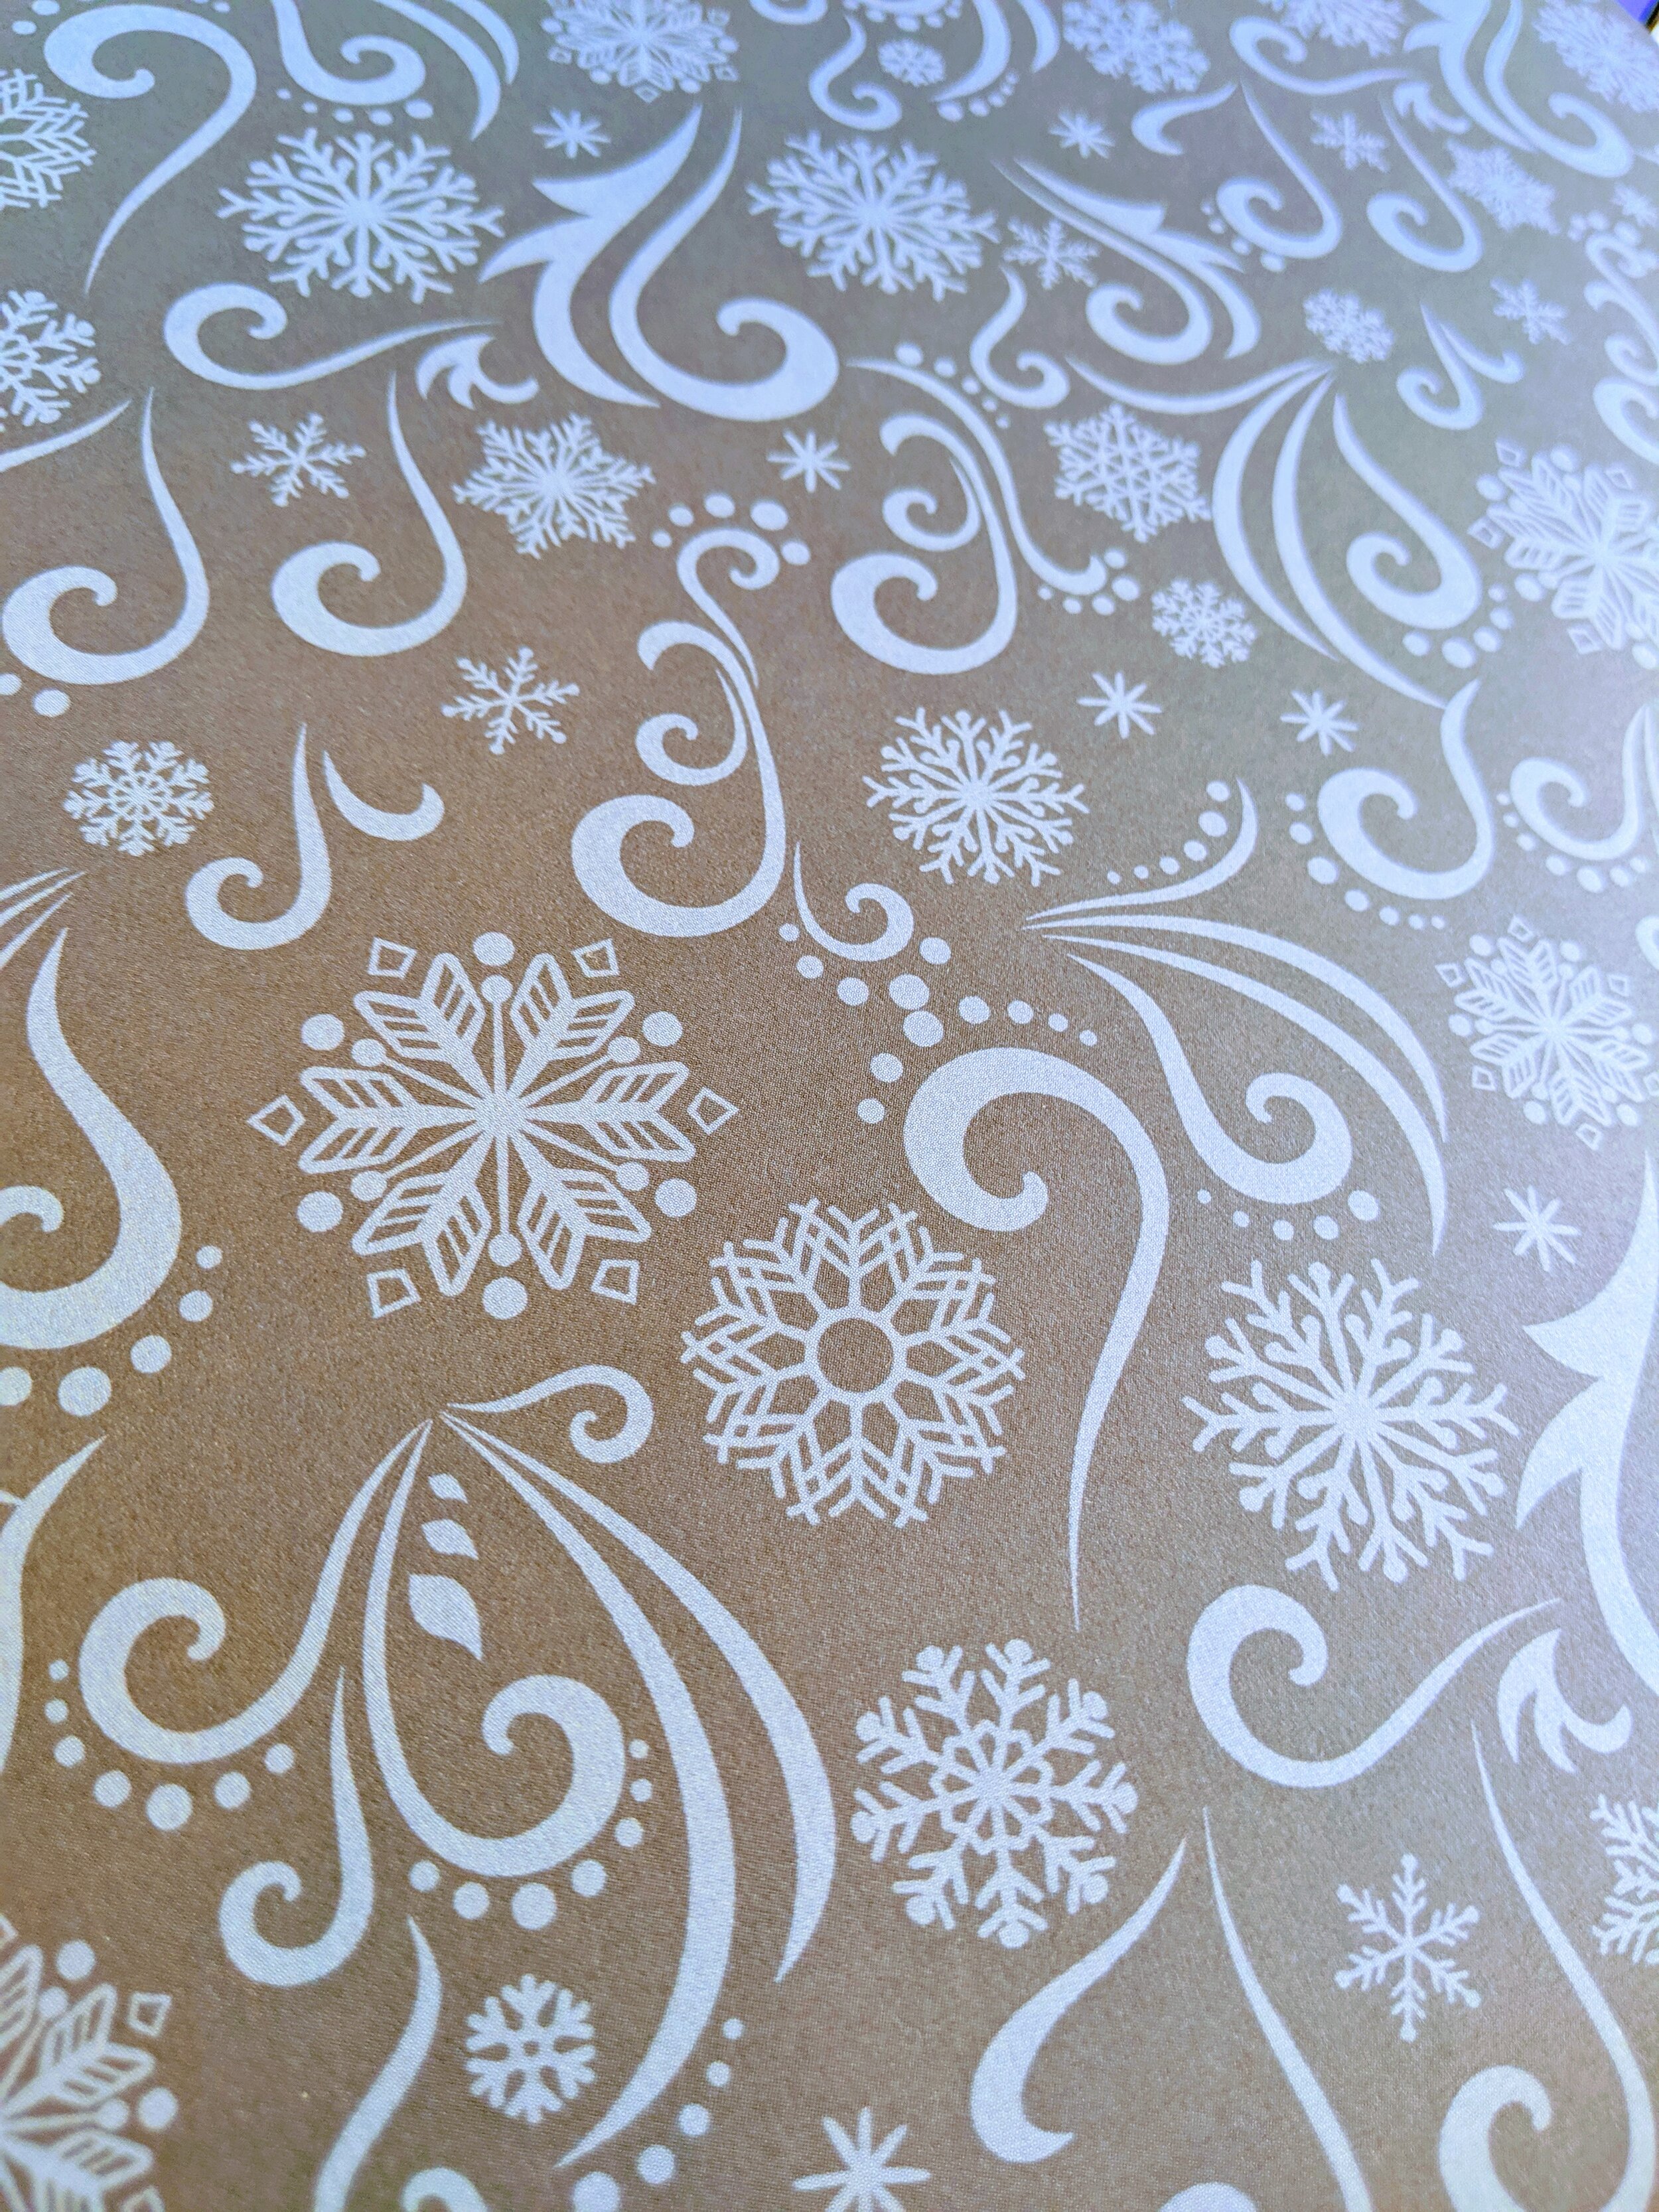
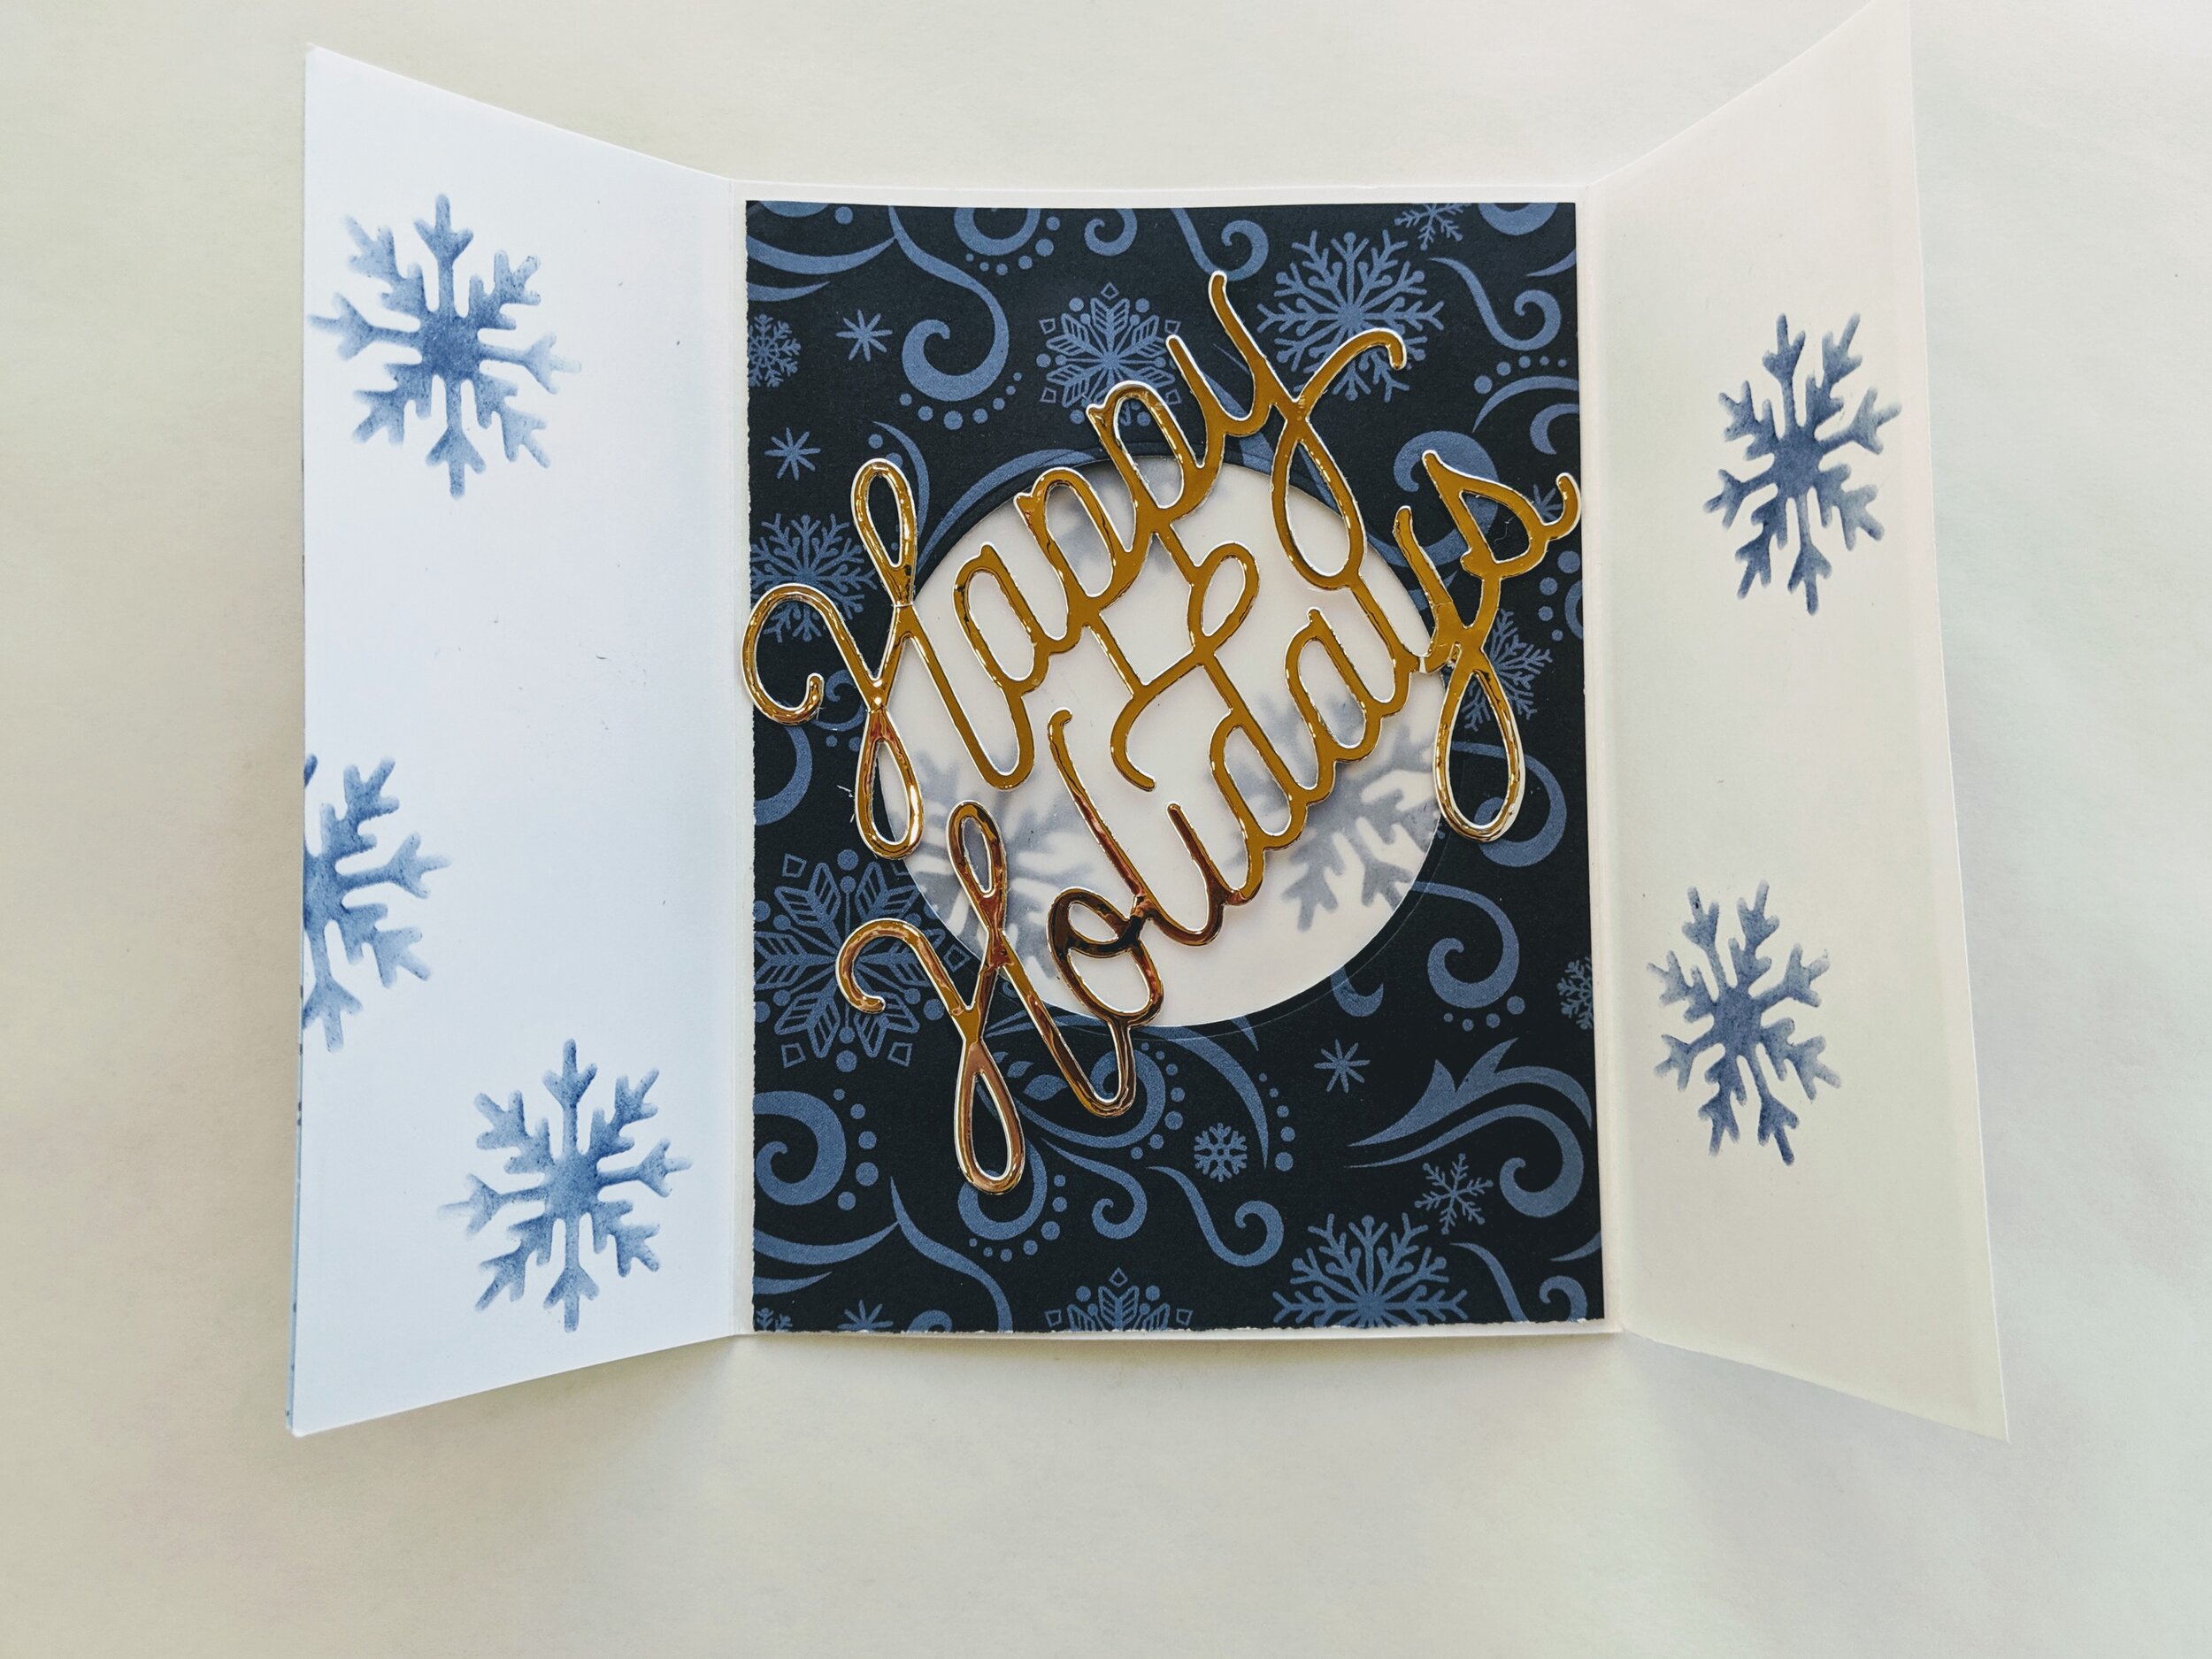
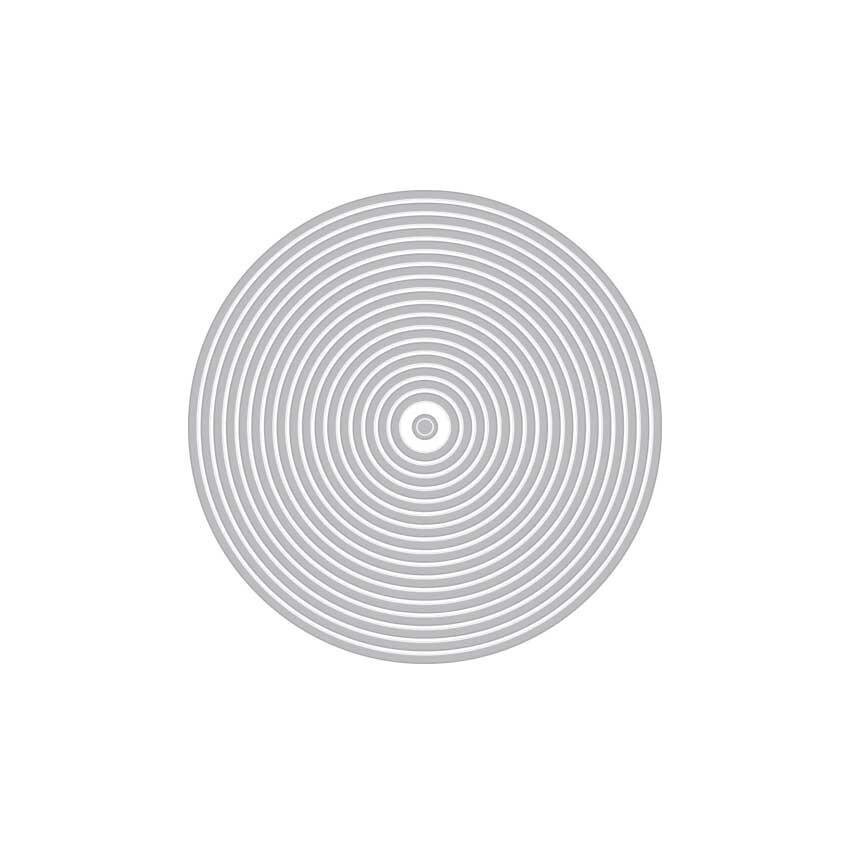
The next card was inspired from this Holidays Fancy Die-Cut from Hero Arts, this new snowflake paper from Echo Park, and the Hero Arts Circle Infinity Dies


To make the card:
Start out with a white card stock card base. Score the card to be a Gate-Fold card (so you will score it 2 1/8” from the left and 2 1/4” from the right. The Gate-Fold should overlap slightly on the front of the card.
When the gate-folds are closed, adhere a panel of the snowflake paper on the left and right gates. On the gate that is 2 1/4” wide, you will center the panel. On the gate that is 2 1/8” wide, you will adhere the panel so it is flush with the center.
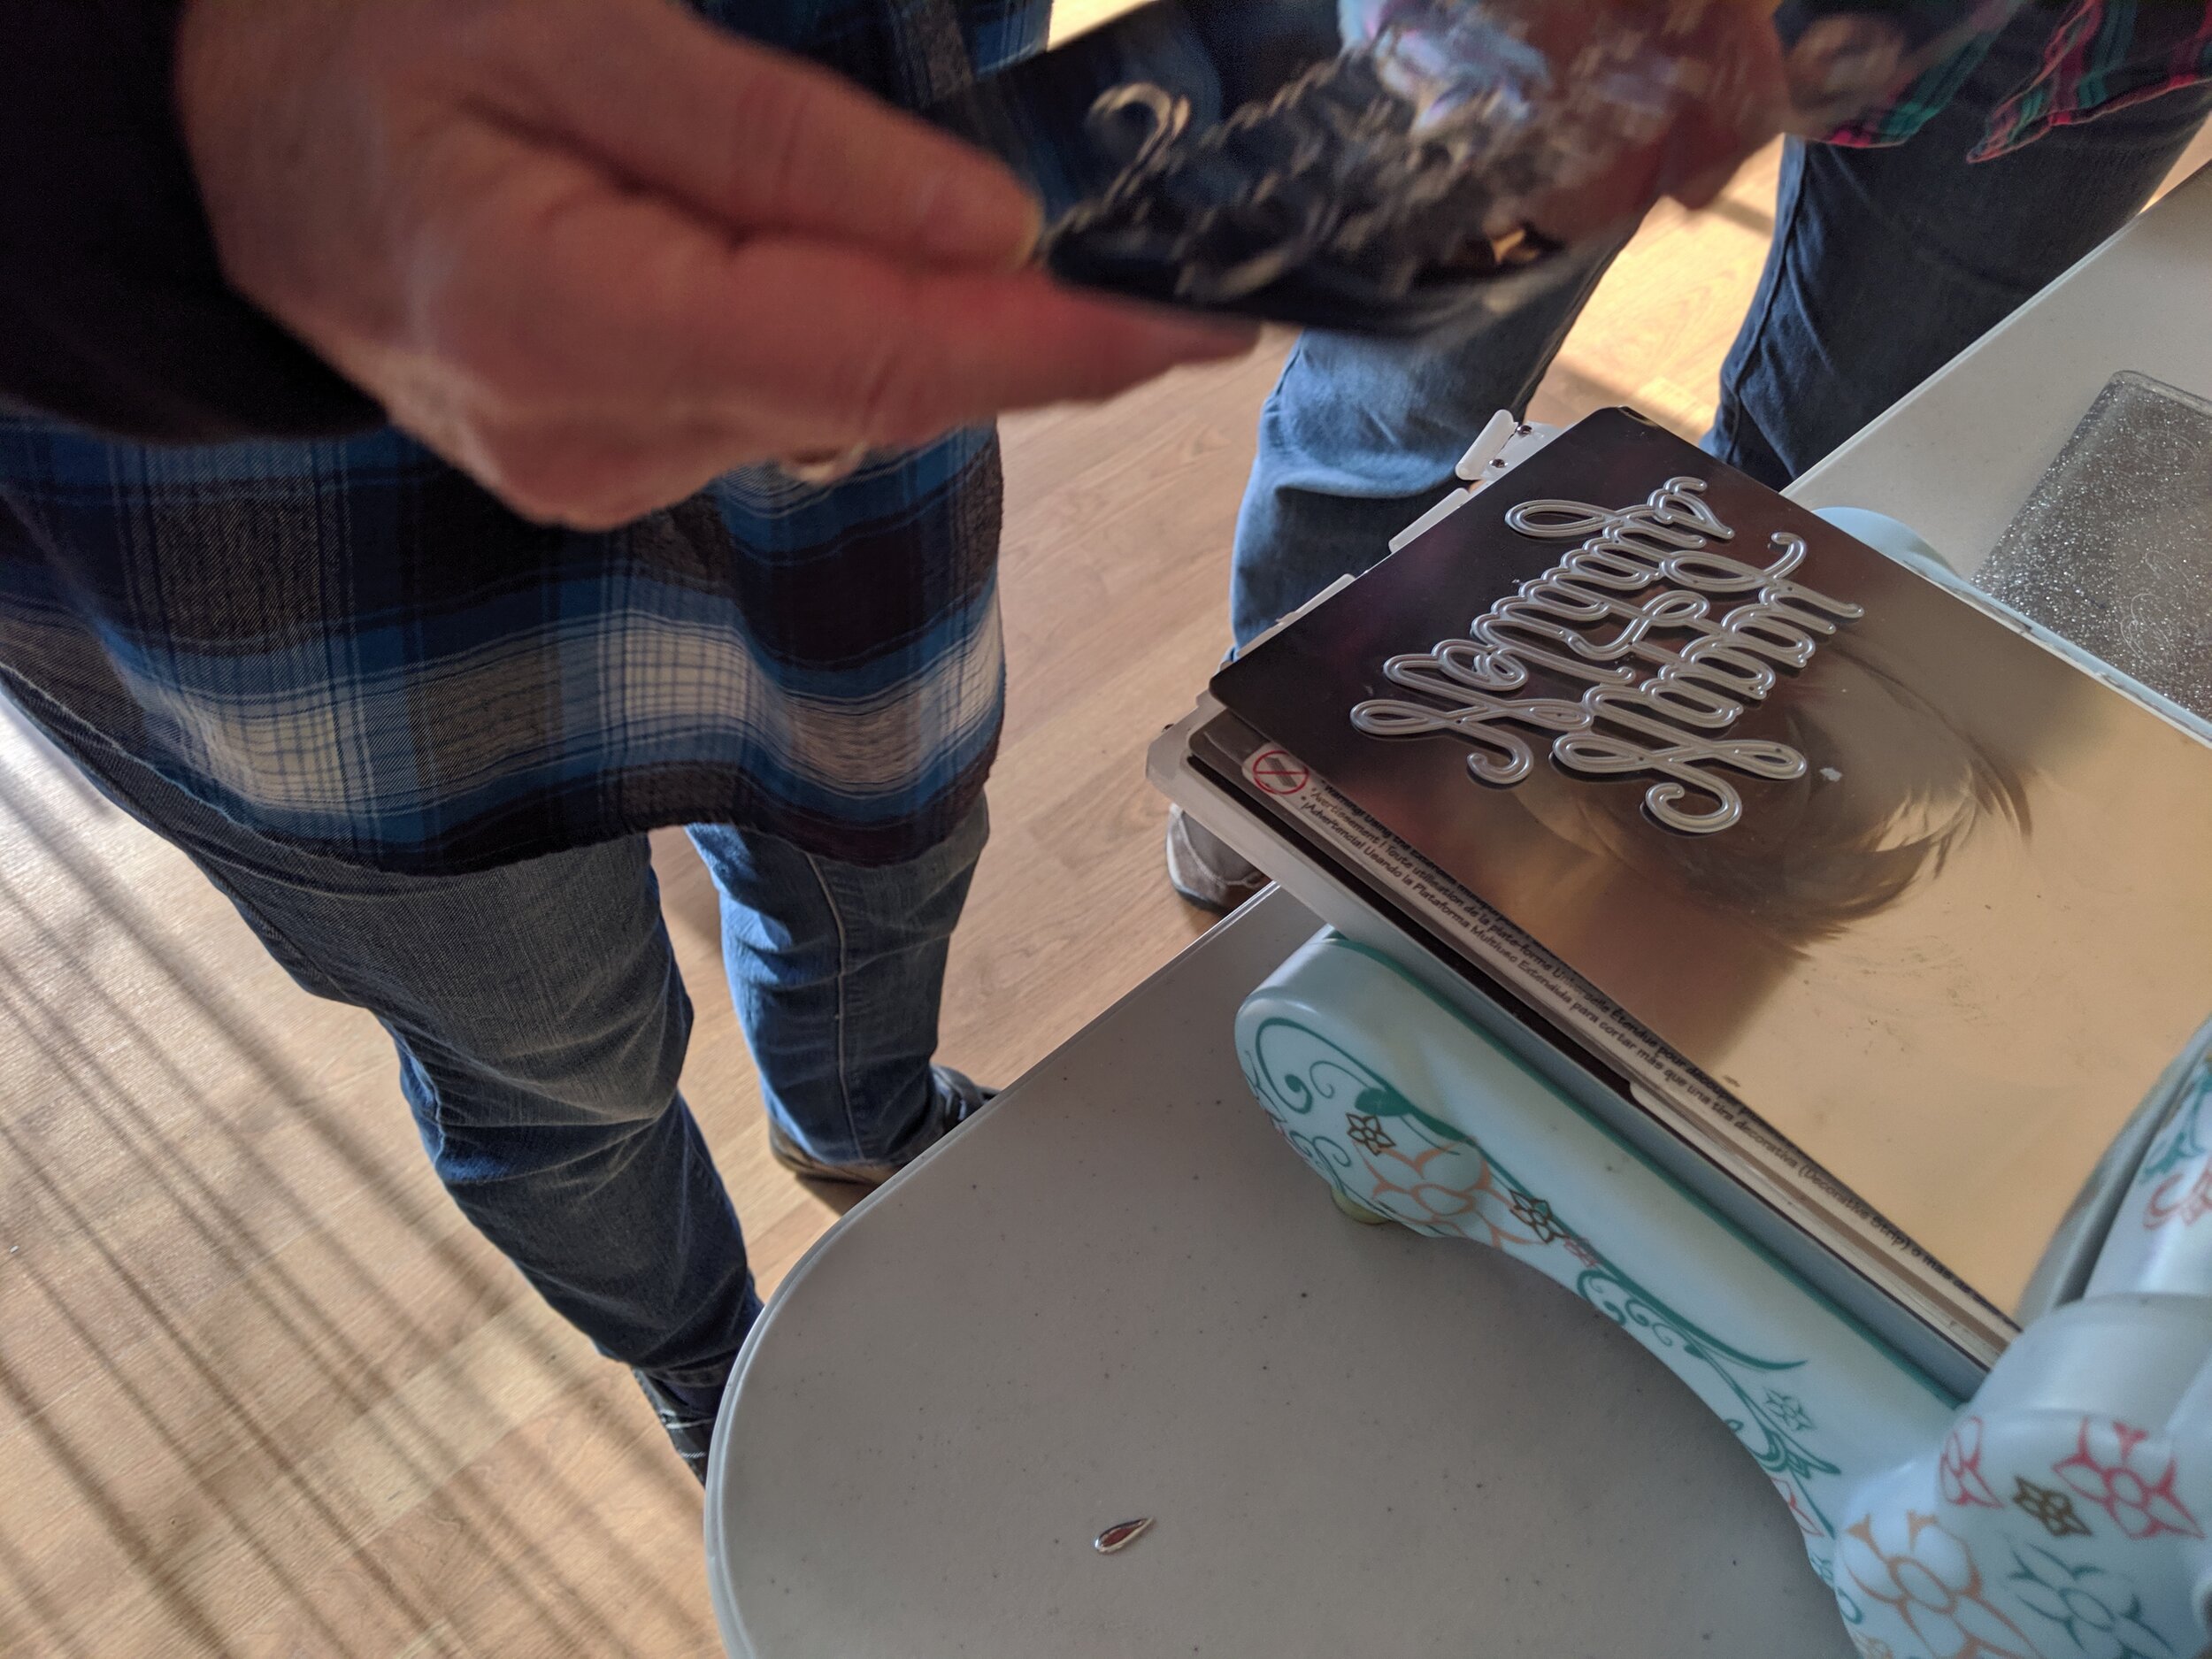
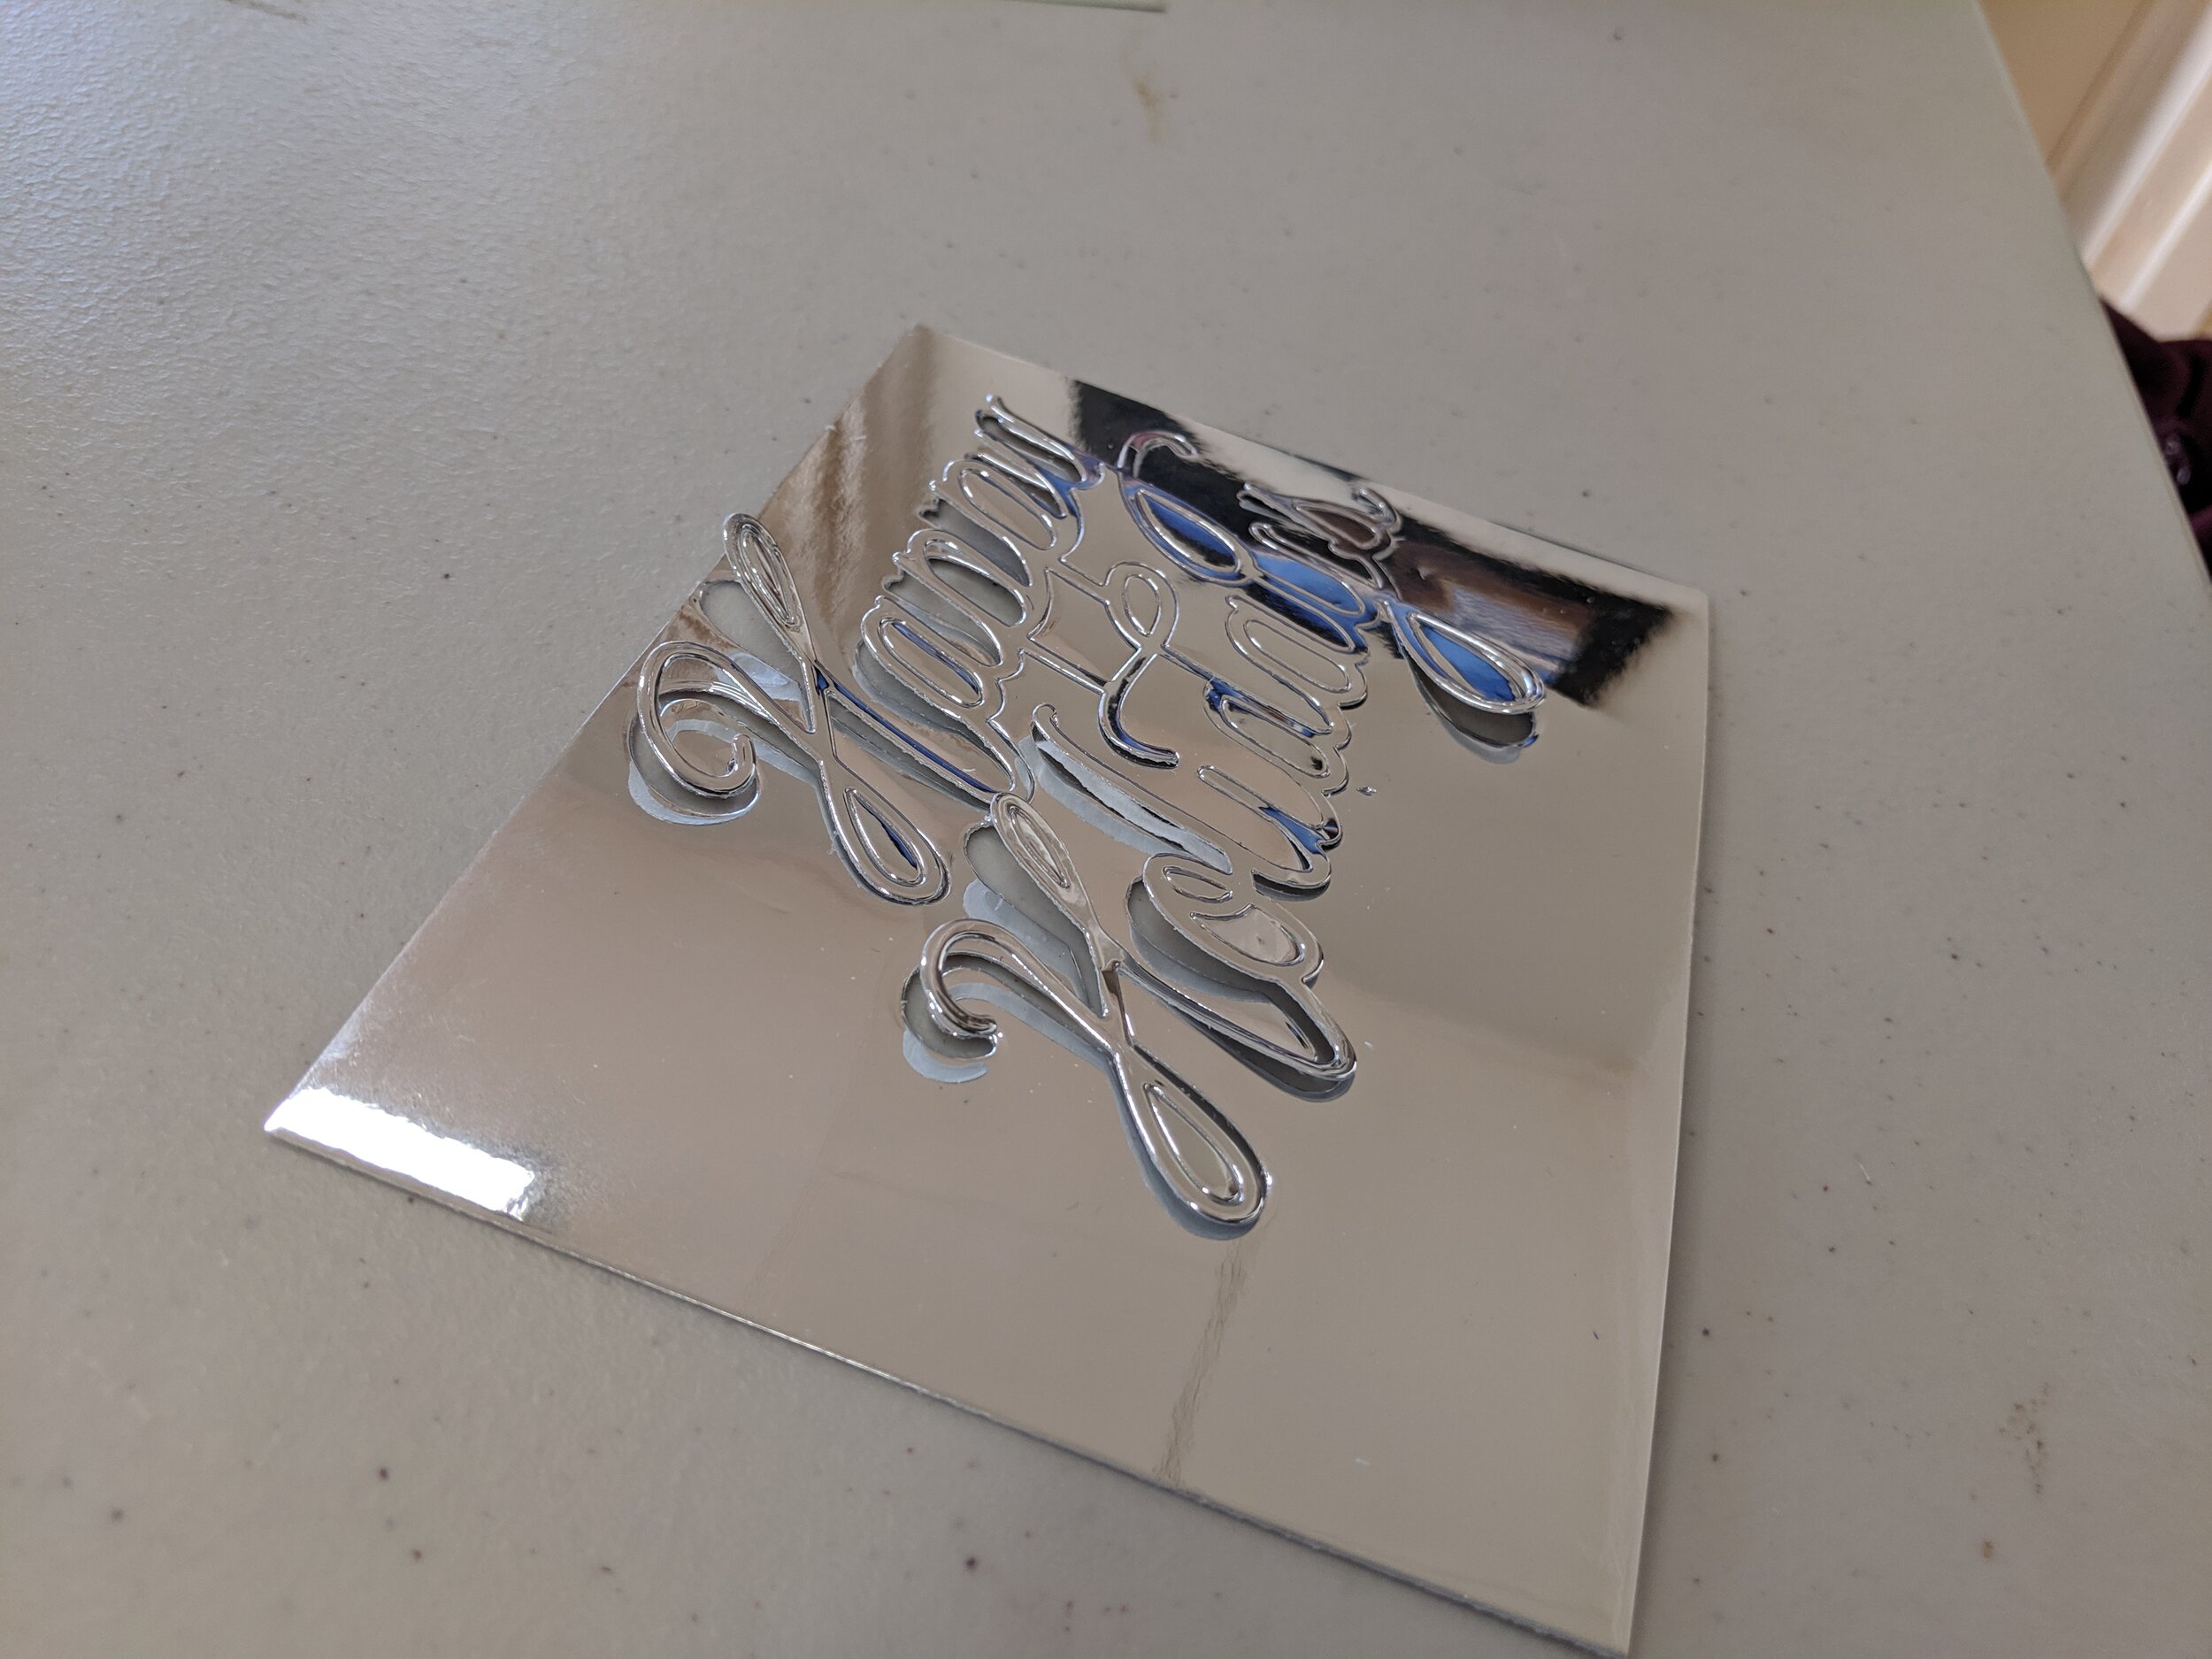
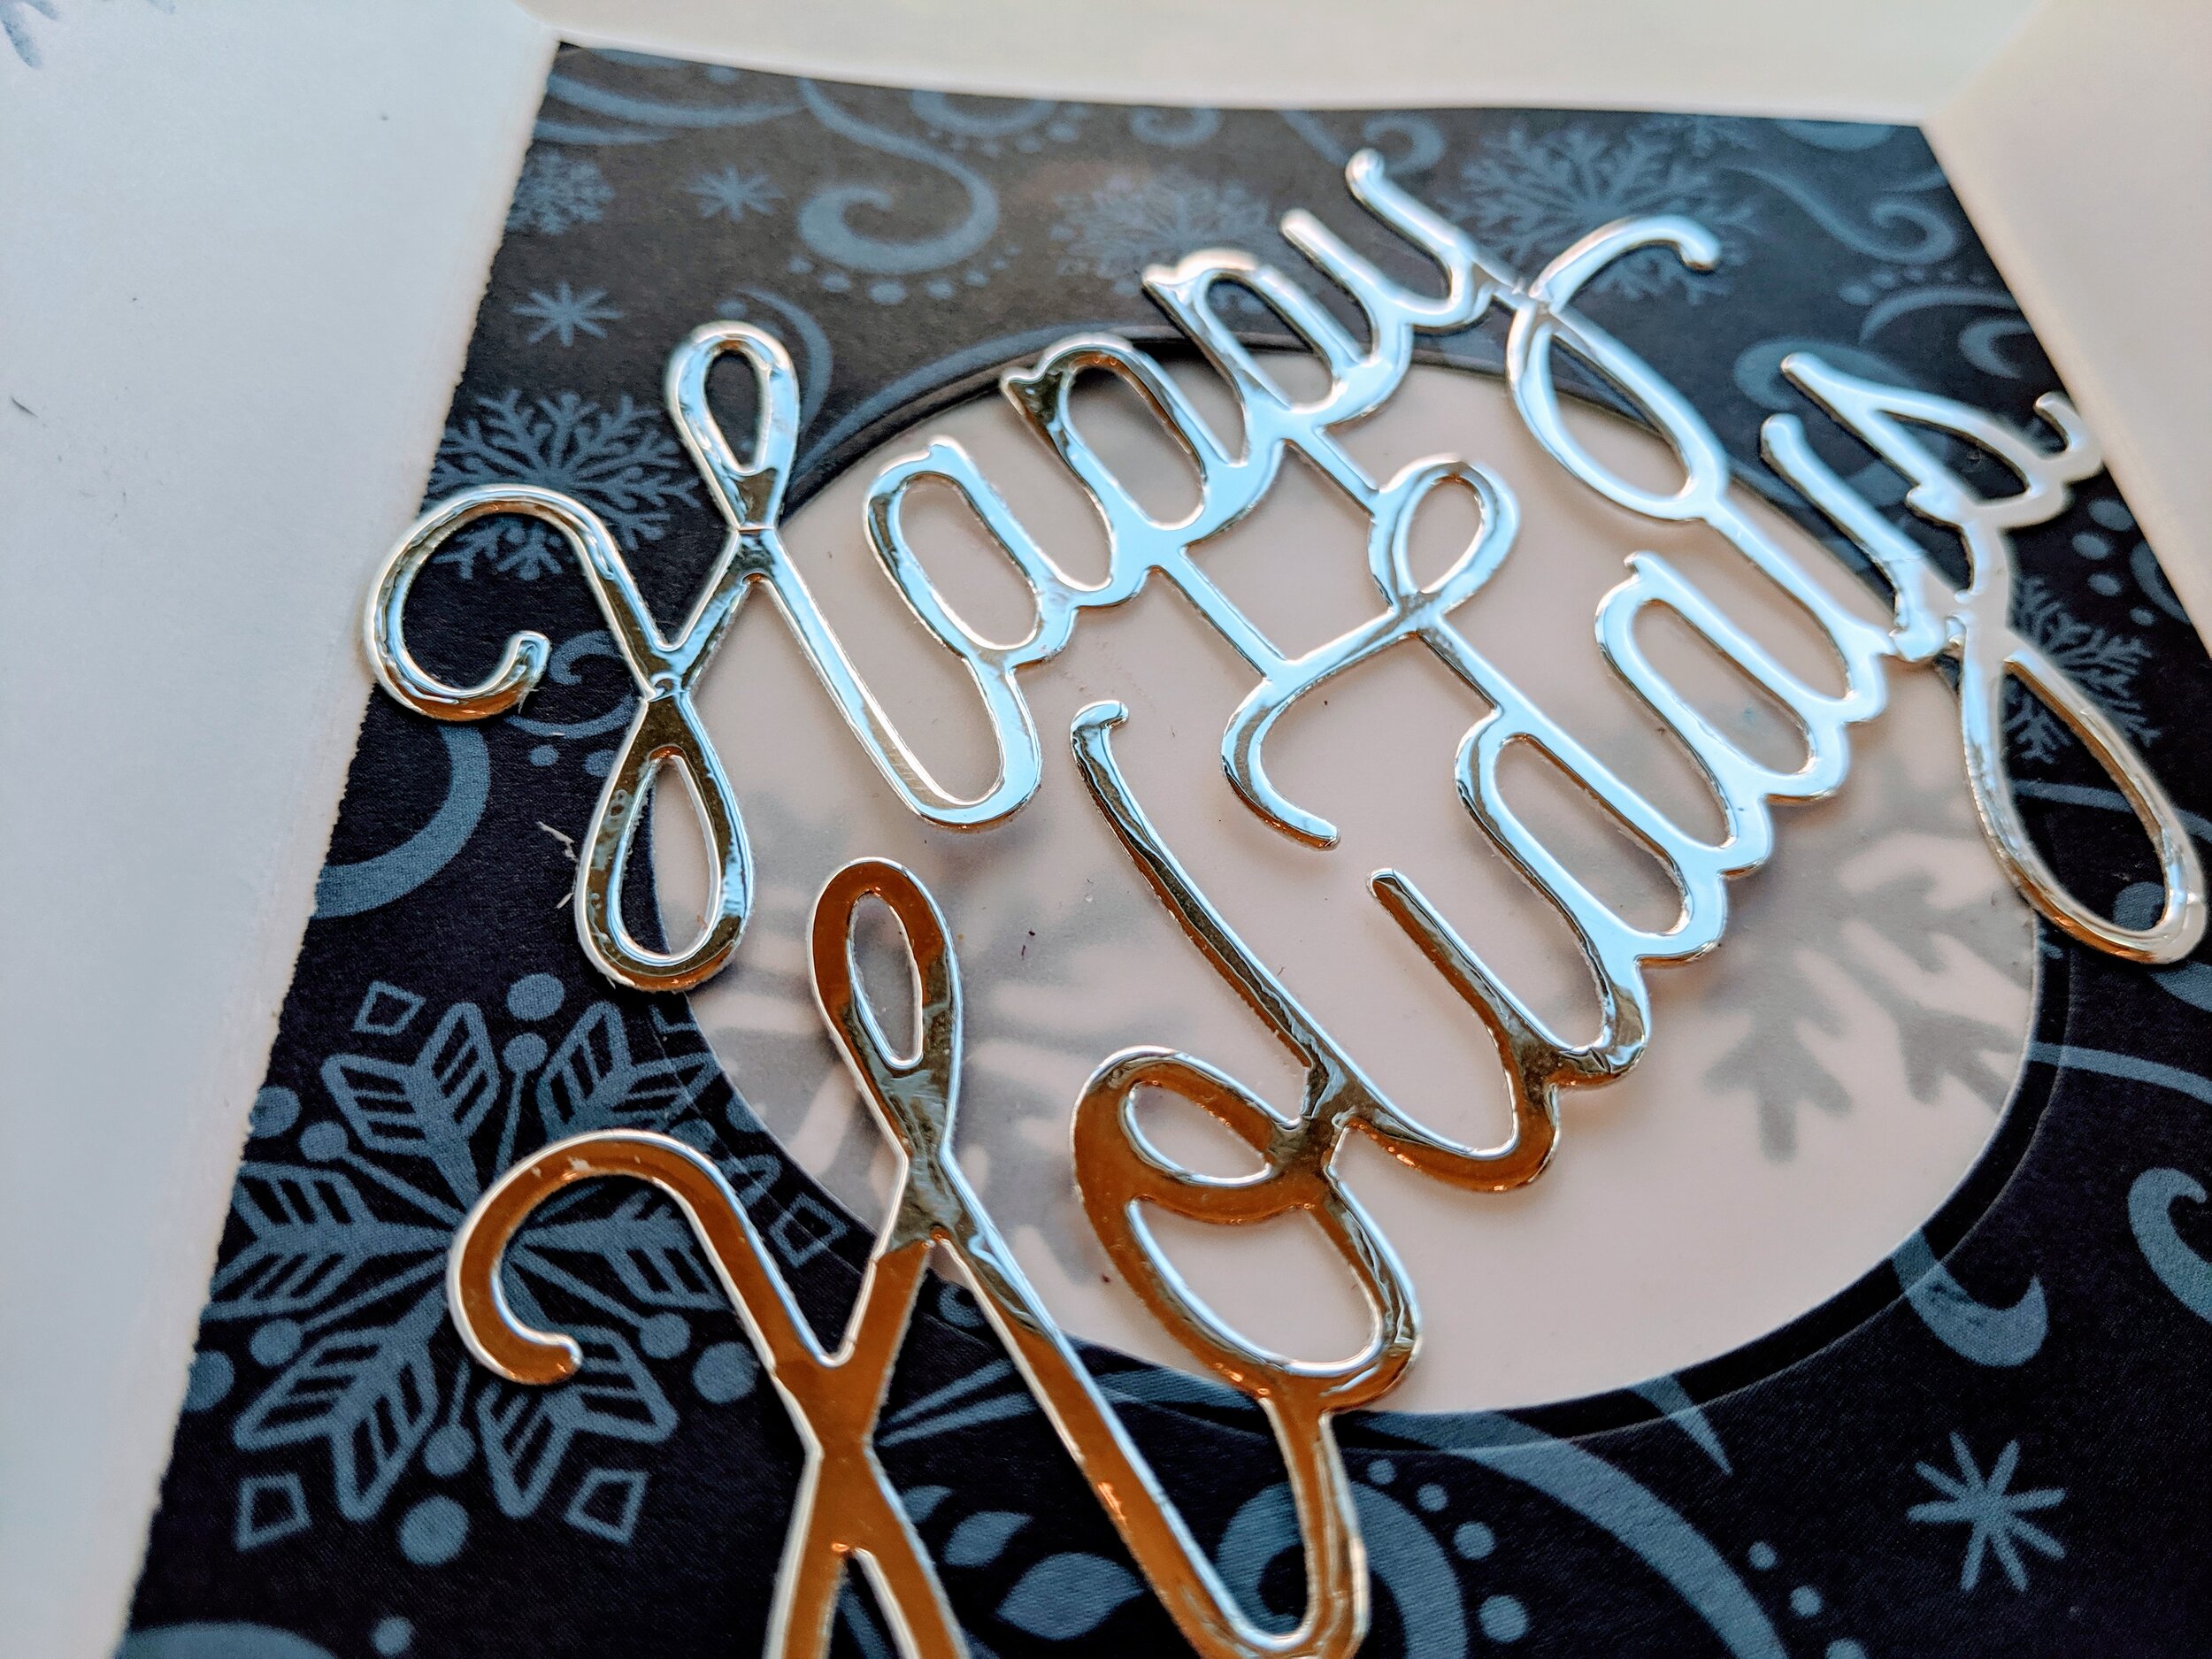
Take a piece of Silver Mirri-Card card stock and die-cut the sentiment, Happy Holidays.
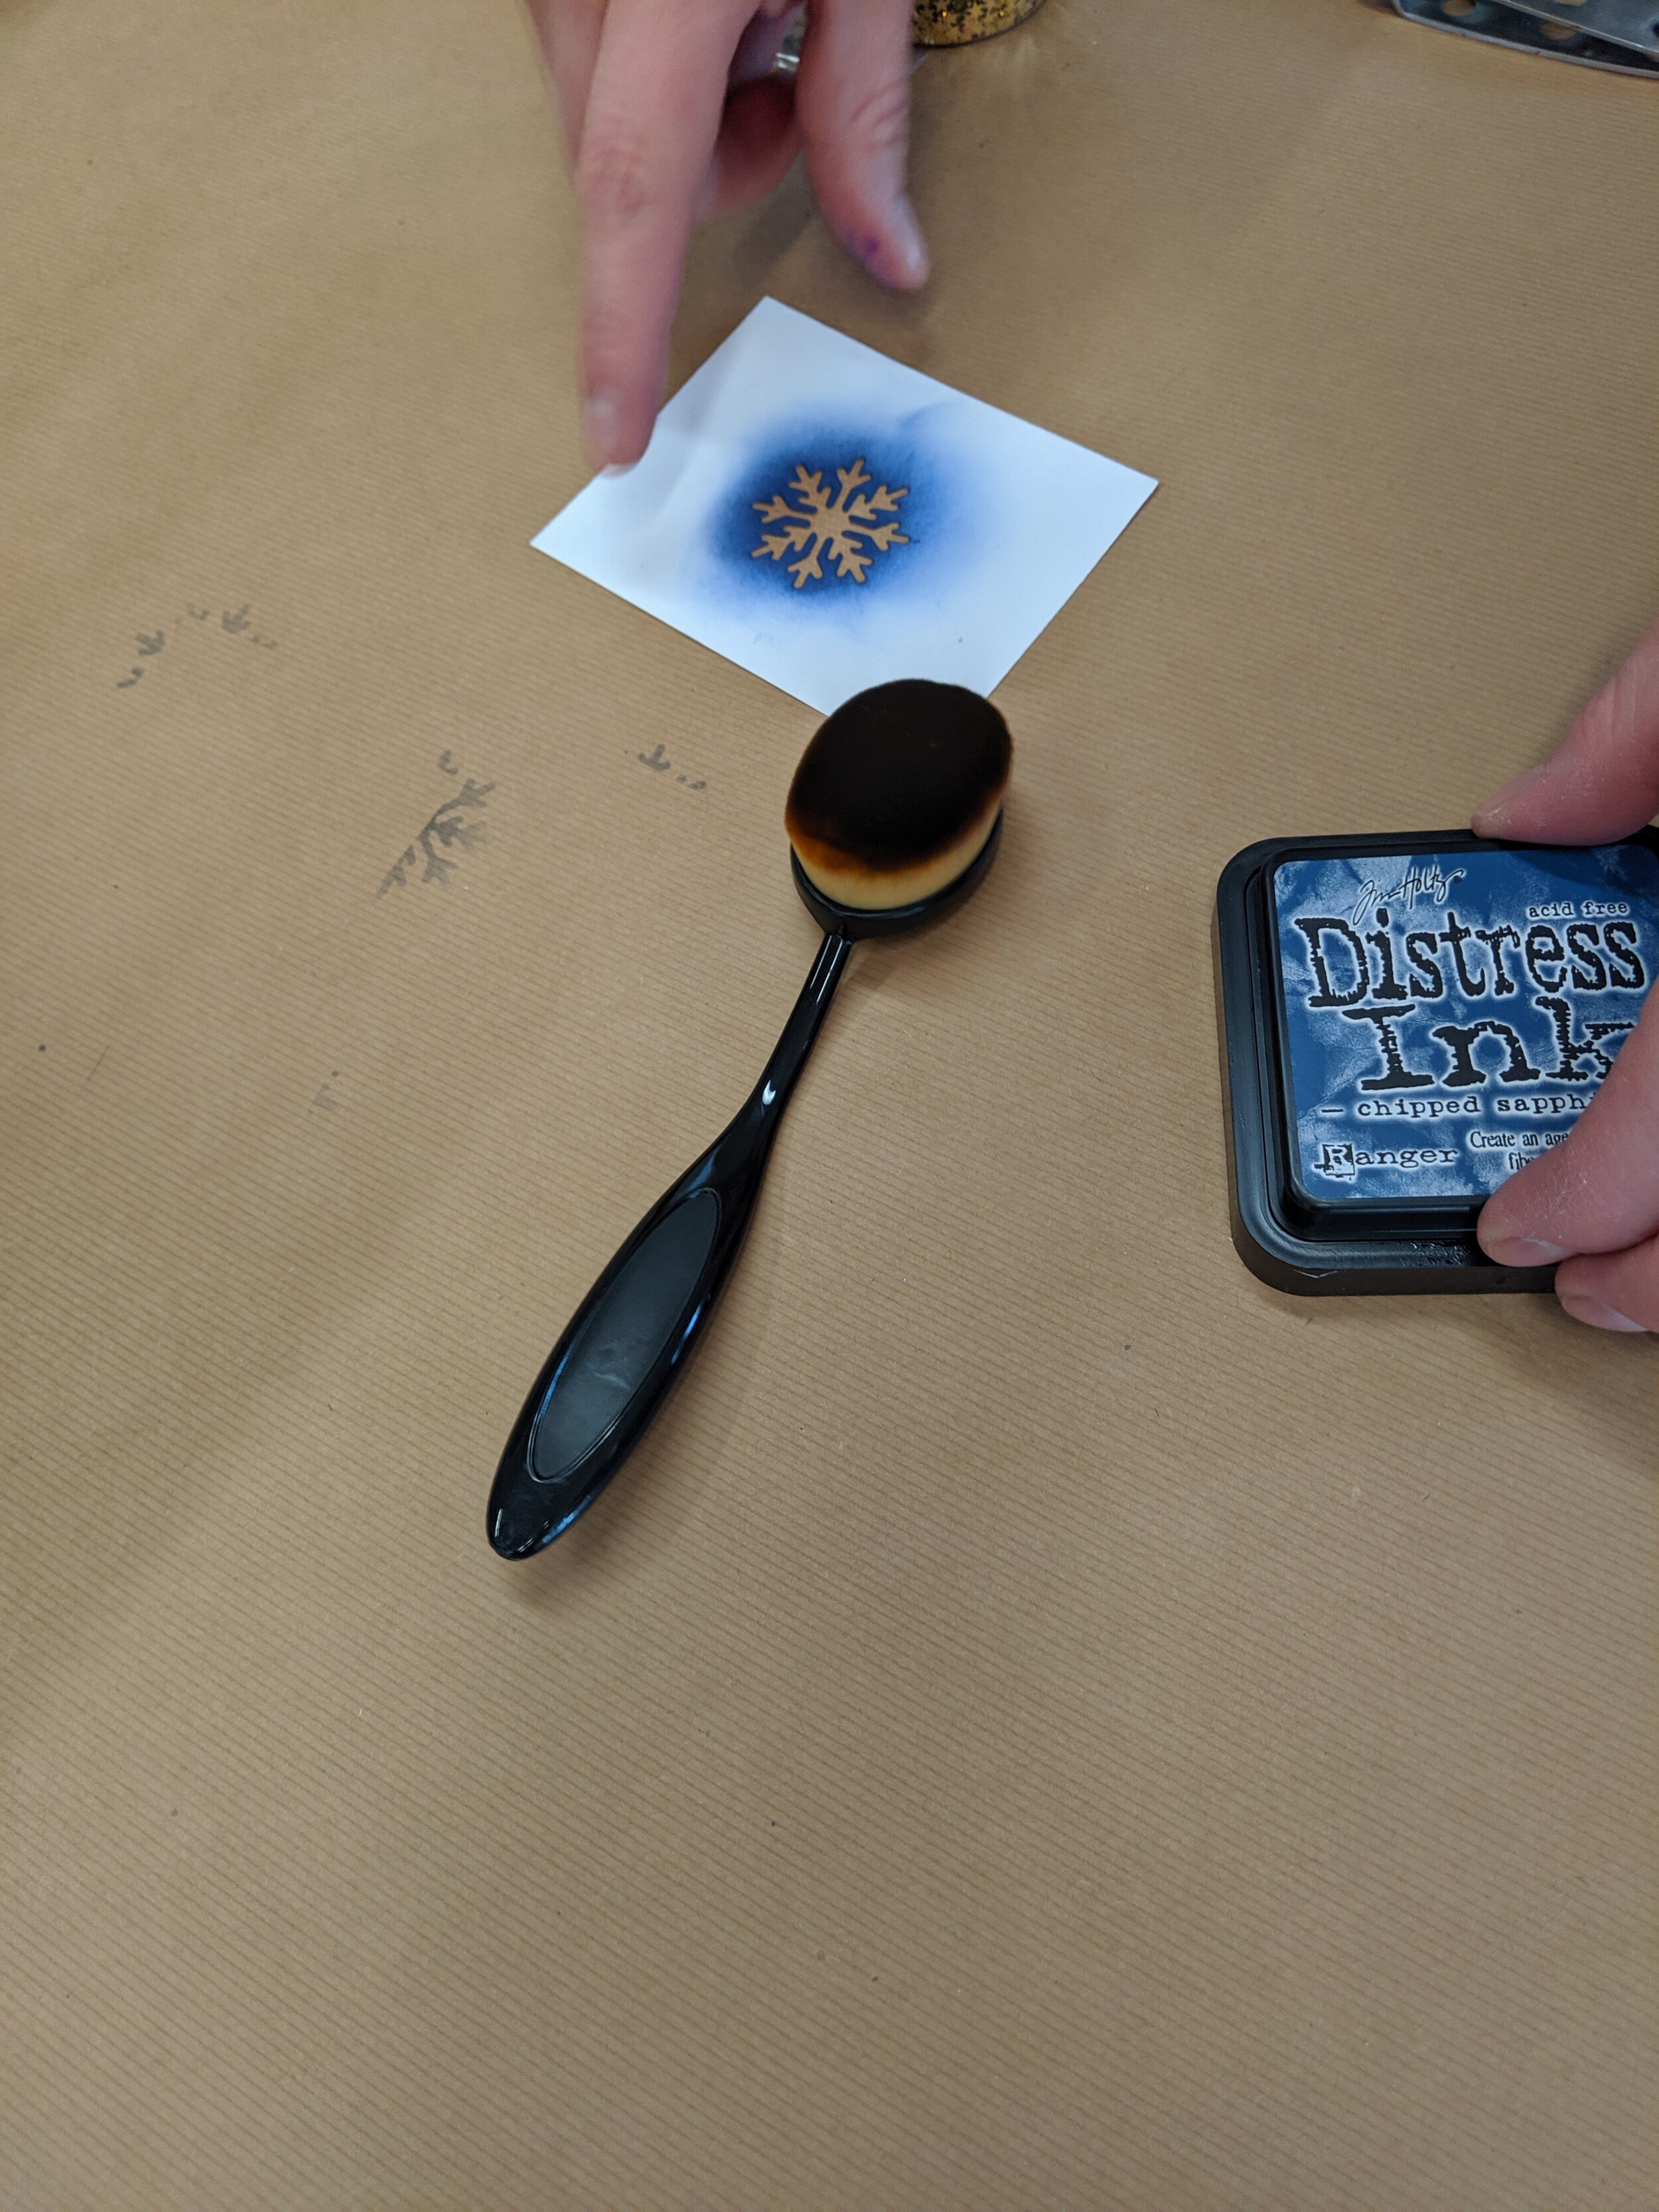
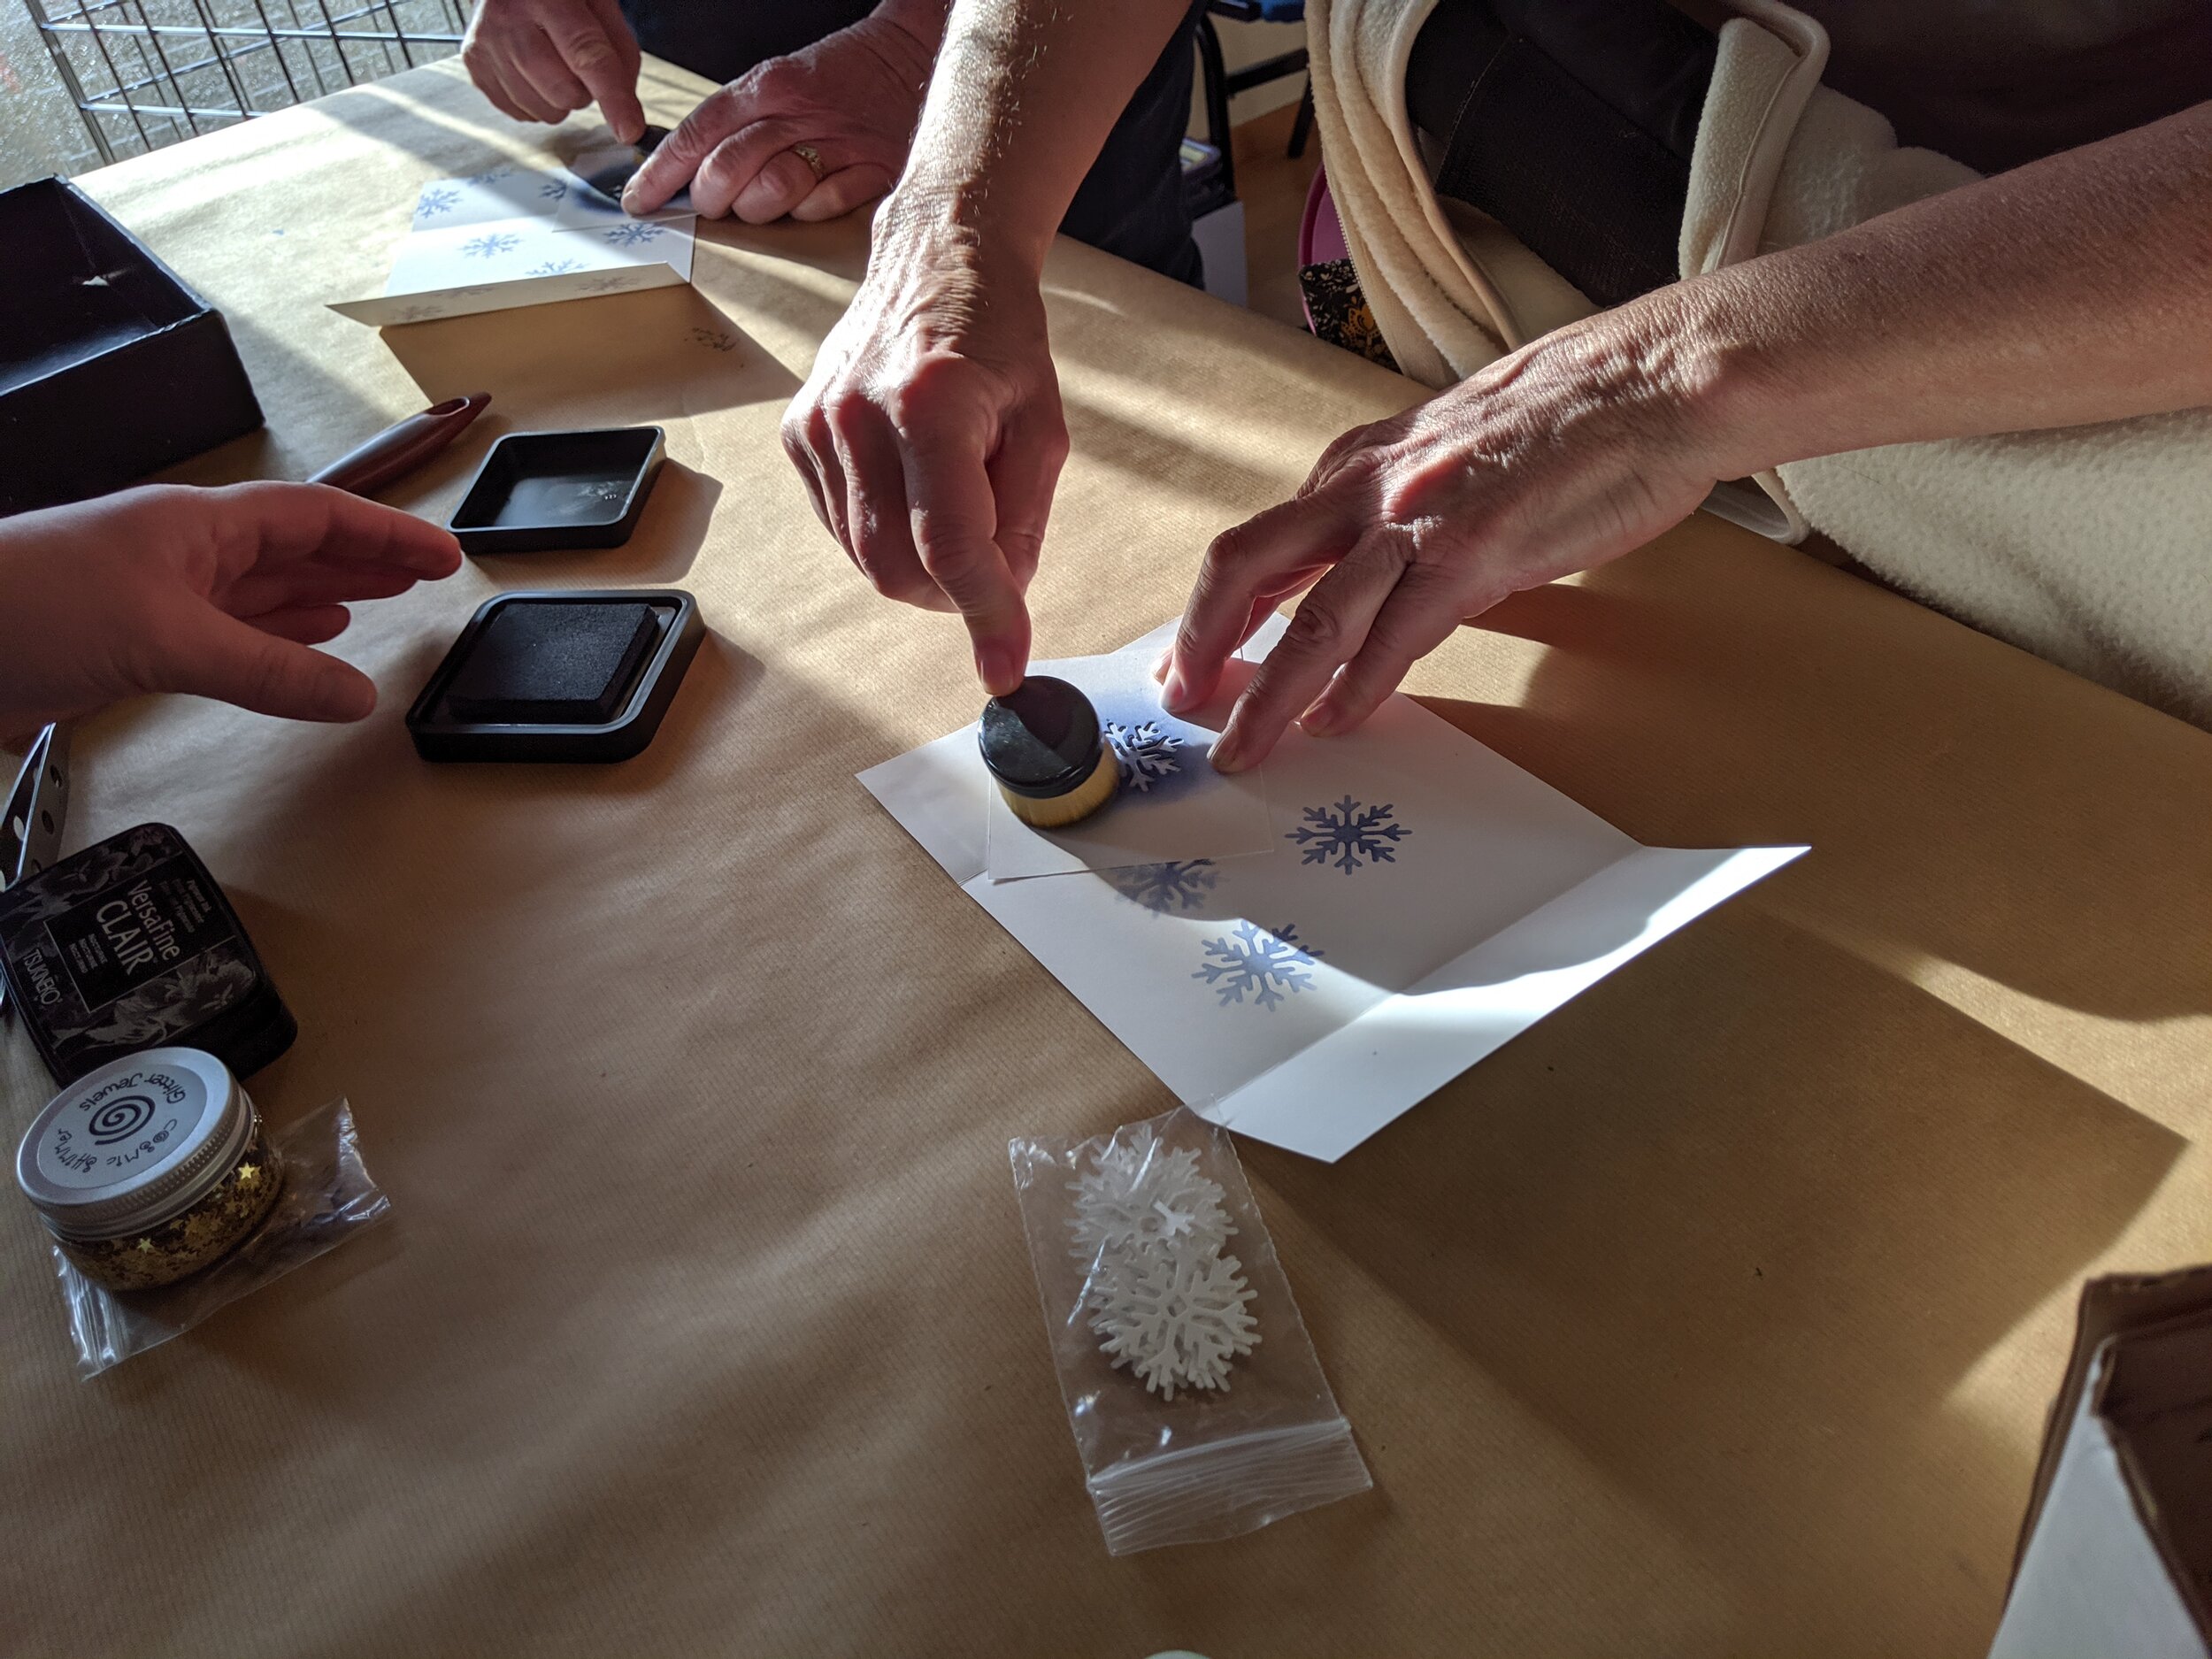
Cut out a snowflake from the Hero Arts Holidays Fancy die set. I cut the snowflake out of white card stock.
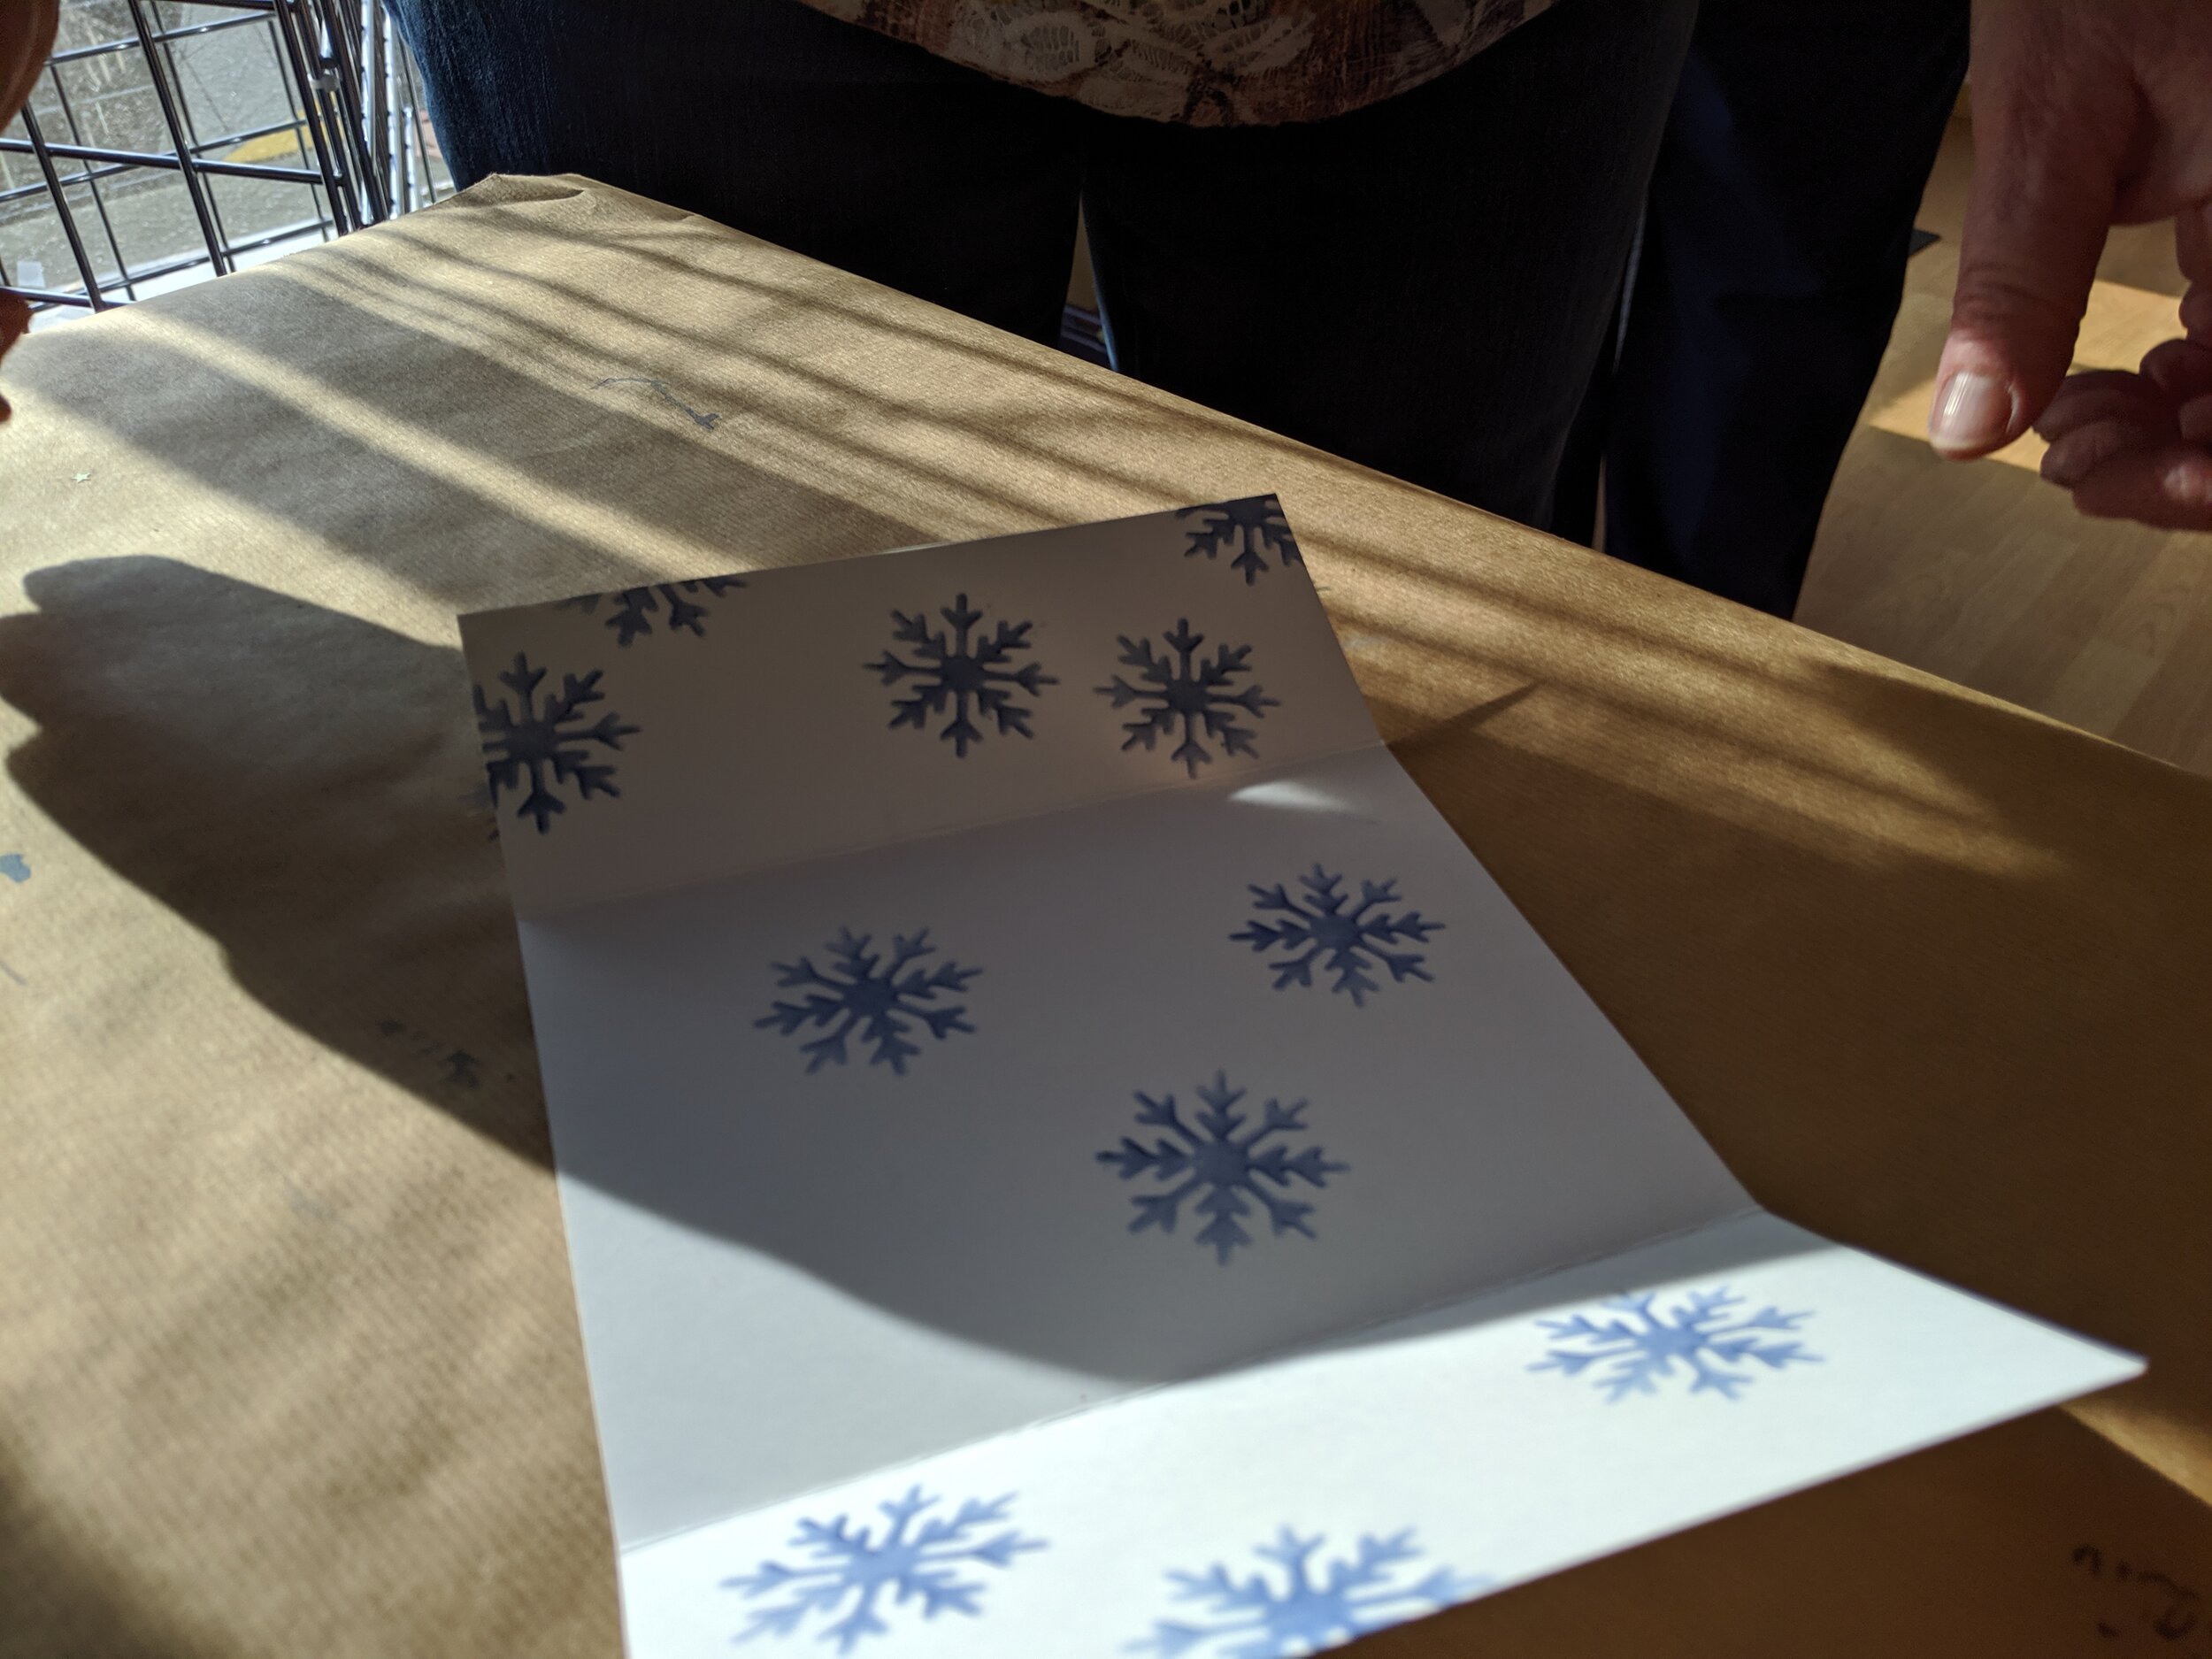
USE THE REVERSE CUT OUT of the snowflake as a stencil!! I used the Picket Fence Blending Brushes and the Distress Ink Chipped Sapphire to transfer the snowflake image onto the card stock. Lay the snowflake stencil down randomly on the inside of the card so you get snowflakes scattered on both the middle of the card and on the inside of the gate folds.
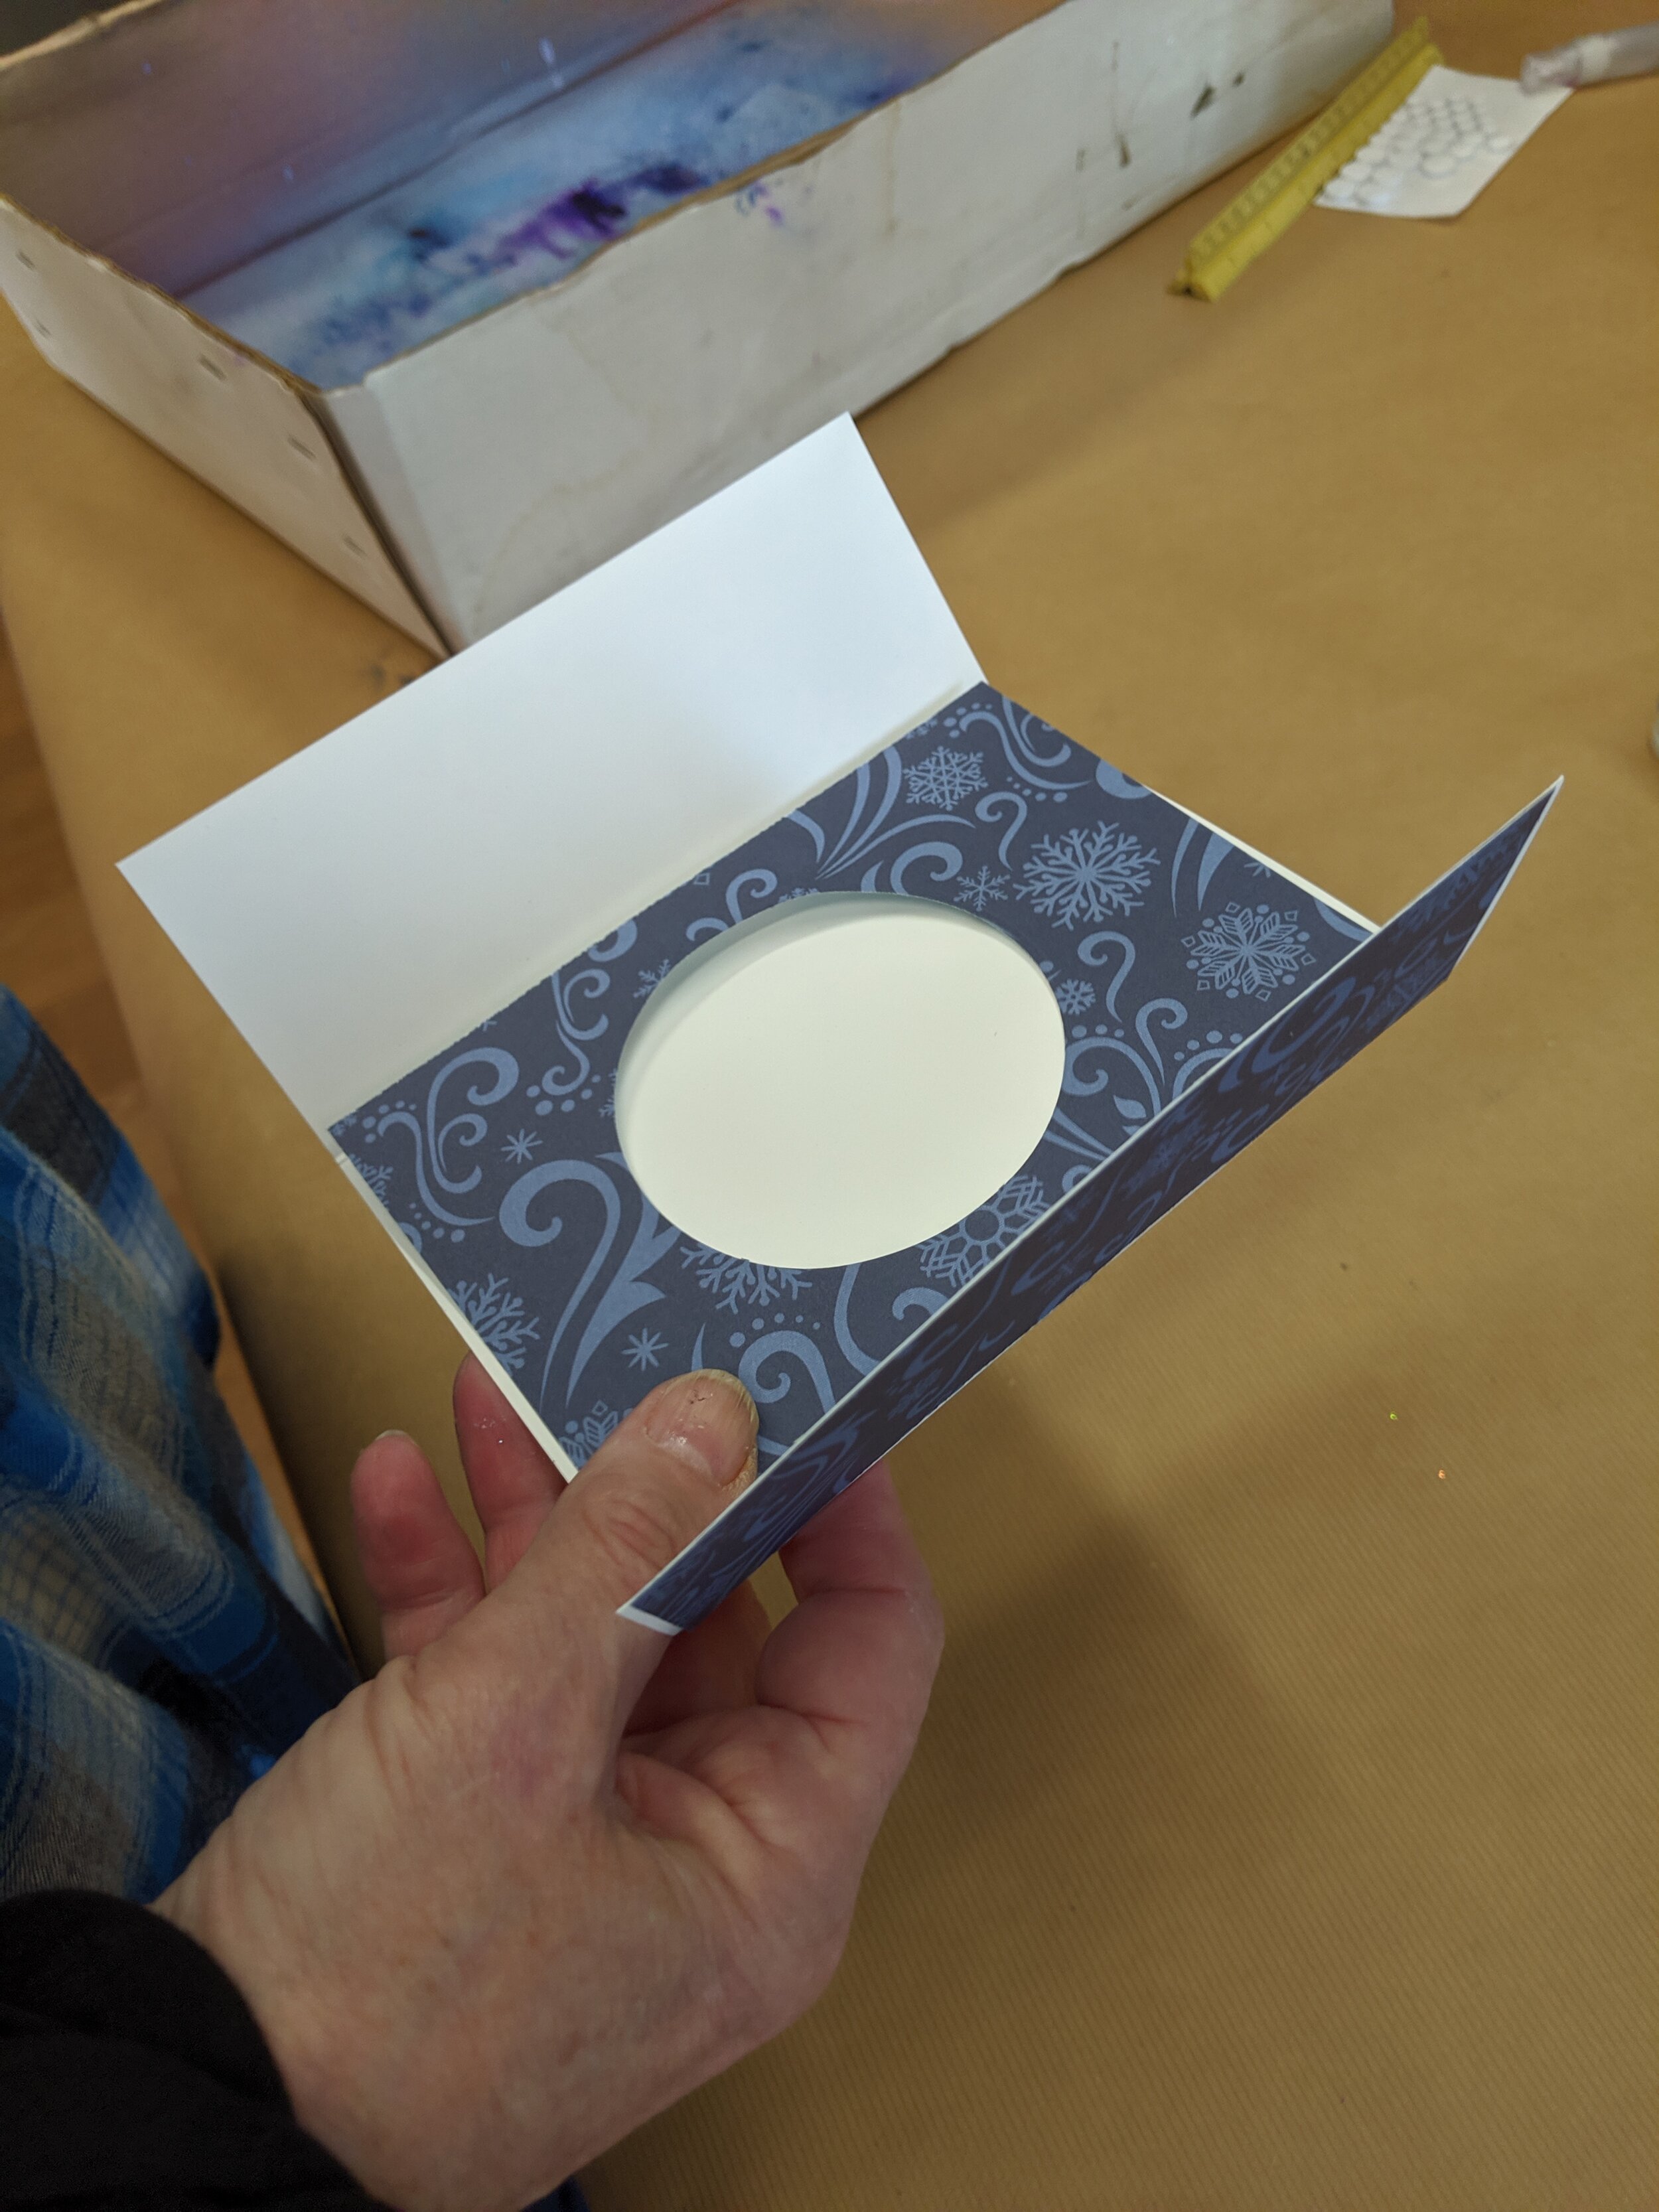
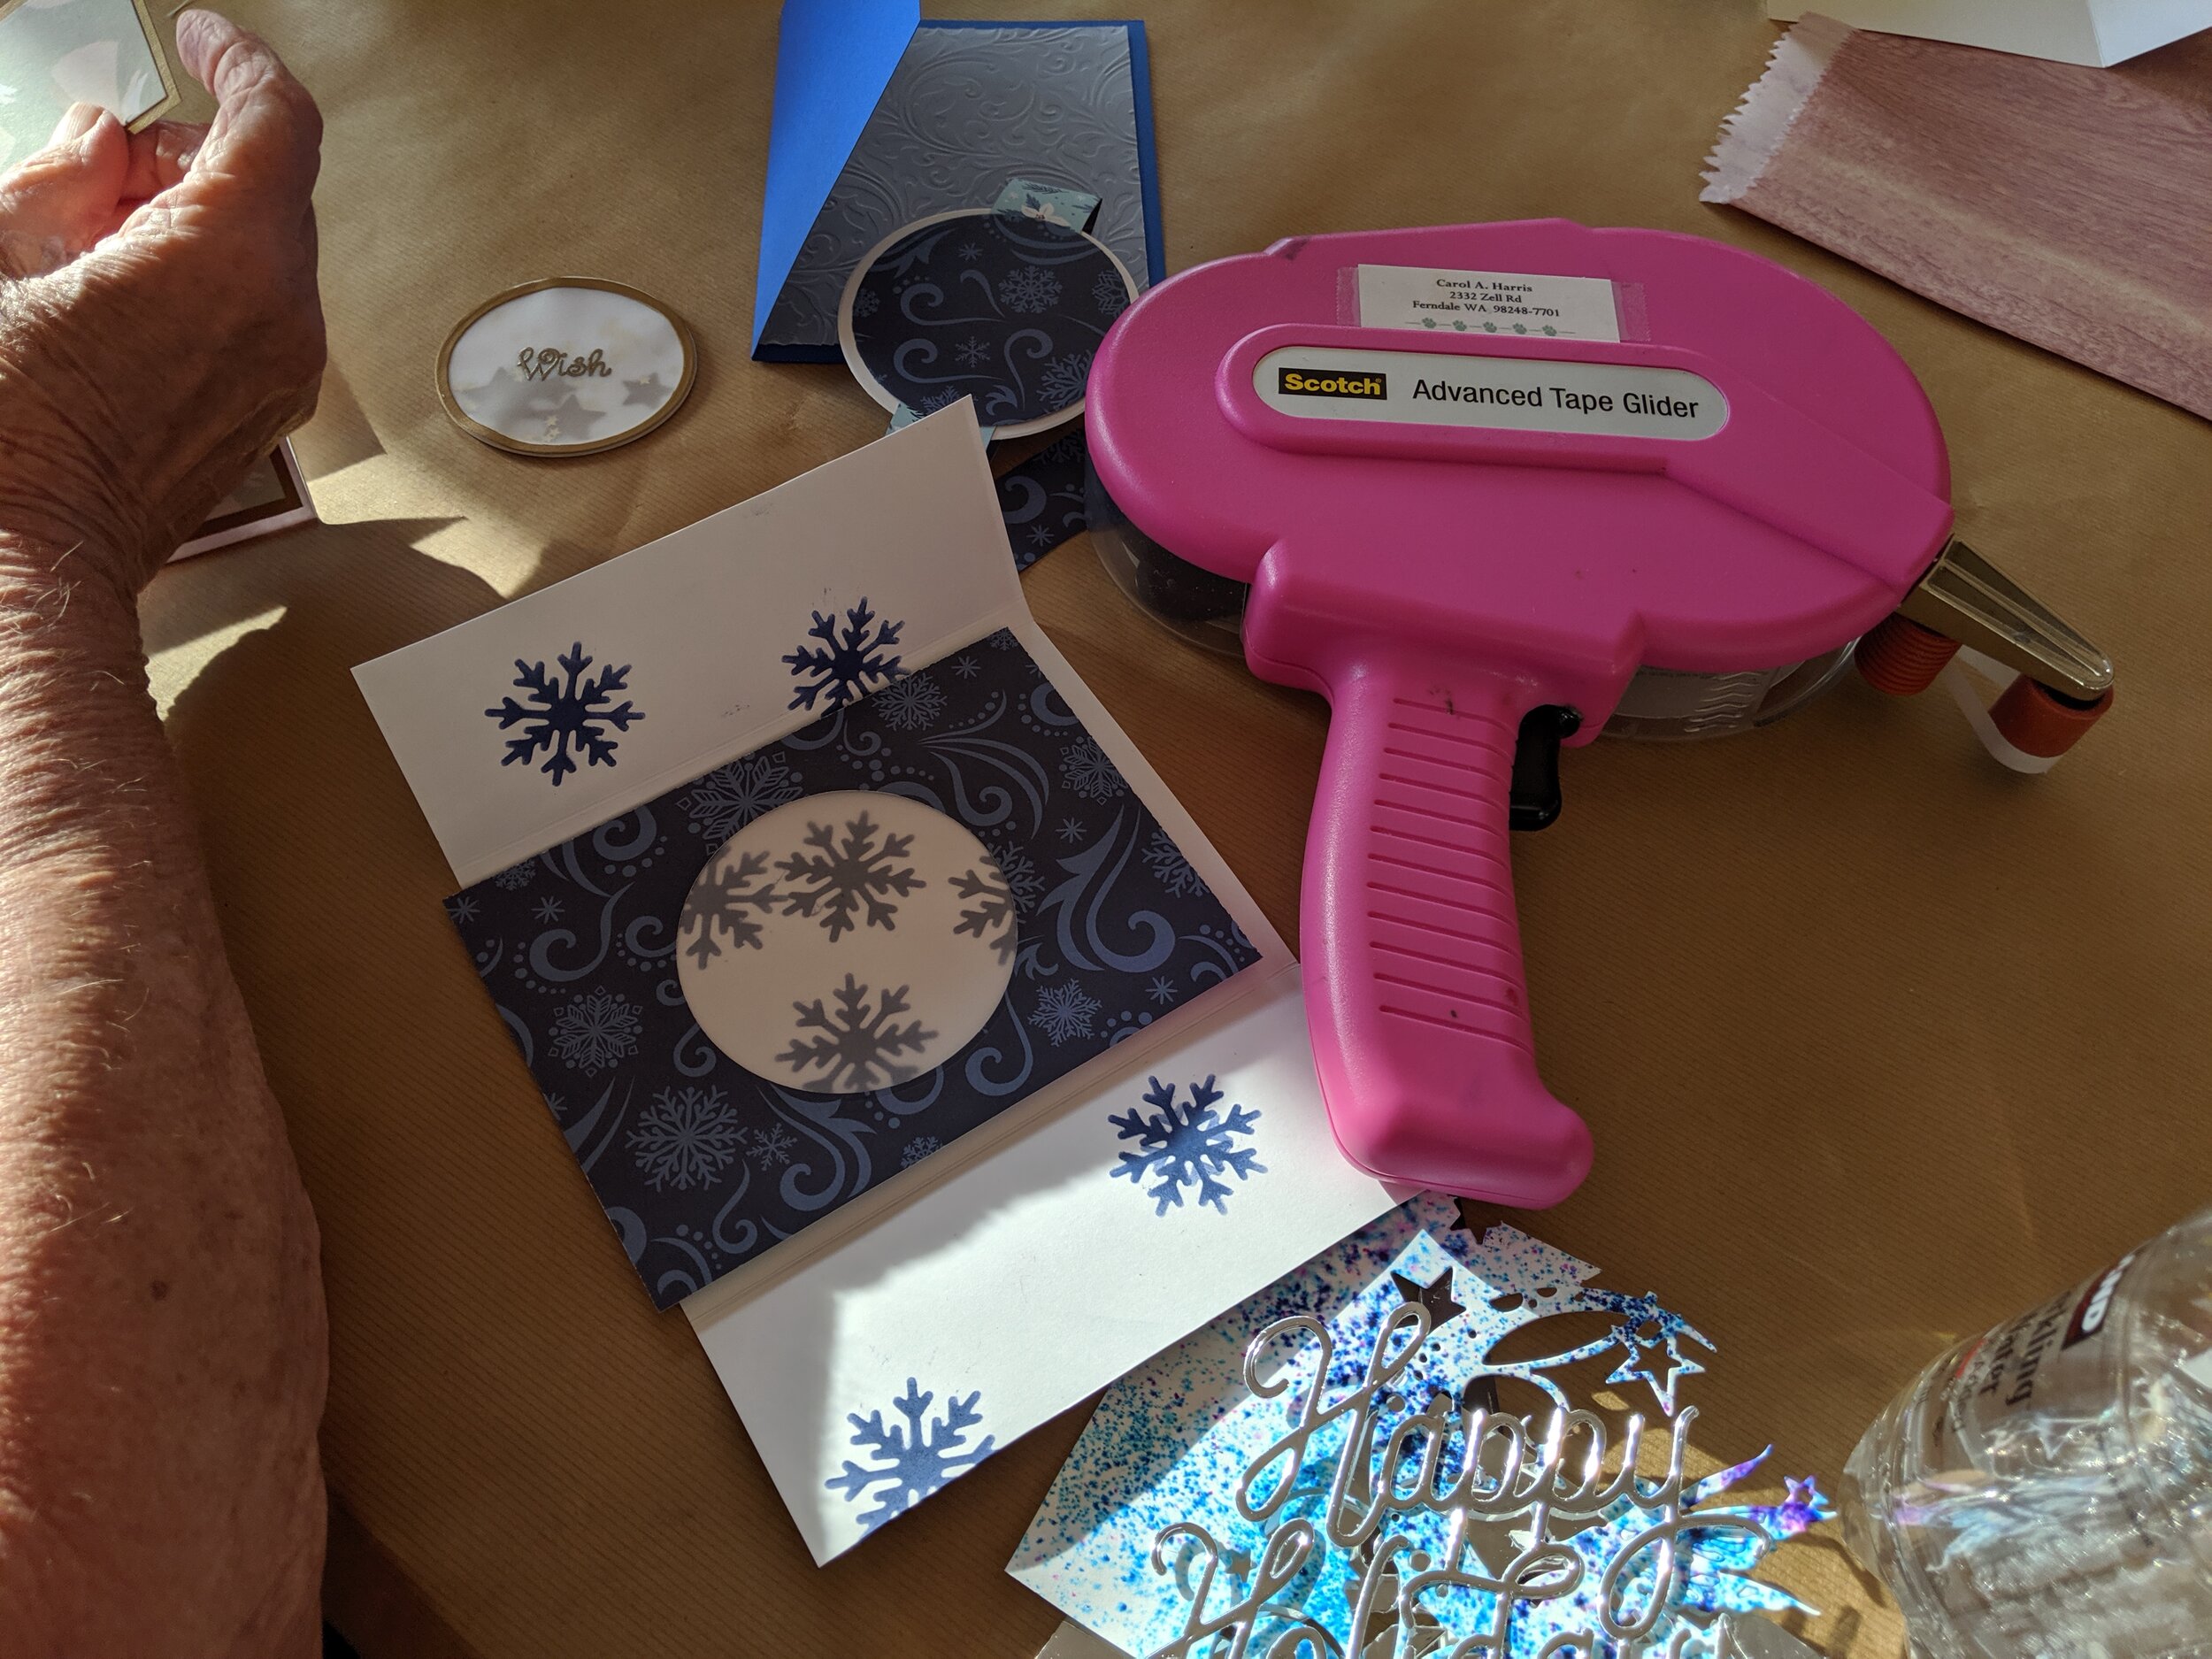
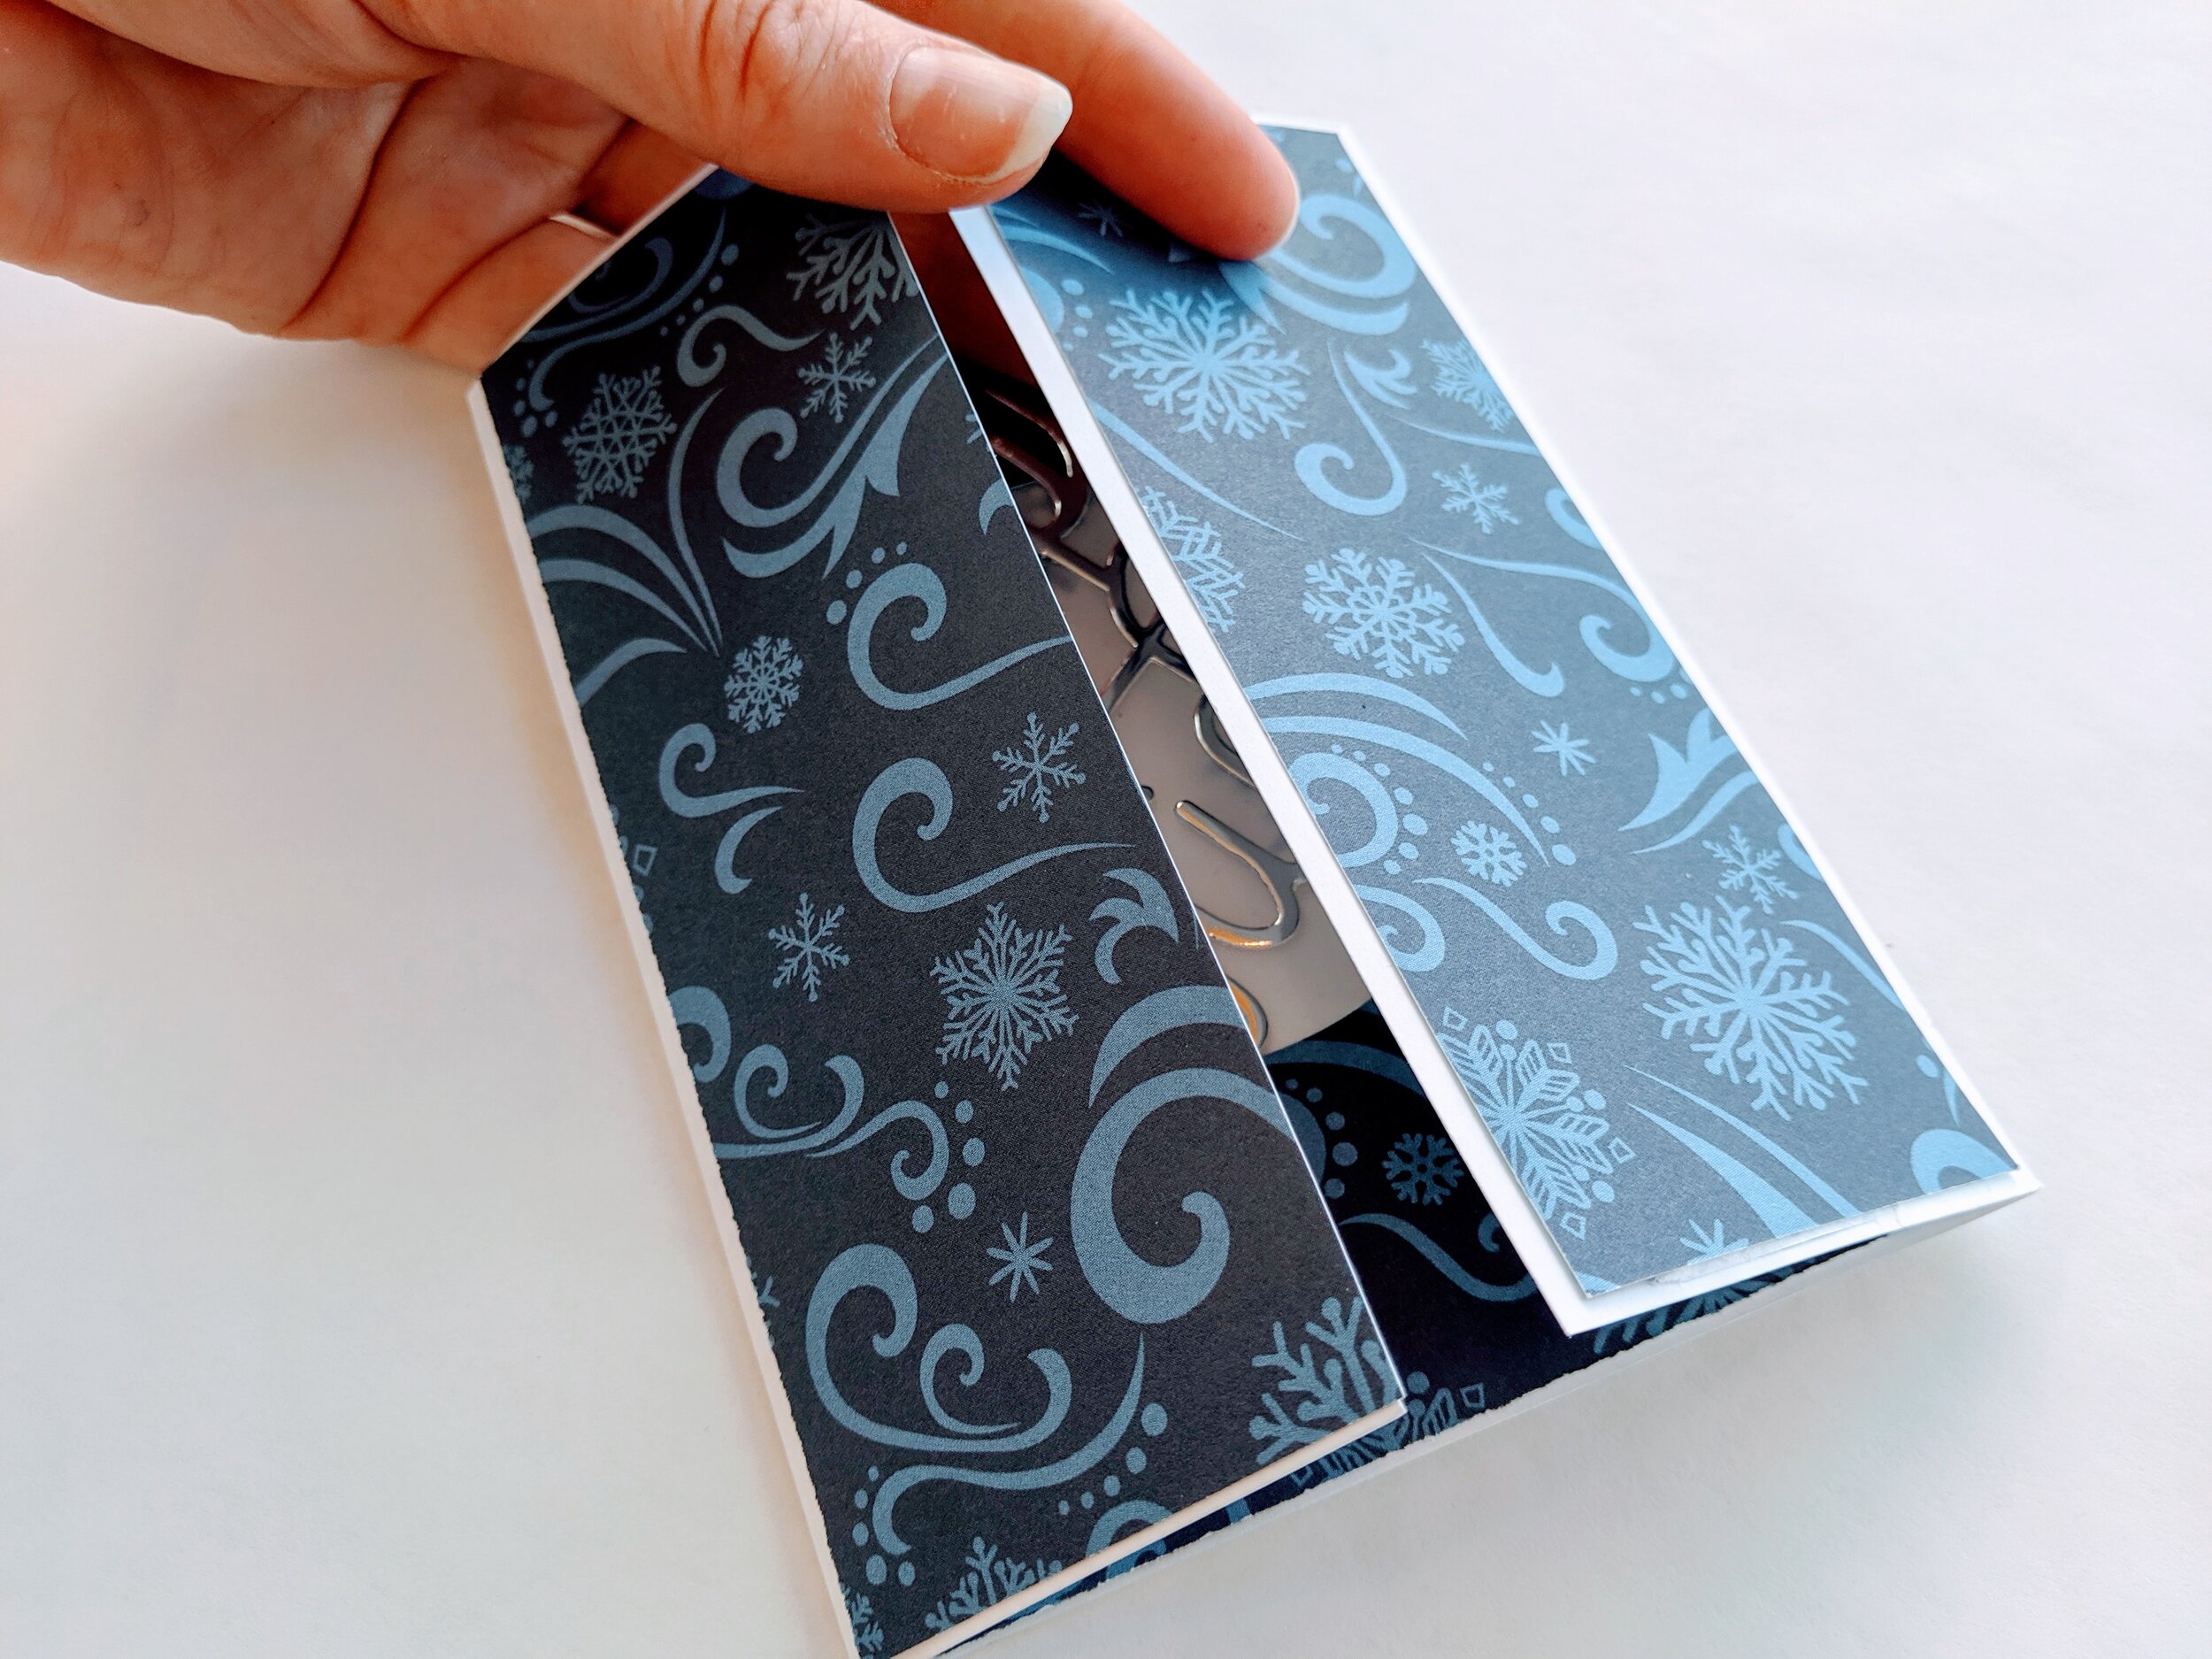
Next, use the Circle Infinity dies to cut a circle out of a piece of snowflake paper. Back this circle with a piece of Vellum.
Now, adhere the snowflake paper (with the vellum) on the inside of the card. What you will see is the snowflake images through the vellum.
Now, adhere the sentiment, “Happy Holidays” to the inside of the card. You will need to place the sentiment at an angle so the card will close. I used Nuvo Deluxe Adhesive to adhere the die-cut.
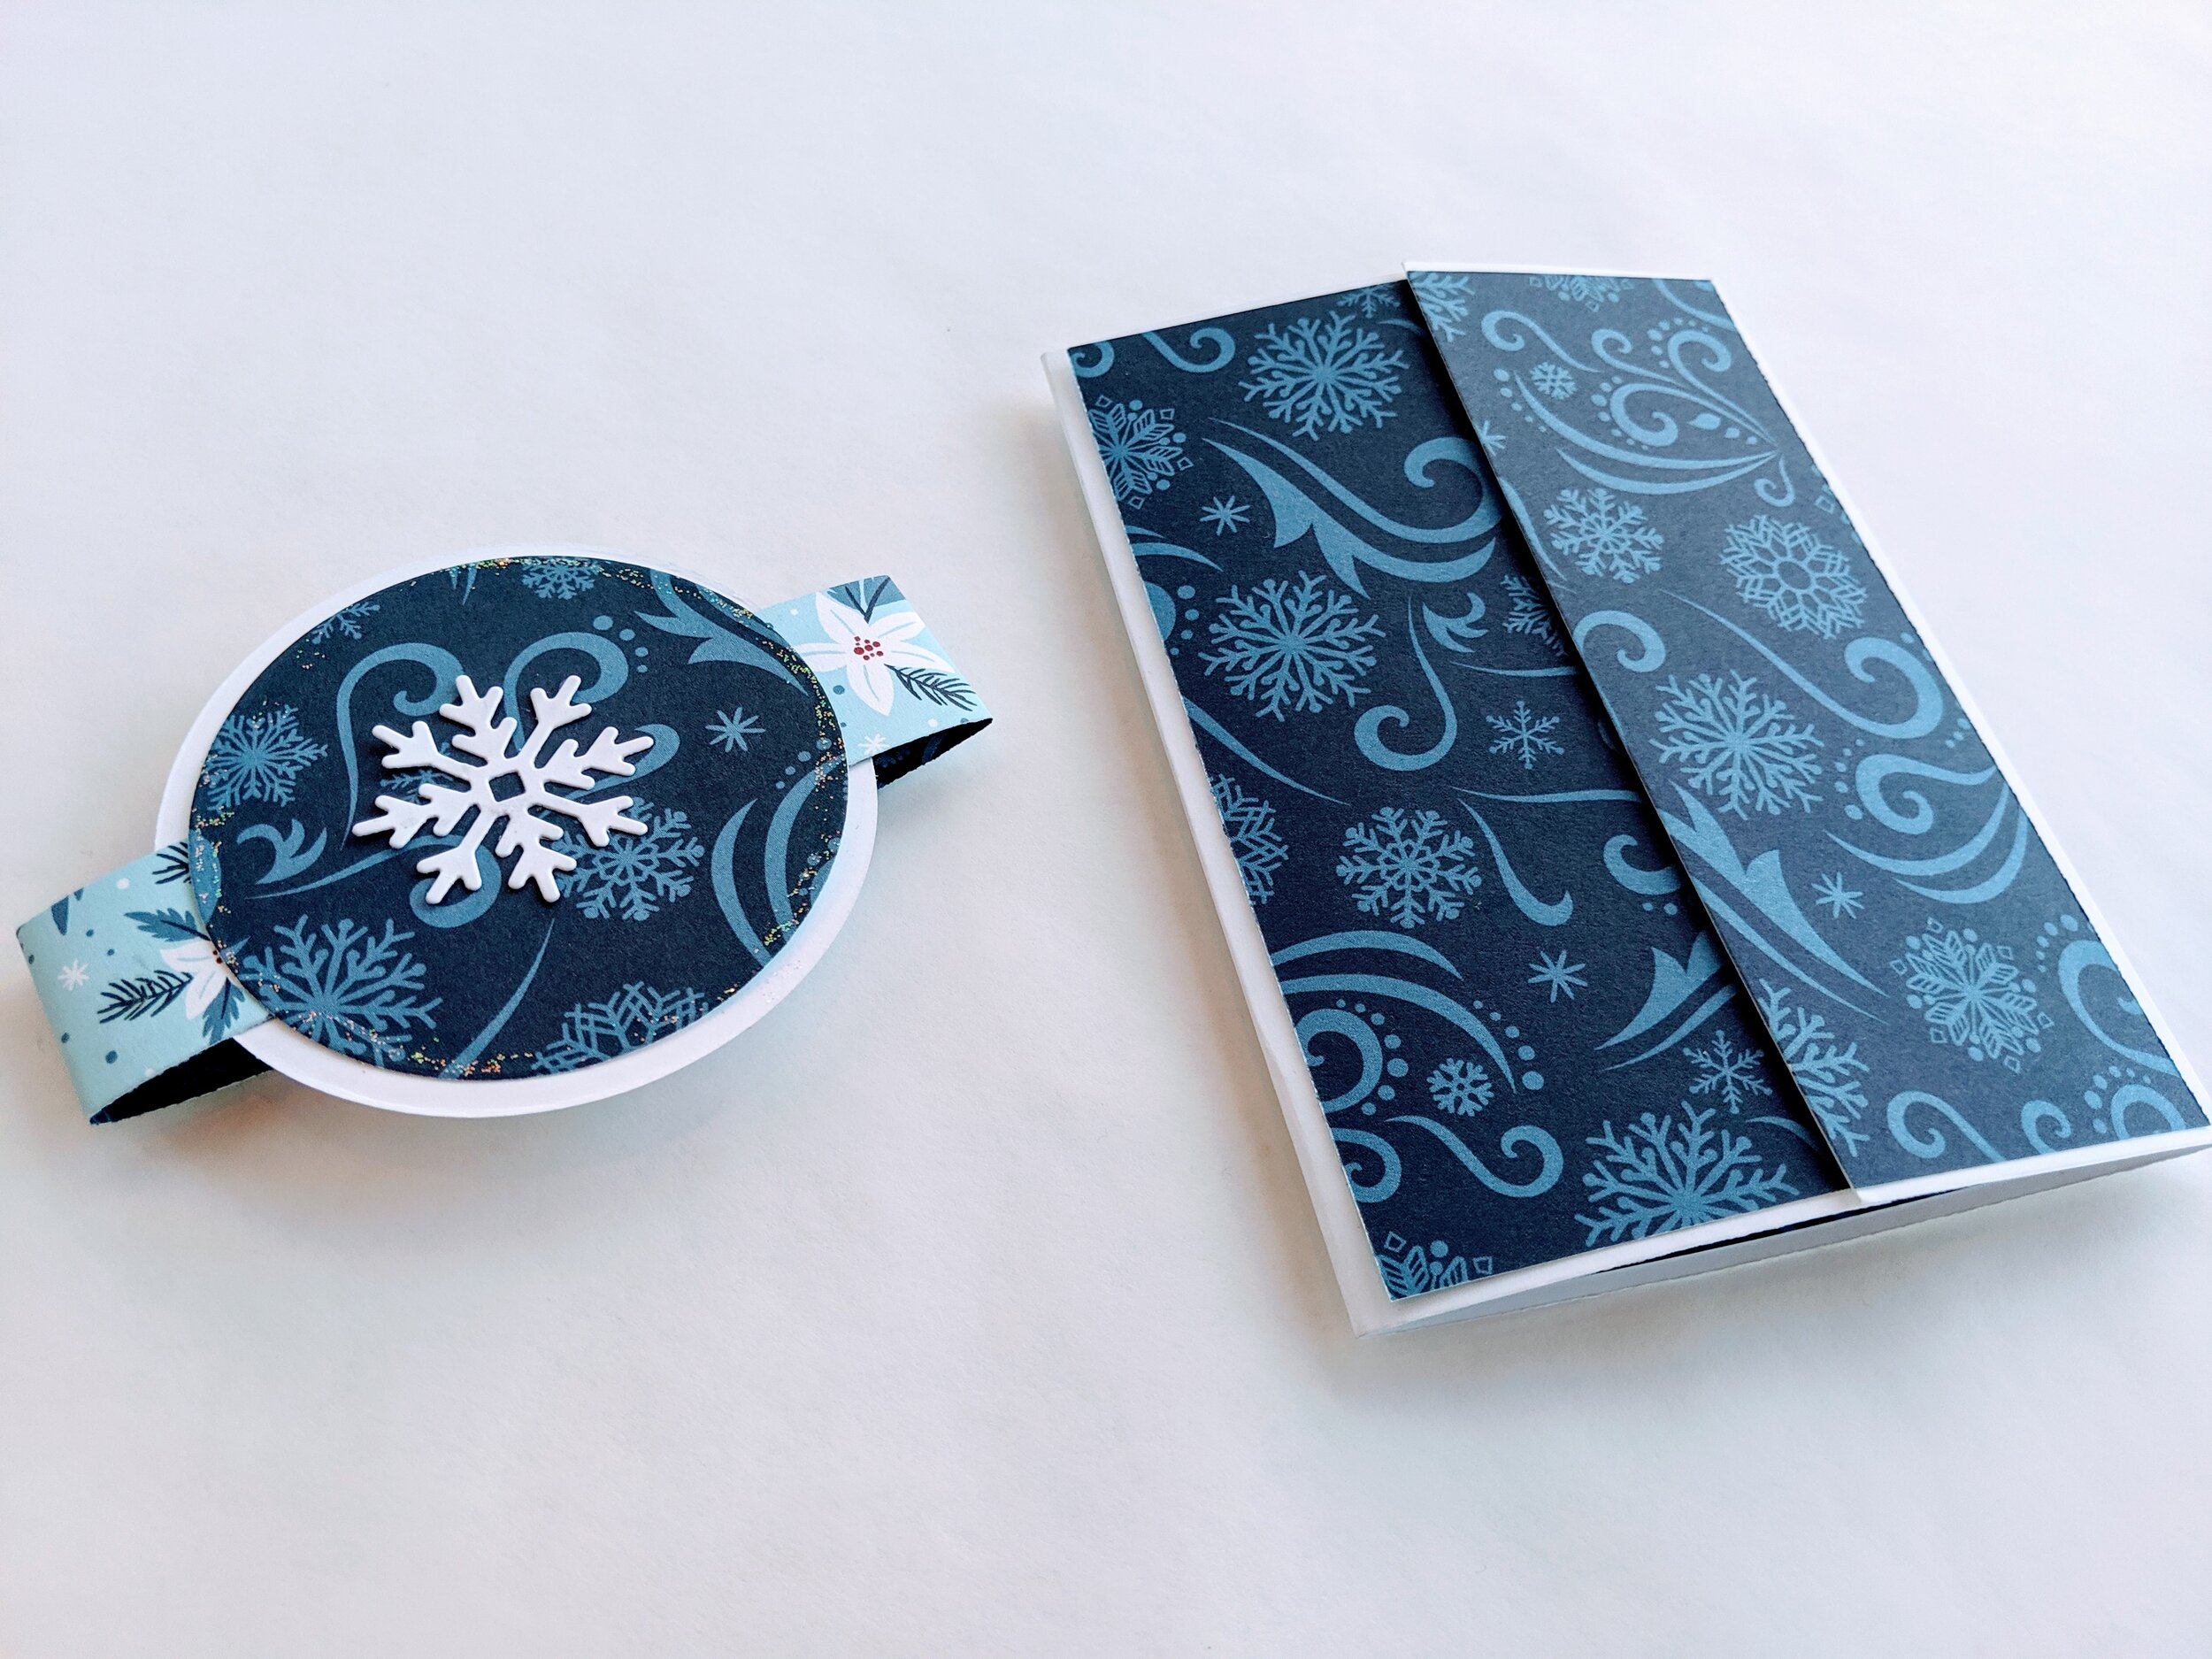
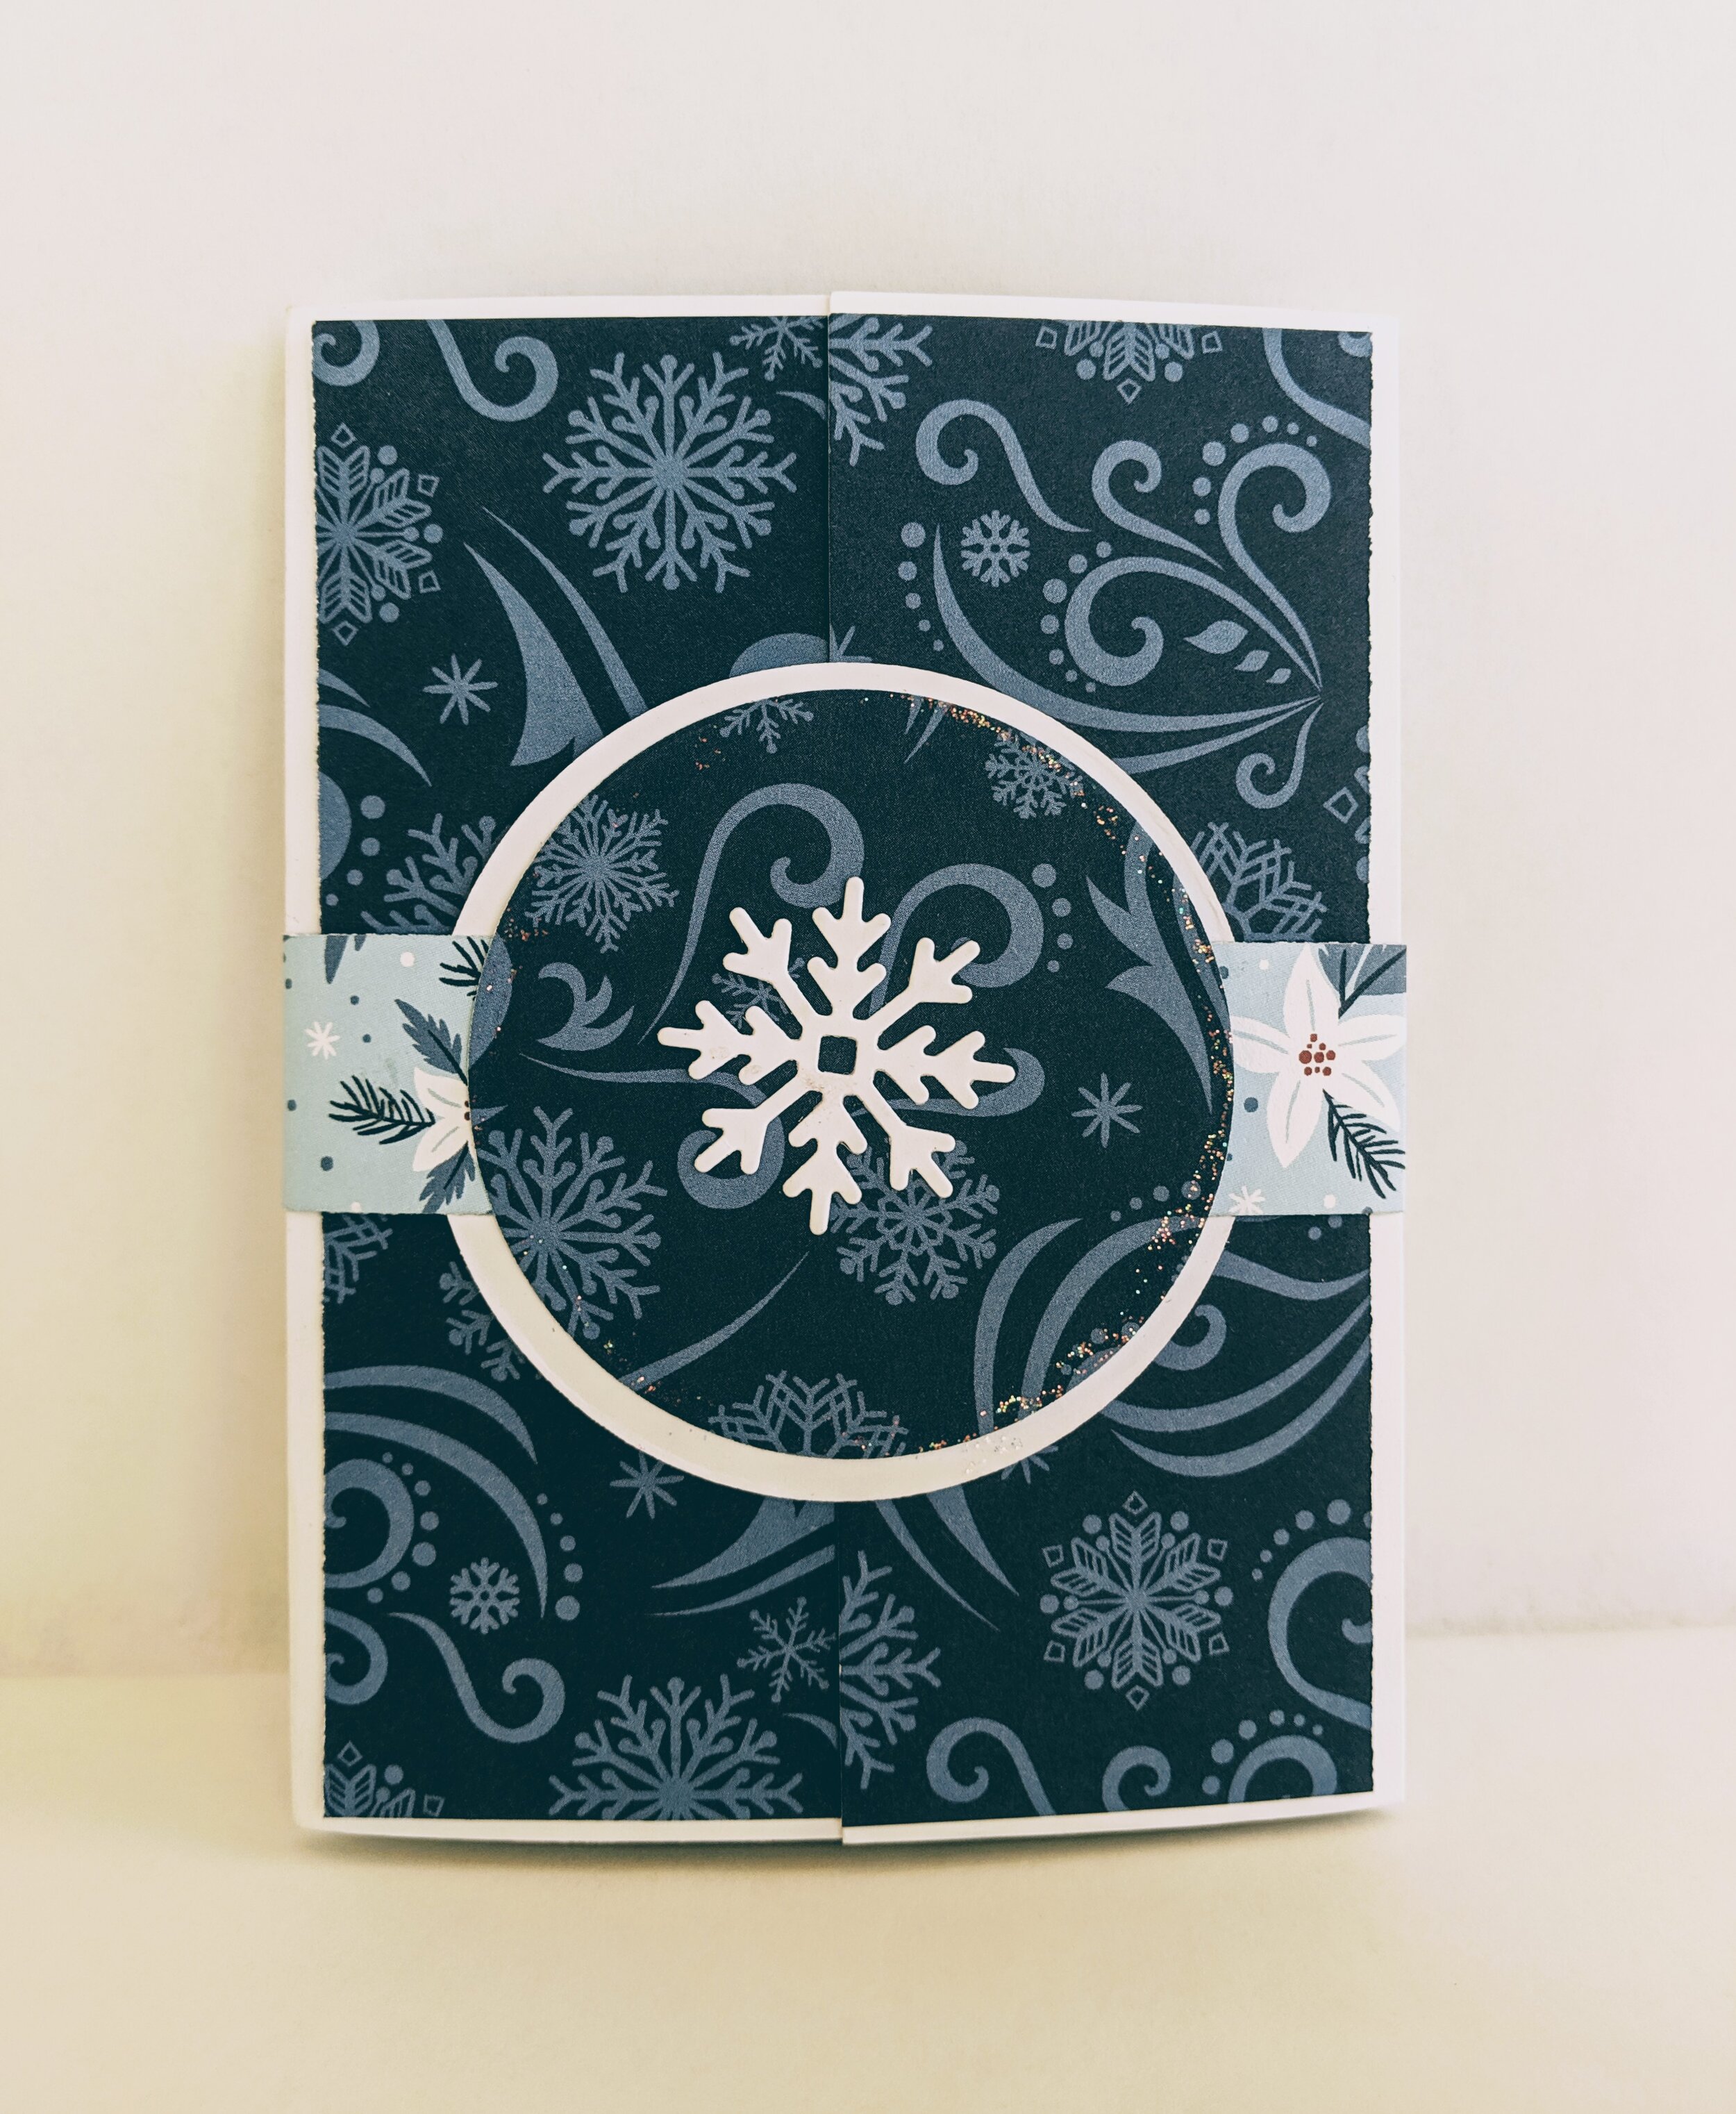
Now, close the card. Use a 1” wide strip of the snowflake paper. I FLIPPED IT over so that I could see the backside of the paper (it’s this beautiful white poinsettia image). I wrapped the strip around the card to make a belly-band and adhered the strip to itself.
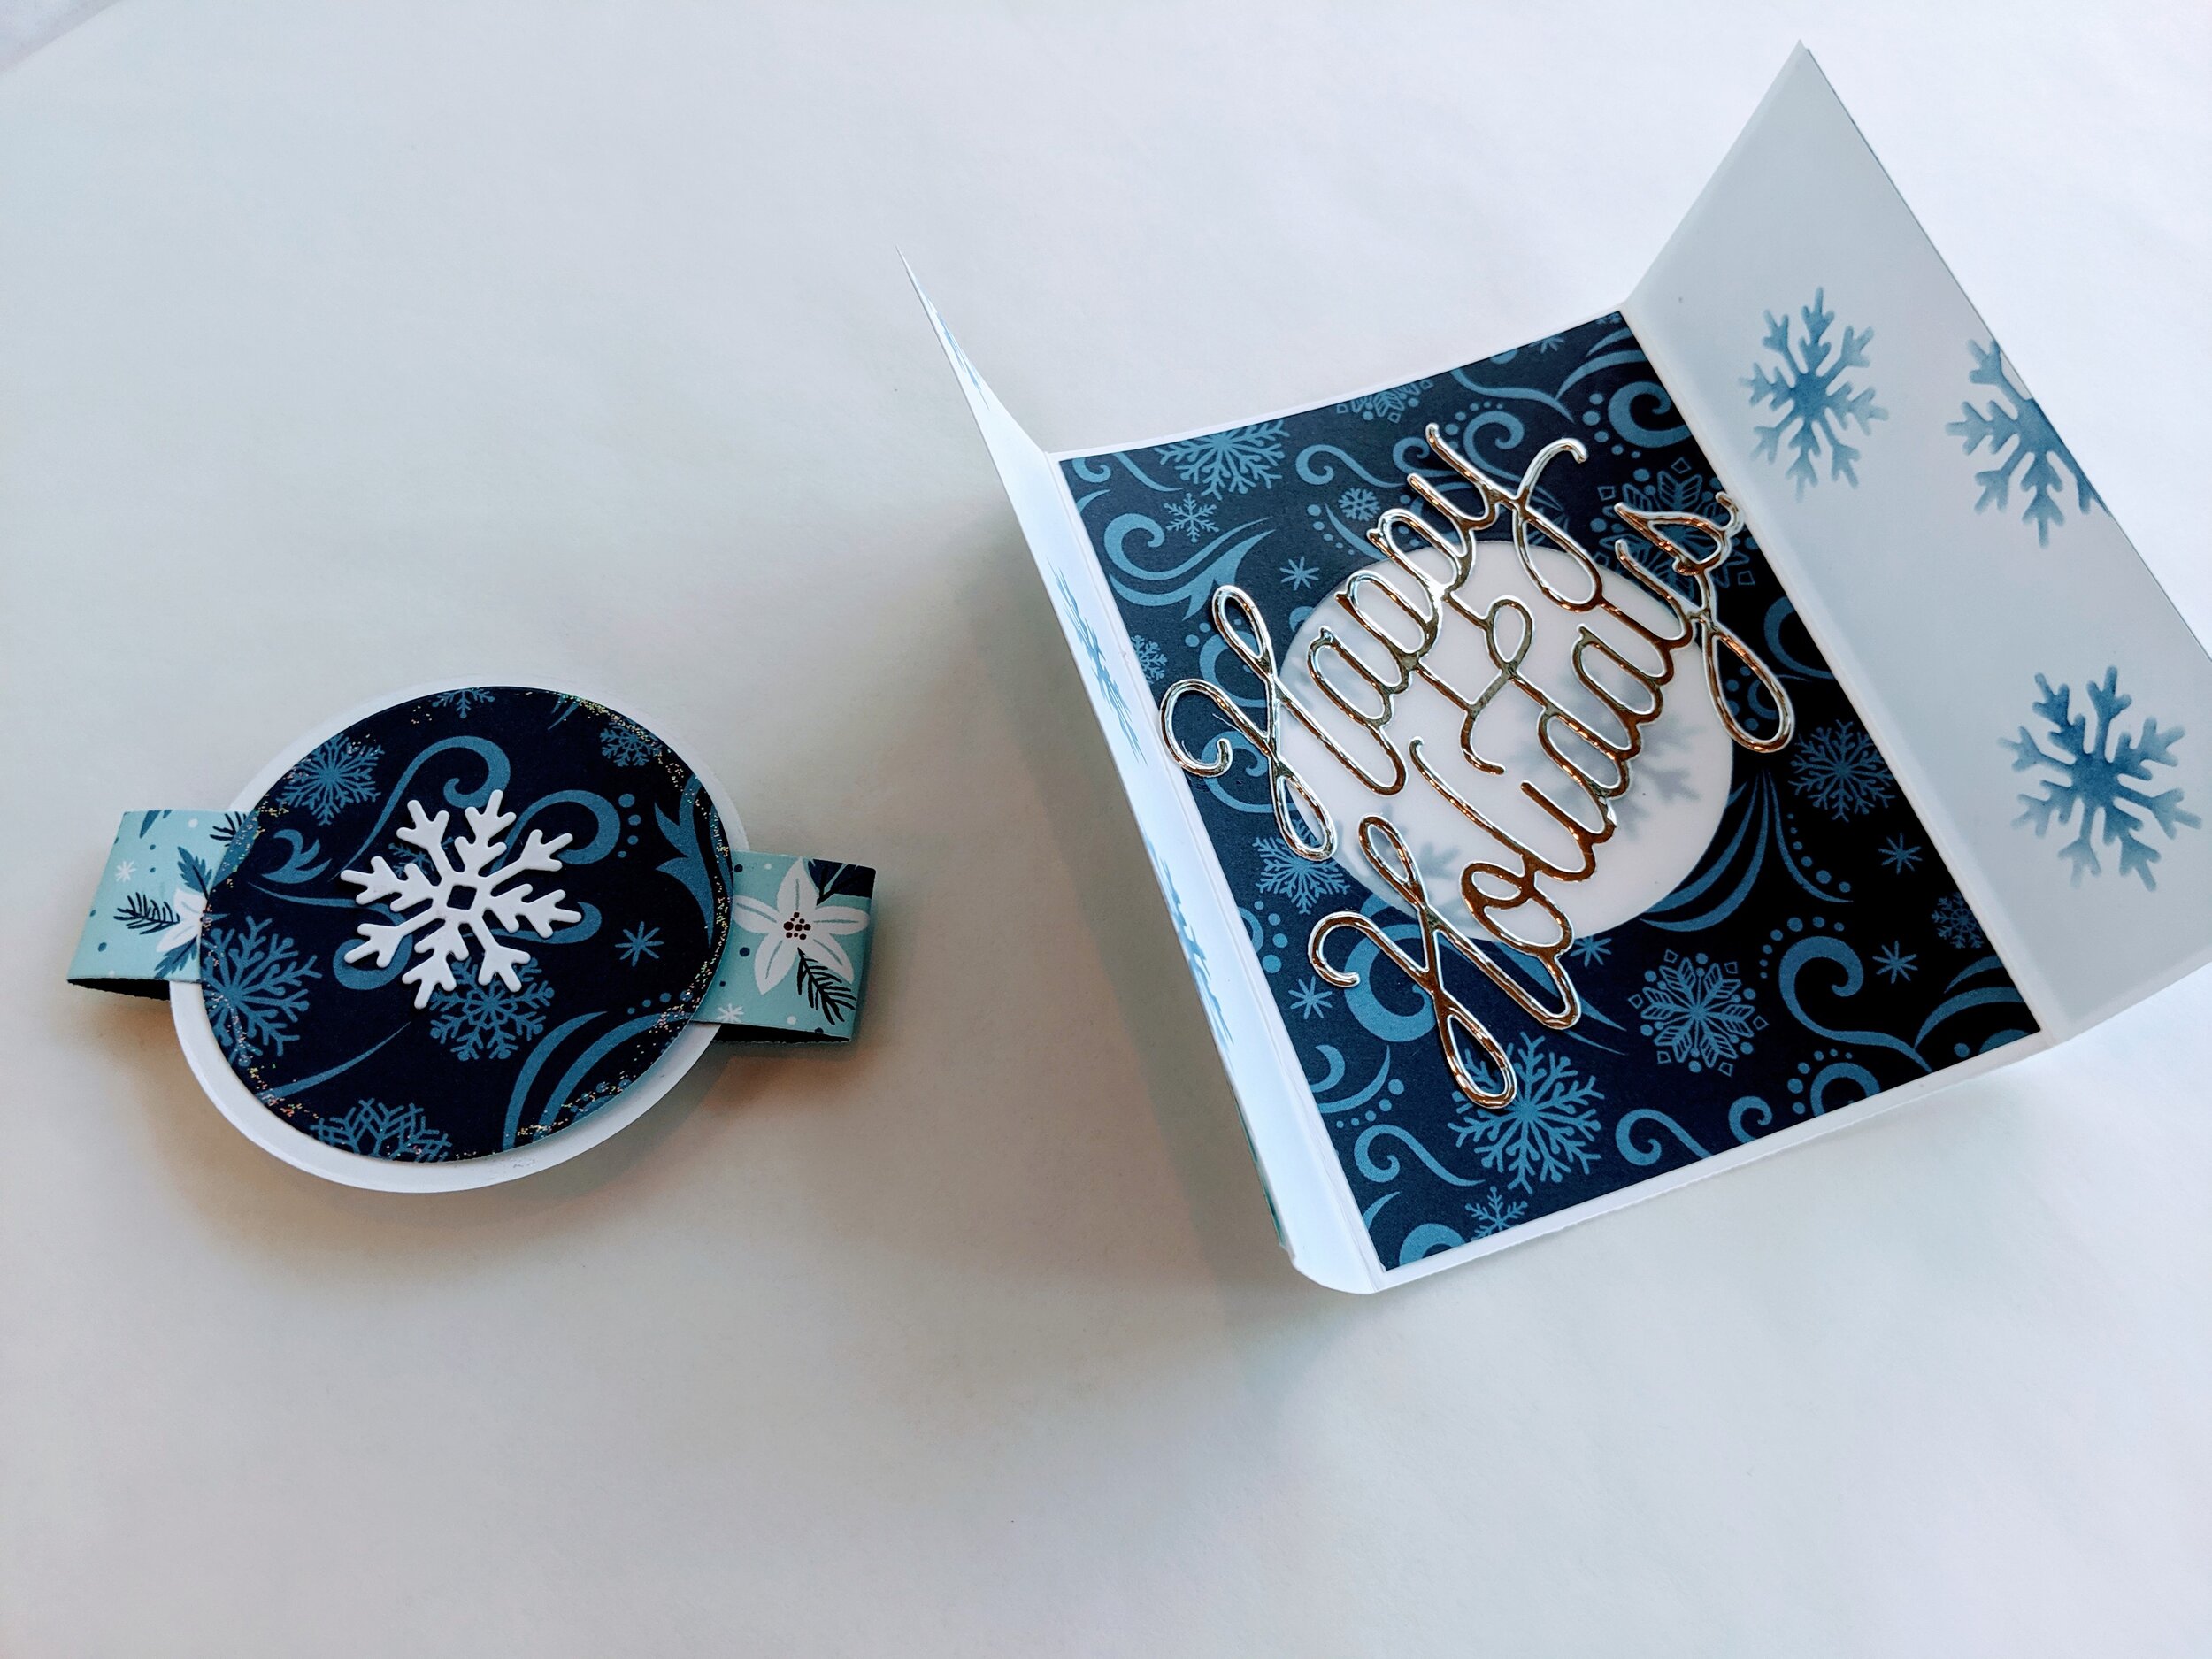
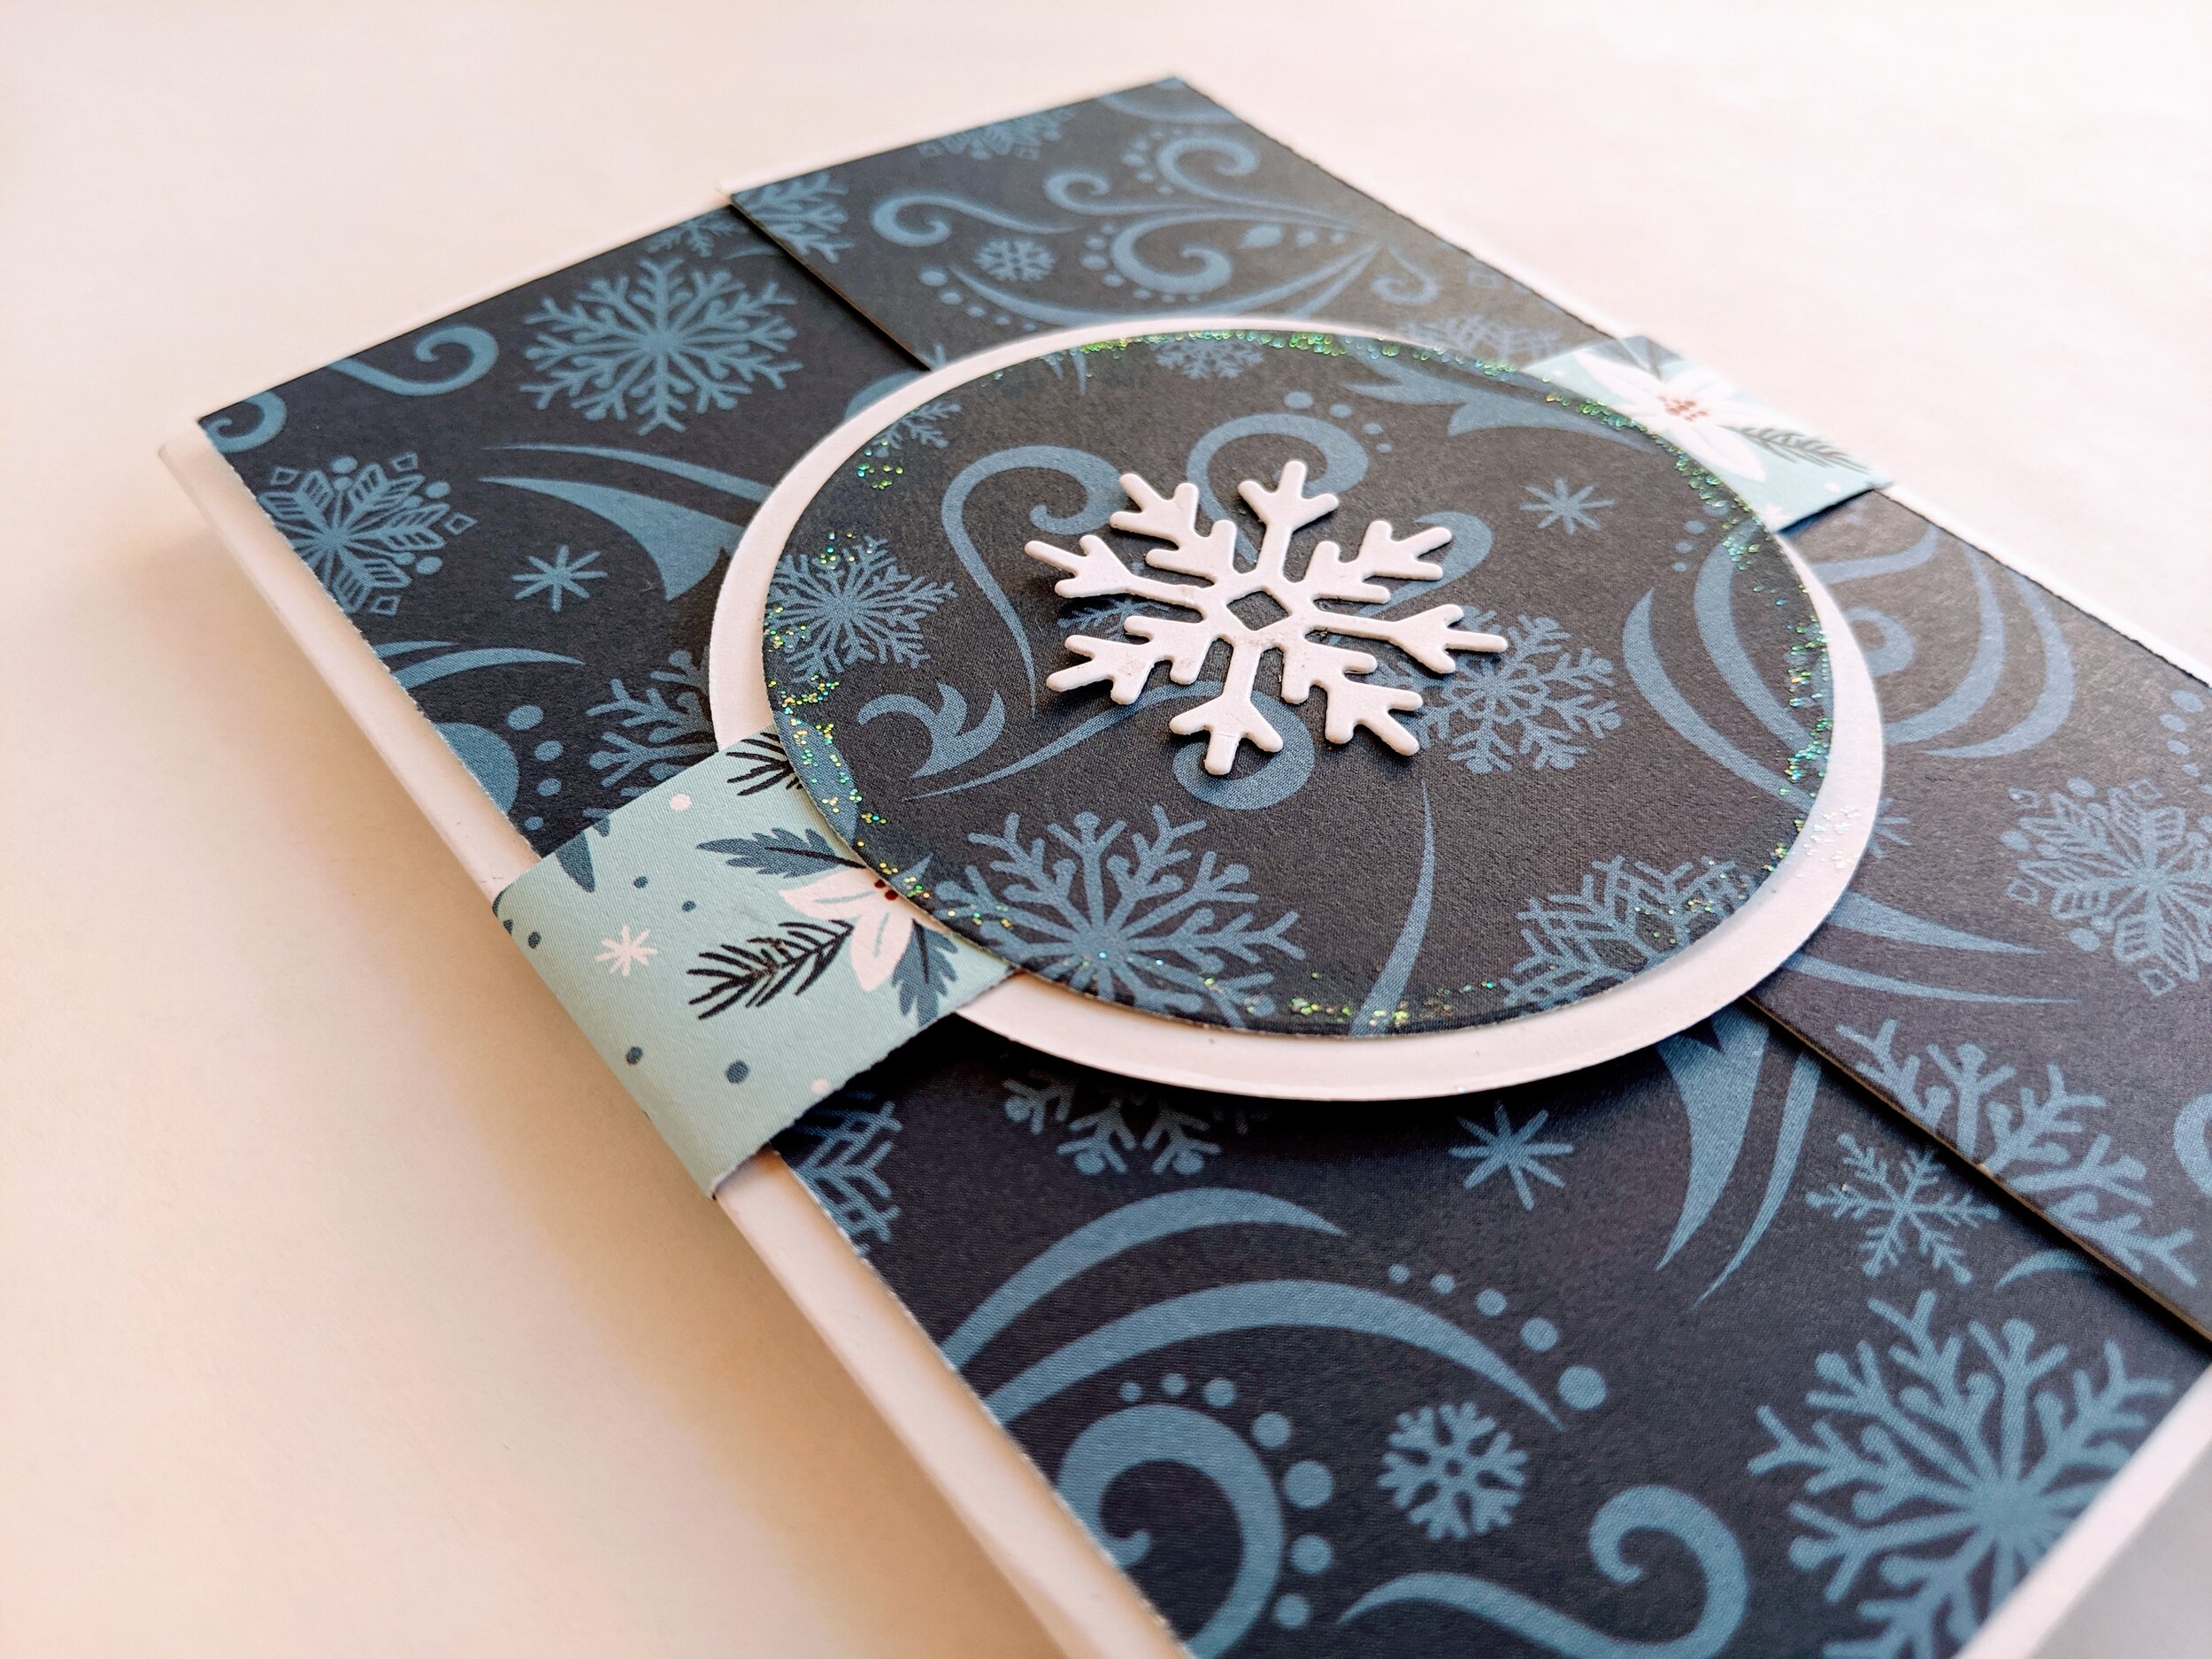
Now, I used the circle earlier that I cut out from the center of the snowflake paper. I adhered that to the front of the belly-band. Then, I cut out another circle from white card stock that was slightly larger and backed the snowflake circle with it.
Finally, I used Diamond Stickles to add just a tiny bit of sparkle to the edge of the snowflake circle and adhered the white snowflake (from when we cut out the snowflake to make the stencil) to the front of the card.

Check out this design that Denise and Kathy did… They like the Poinsettias better than the snowflakes.. and it still makes for a great card!!

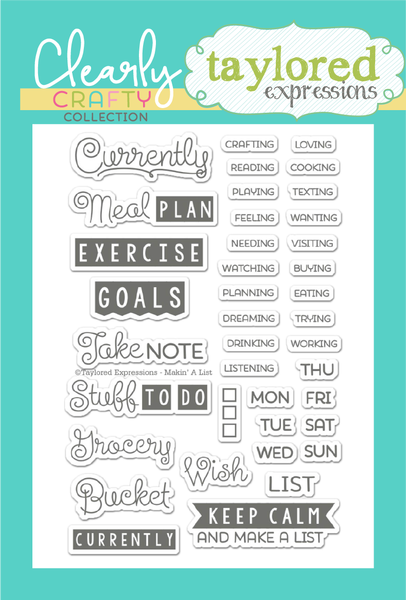
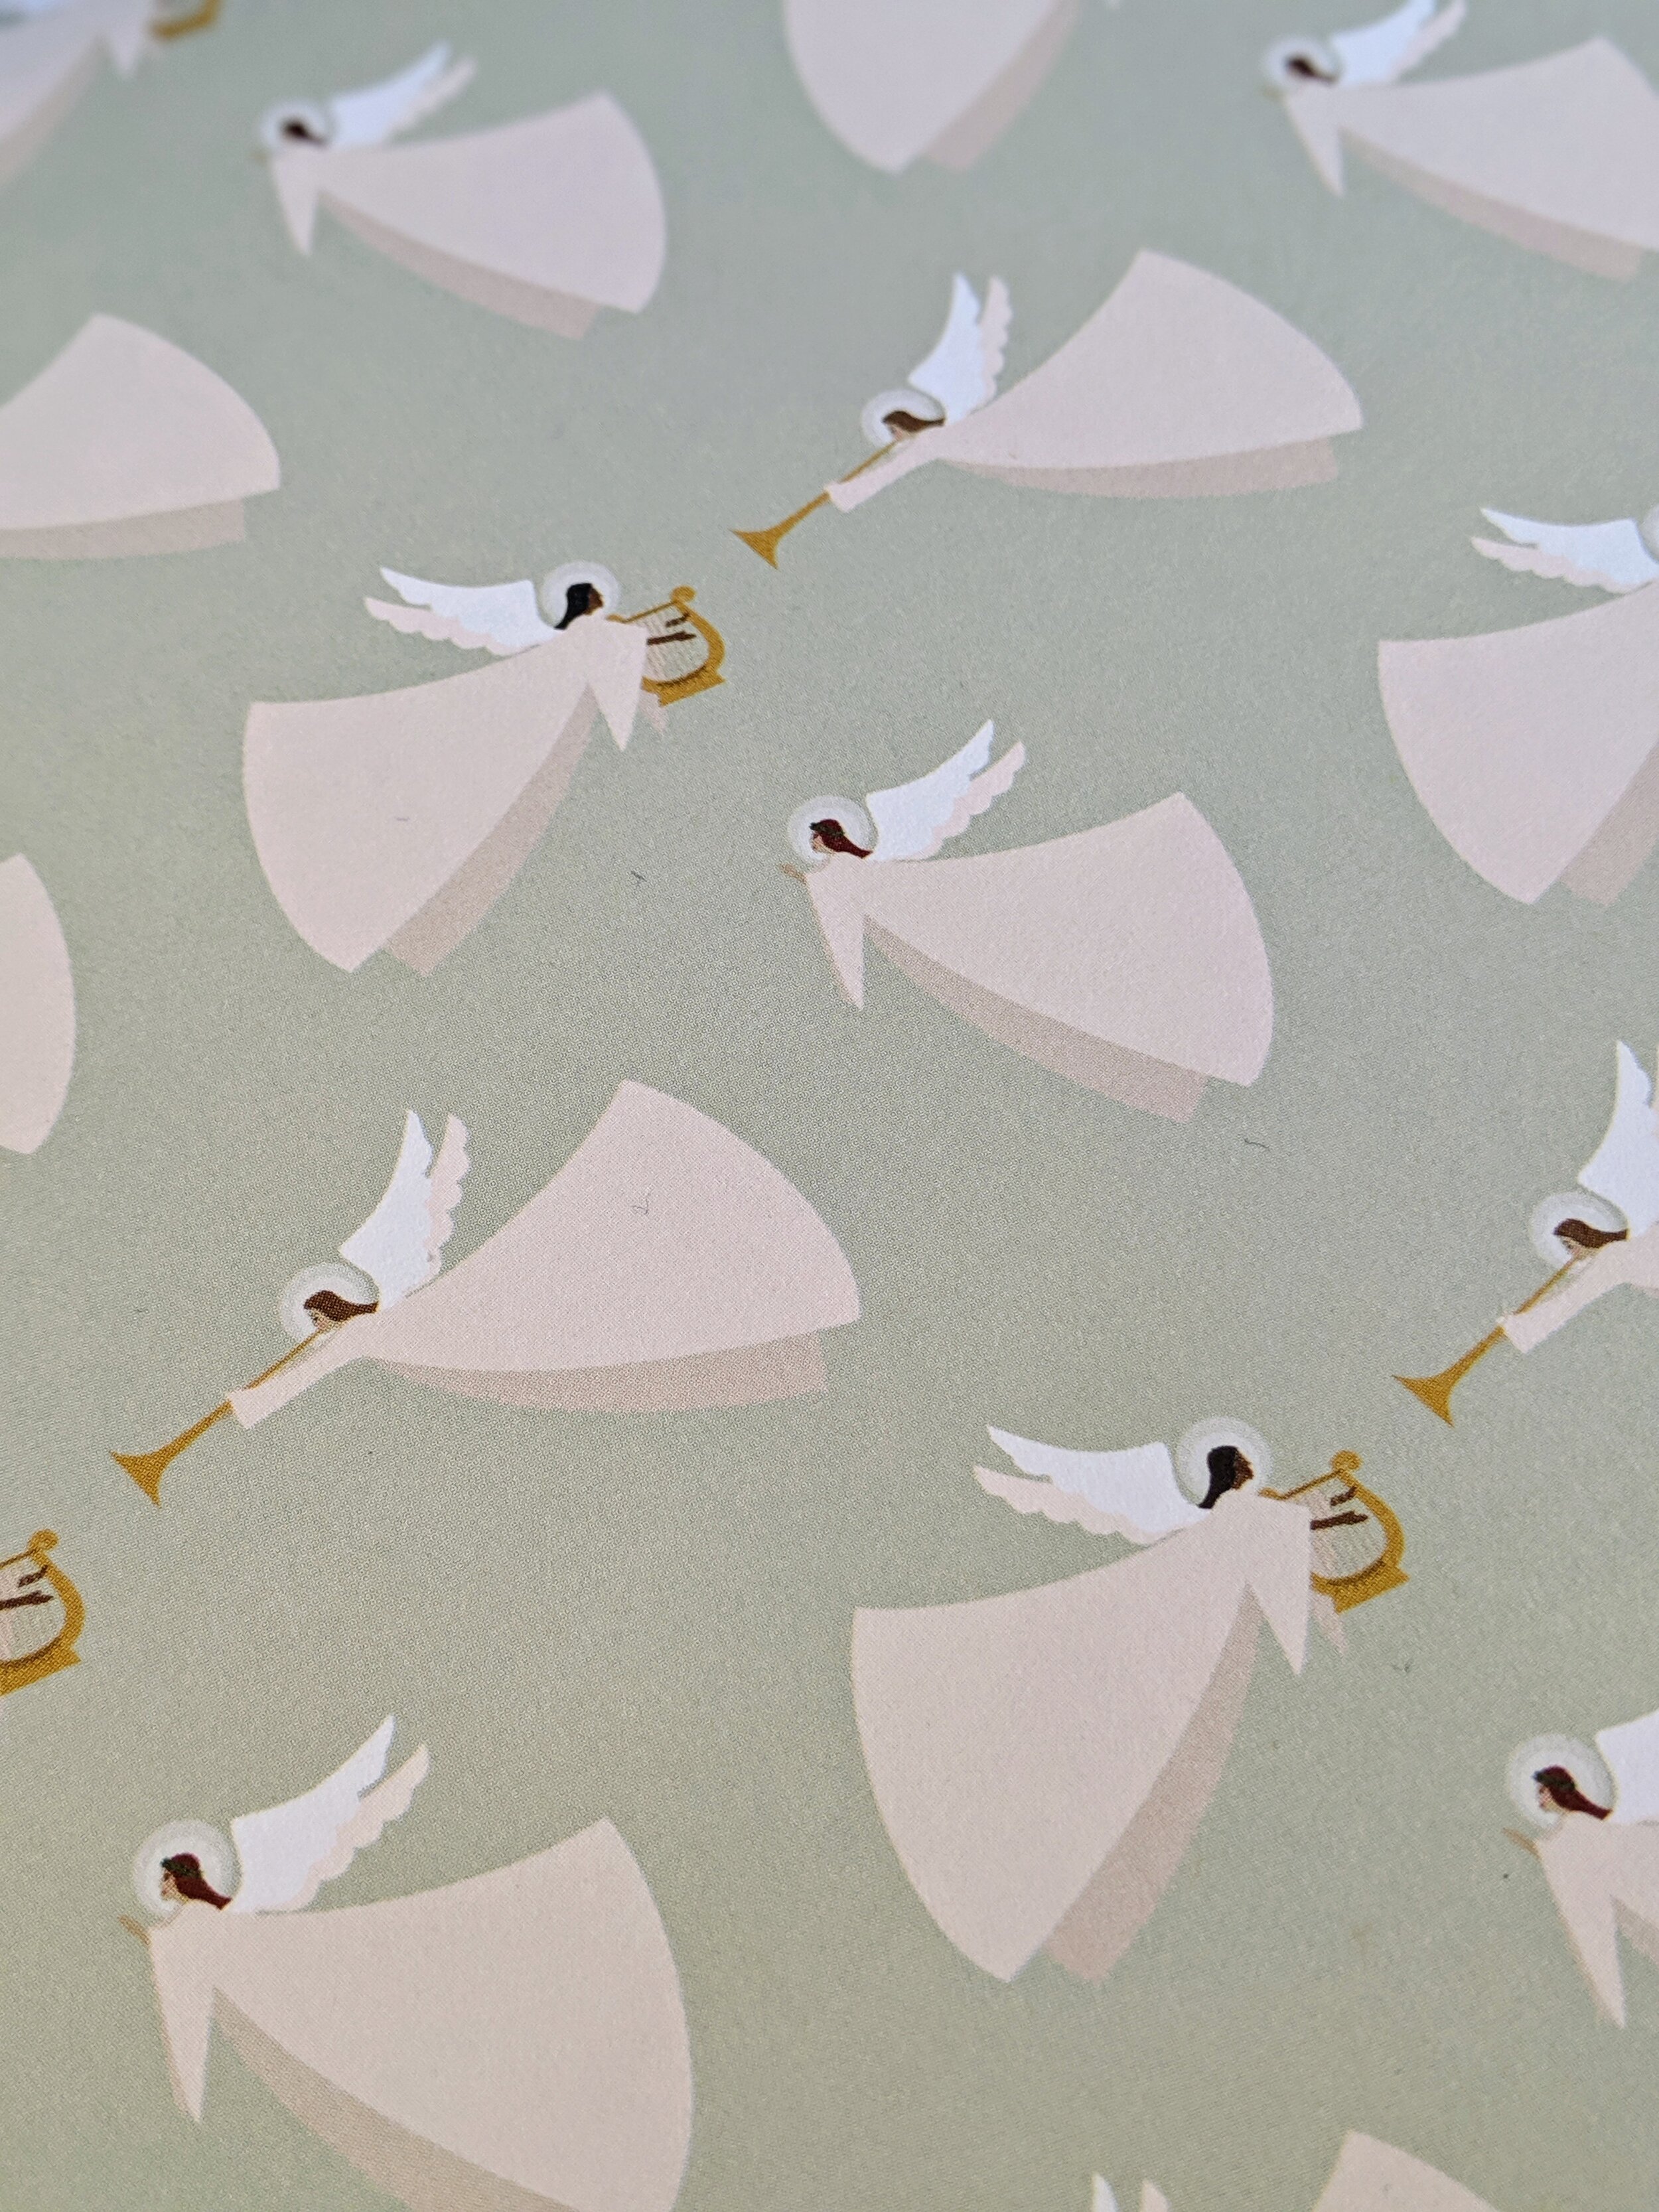
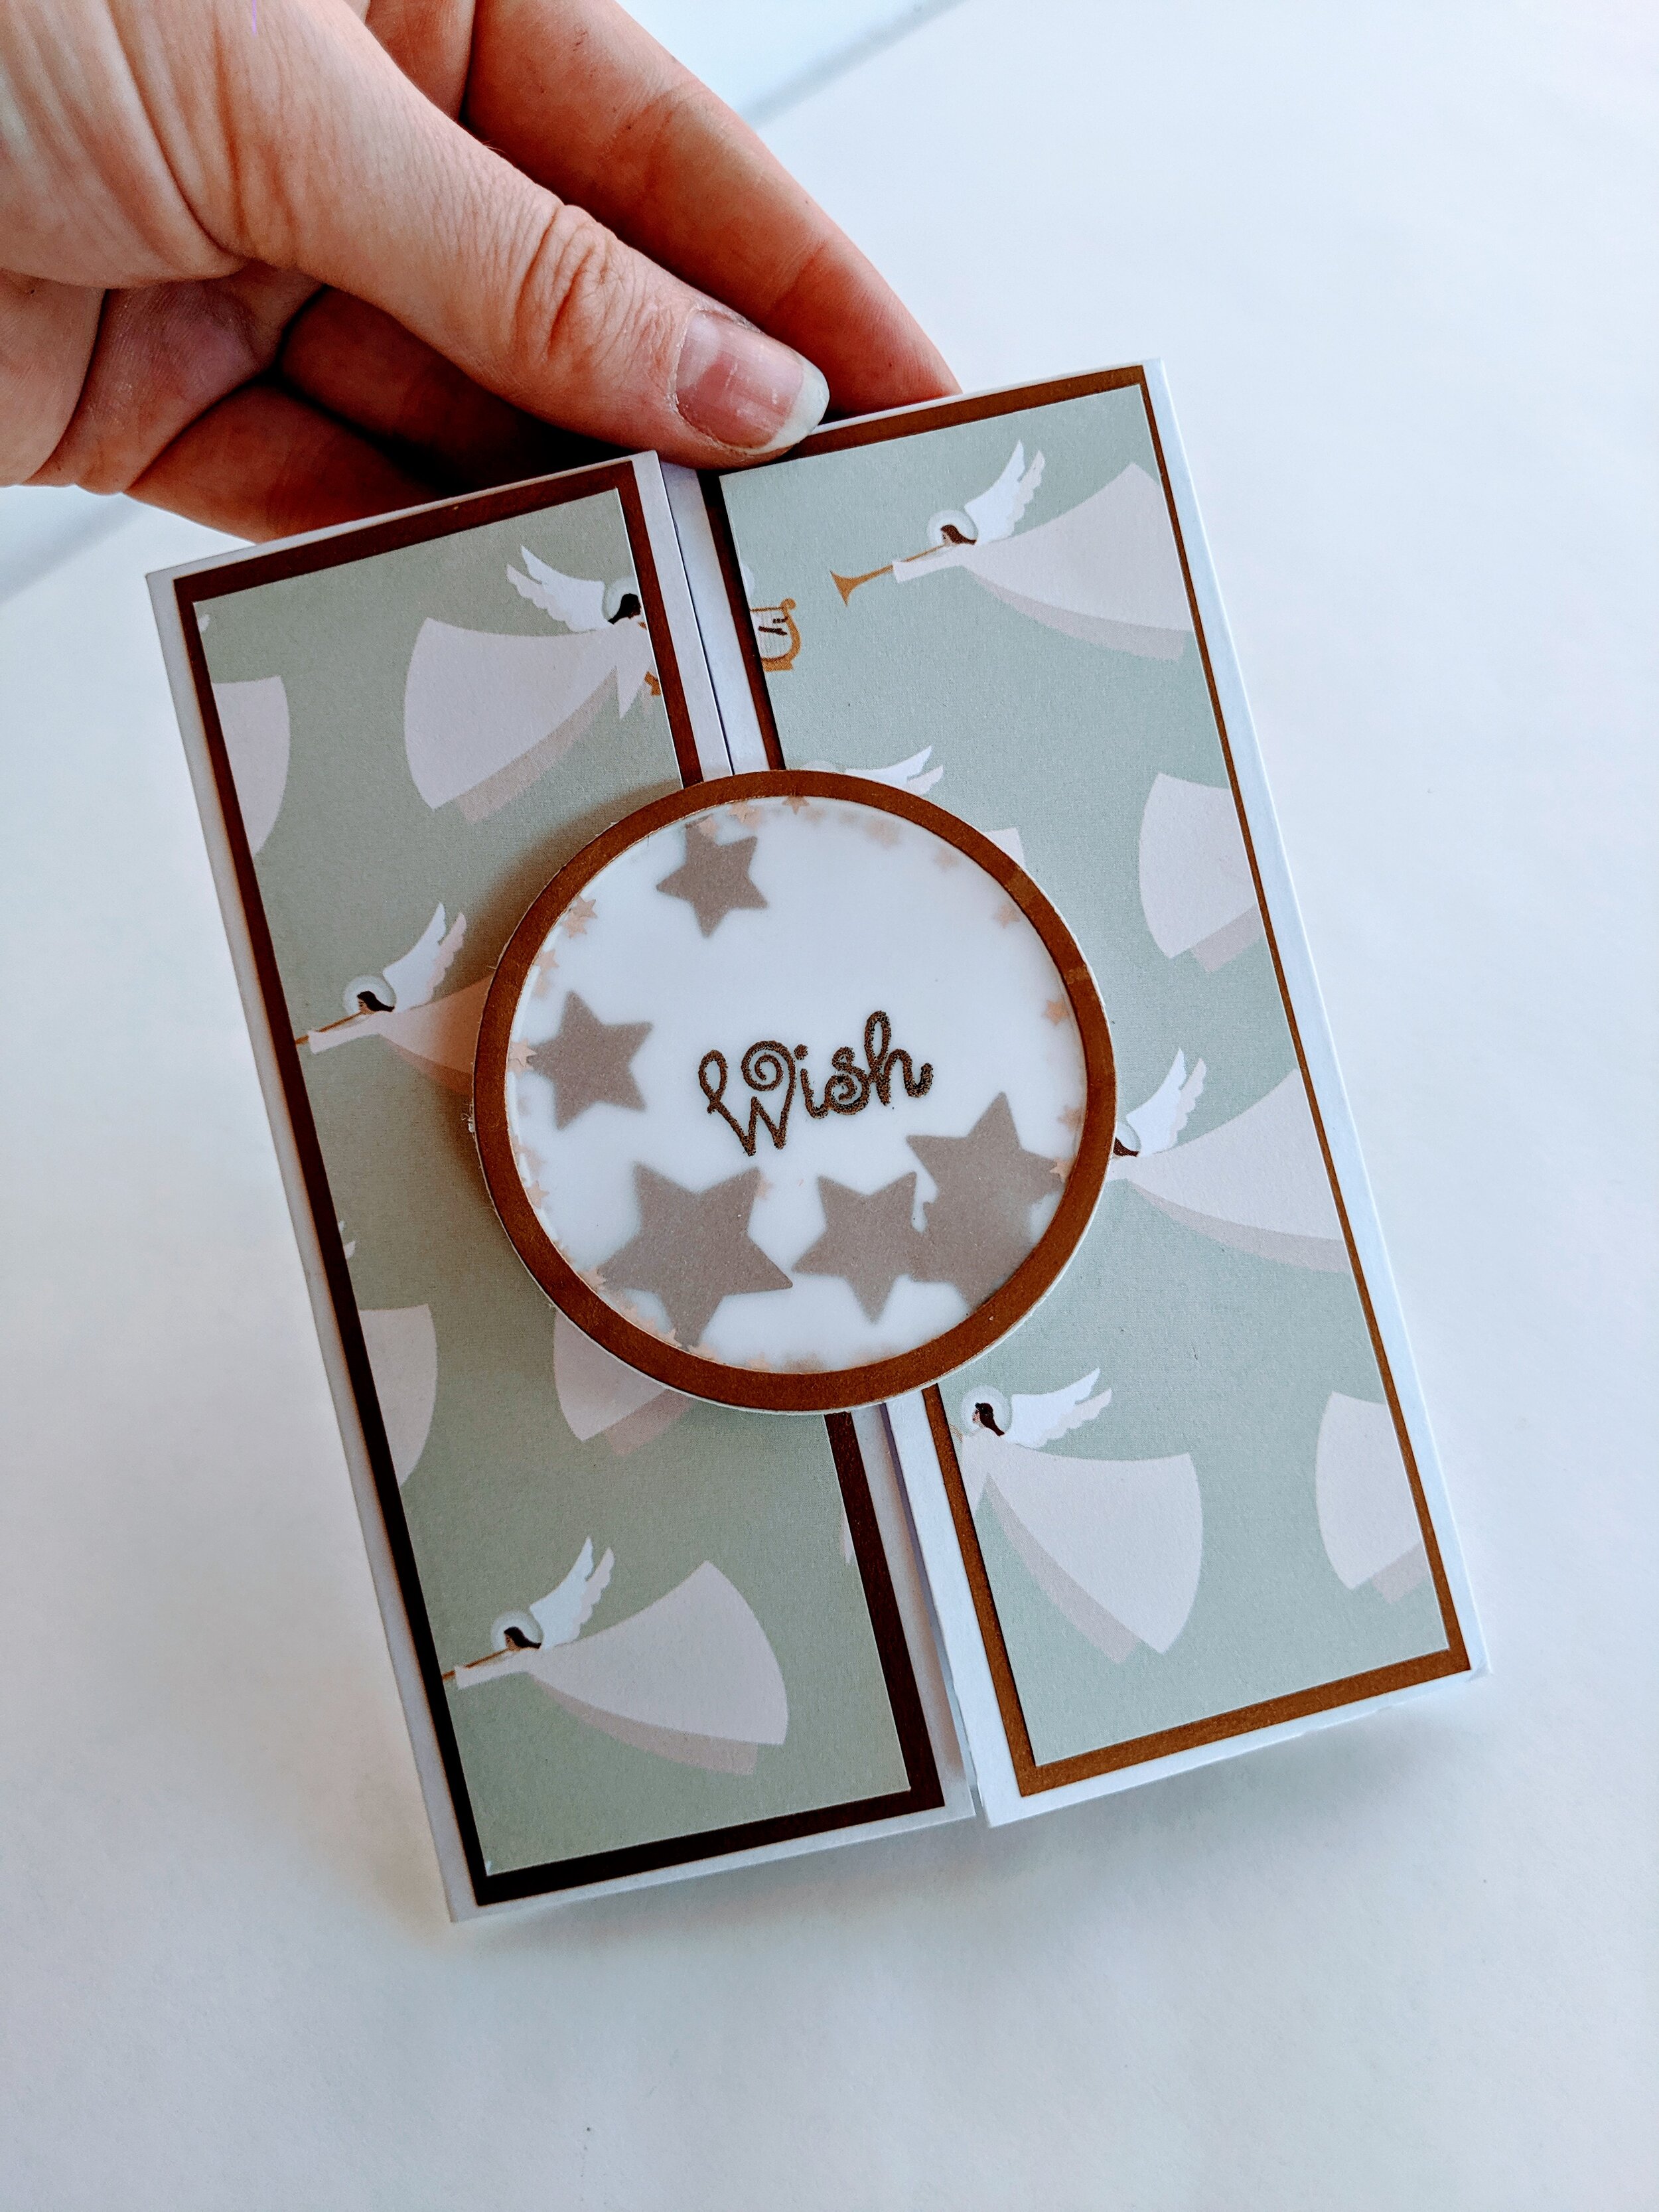
The last card was inspired from this Altenew die-cut set, Bundle of Joy die, this stamp set from Taylored Expressions, the Hero Arts Circle Infinity Dies, and this stunning Angel Paper from Echo Park

To make the card:
Start out with a Stardream Crystal card stock card base. Score the paper so it is a gate fold card. Score it from the left 2 1/8” and from the right 2 1/8”
I used this stunning Angel Paper from Echo Park. I cut 2 panels to fit on the gates of my gate-fold card. I backed the Angel Paper with Antique Gold Stardream Paper
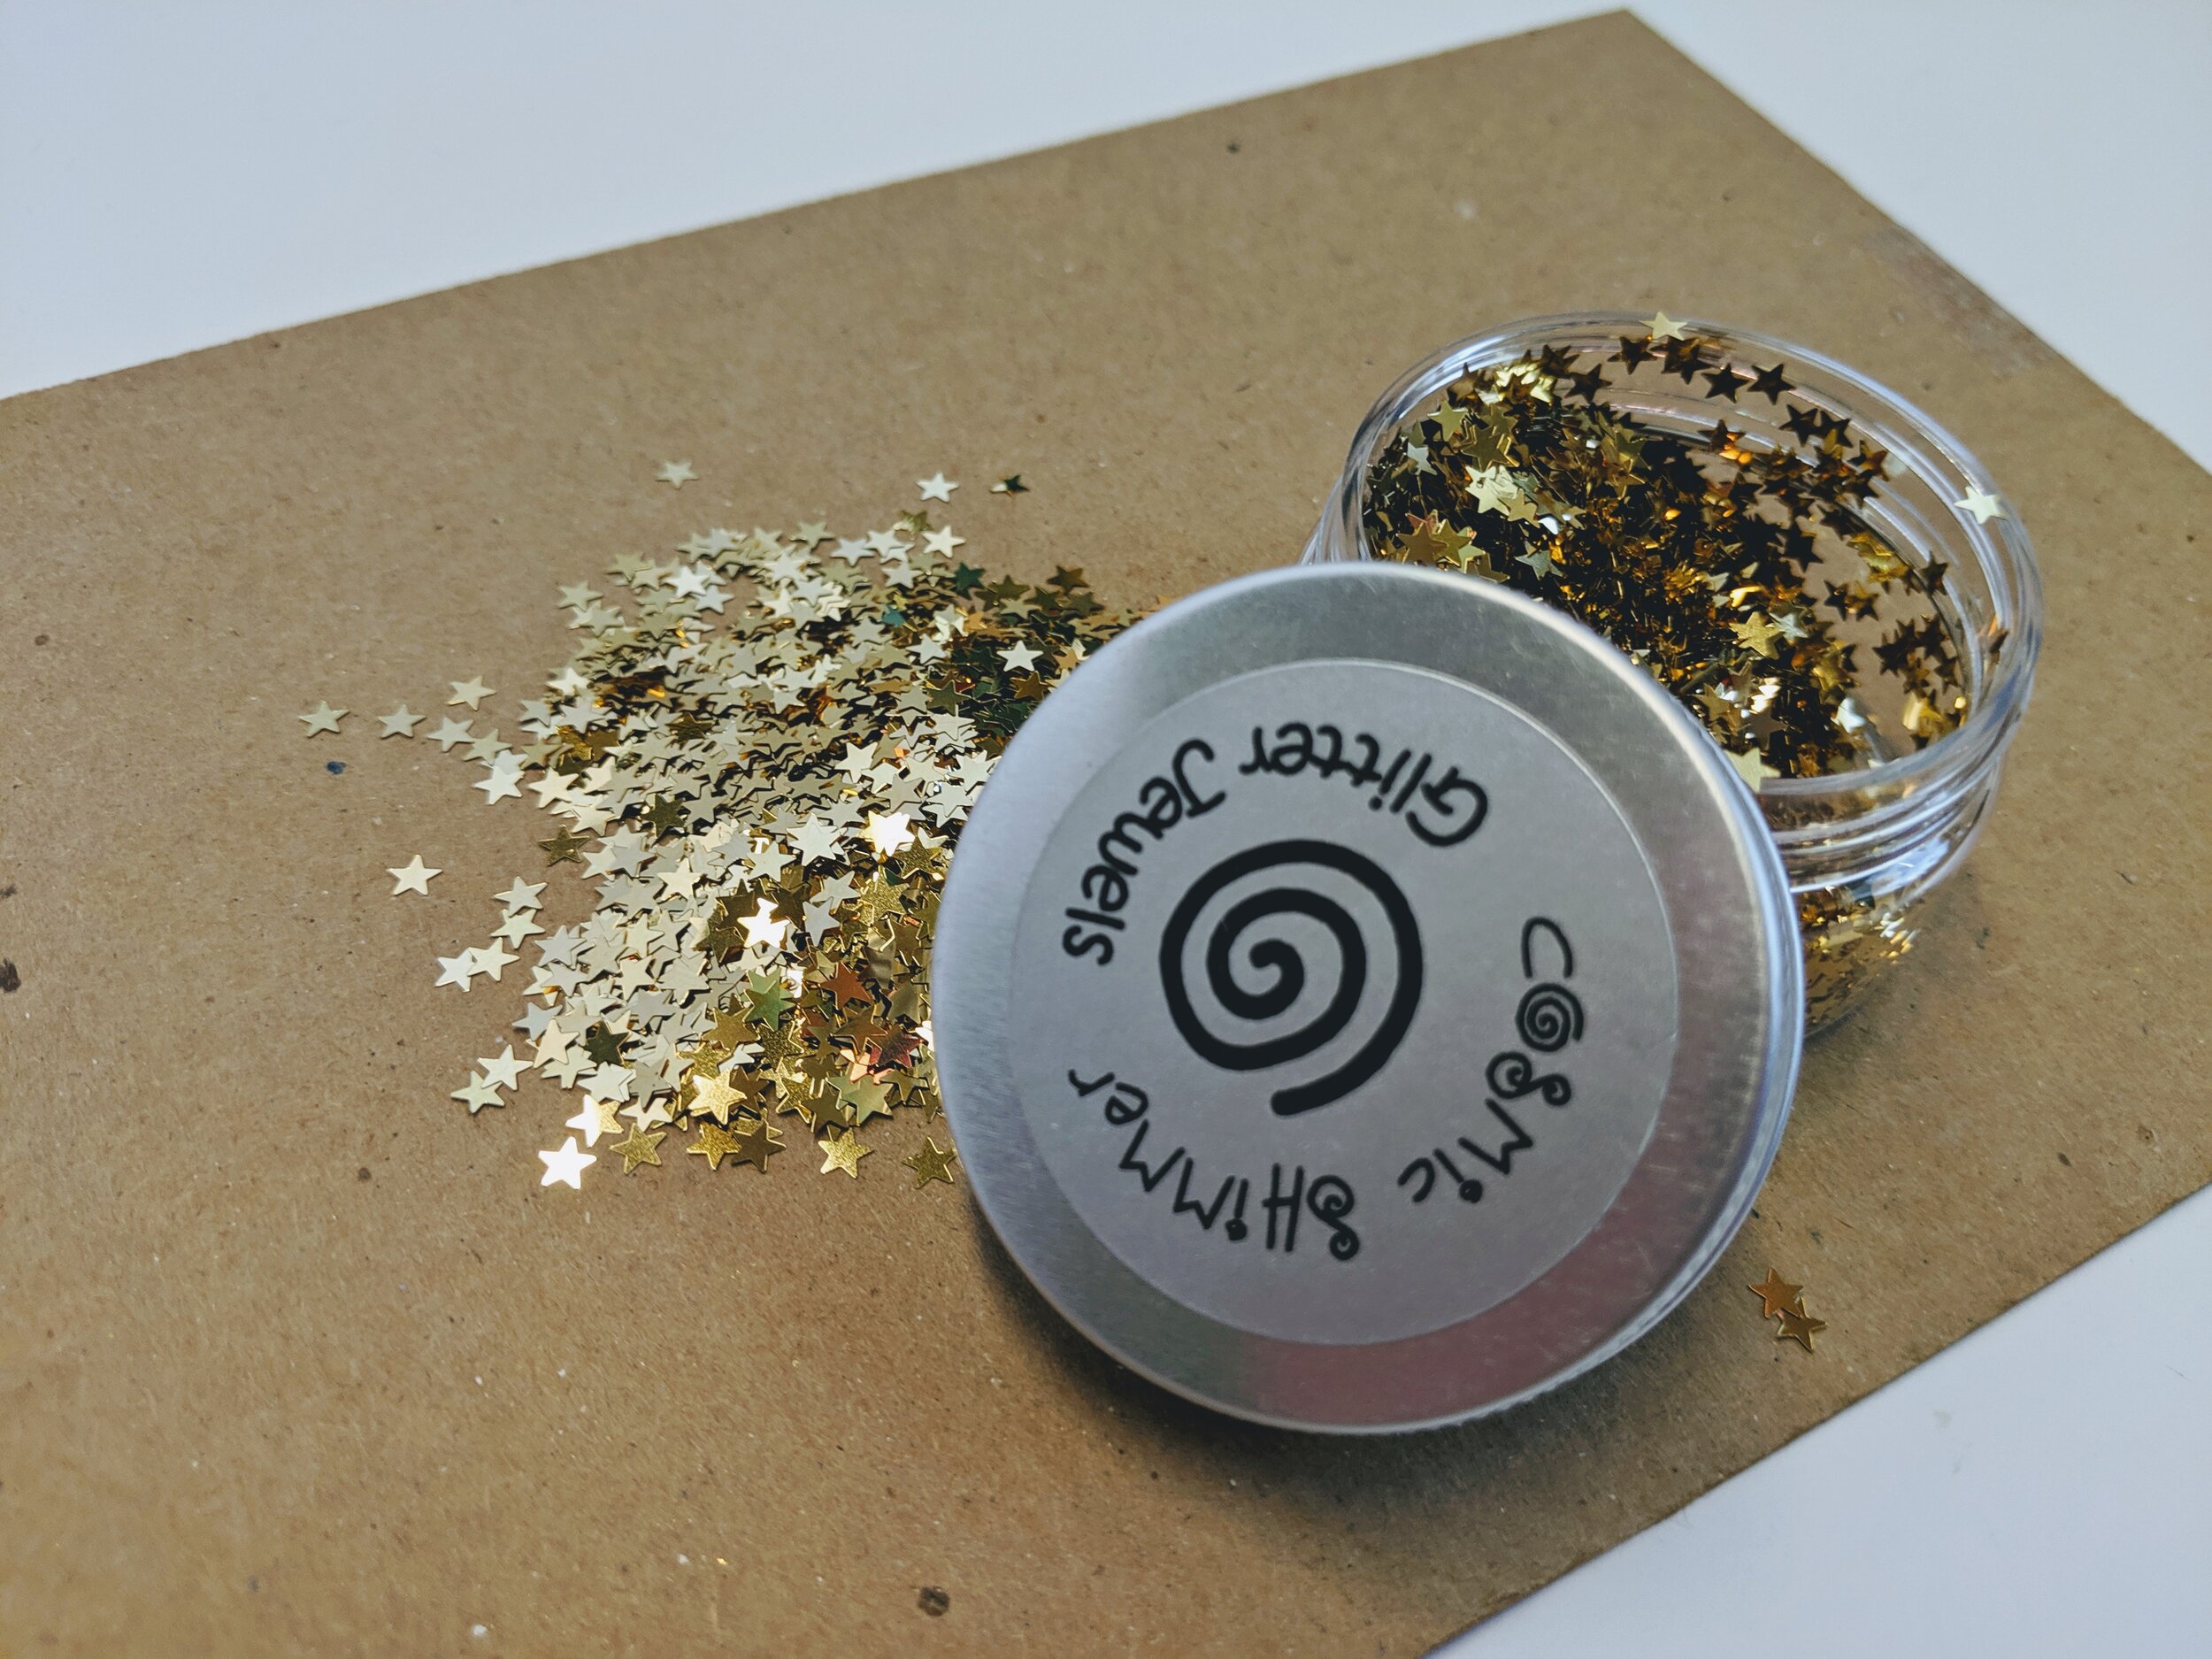
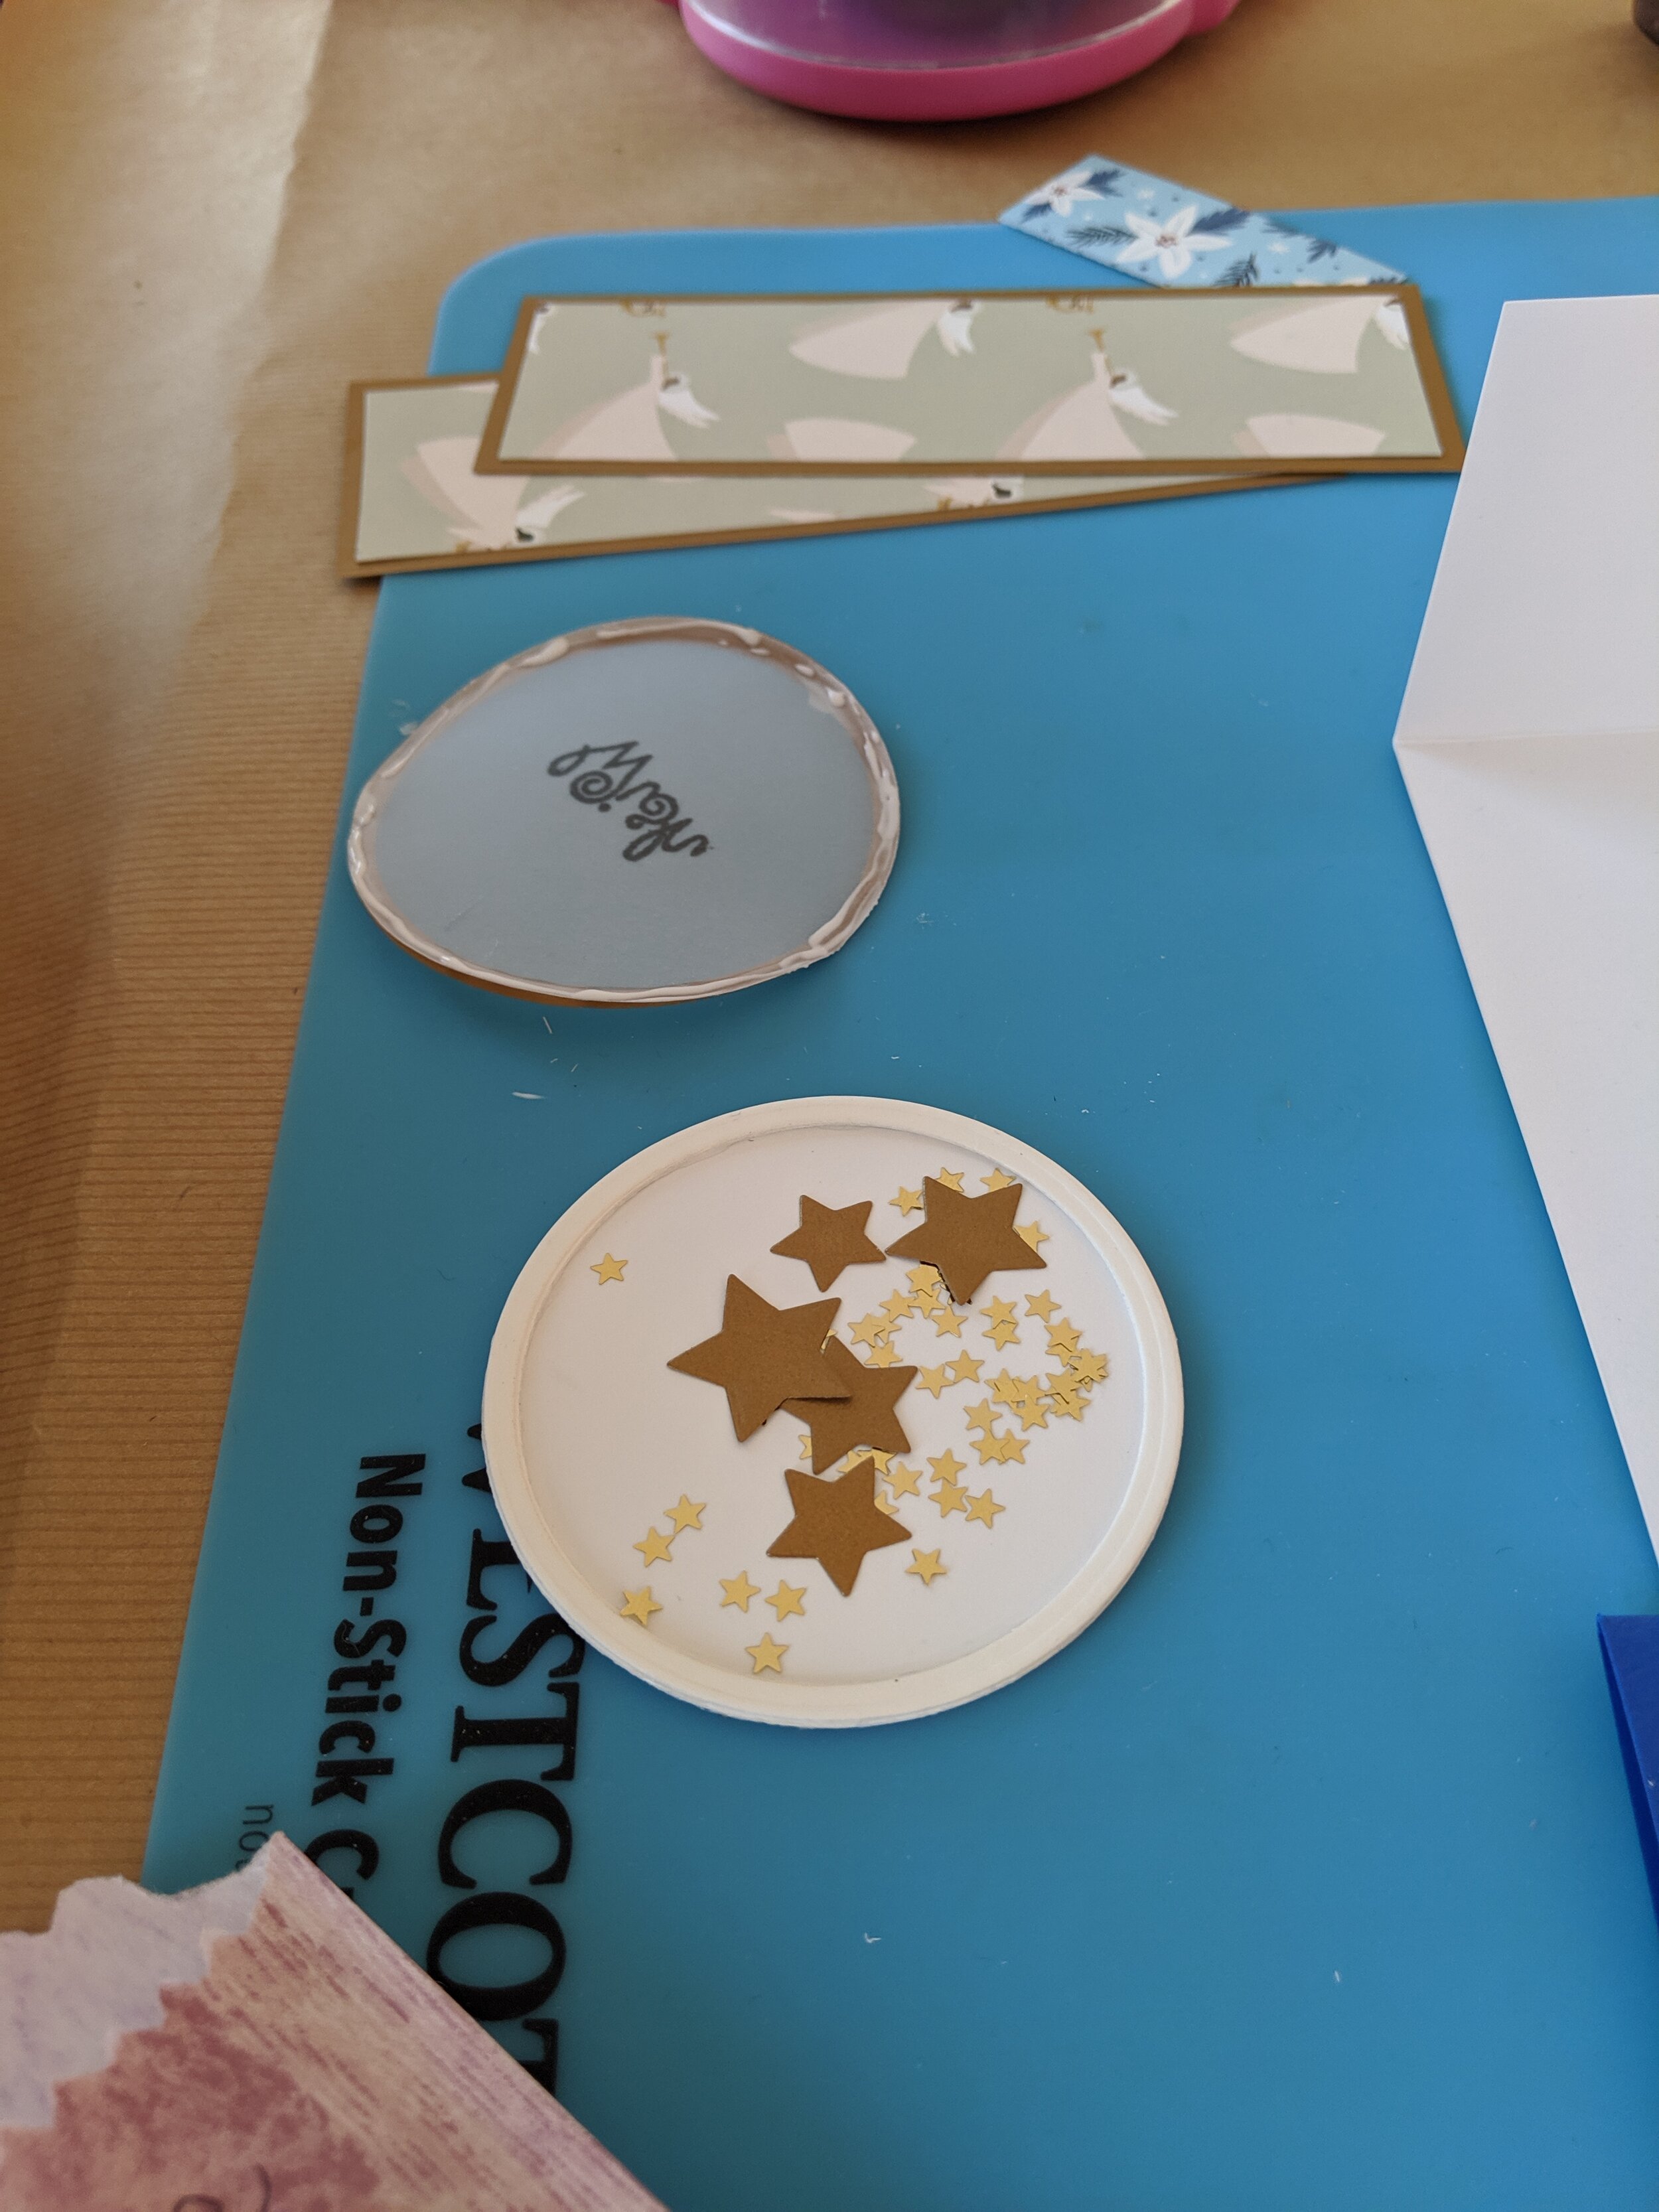
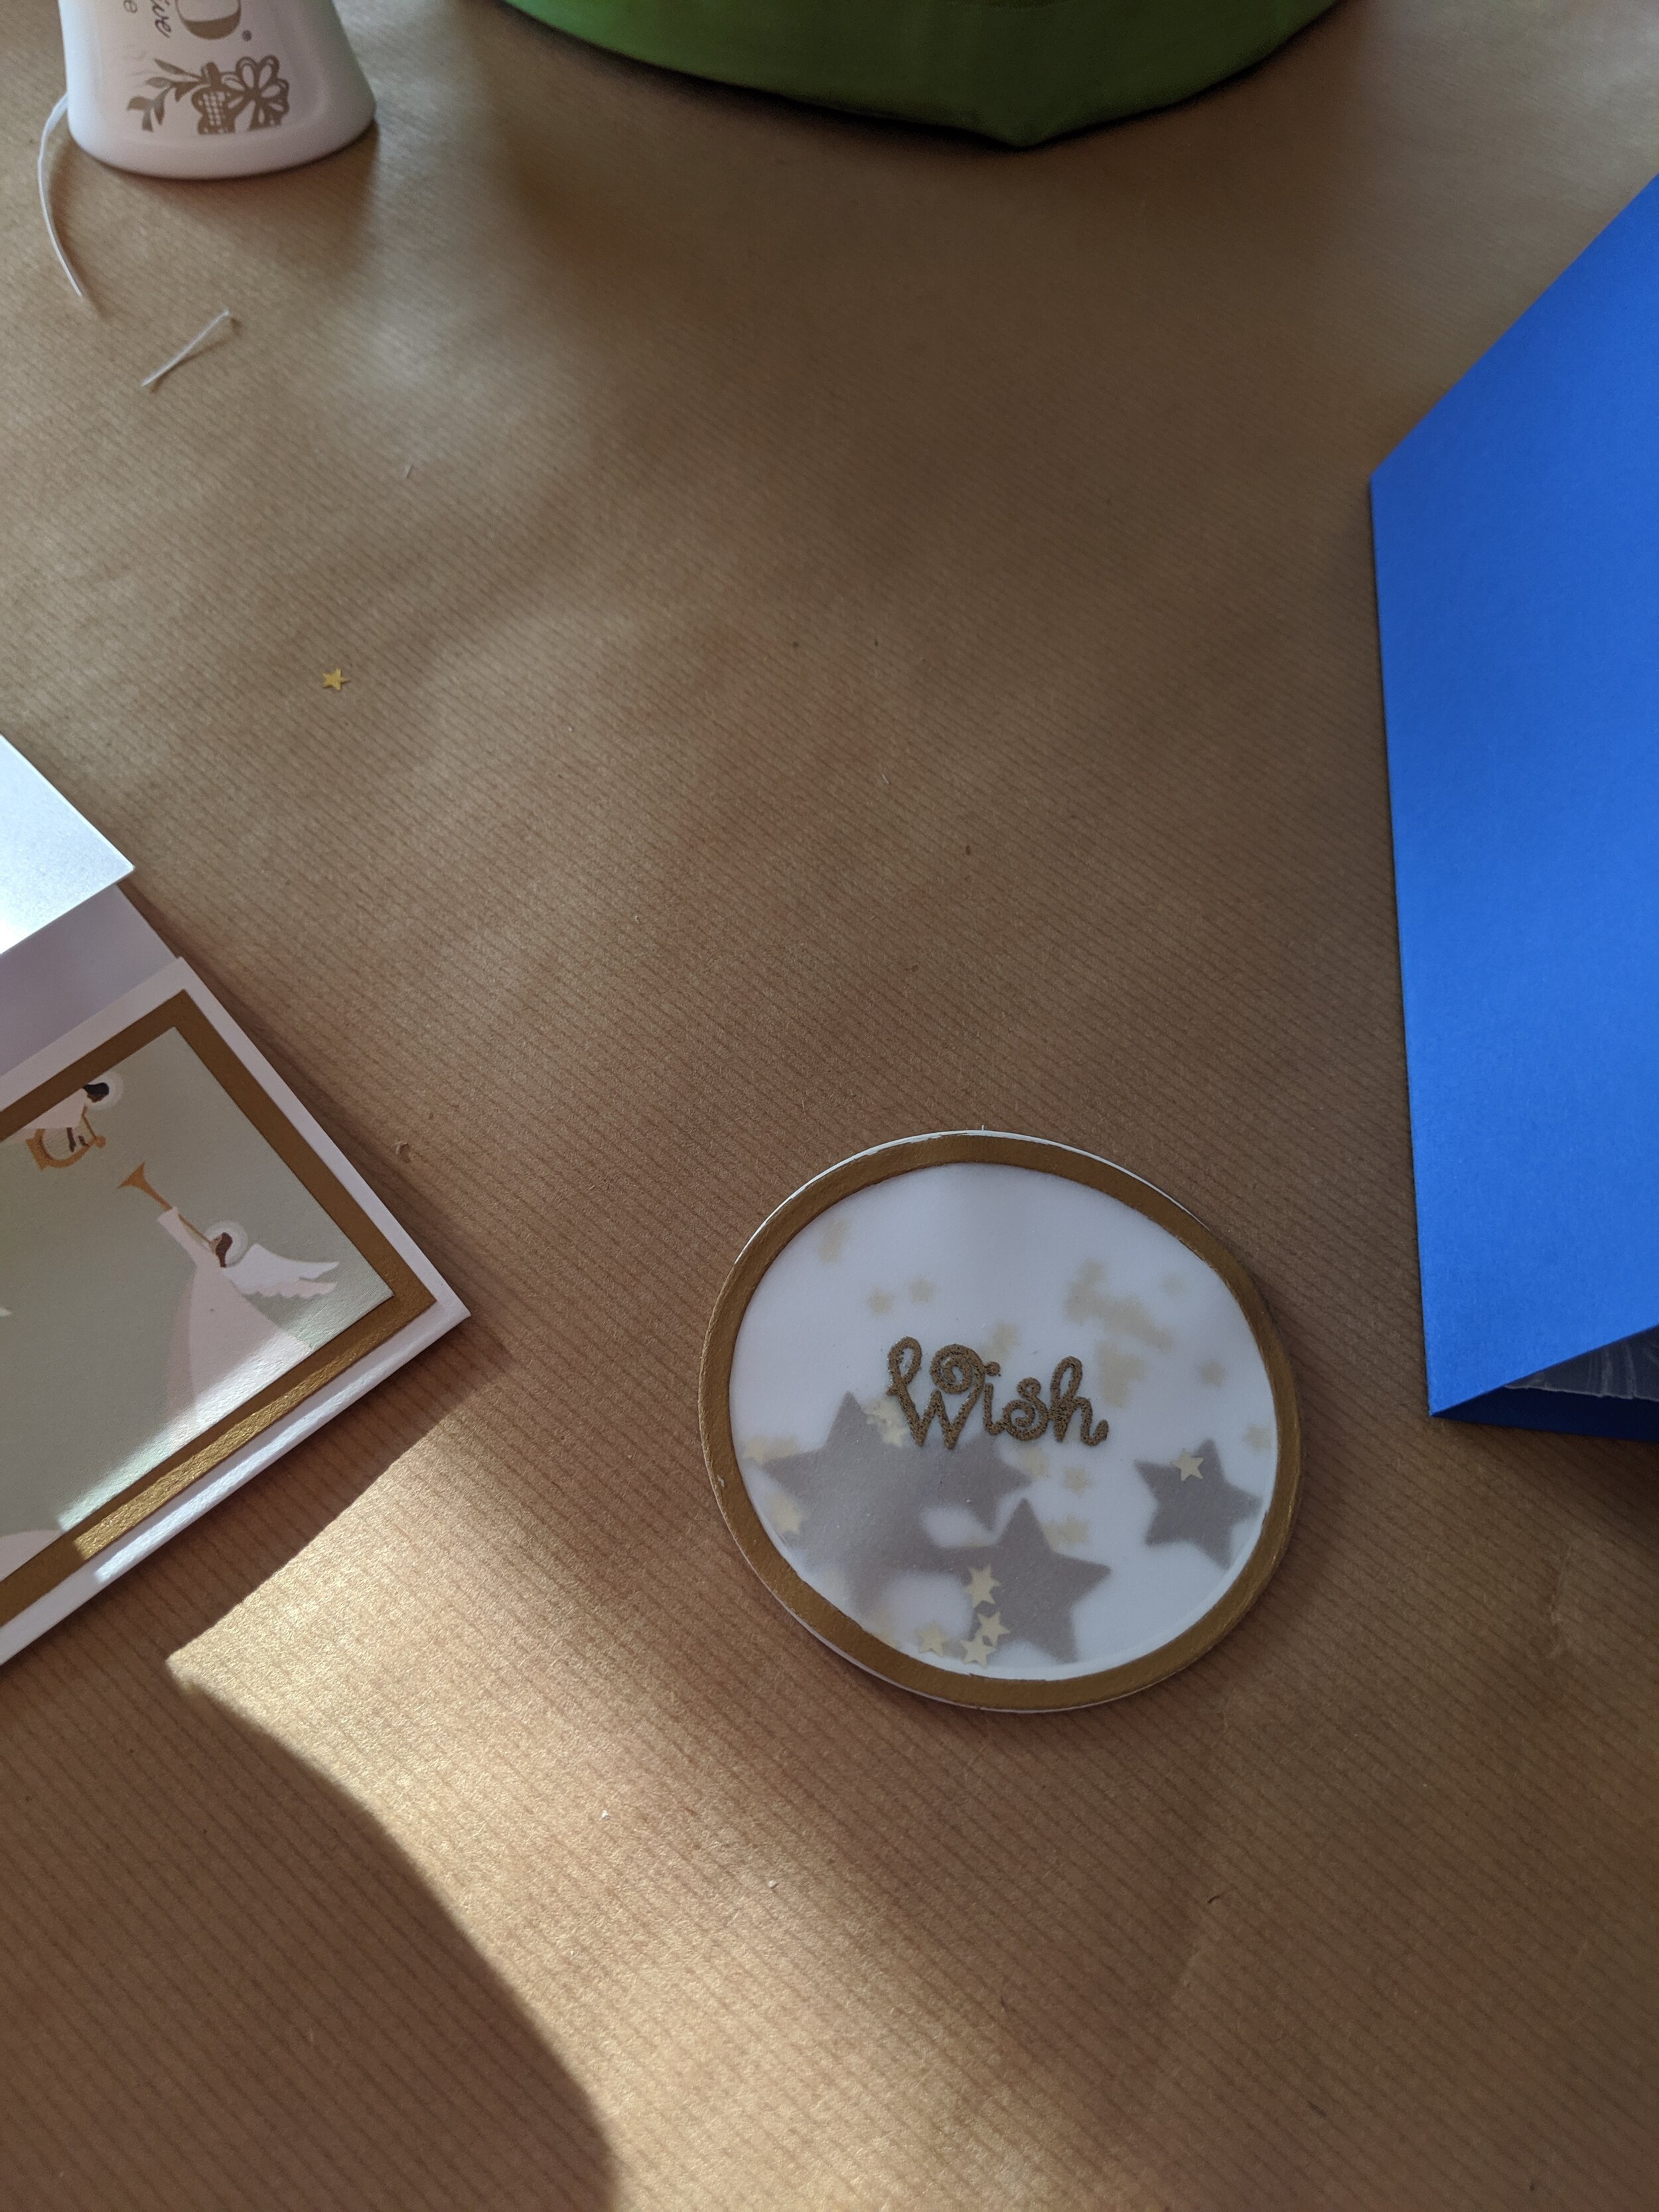
For the front of the card, I wanted to create the look of a Shaker Card. To do this, I cut out a white card stock circle. Then, I used 2 of the Circle Infinity Dies to cut 3 circle paper rings. I adhered the circle rings on top of each other using Nuvo Deluxe Adhesive. Then I adhered the stack of paper rings to the white circle. This adds a tiny bit of dimension. Now, fill the inside of the rings with stars (I used the Altenew star die-cut to cut out Antique Gold Stars and the Creative Expressions gold star-confetti).
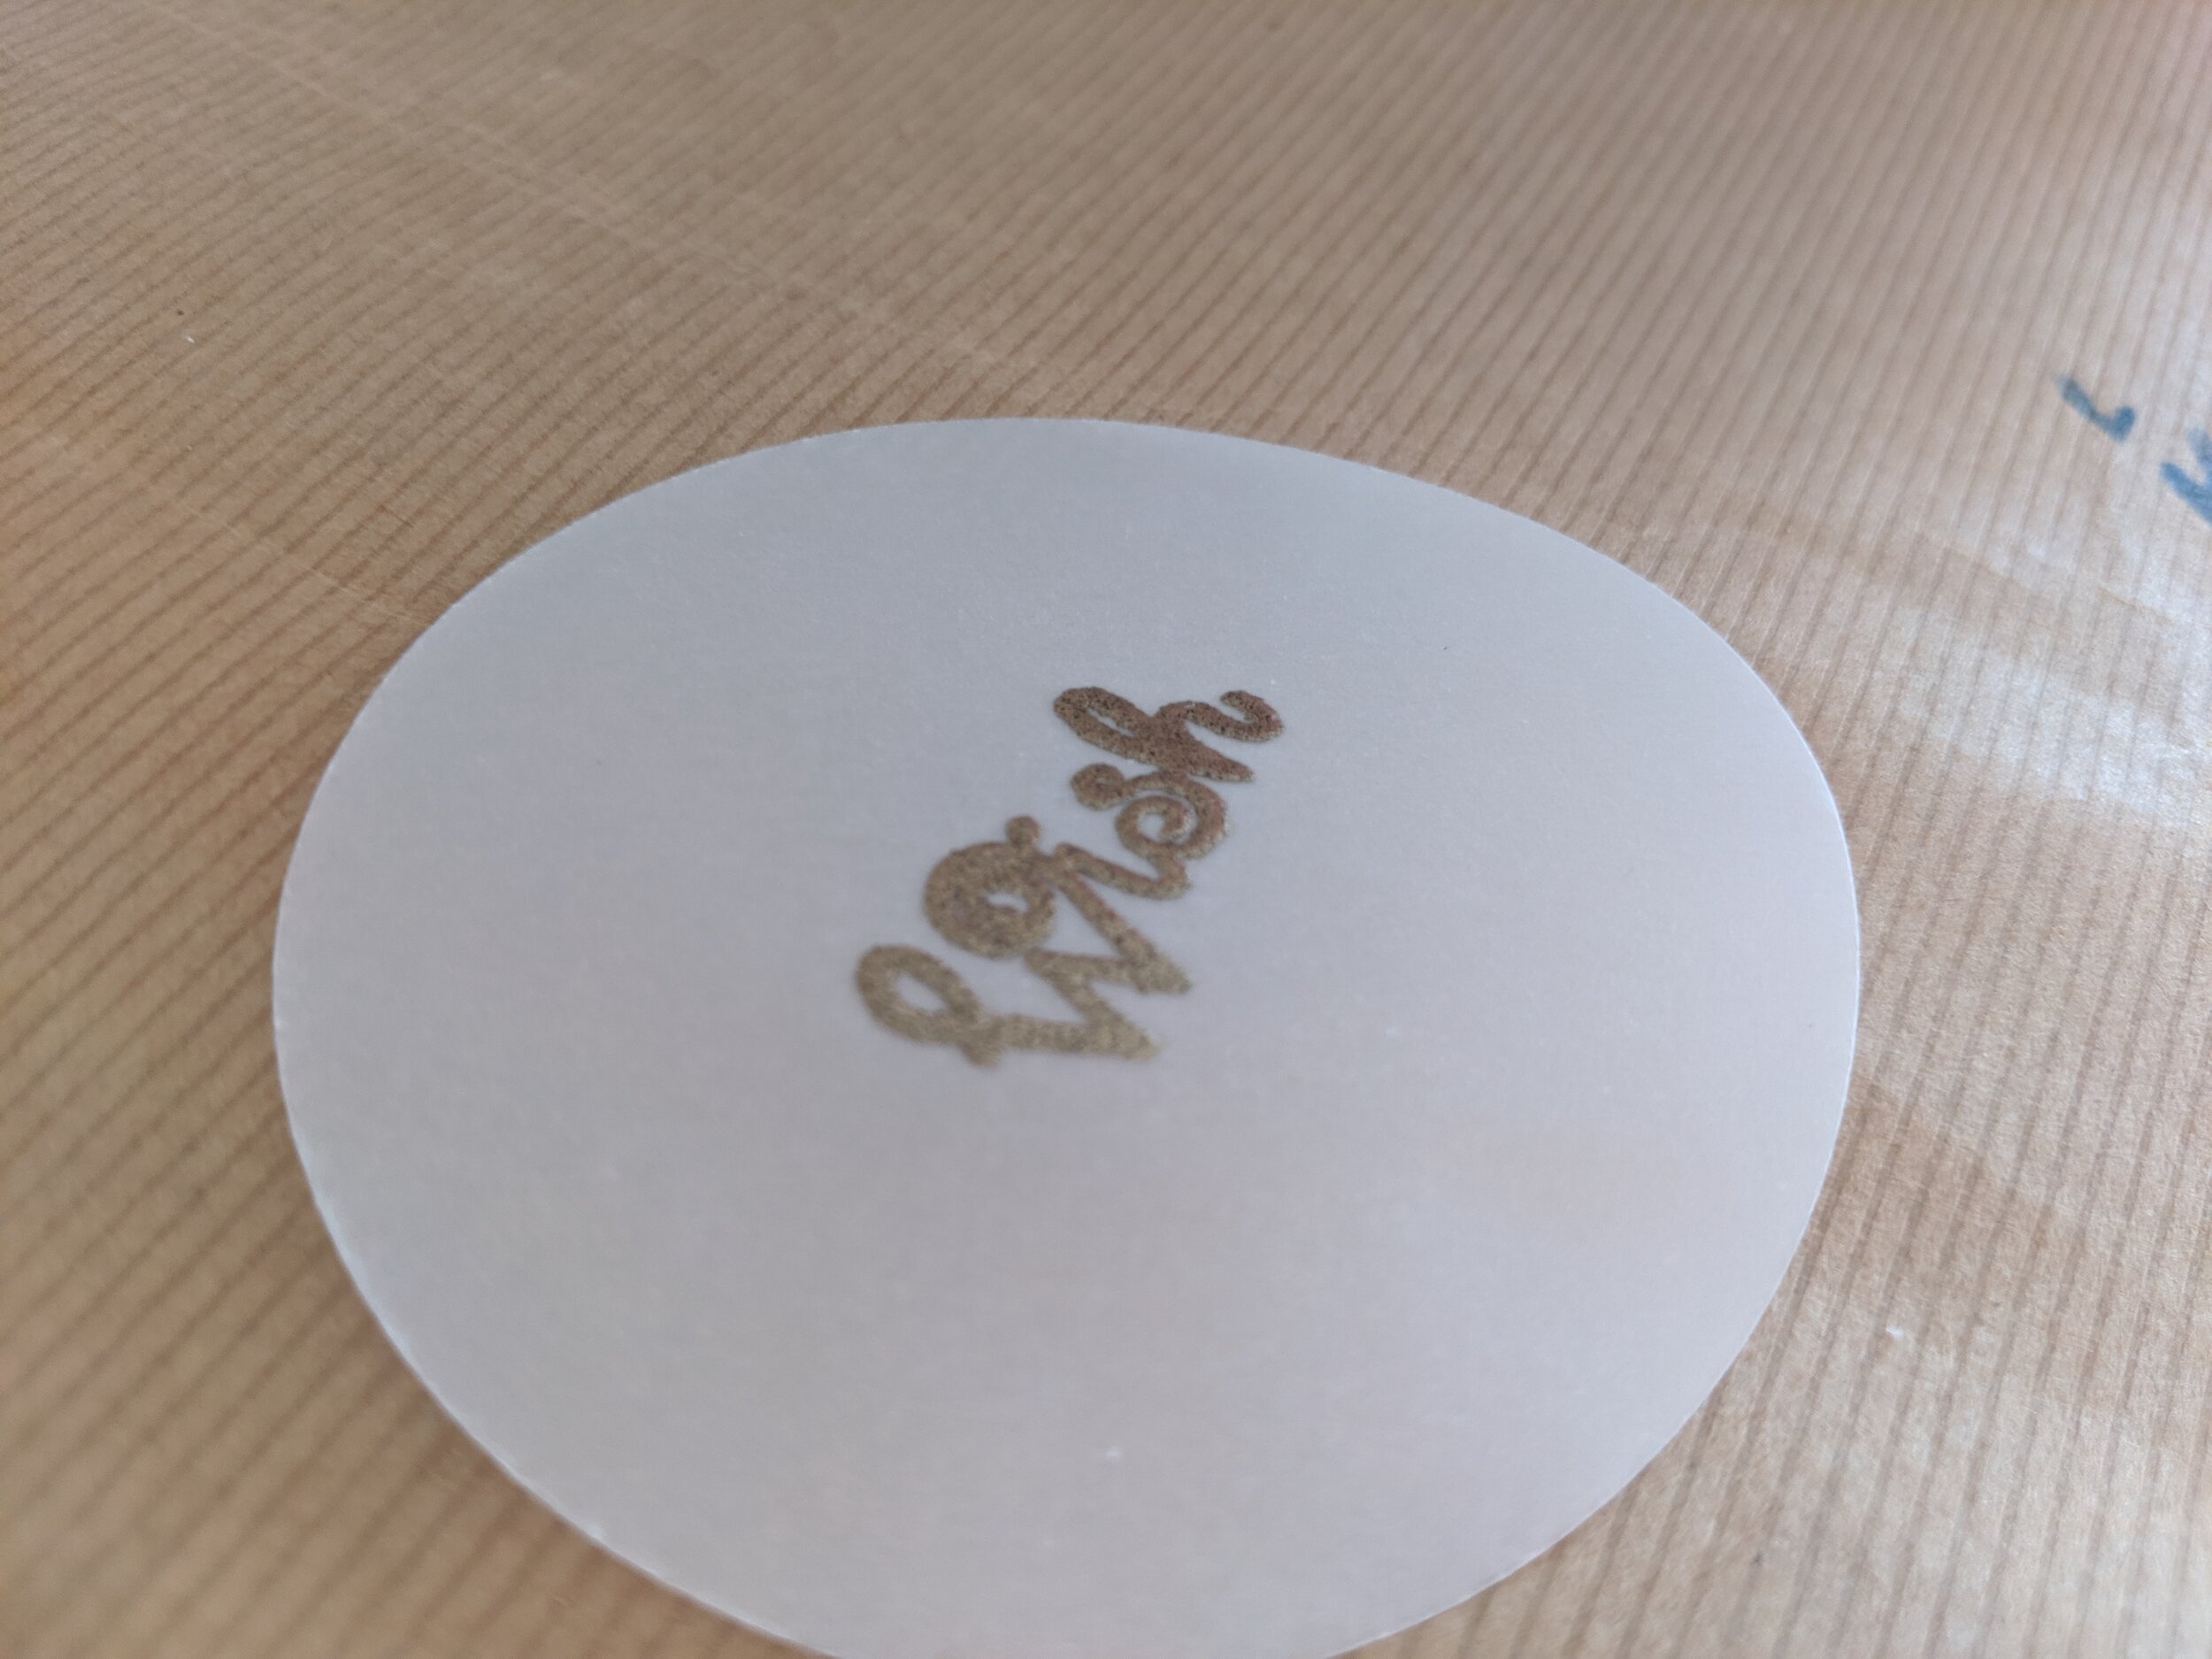
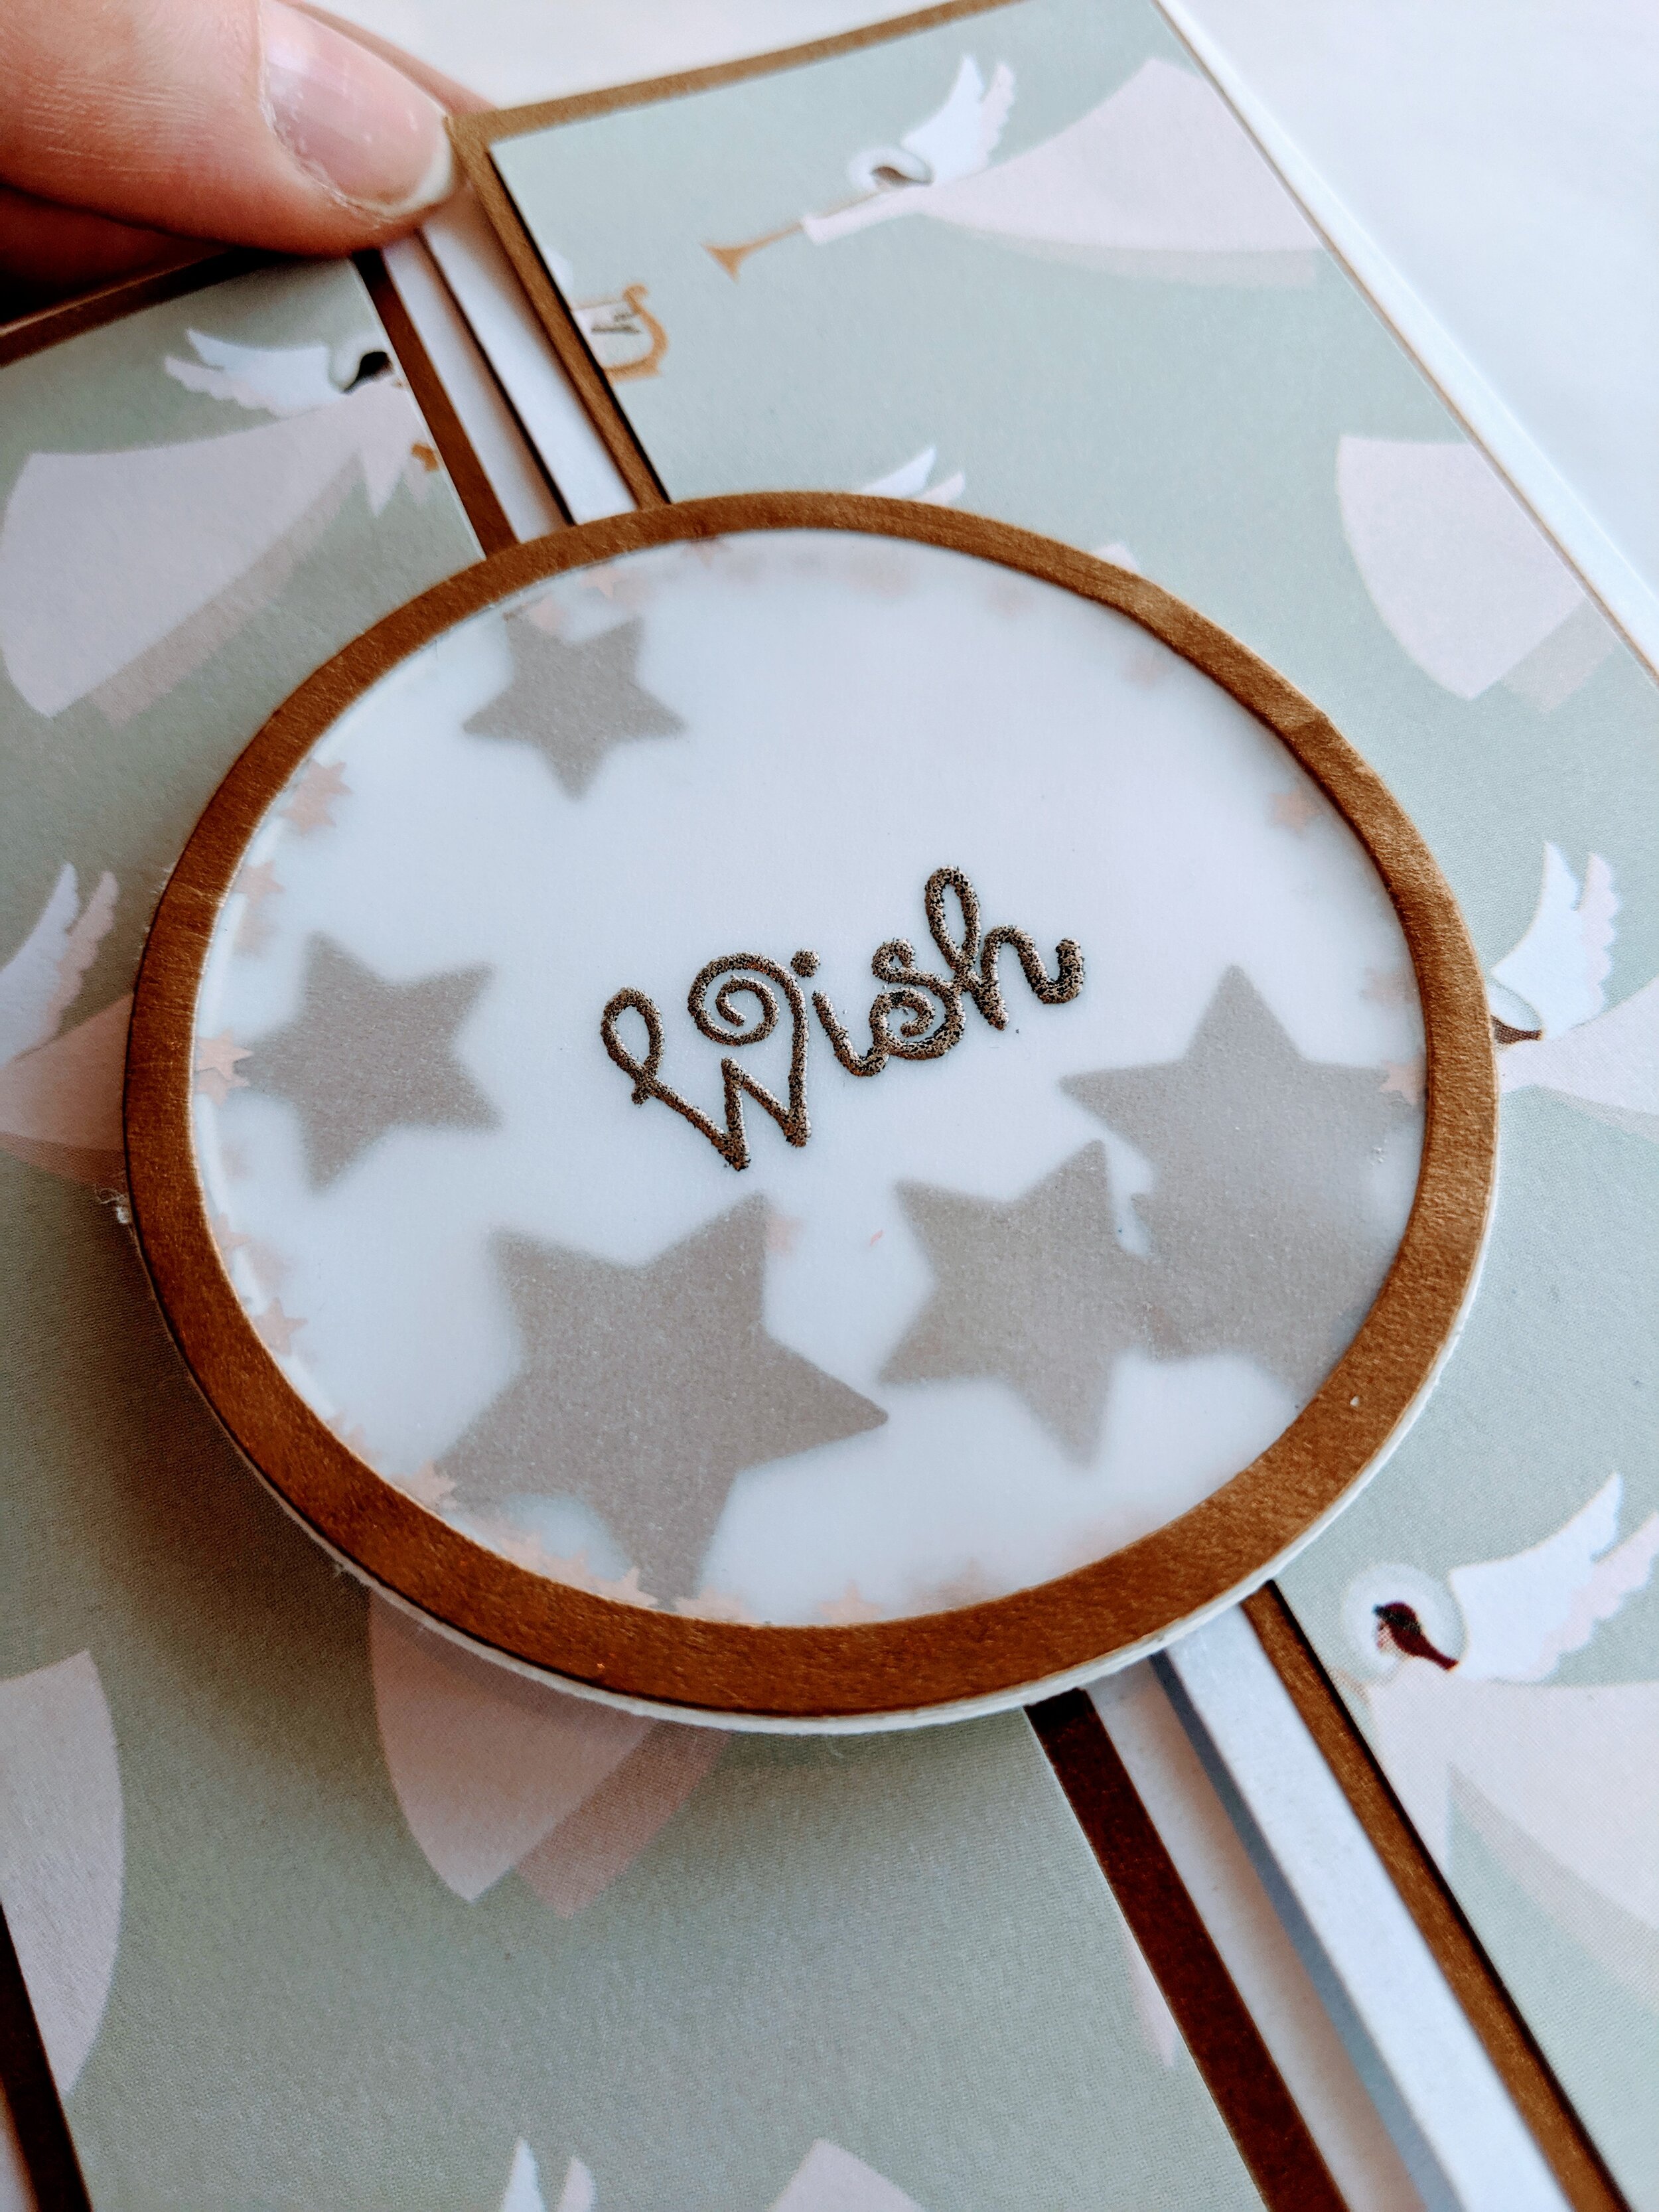
On a circle piece of Vellum, I stamped the sentiment, Wish from the Clearly Planned set from Taylored Expressions. I used Moonstone Embossing Powder and heat-set it.
Then, I sealed the stars/star confetti in by adhering the Vellum circle on top. Finally, I placed an Antique Gold Ring around the top of the Faux Shaker Card.
I adhered the ENTIRE shaker circle we just made to ONE OF THE GATE FOLDS using double-sided tape.
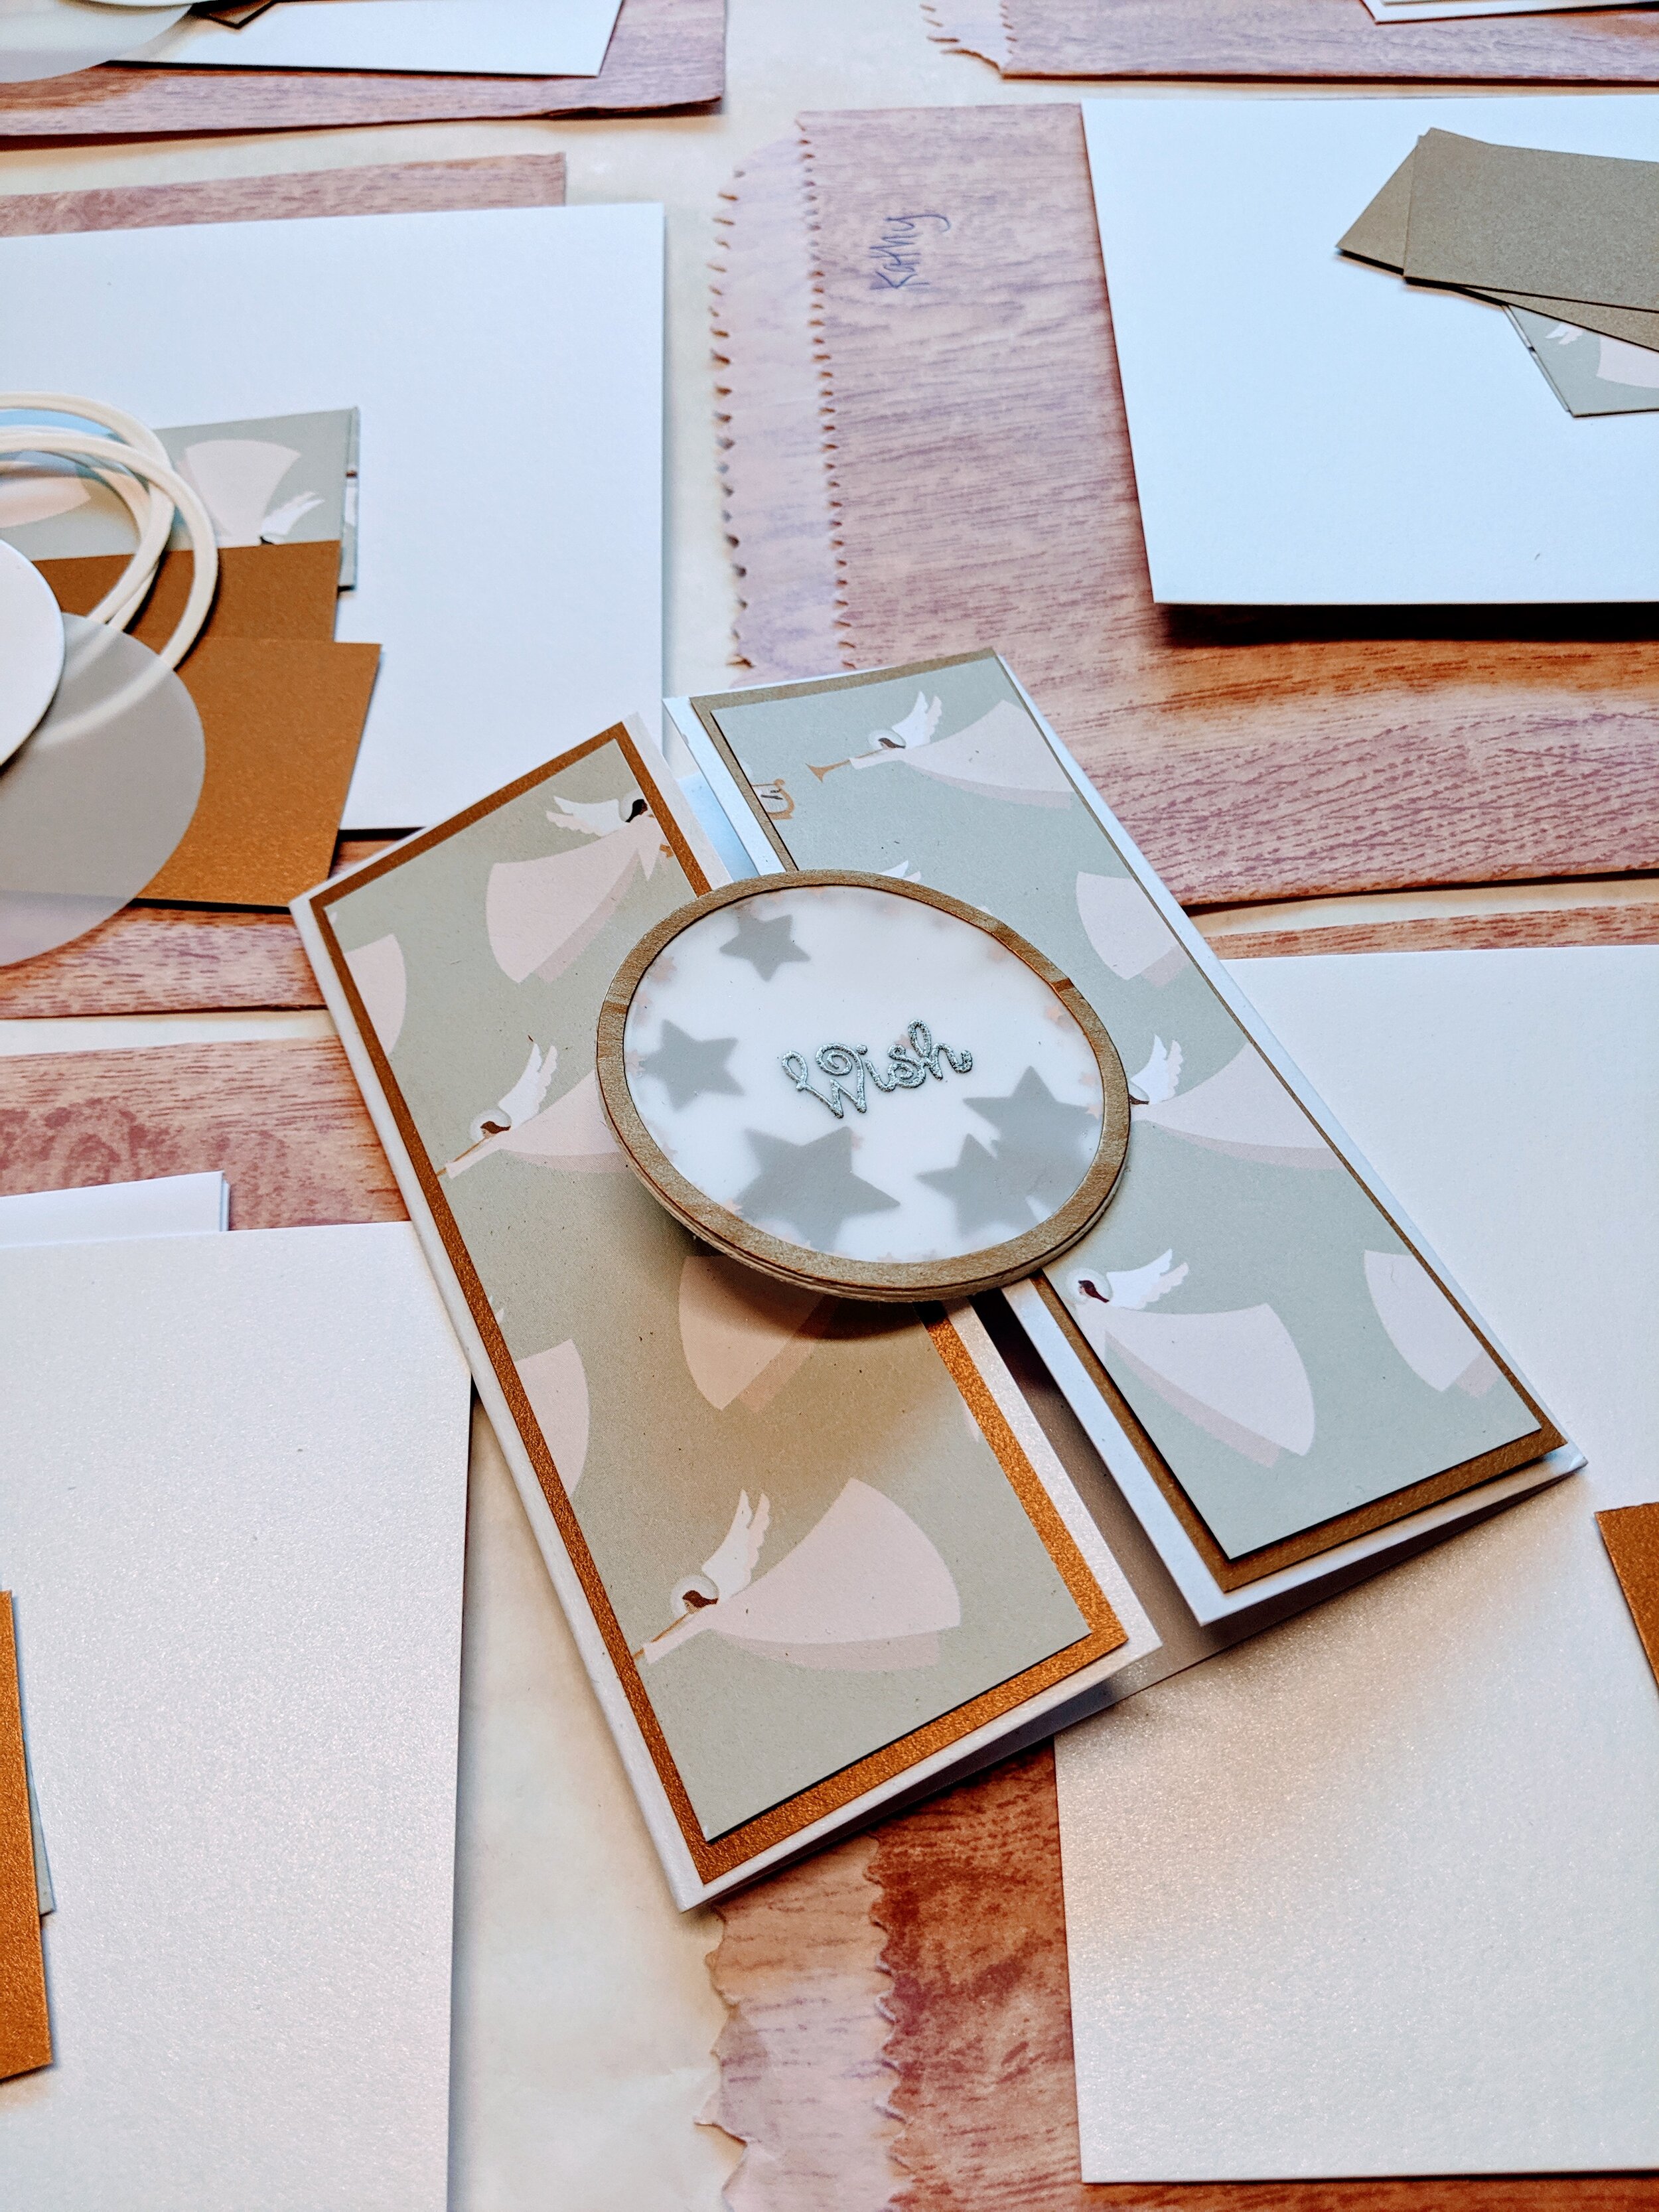
Isn’t this just a fun and magical looking card?! I love how sweet it is.. and it can be used for any time of year. Baby Shower, Birthday, Holiday, and more!!
Thank you everyone who joined me for the last card making class!!
The NEXT card making class will be offered THIS SUNDAY, November 17th. Please register by the FRIDAY before class!!
Register online here: www.artandhappiness.shop/classes
Or call to sign up: 509-860-2919