
Card Class December 1st
The last card making class was a JOY to teach!! We had a lot of fun creating the cards this week!!!
Check out how fun the cards are!!

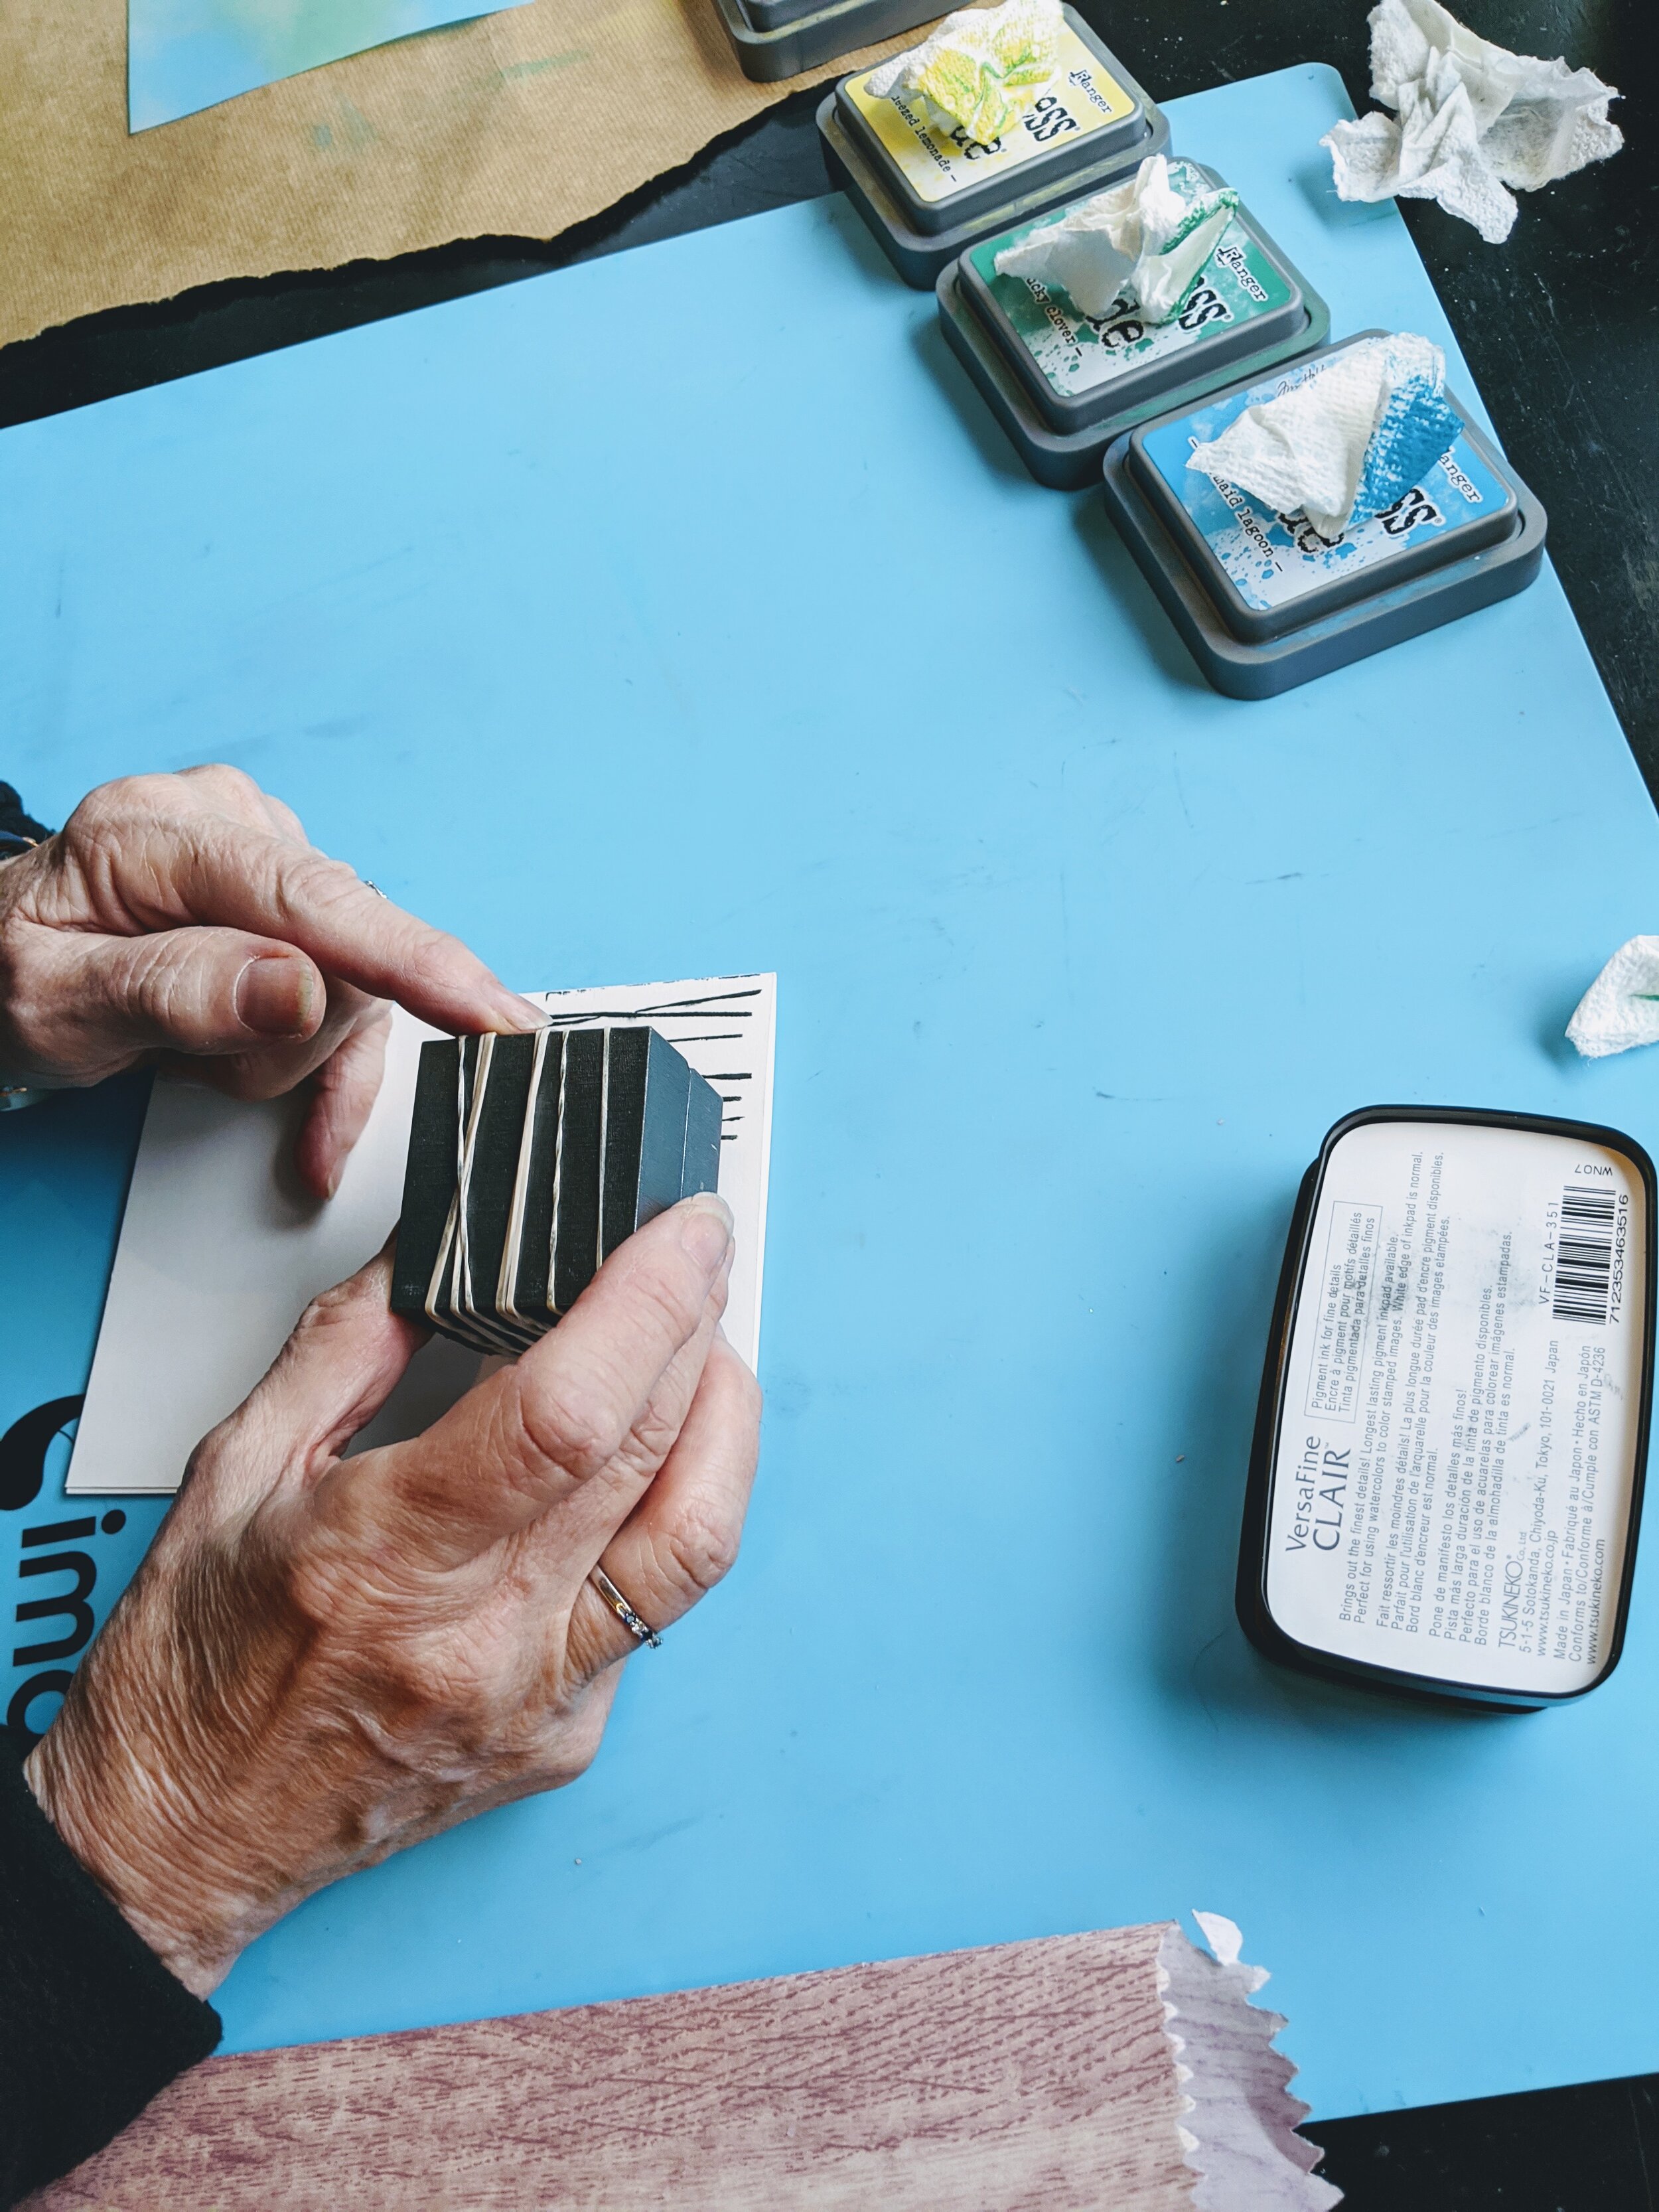
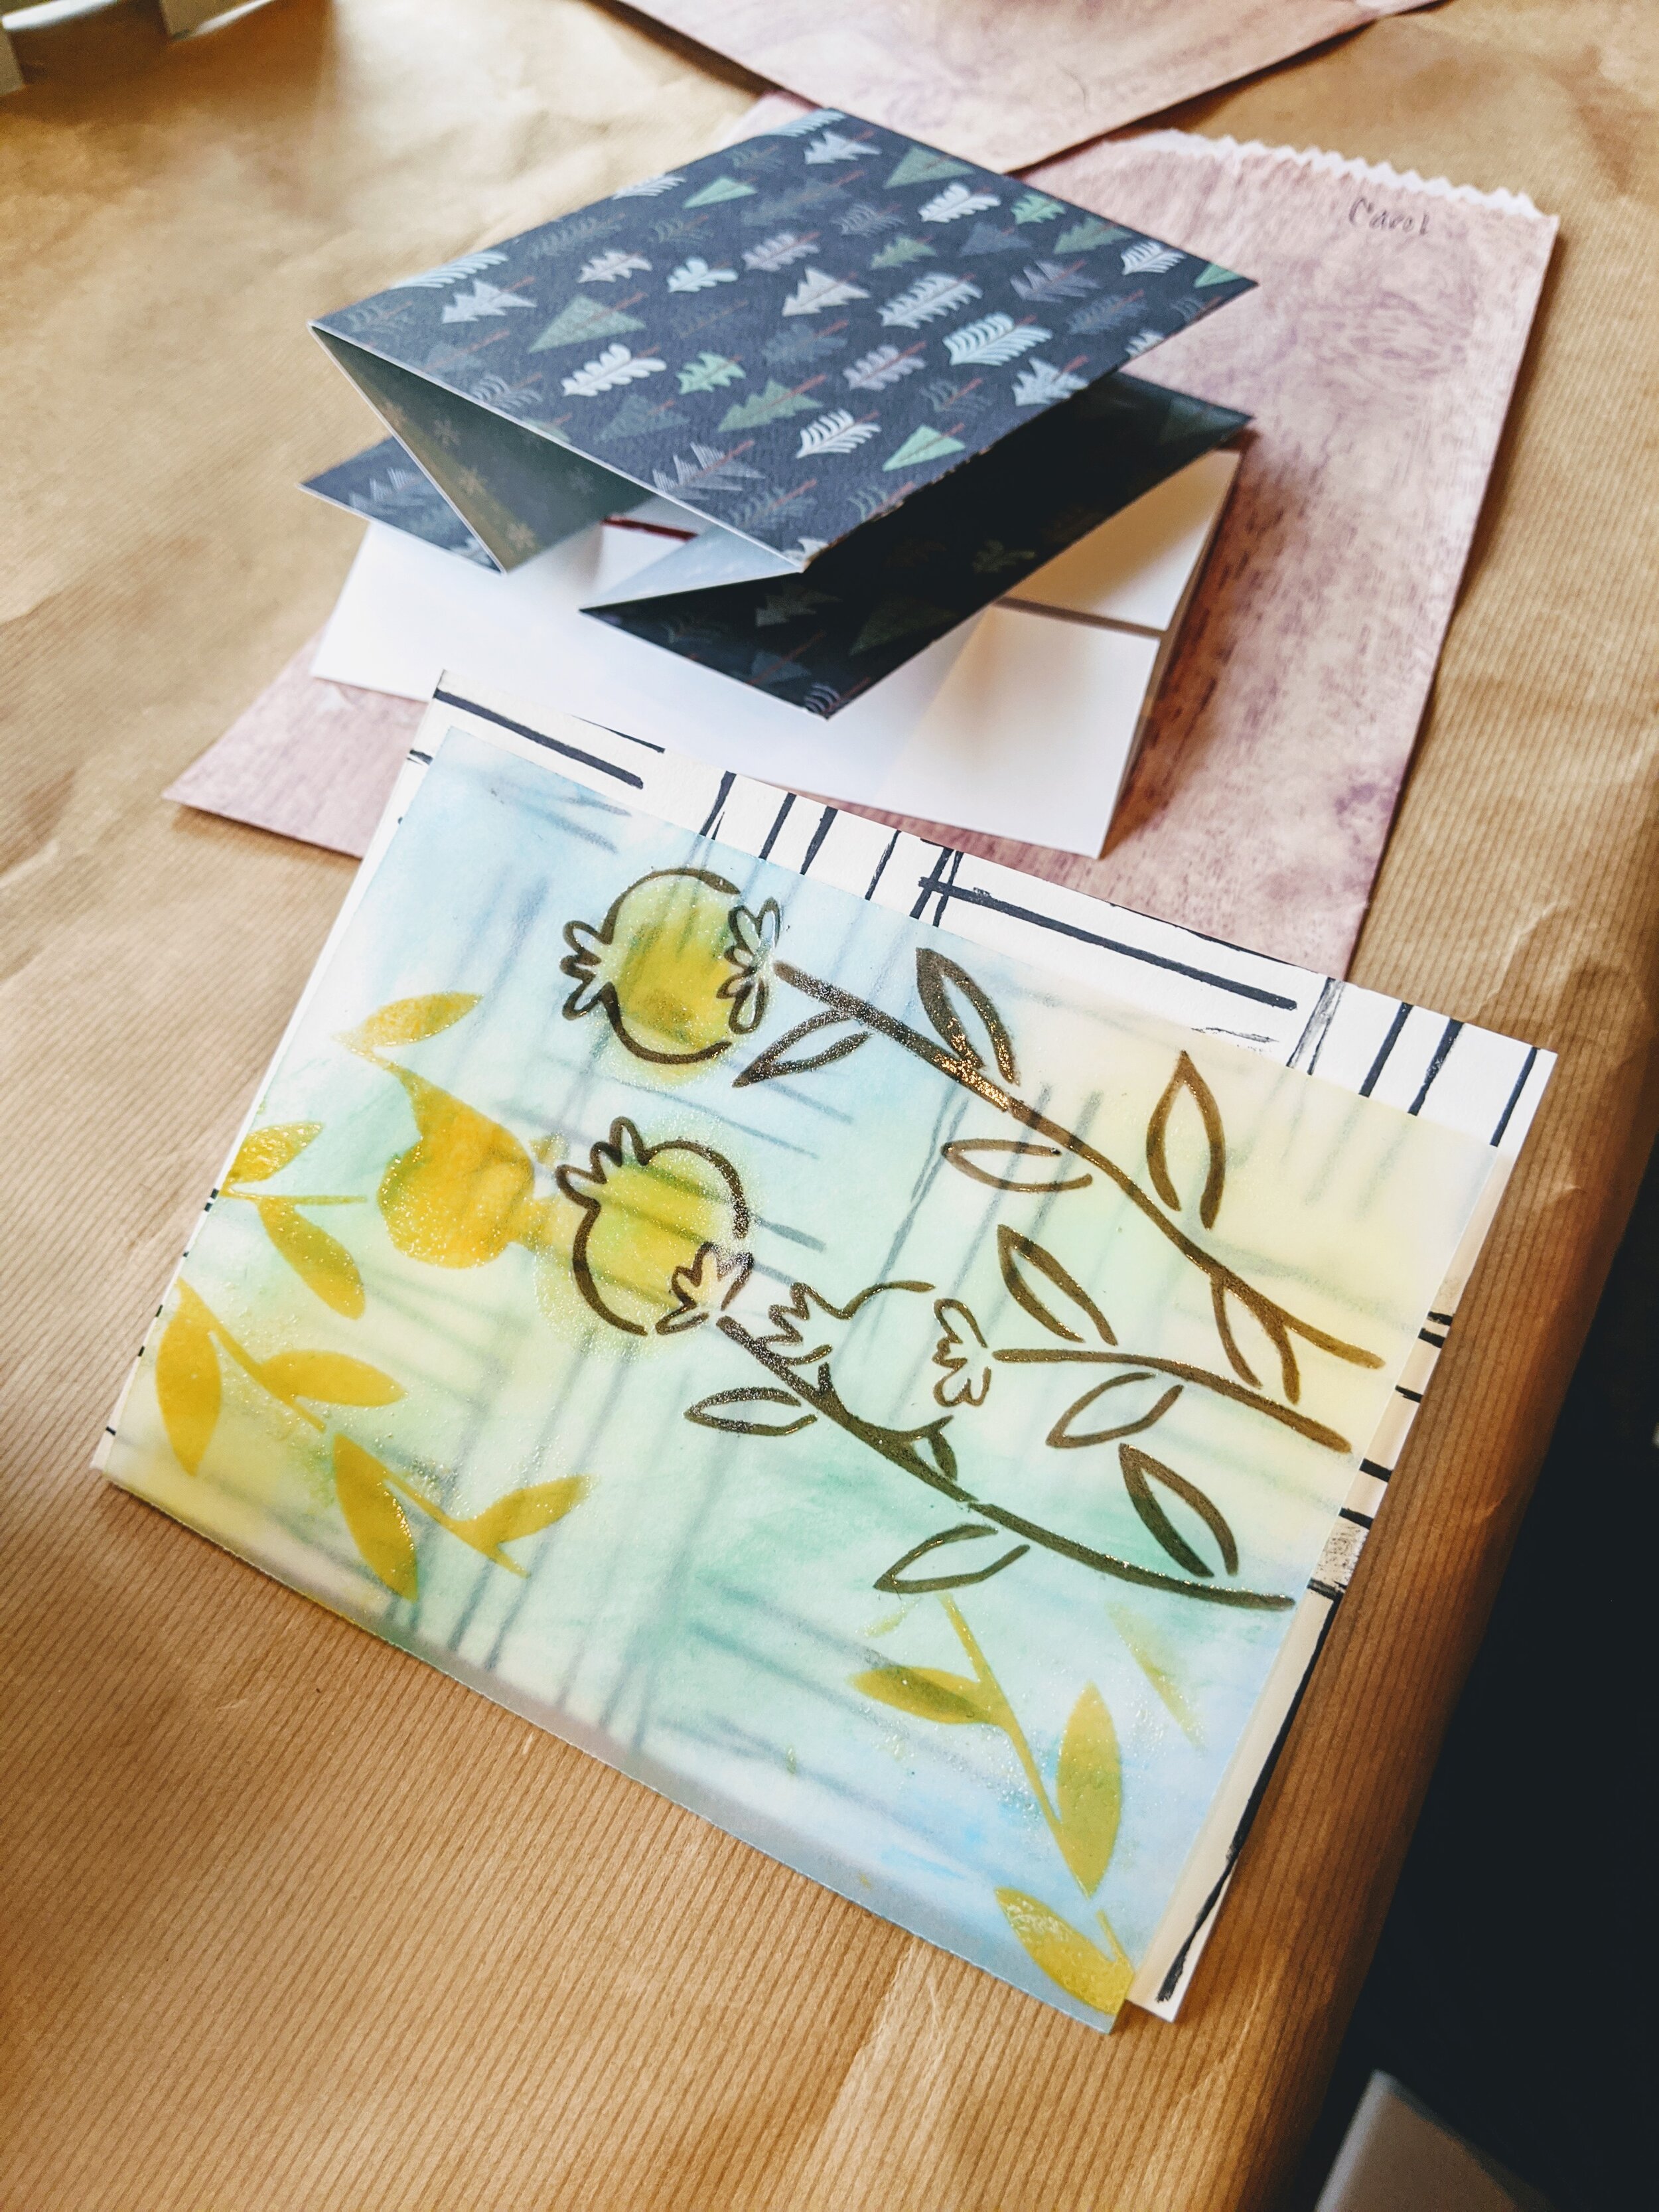
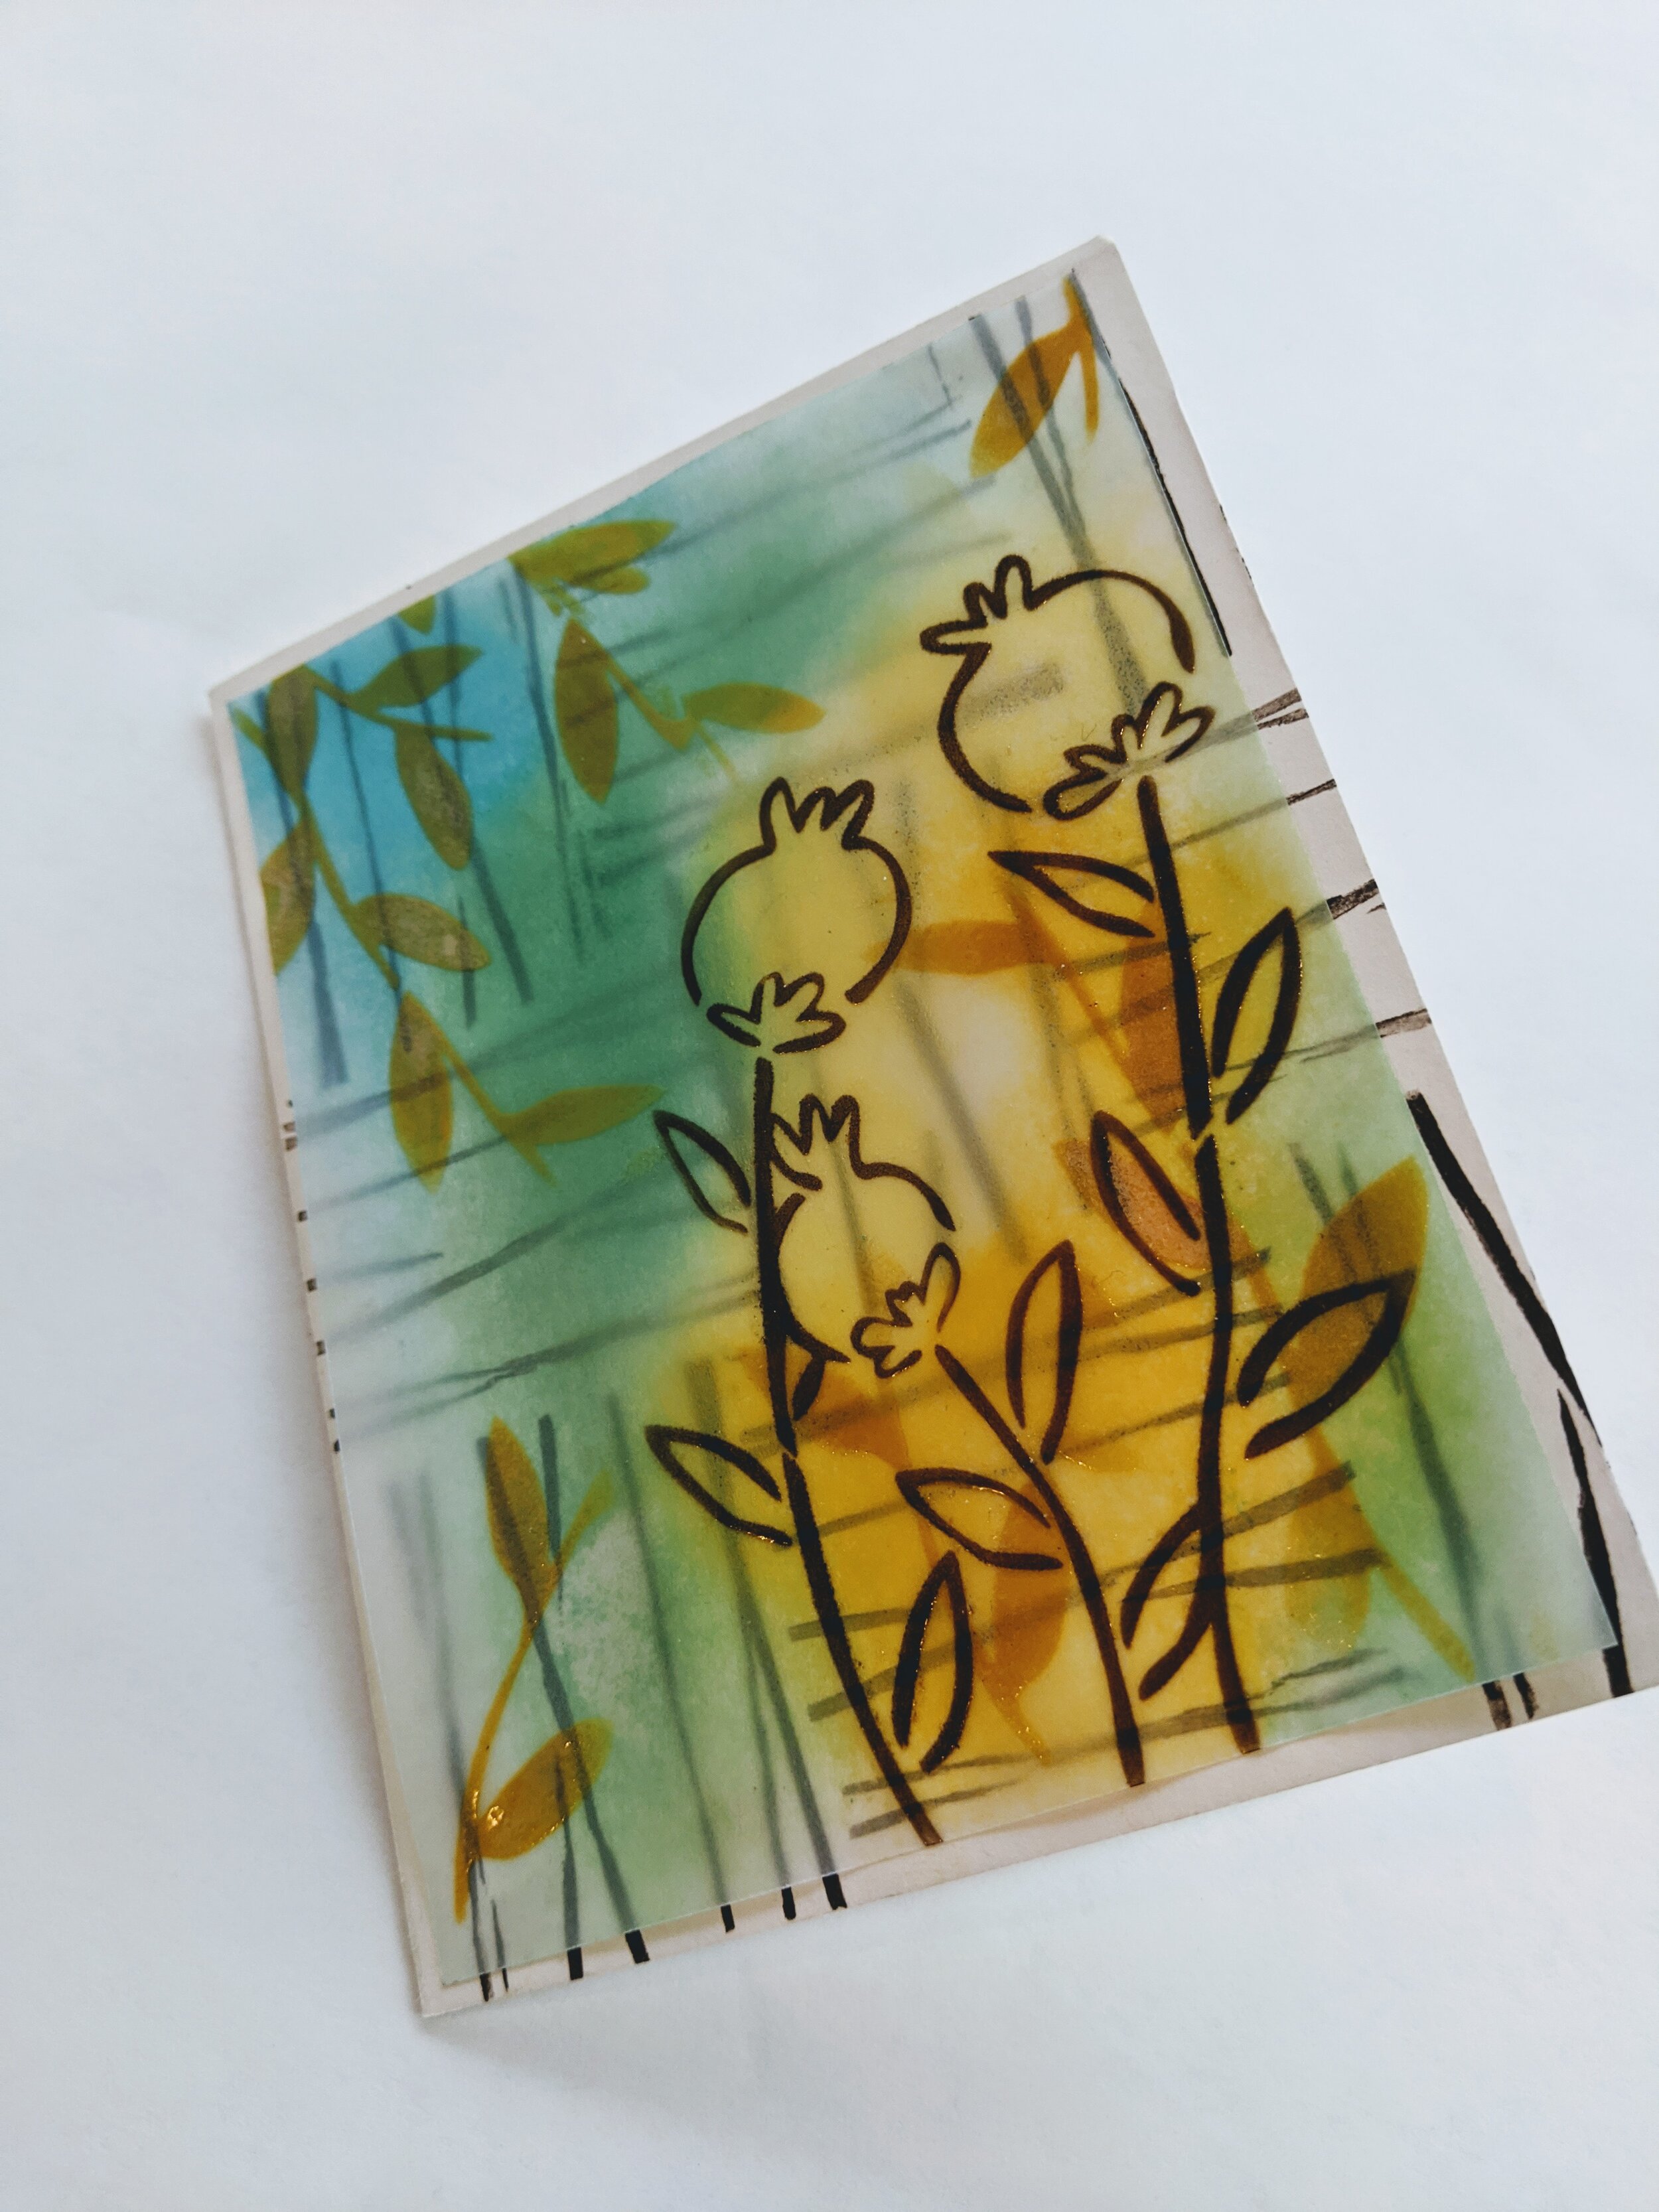
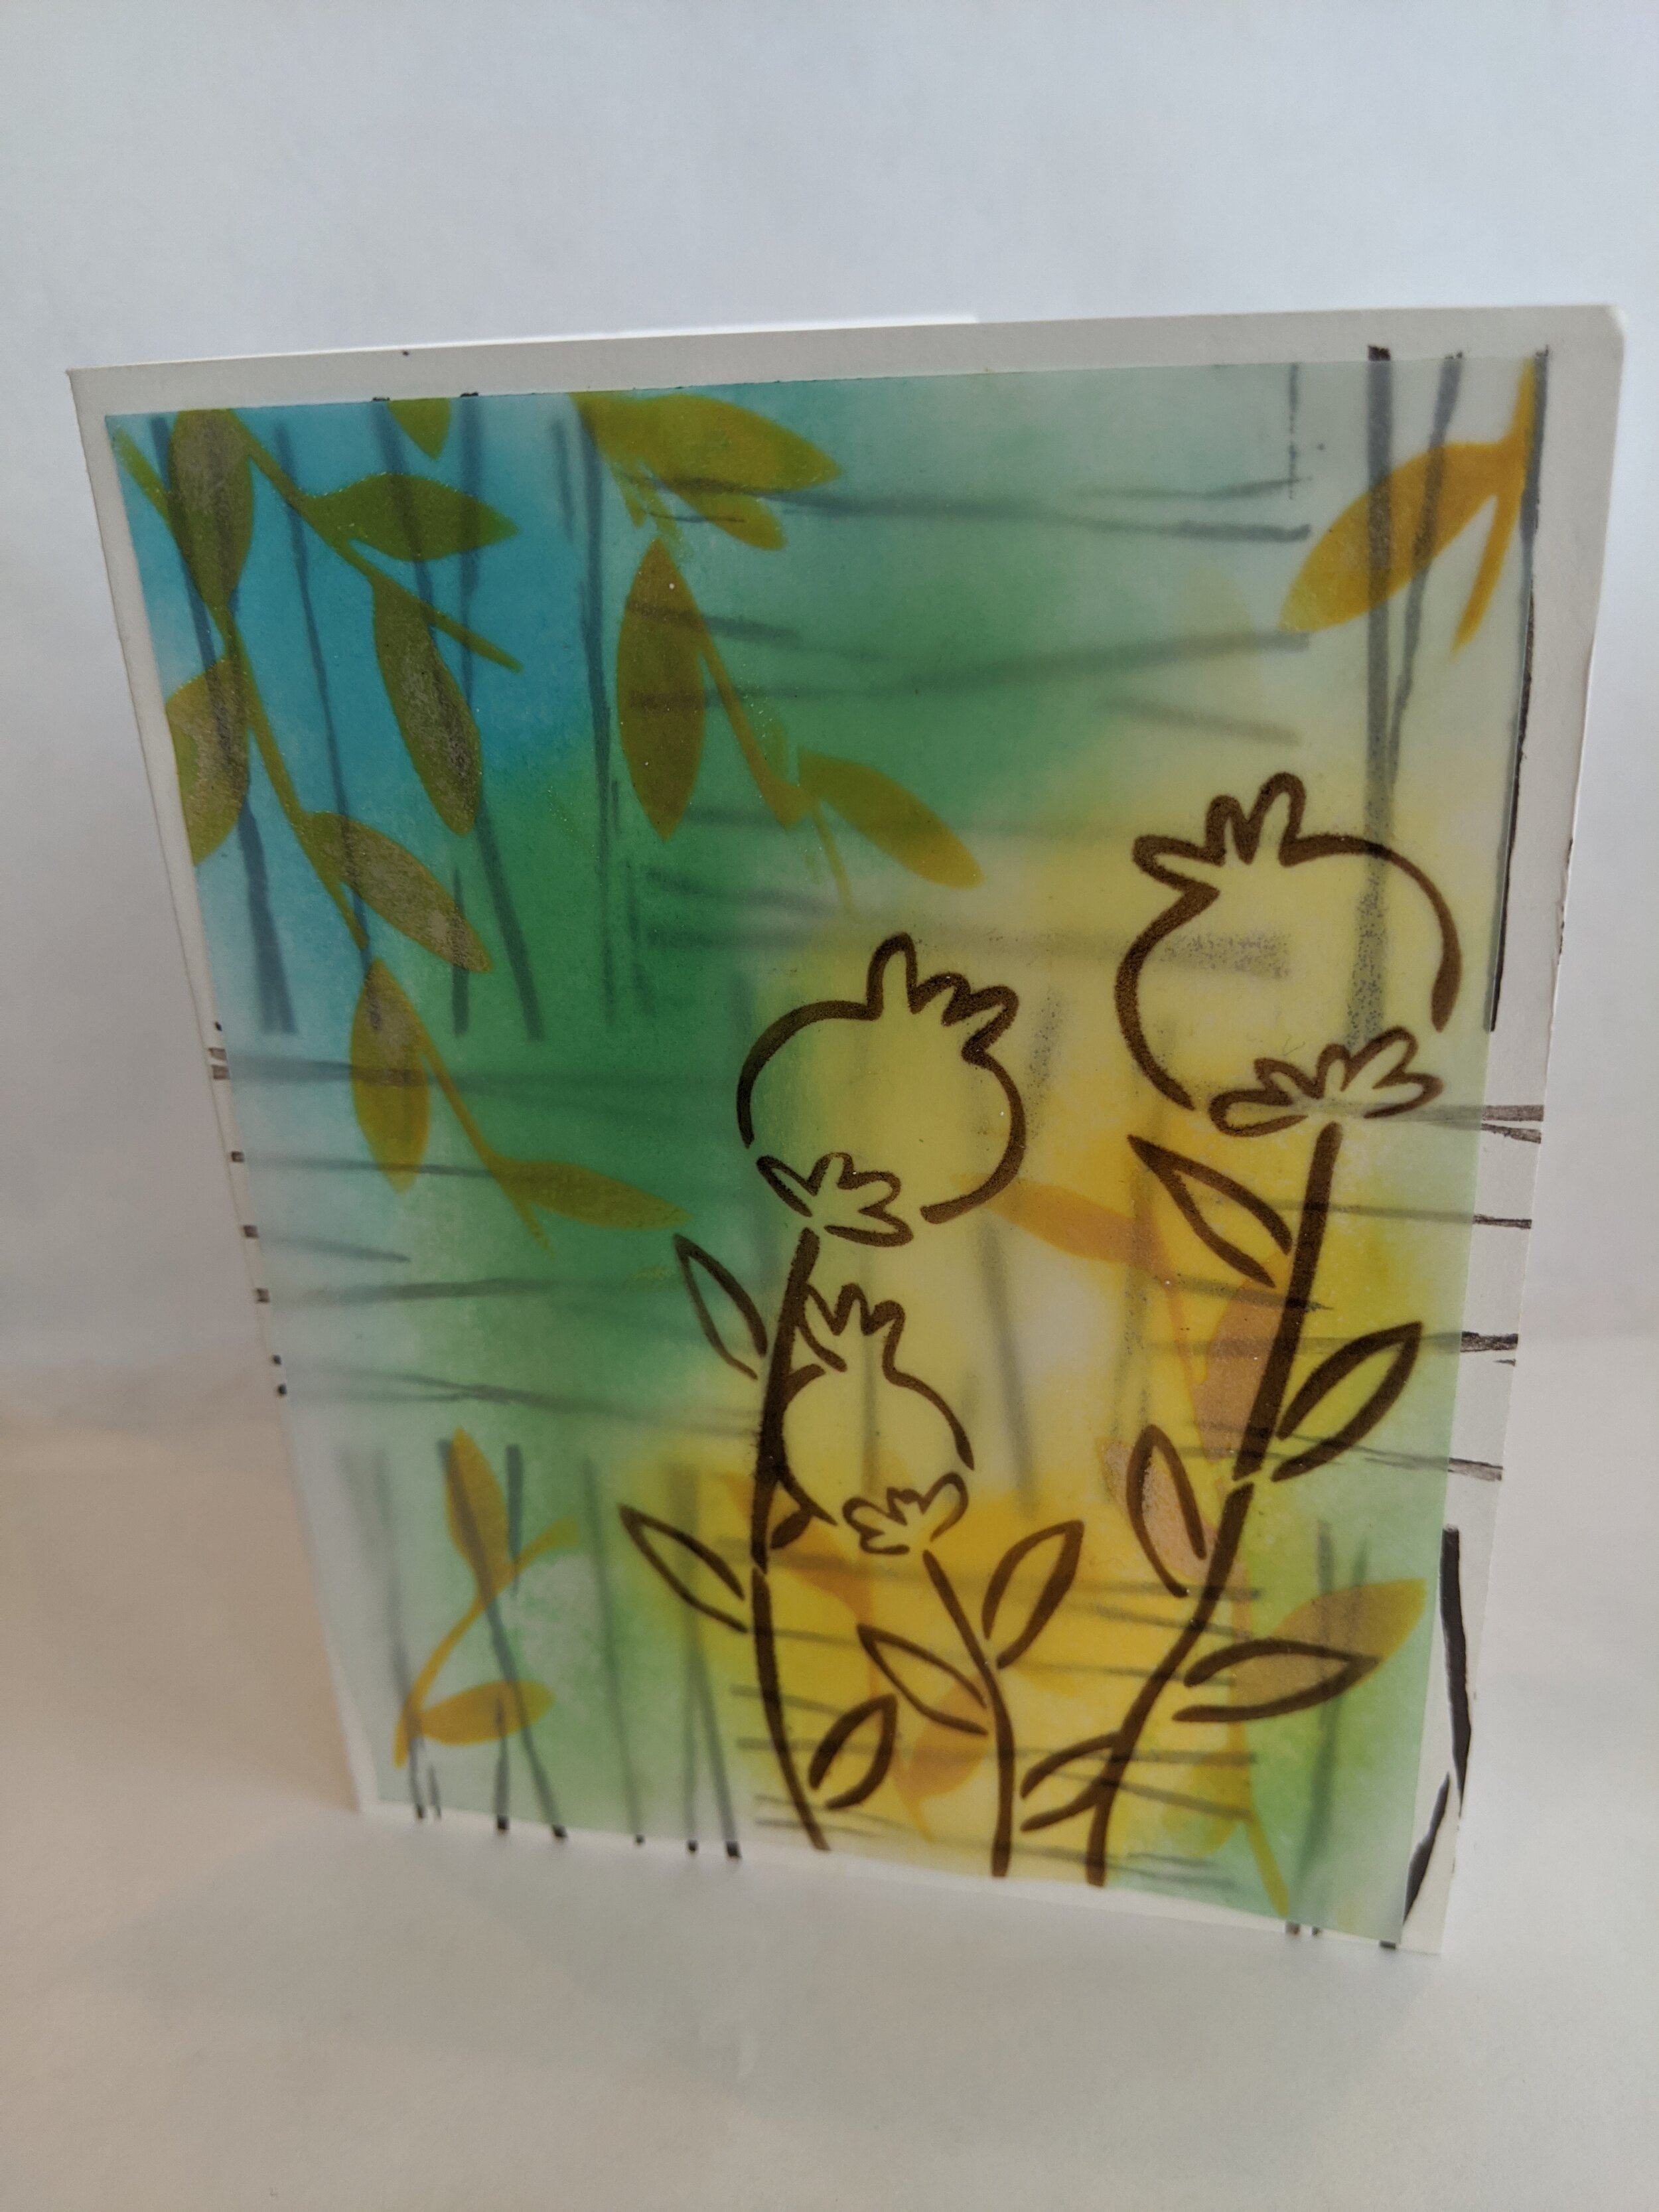
The first card I designed was inspired from The Crafter’s Workshop stencil, Mini Poppies

To make the card:
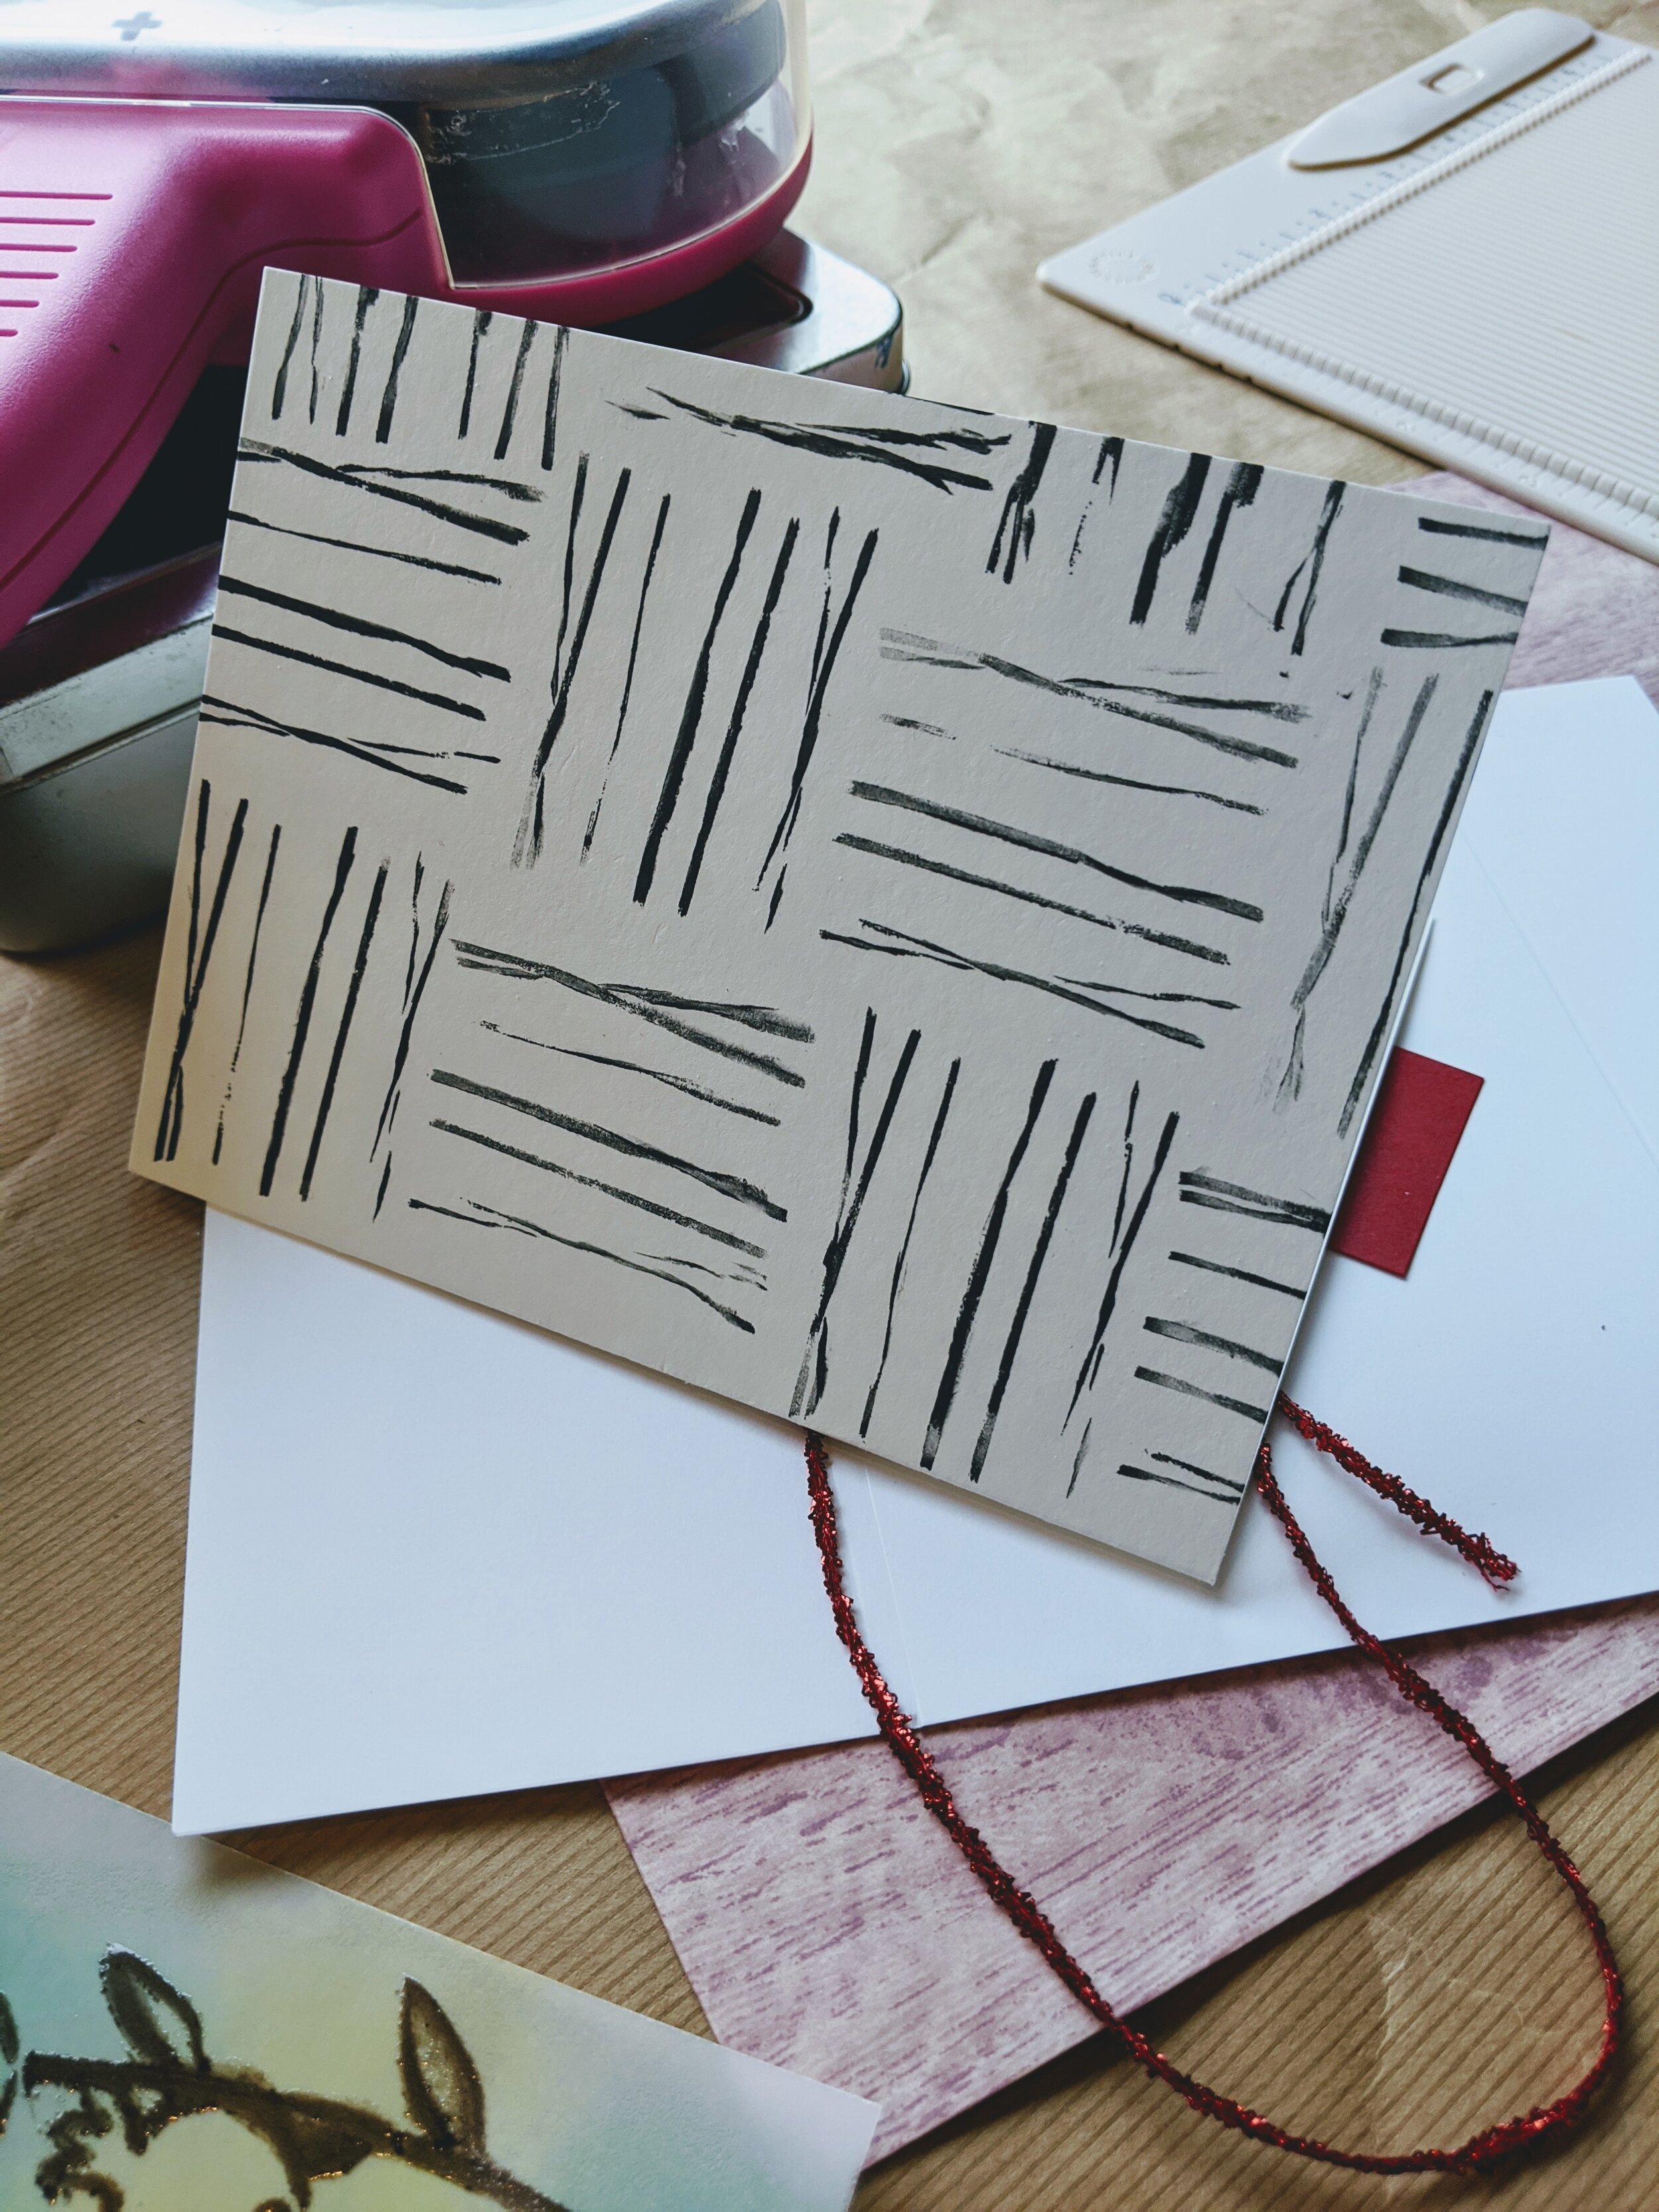
I wrapped a rubber band around an old ring box and stamped (with Versafine Clair ink, Fallen Leaves) back and forth on a piece of ivory card stock to create a woven-look
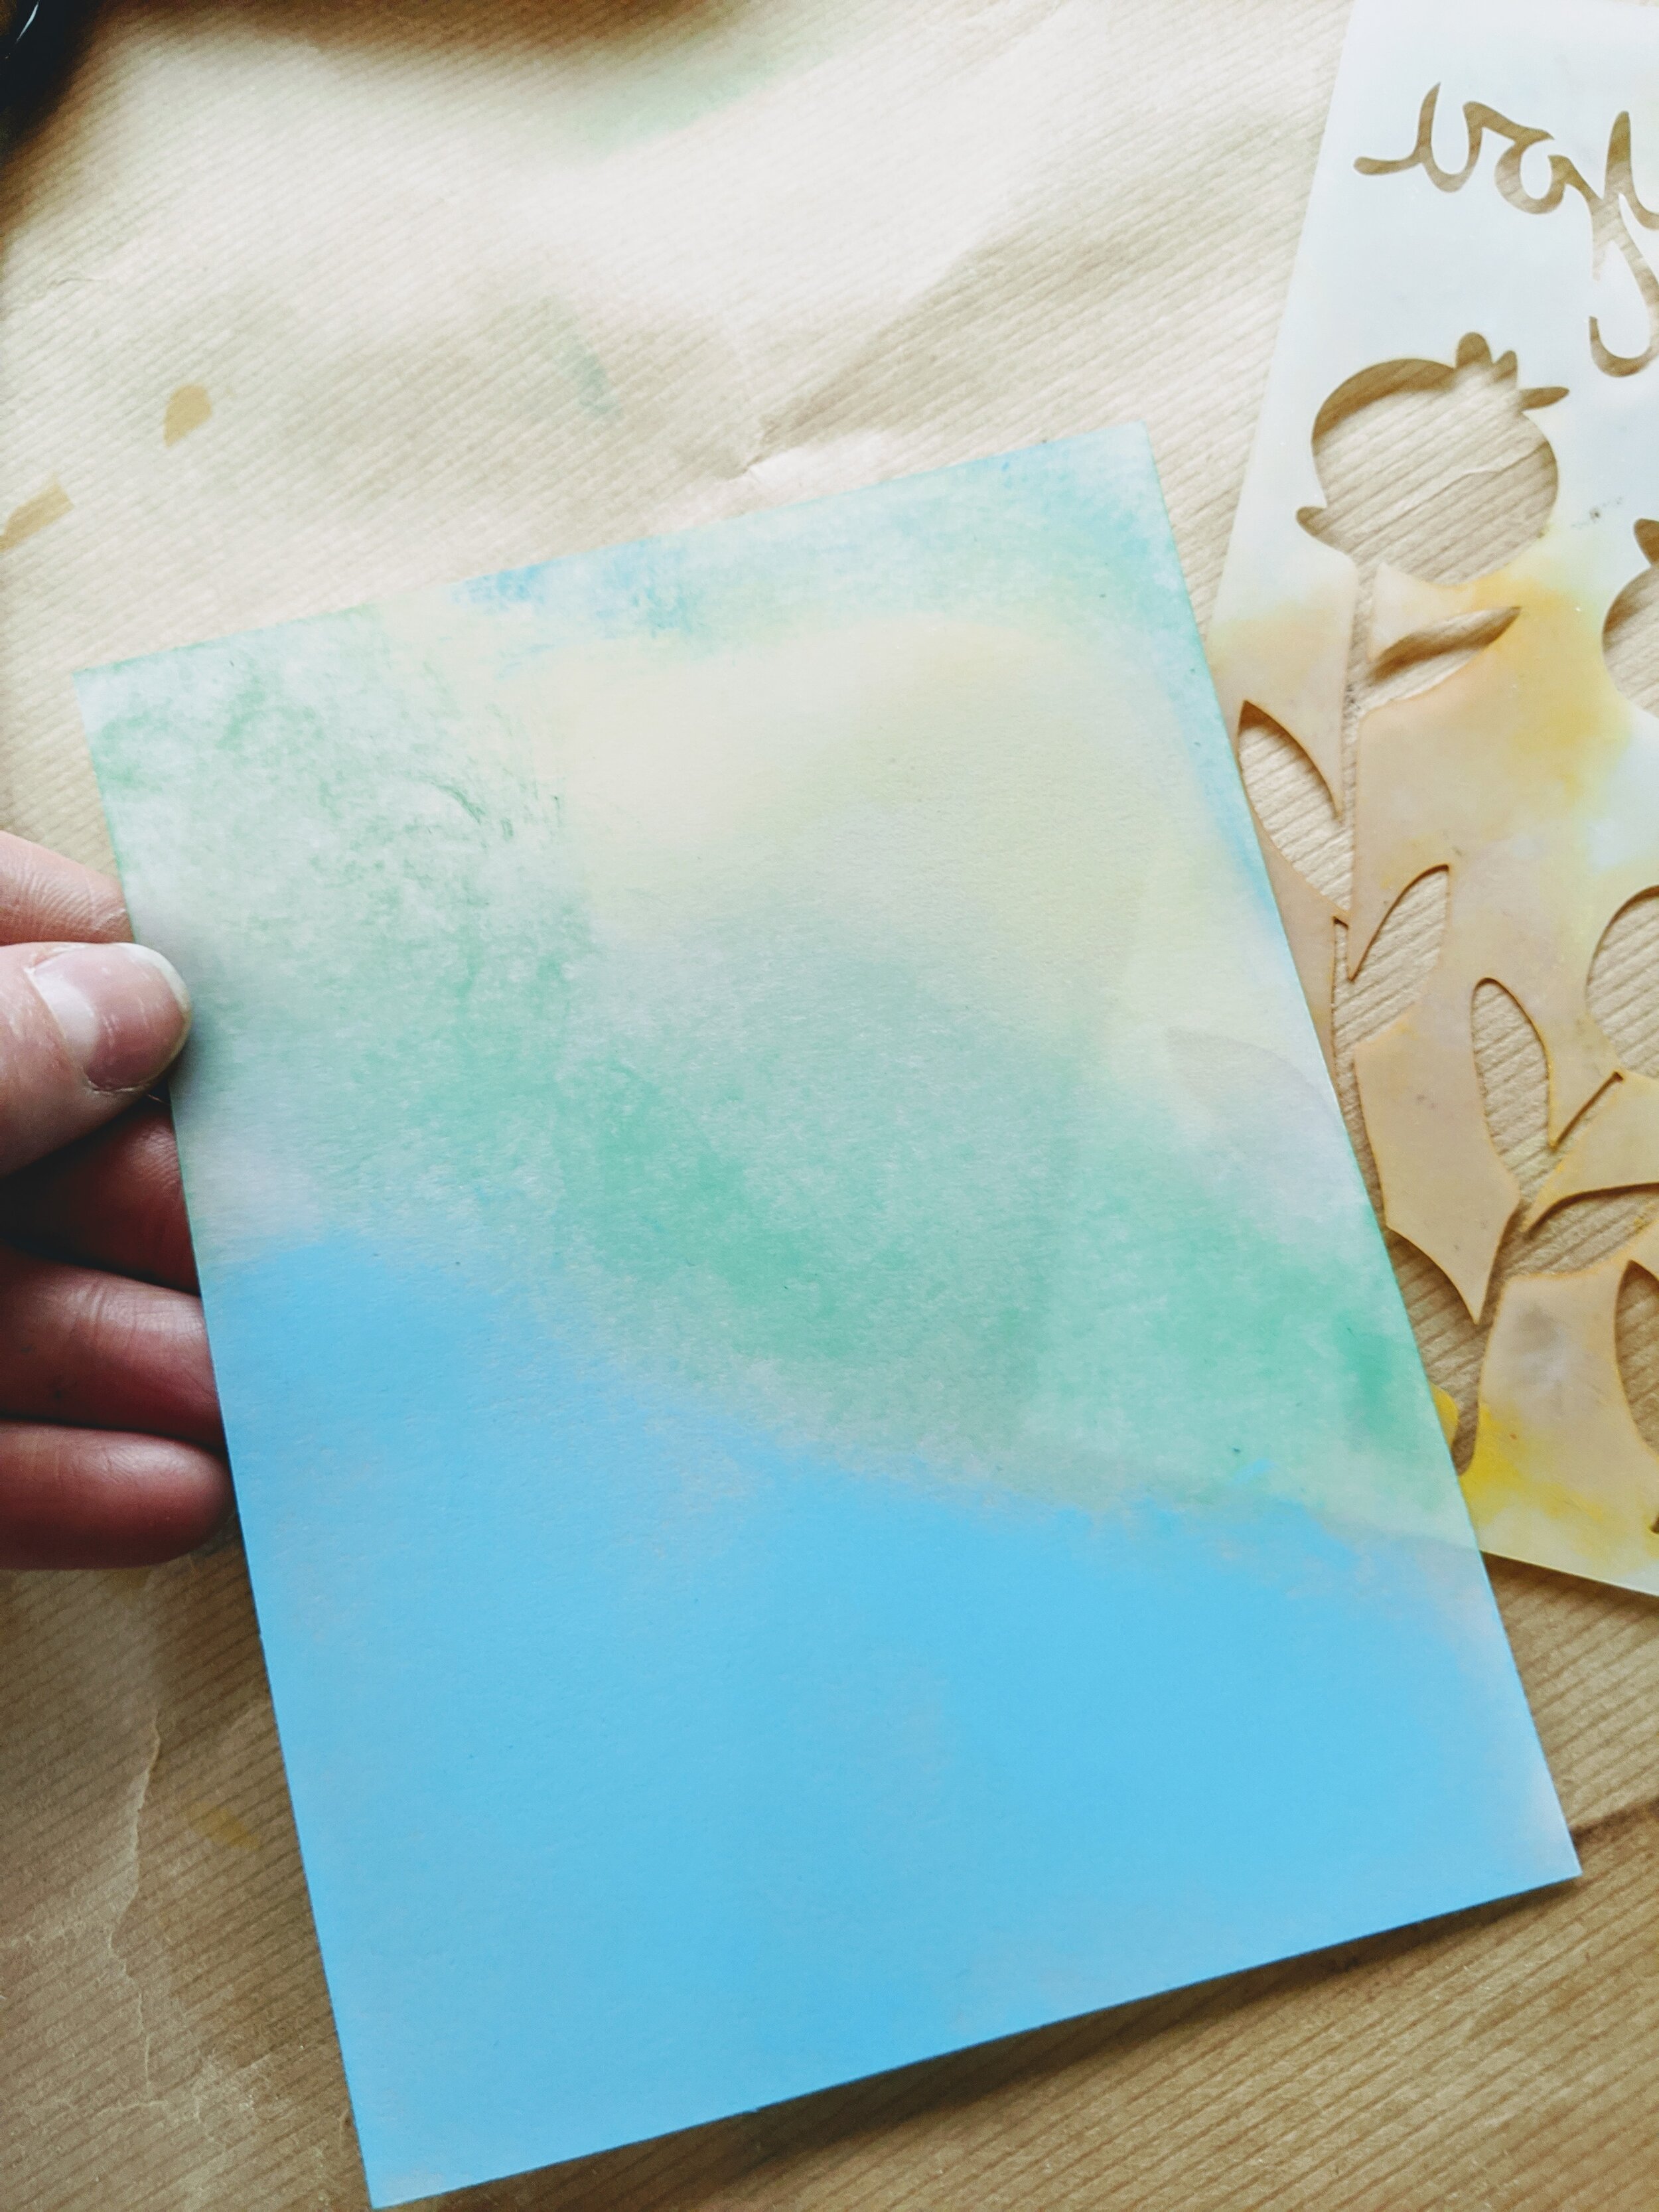
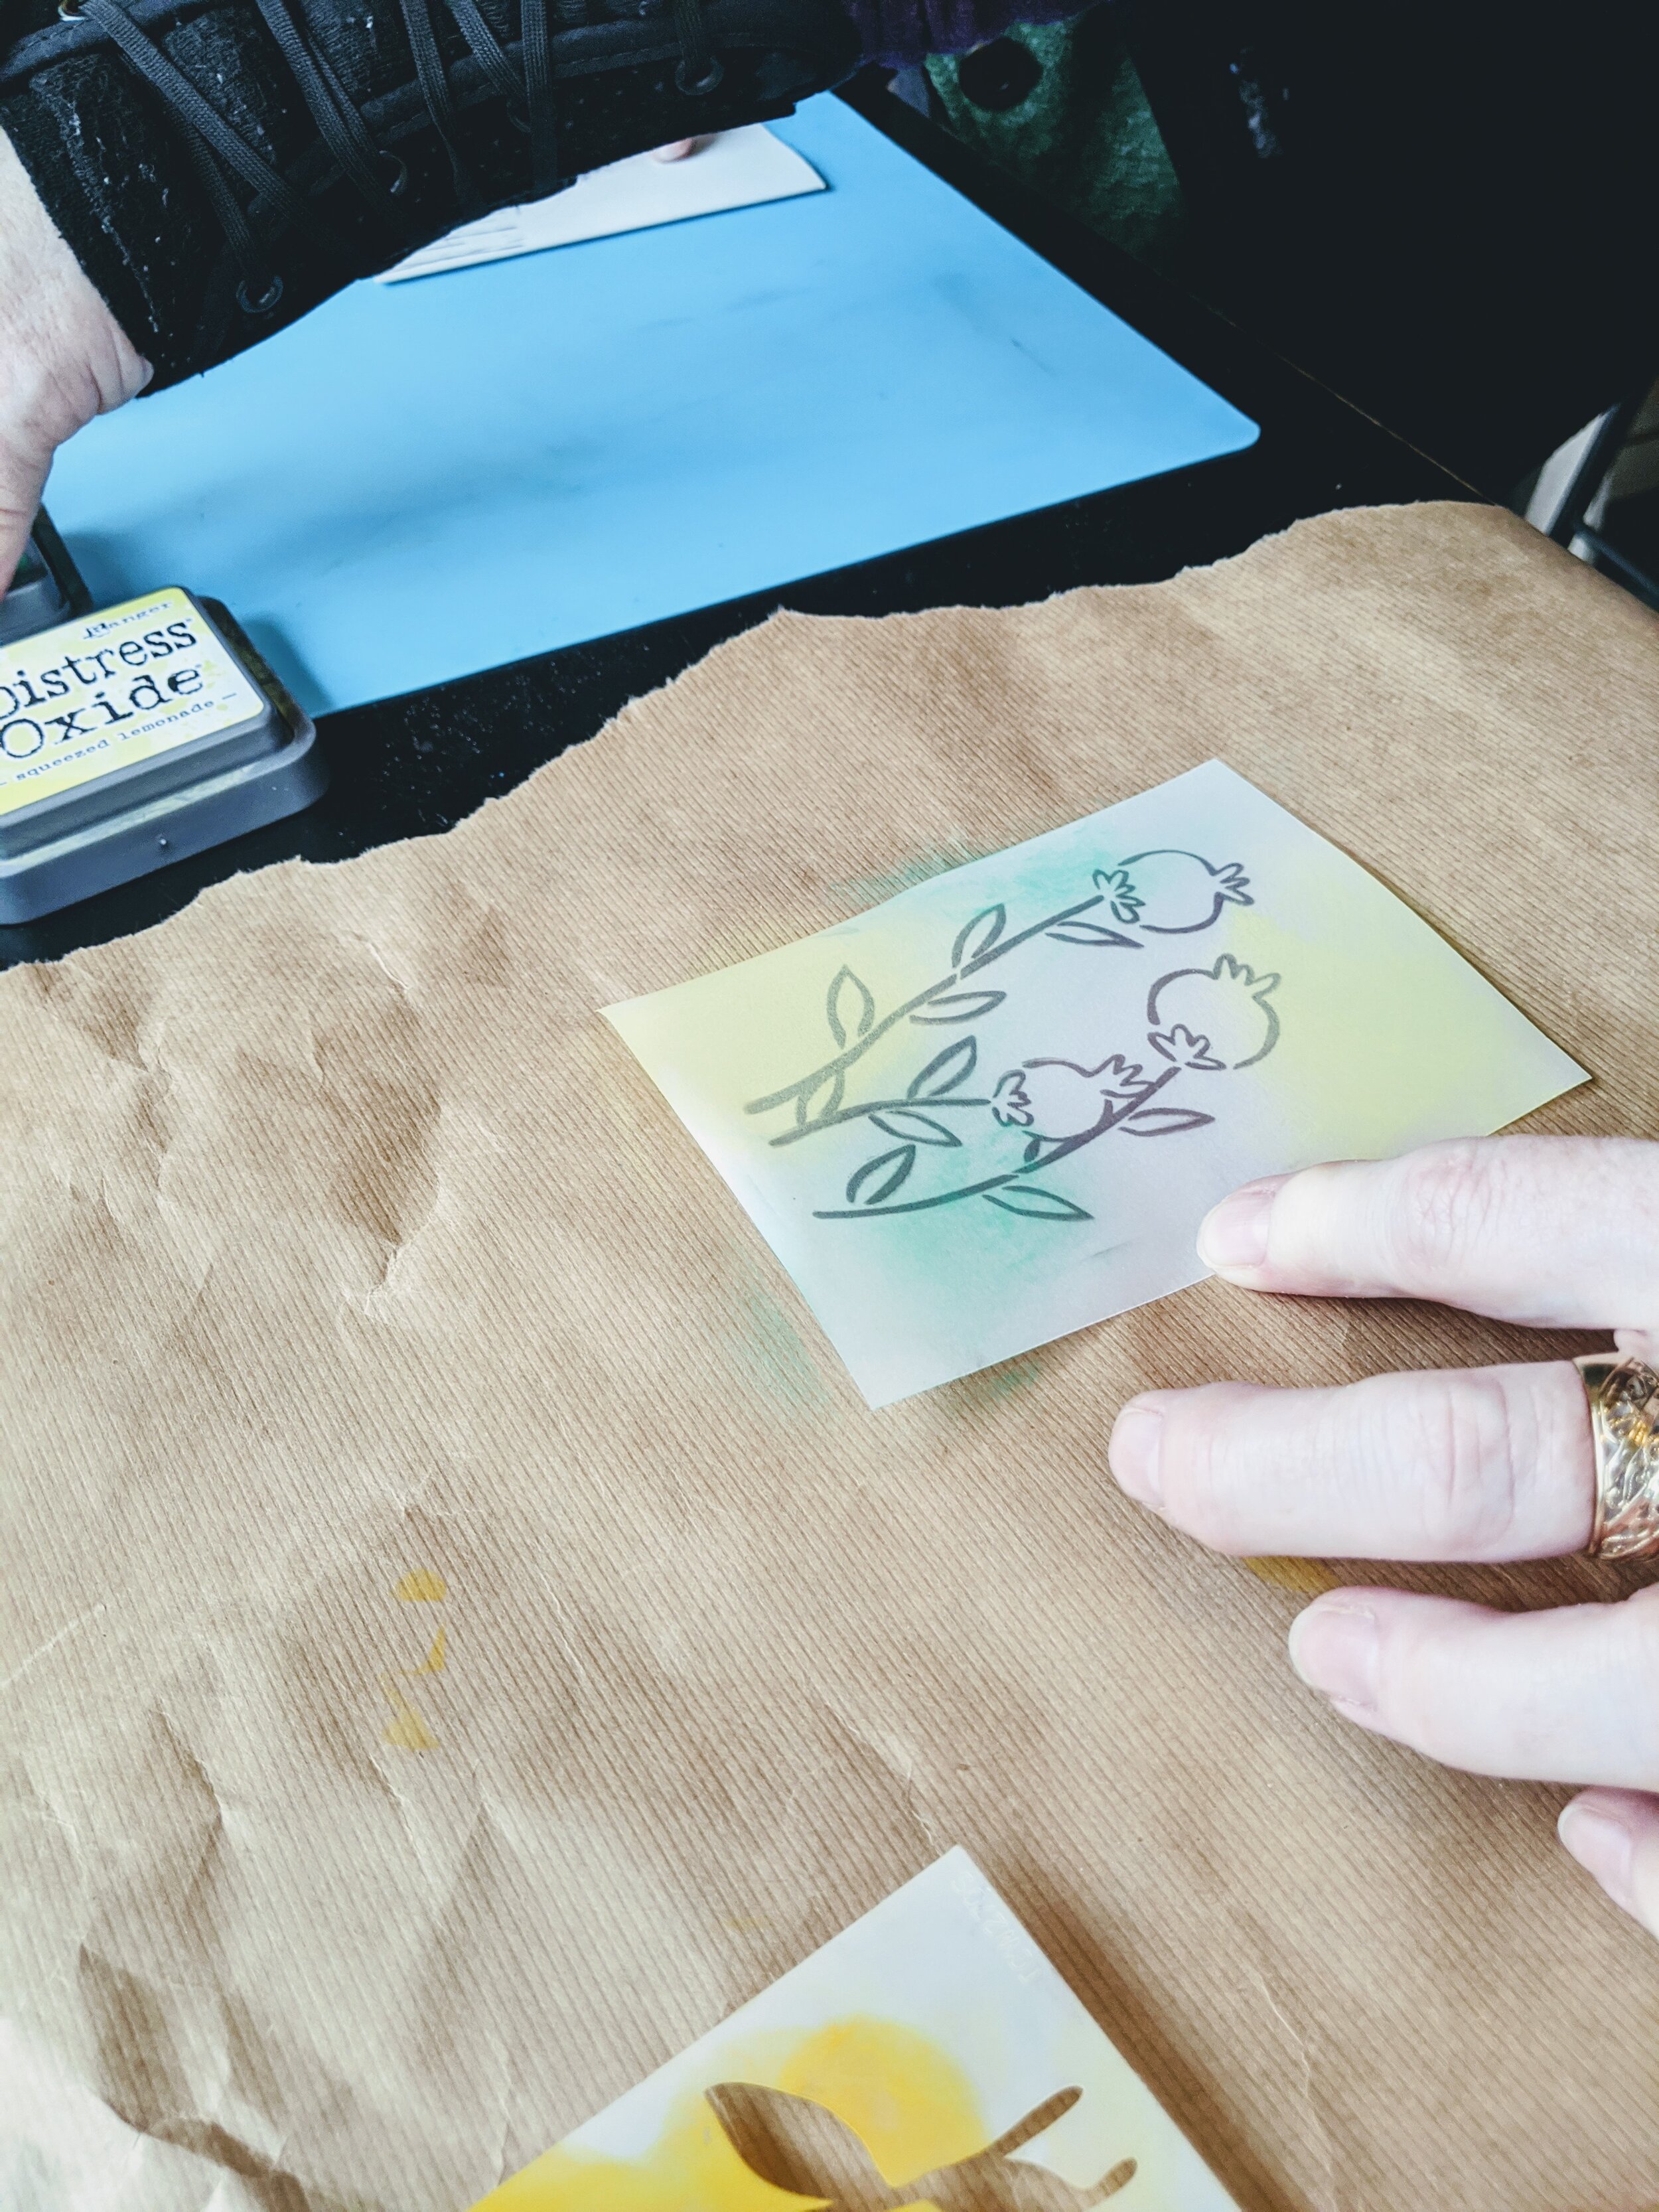
THEN on a peice of vellum, I took Distress Oxide ink pades (Squeezed Lemonade, Lucky Clover, and Mermaid Lagoon) and with a paper towel smeared the ink around until the Vellum had color all over it. I started with the yellow, then the green, and finally the blue.
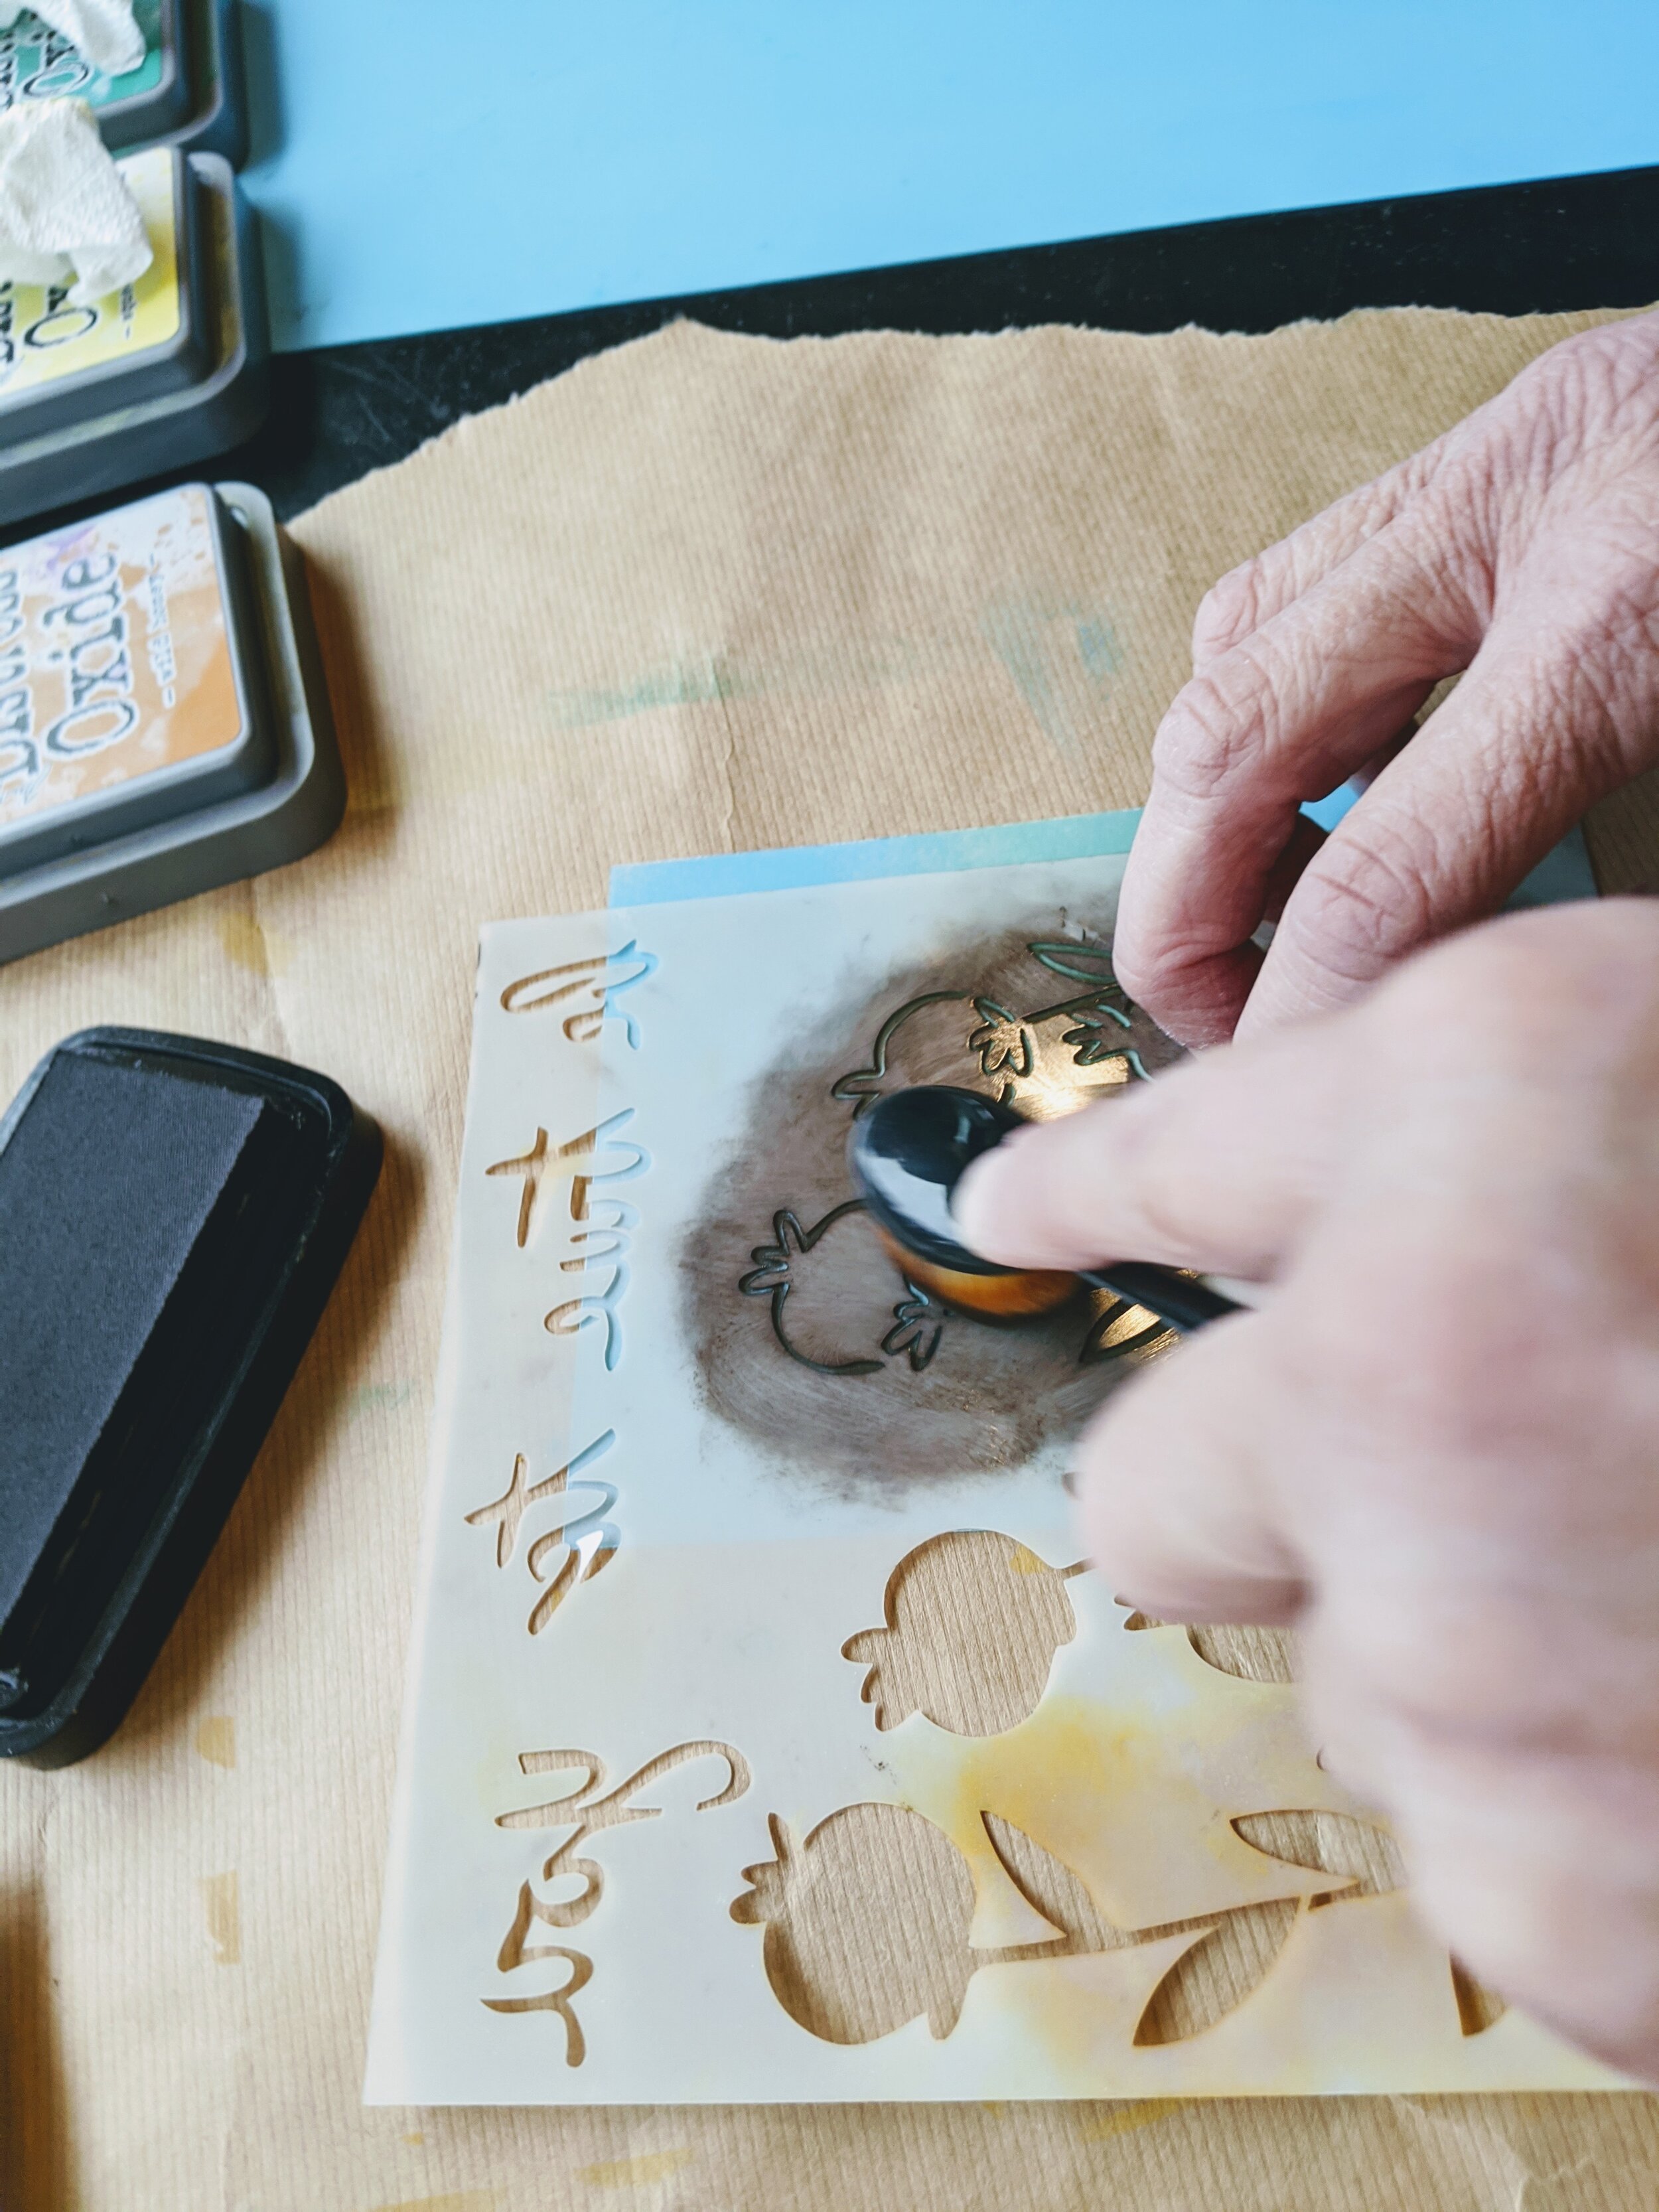
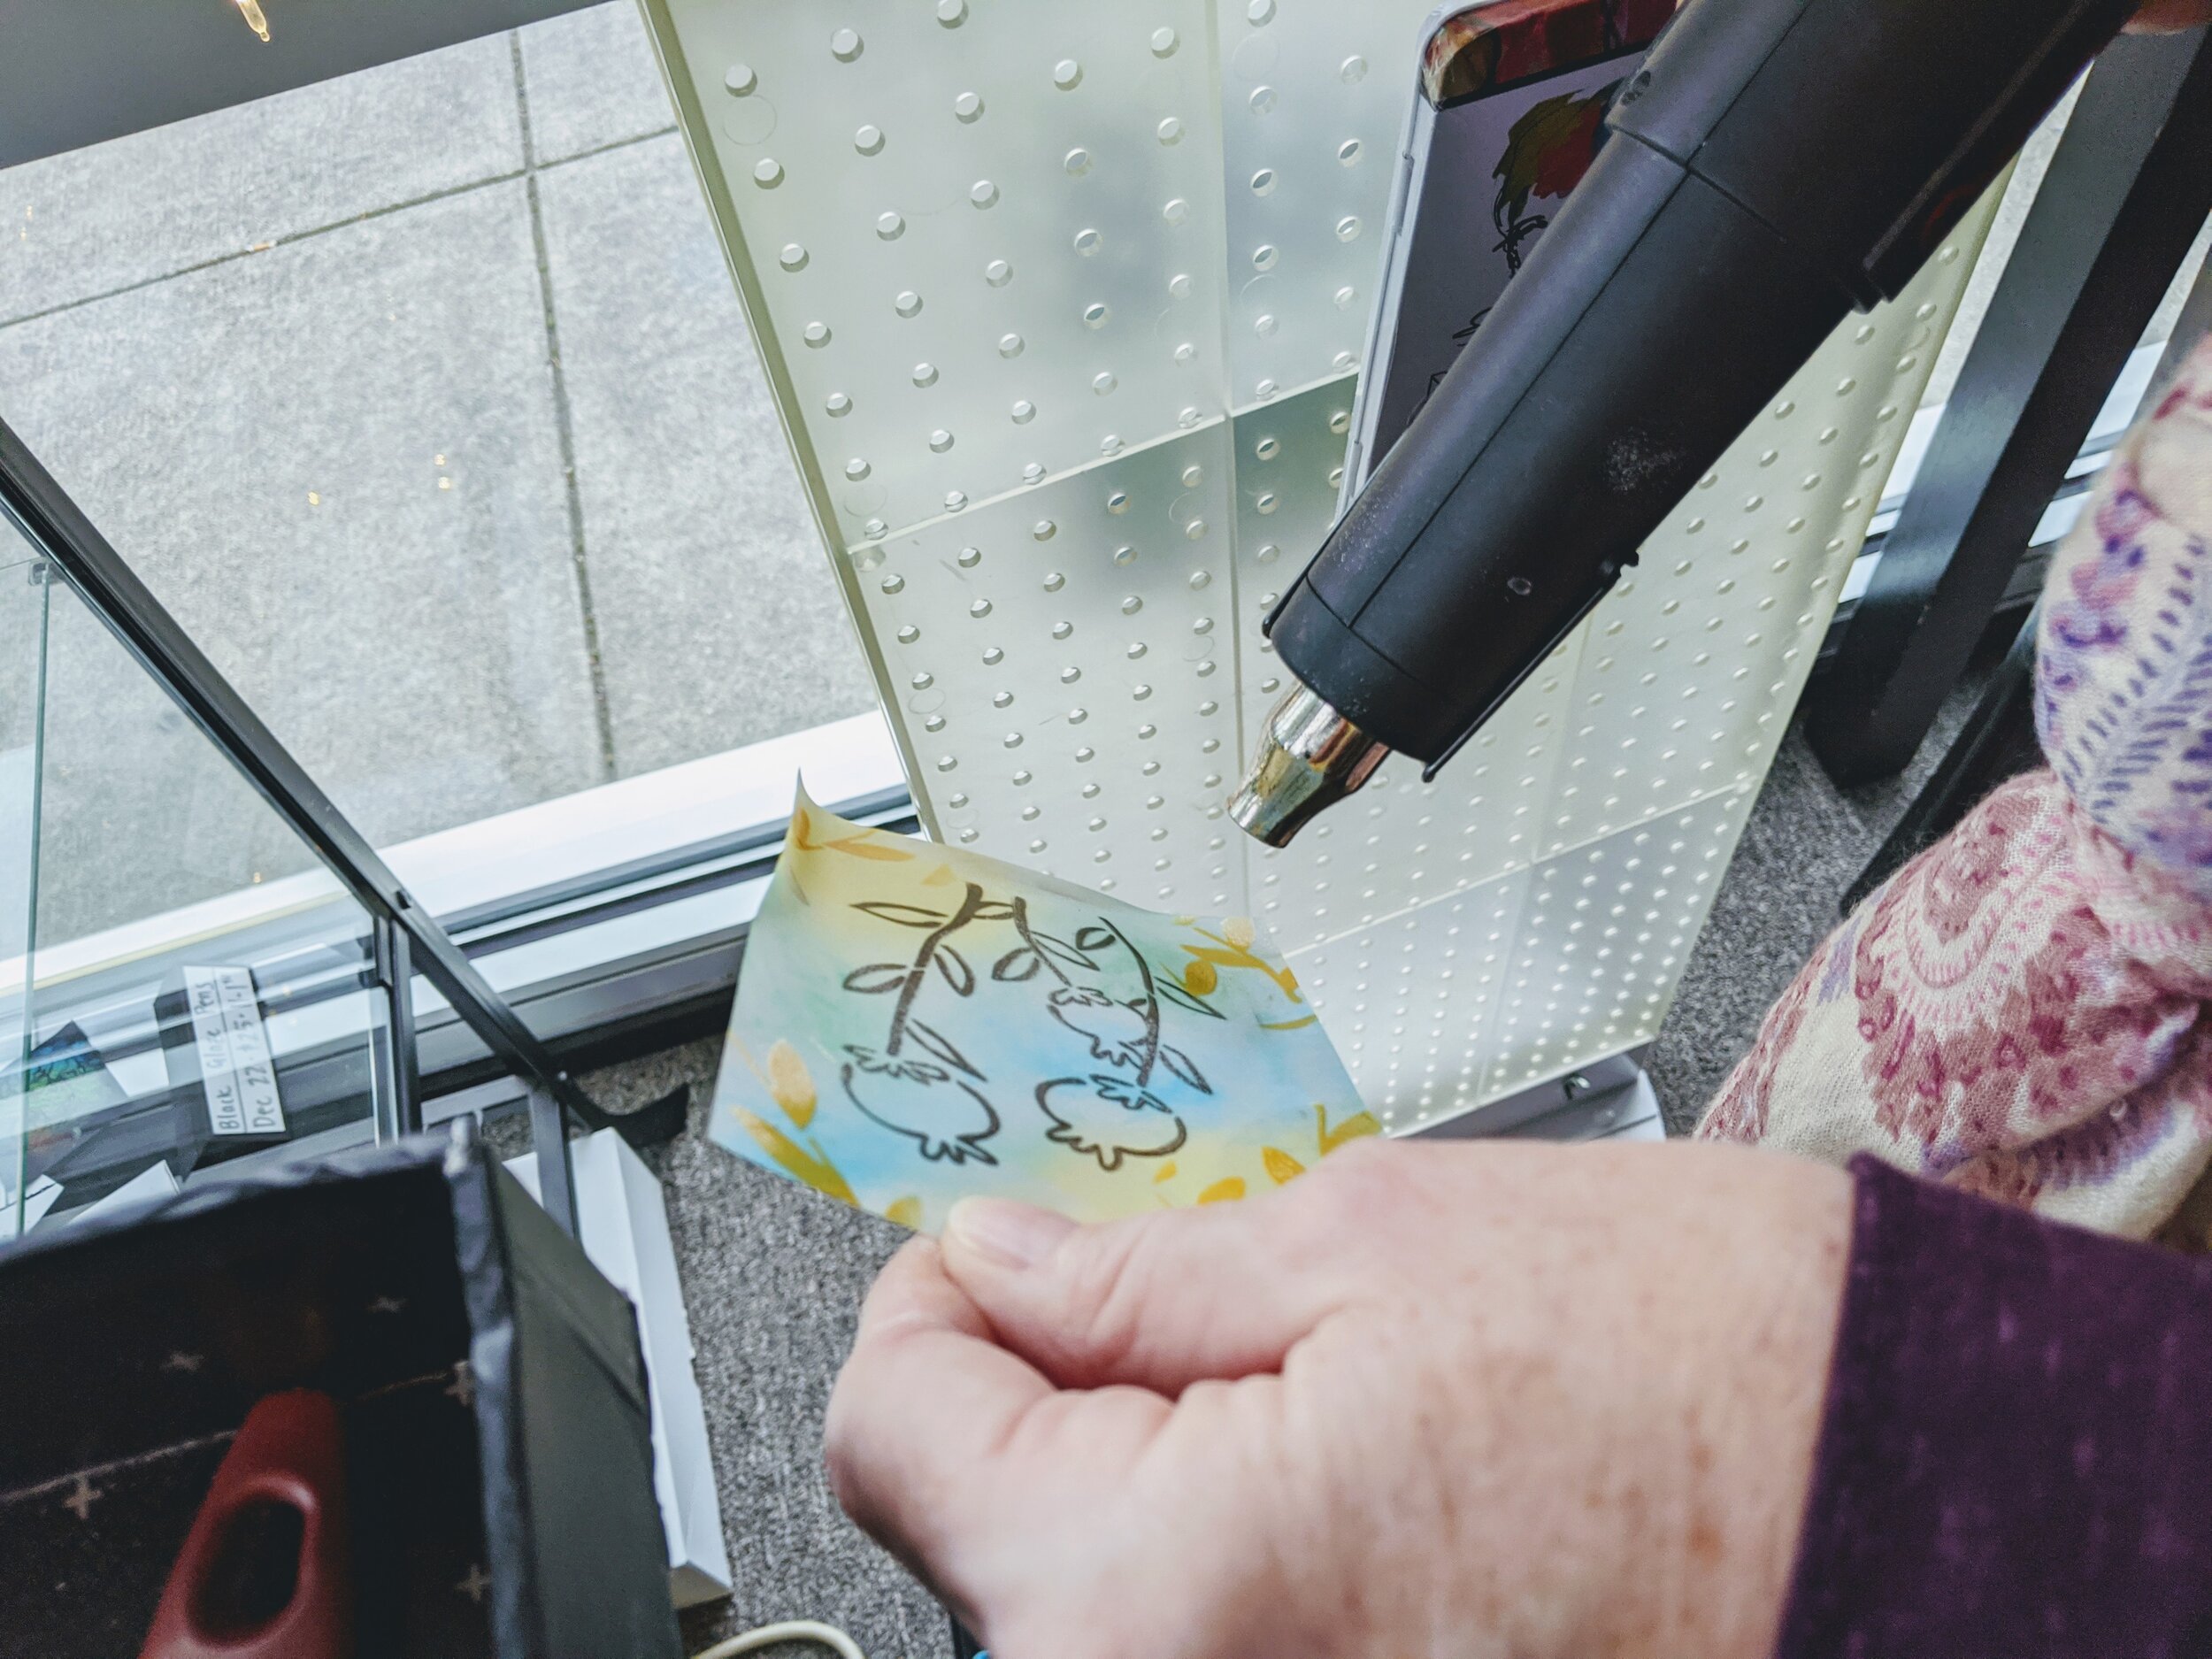
I flipped the vellum over so the colors were more muted. THEN I took the stencil and laid it down on the vellum. I used the Versafine Clair ink, Fallen Leaves, and my large Picket Fence Blending Brush and applied a layer of ink so the image transferred to the vellum.
I sprinkled on Detail Clear embossing powder and heat set the image.
Then I took the BOLD image on the stencil and applied Distress Oxide ink, Wild Honey onto the leaves part of the stencil using a Nuvo Blending Sponge. Then I used Detail Clear embossing powder again and heat-se the image once more.
I used Nuvo Deluxe Adhesive to apply glue to the vellum (where the stencil images are so it hides the glue!!) and adhered it to the front of my ivory card base with the woven-stamped image on the front
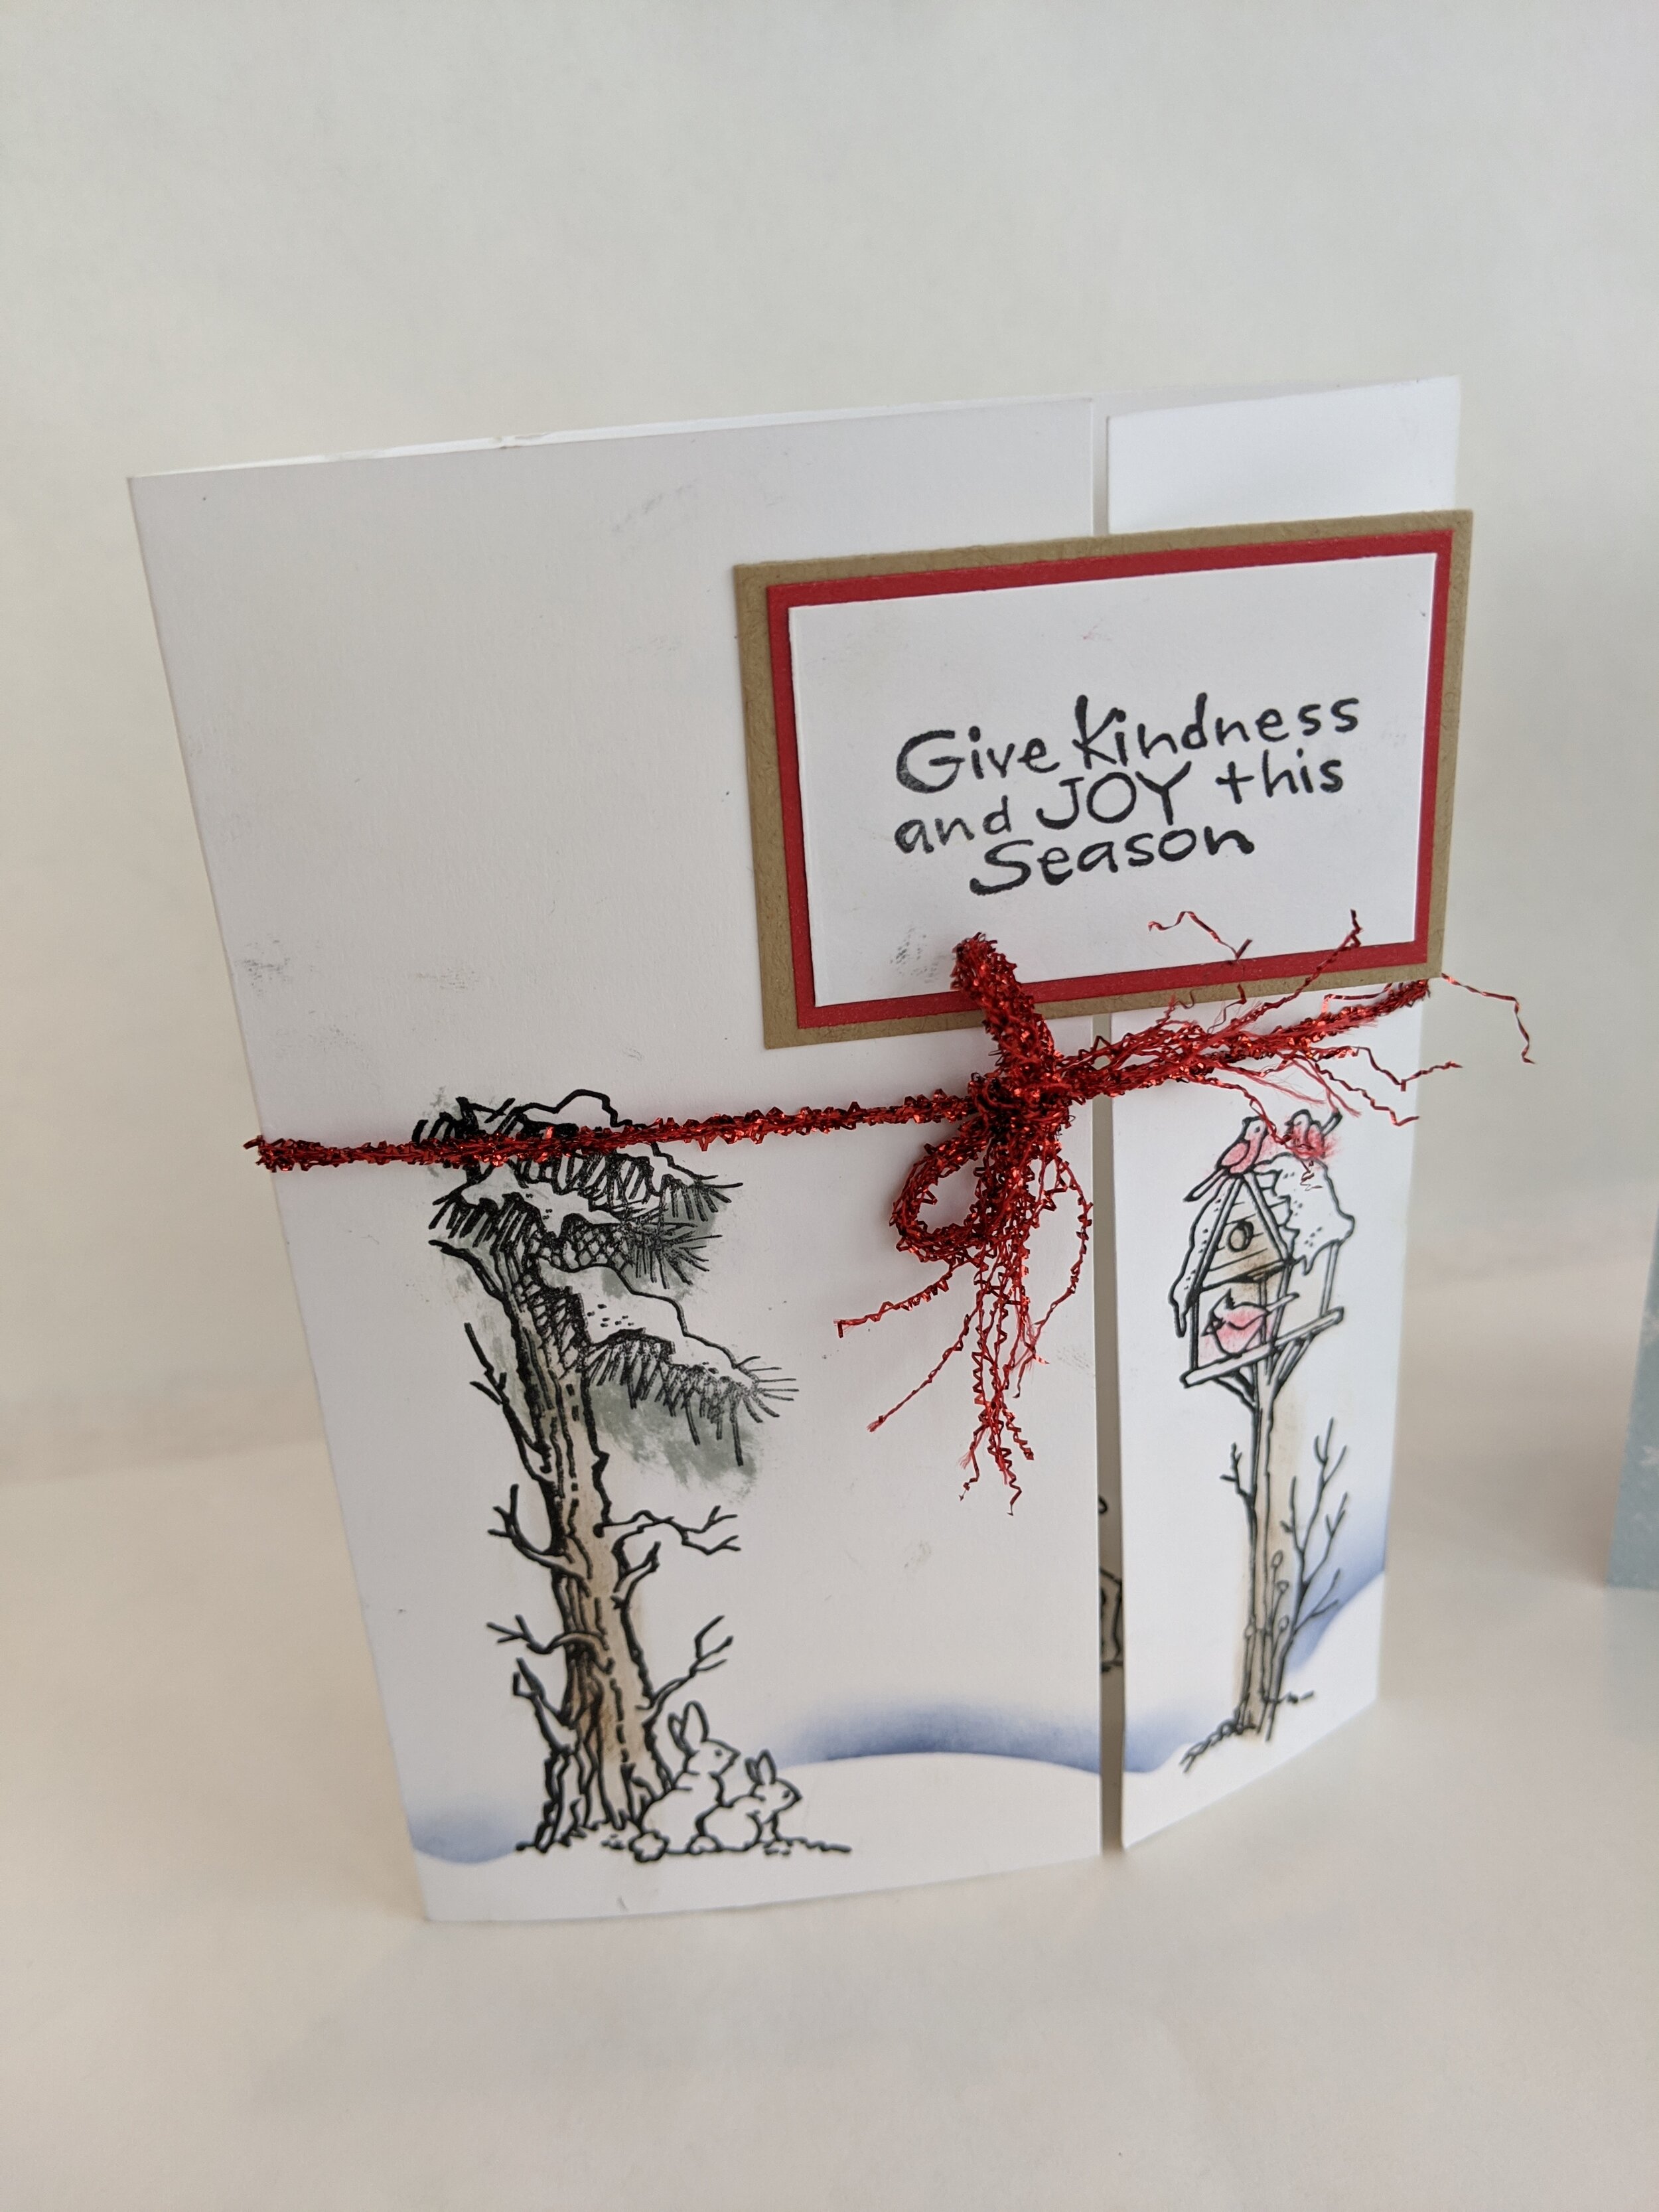
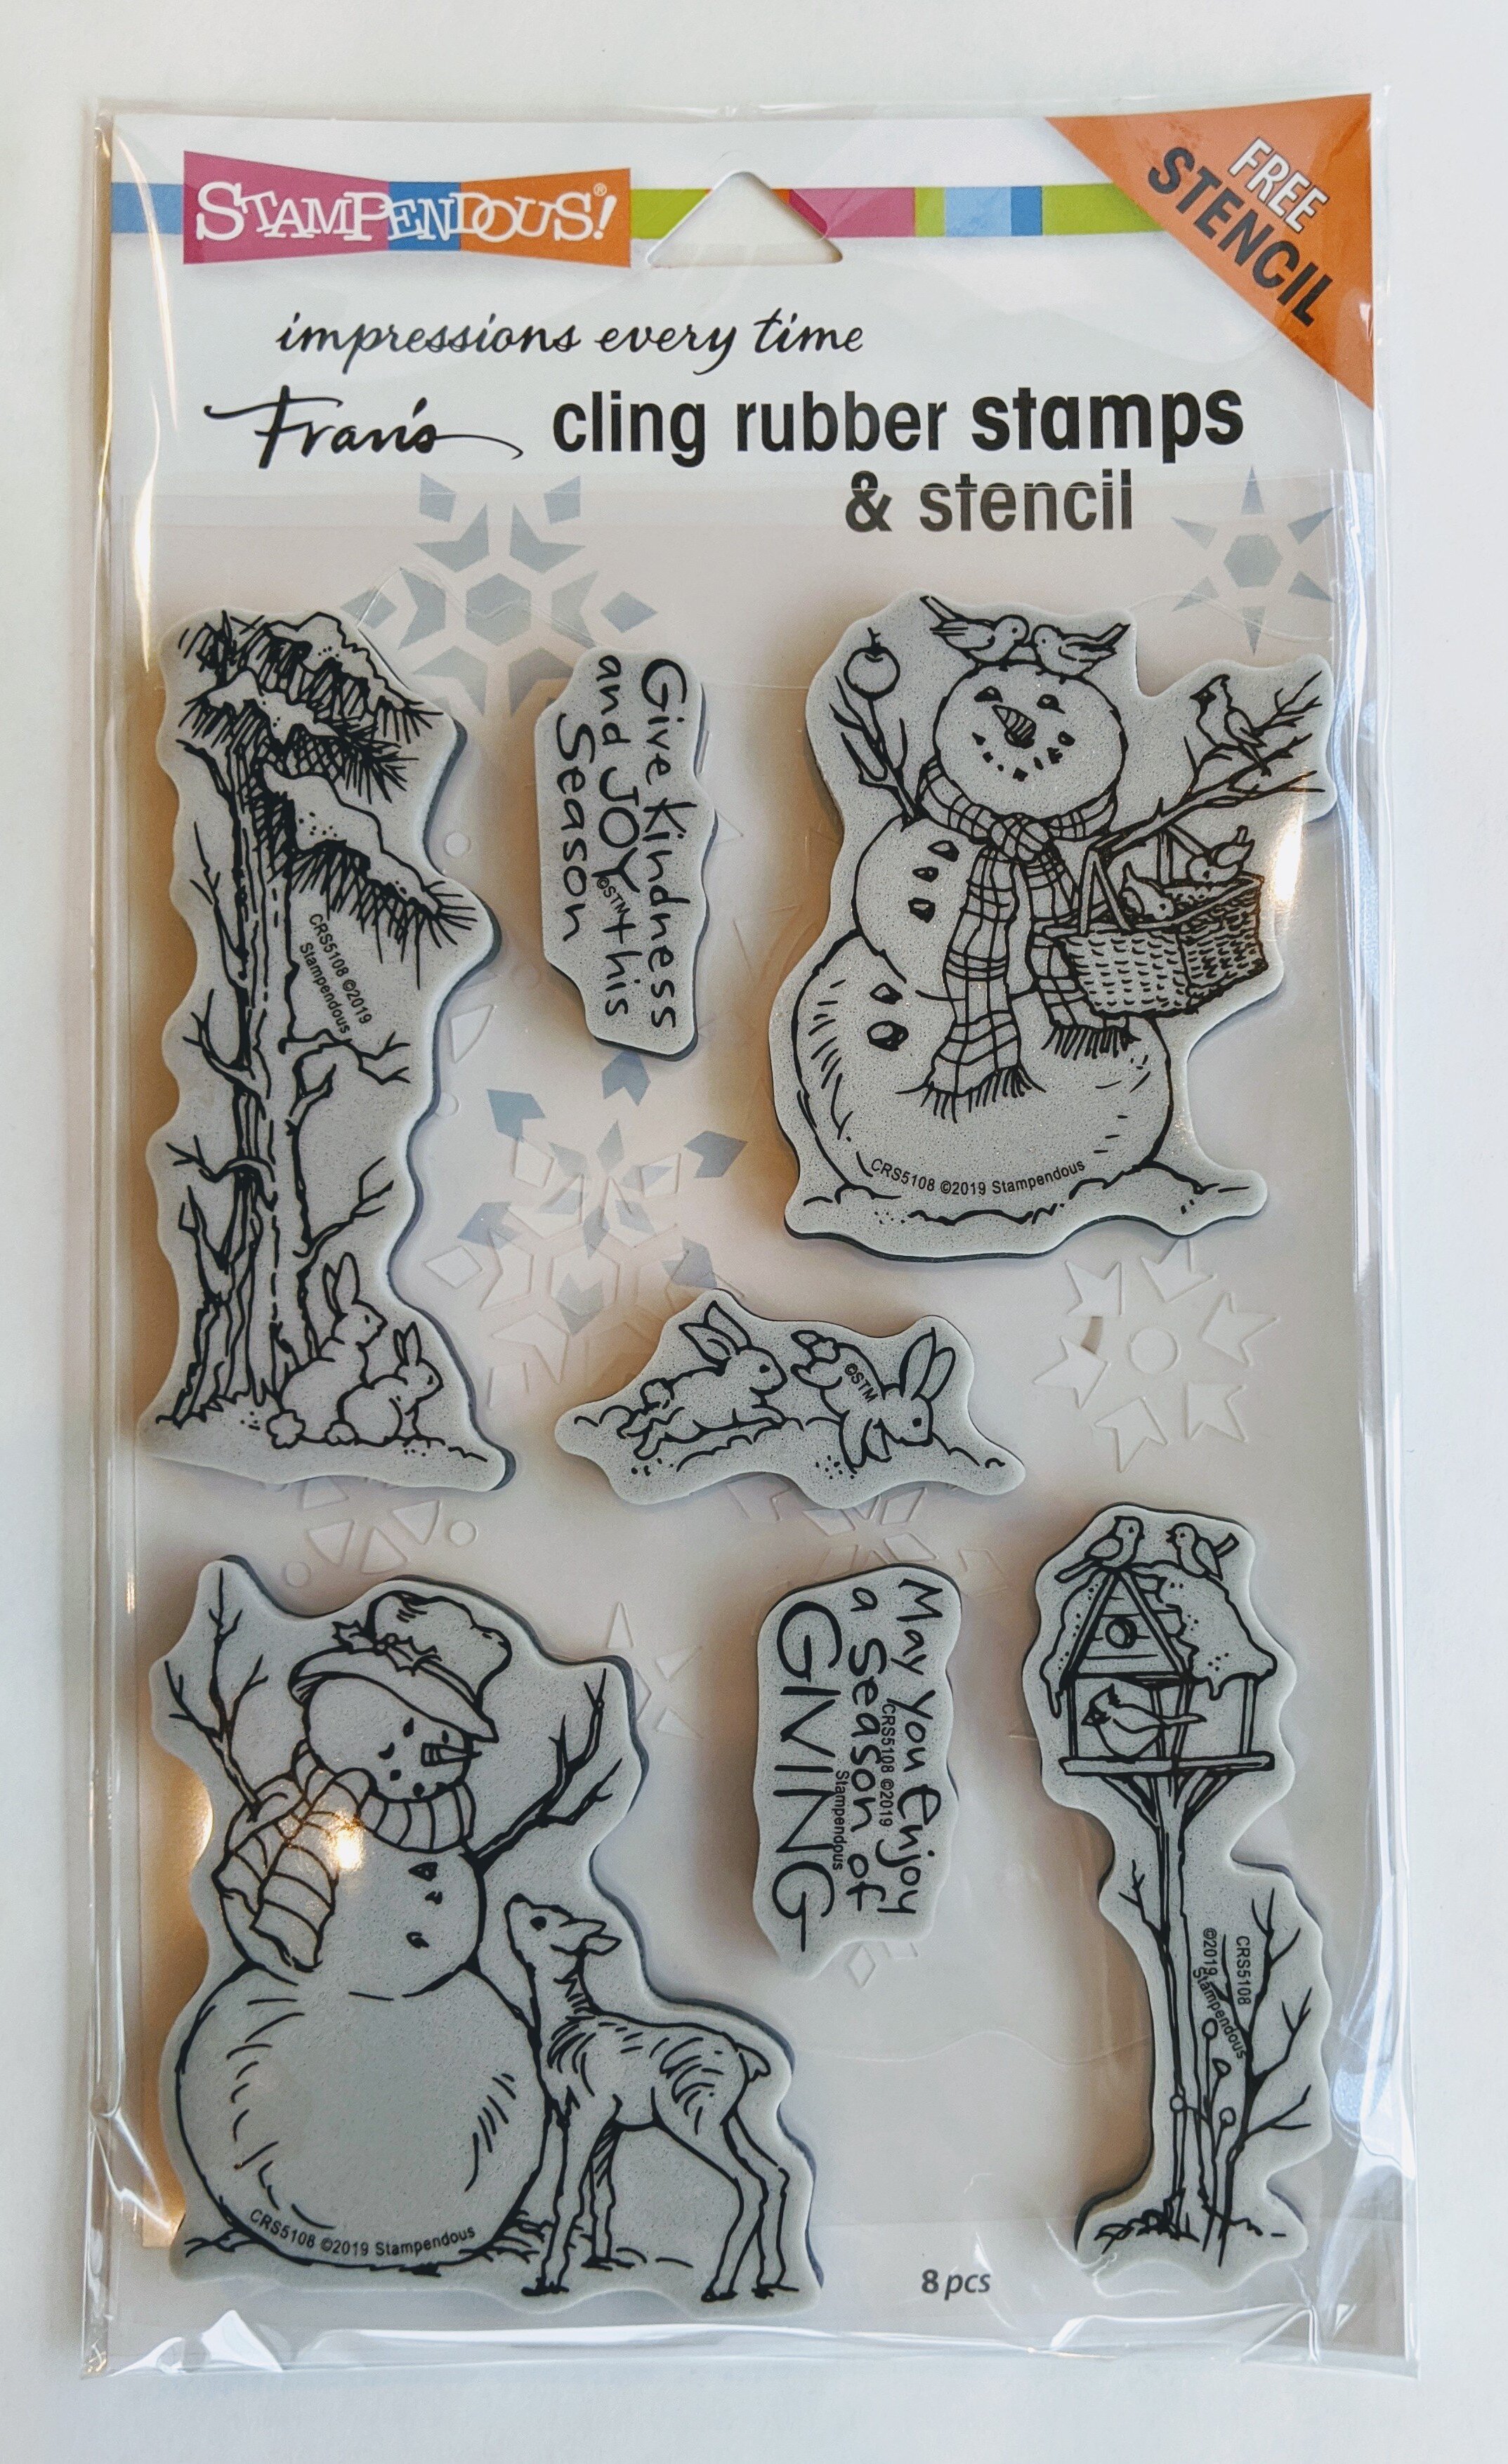
The next card I created was inspired from this ADORABLE stamp set, Giving Snowmen
This Stamp set also comes with a STENCIL for creating the snowflakes and the snowdrift

To make the card:
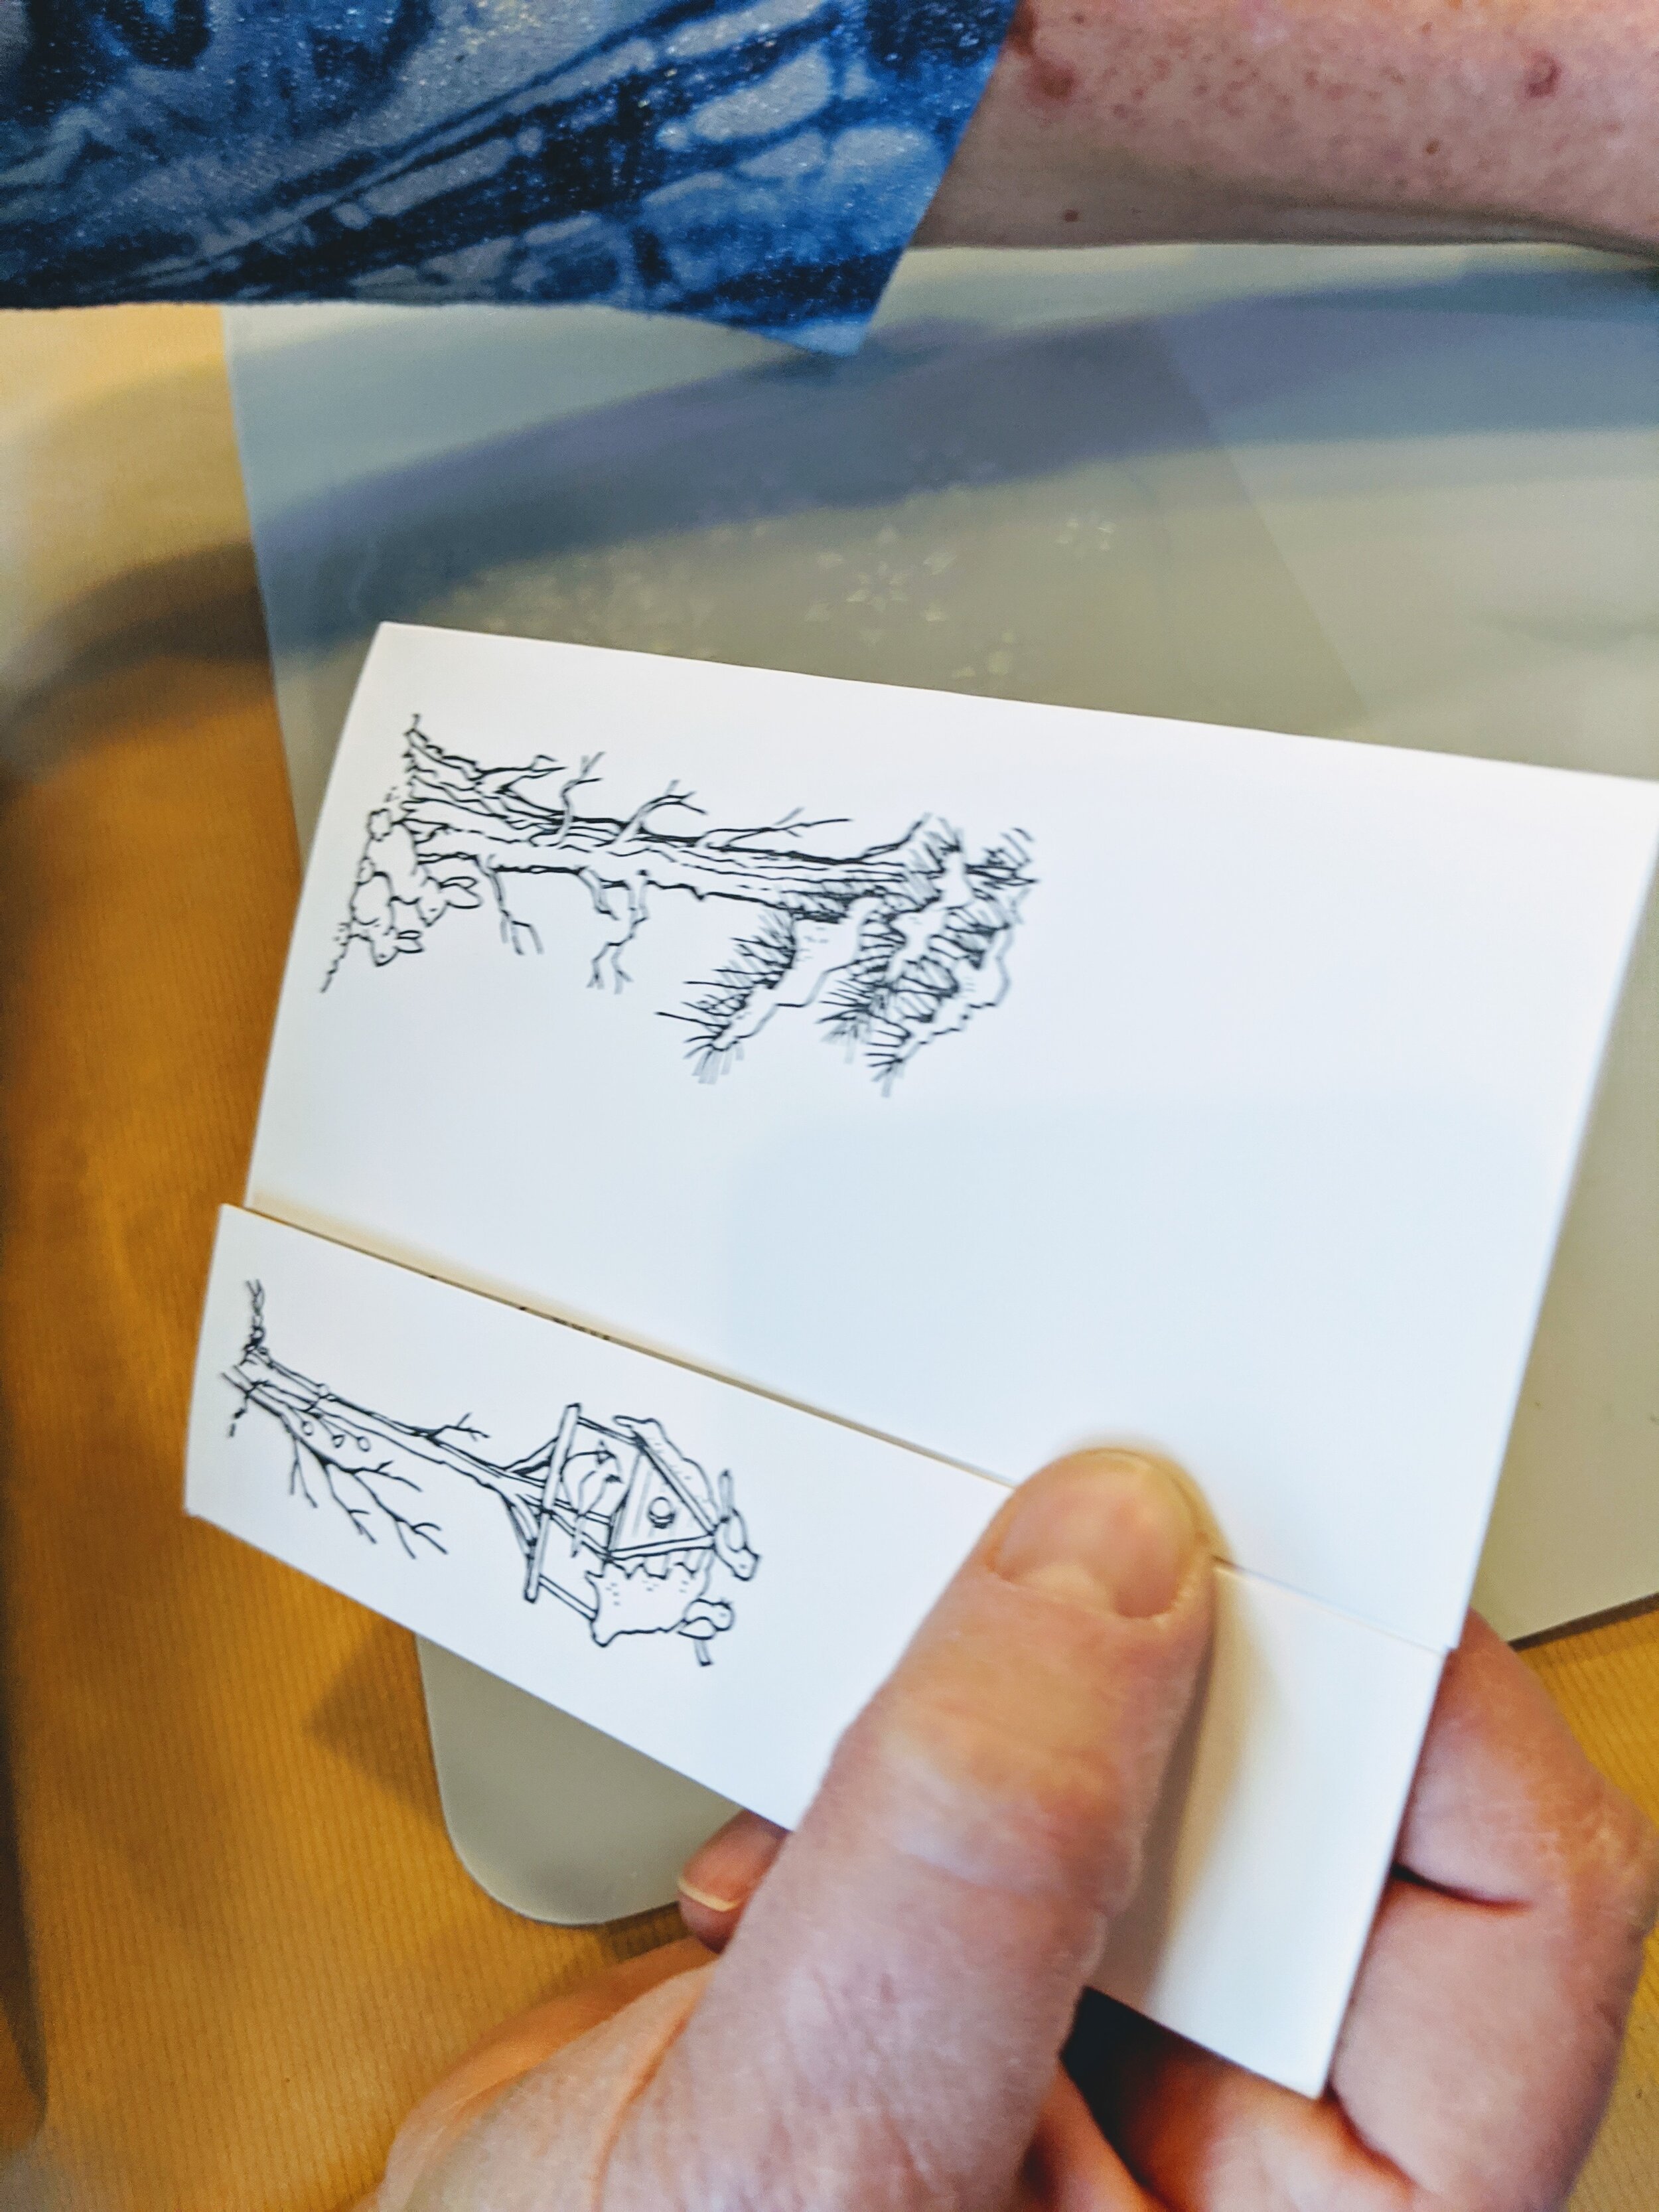
Start out with a half-sheet of Solar White card stock. Score the paper at 1 1/2” and at 2 3/4” (so that when it folds in, it matches up perfectly)
We stamped the Winter Images with Versafine Clair, Nocturne ink
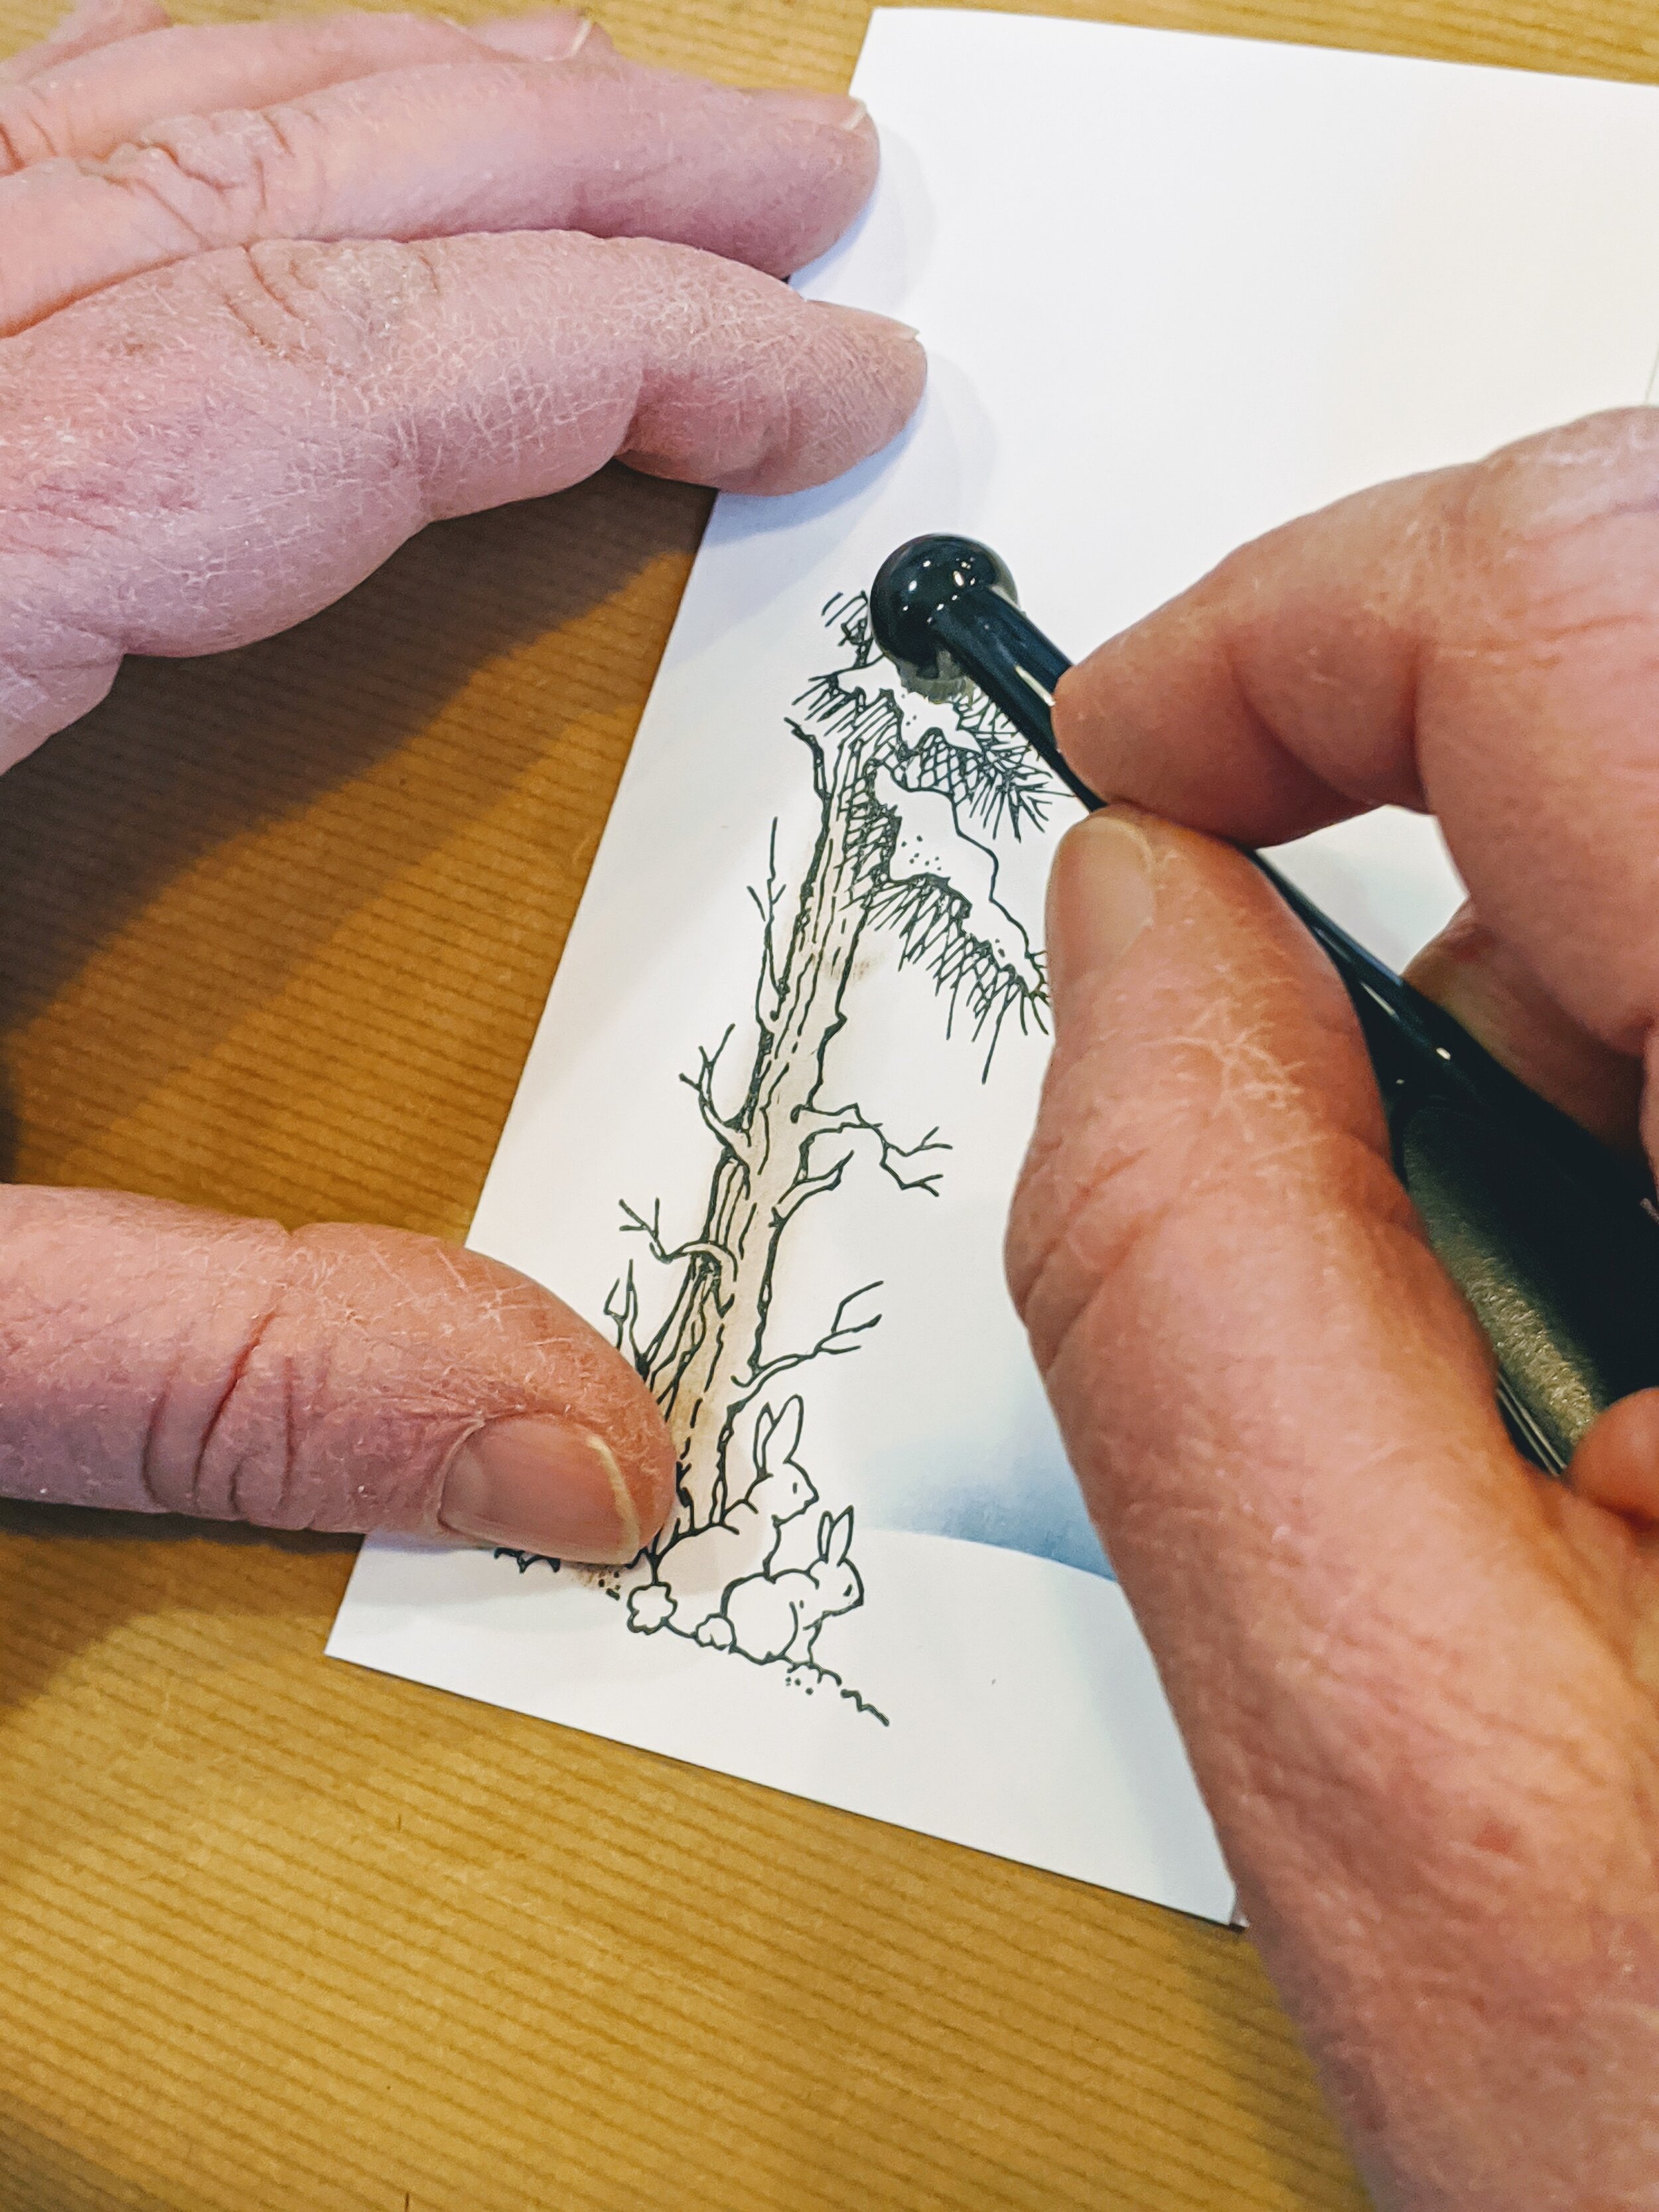
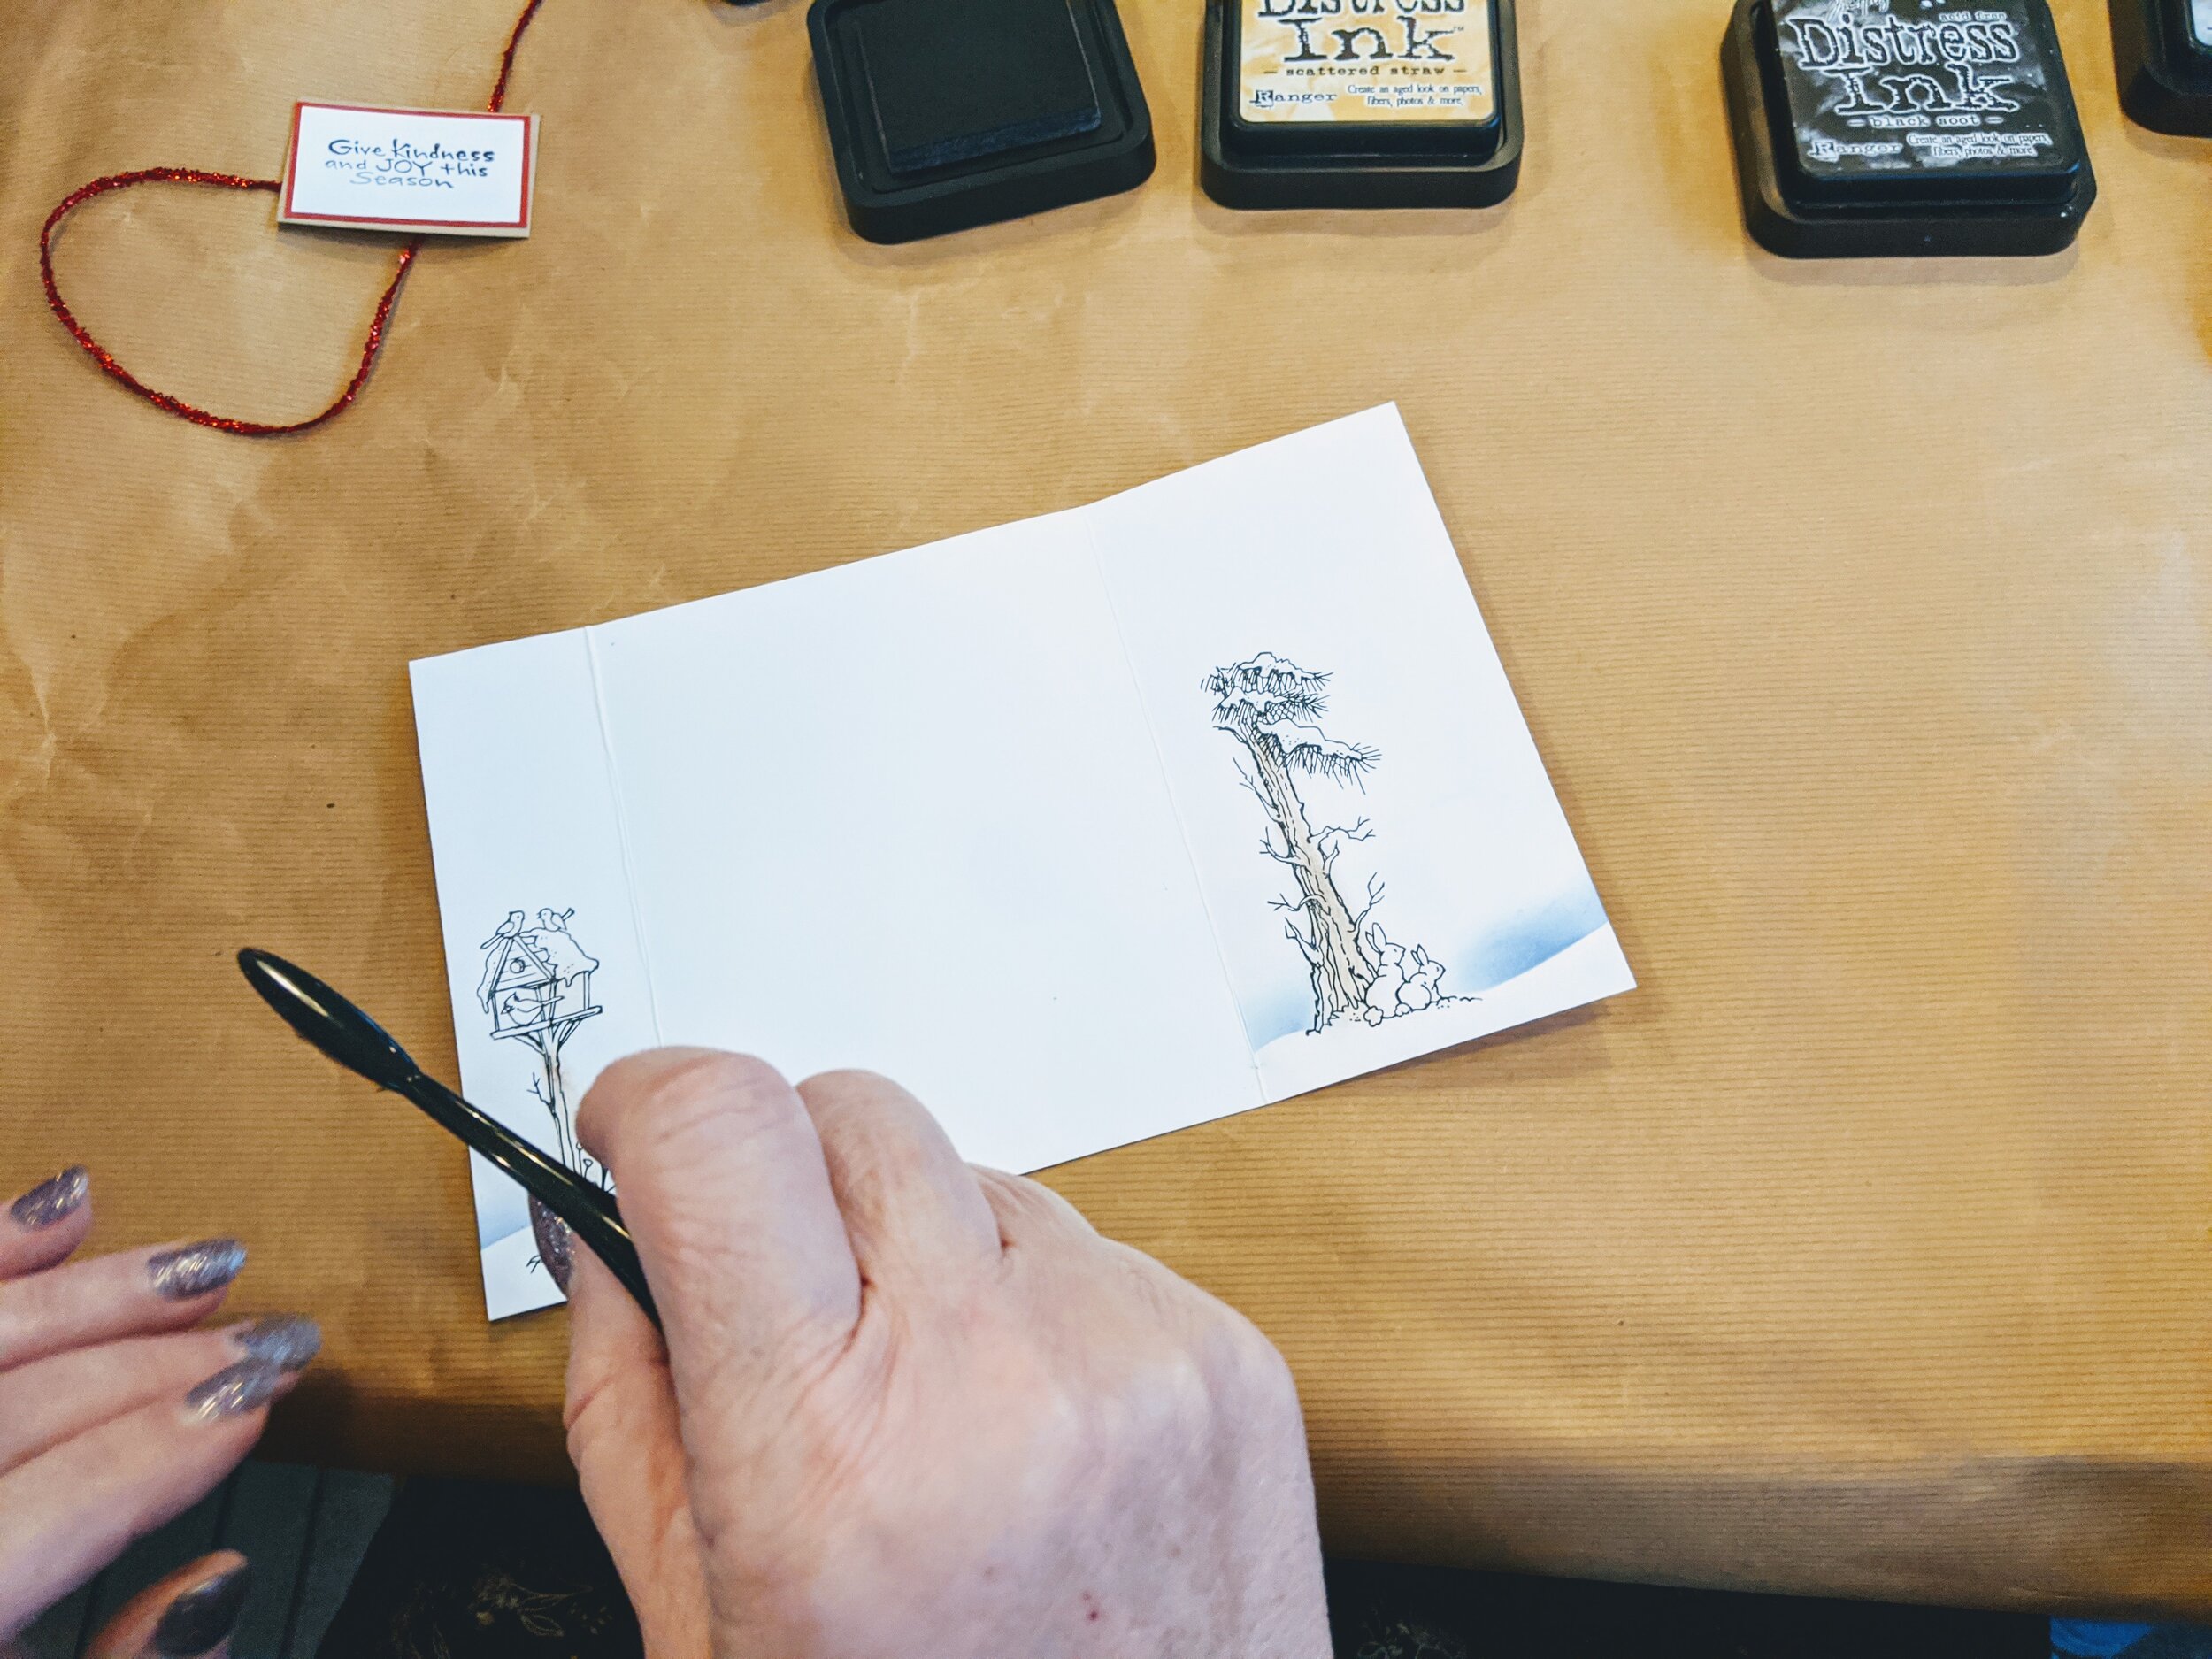
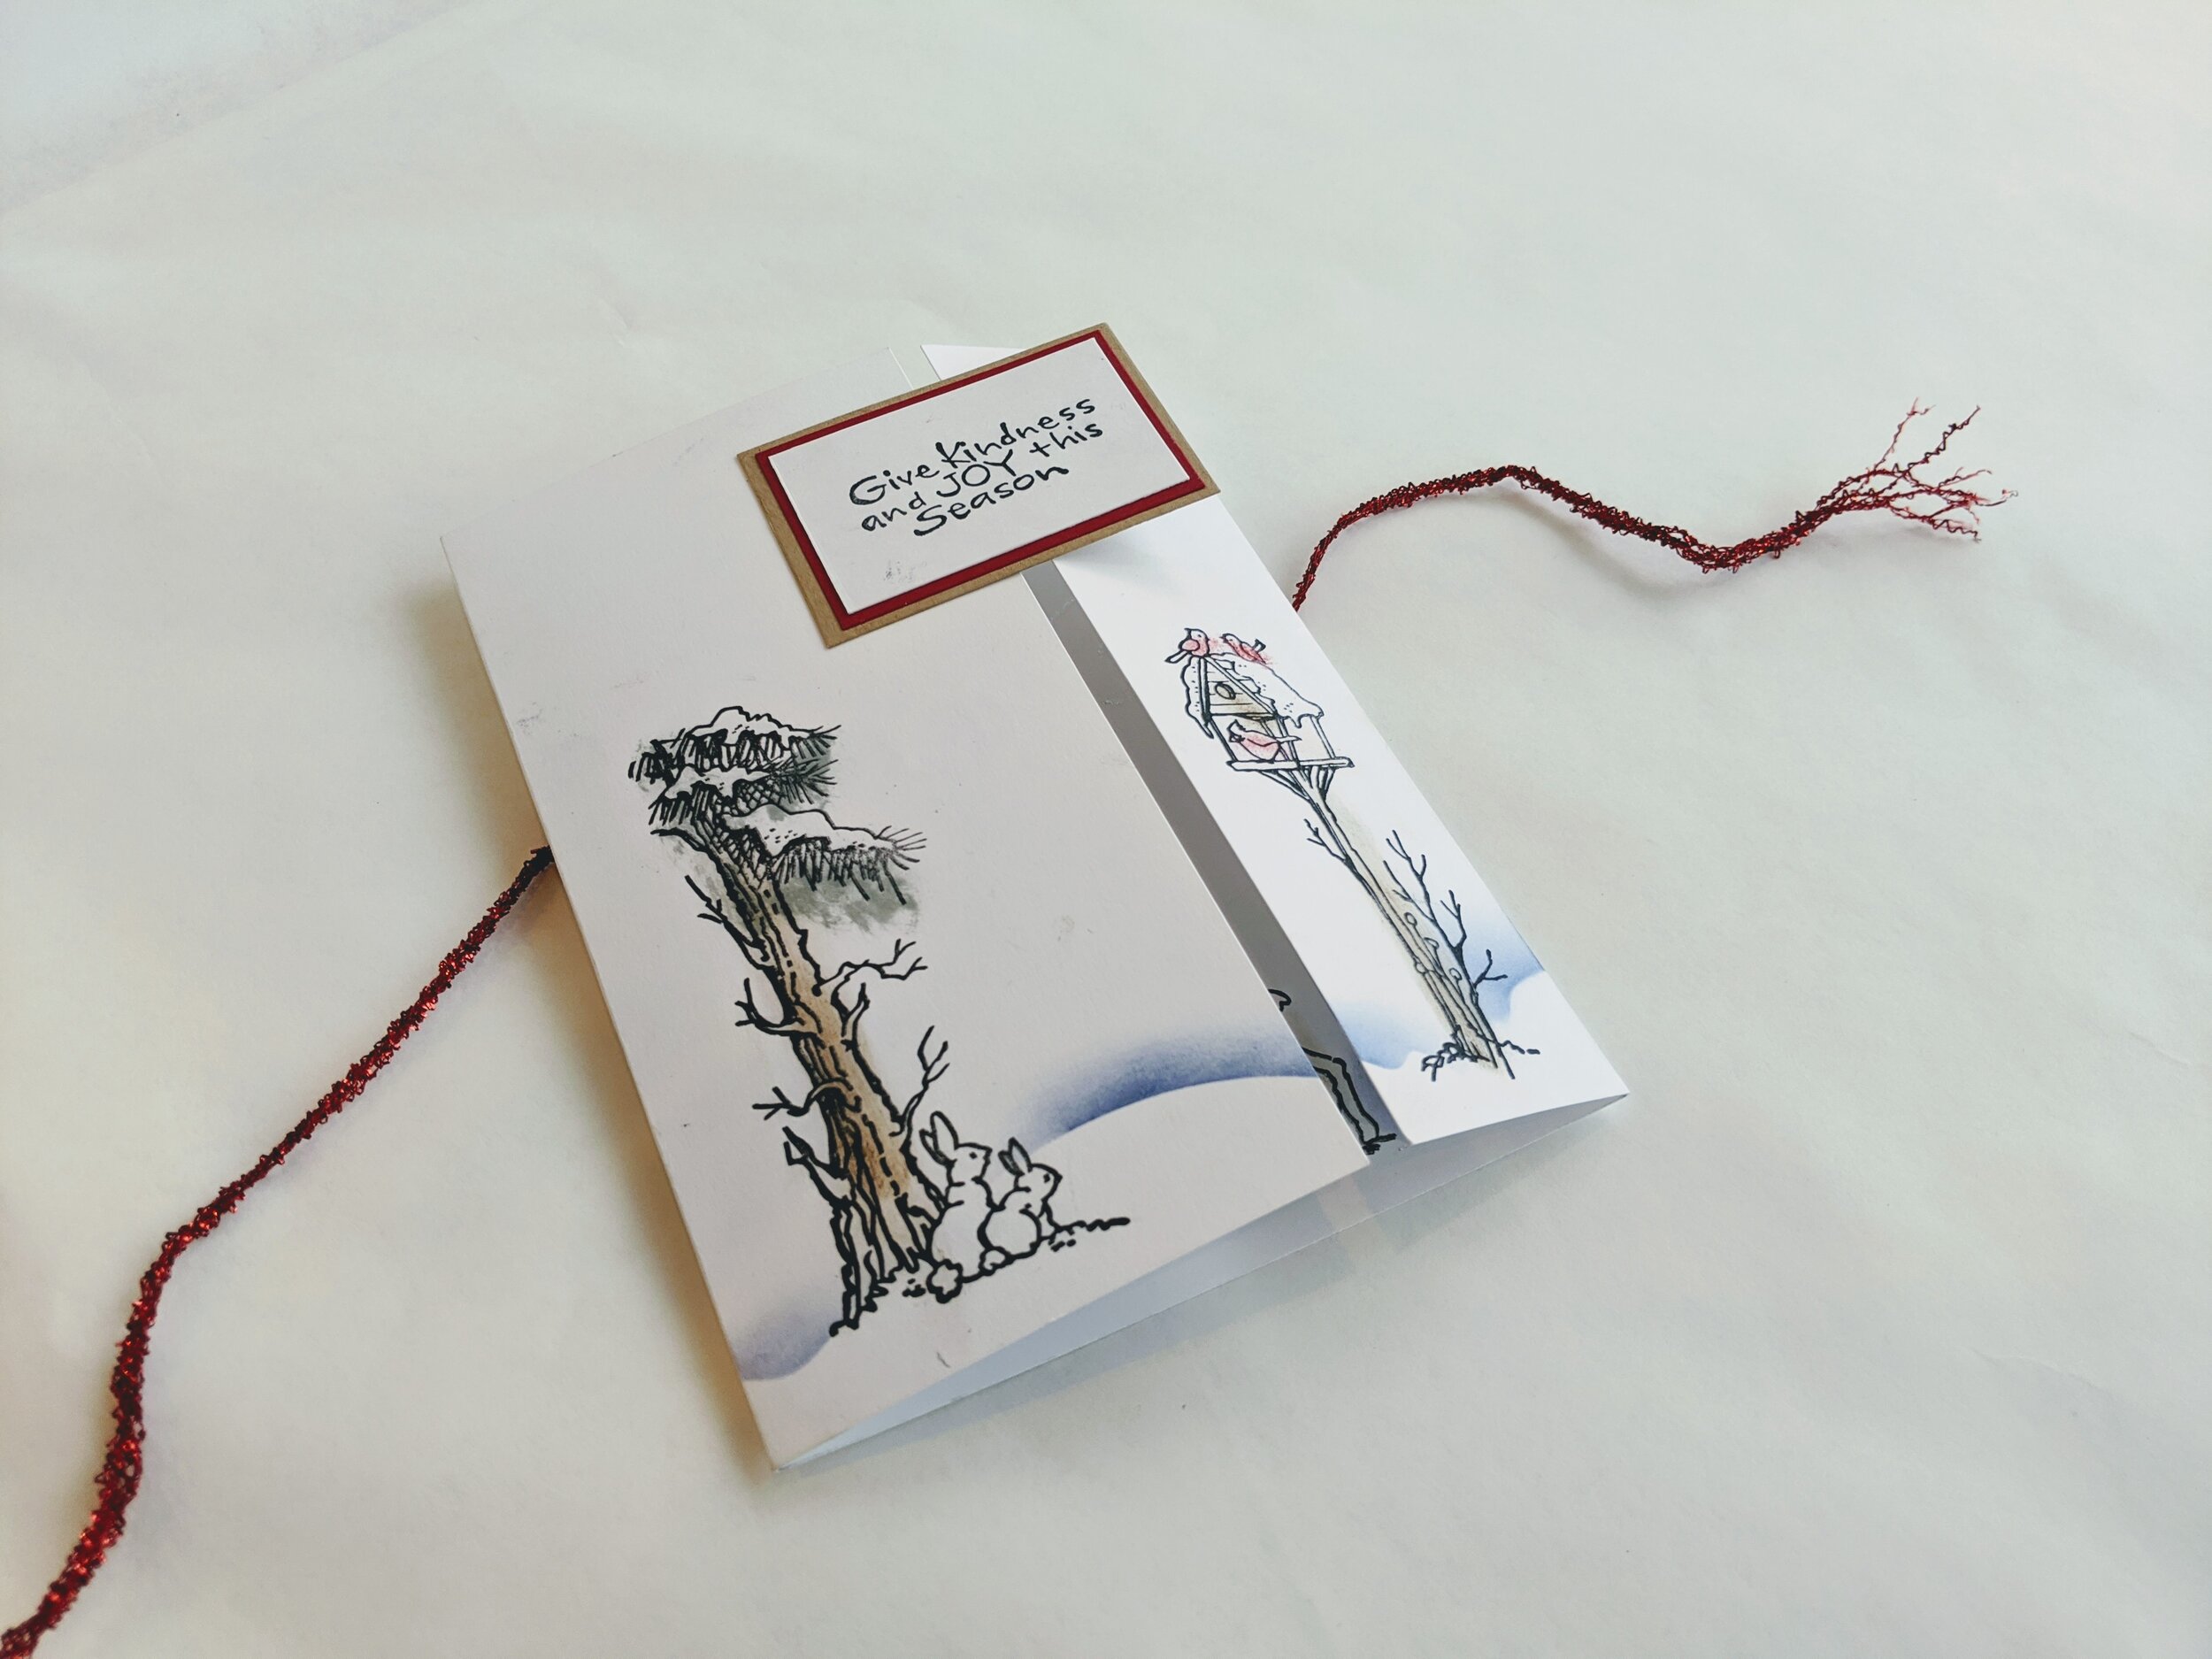
On the outside of the card, we stamped the Tree/Bunny image on the left panel and the Birdhouse on the right panel.
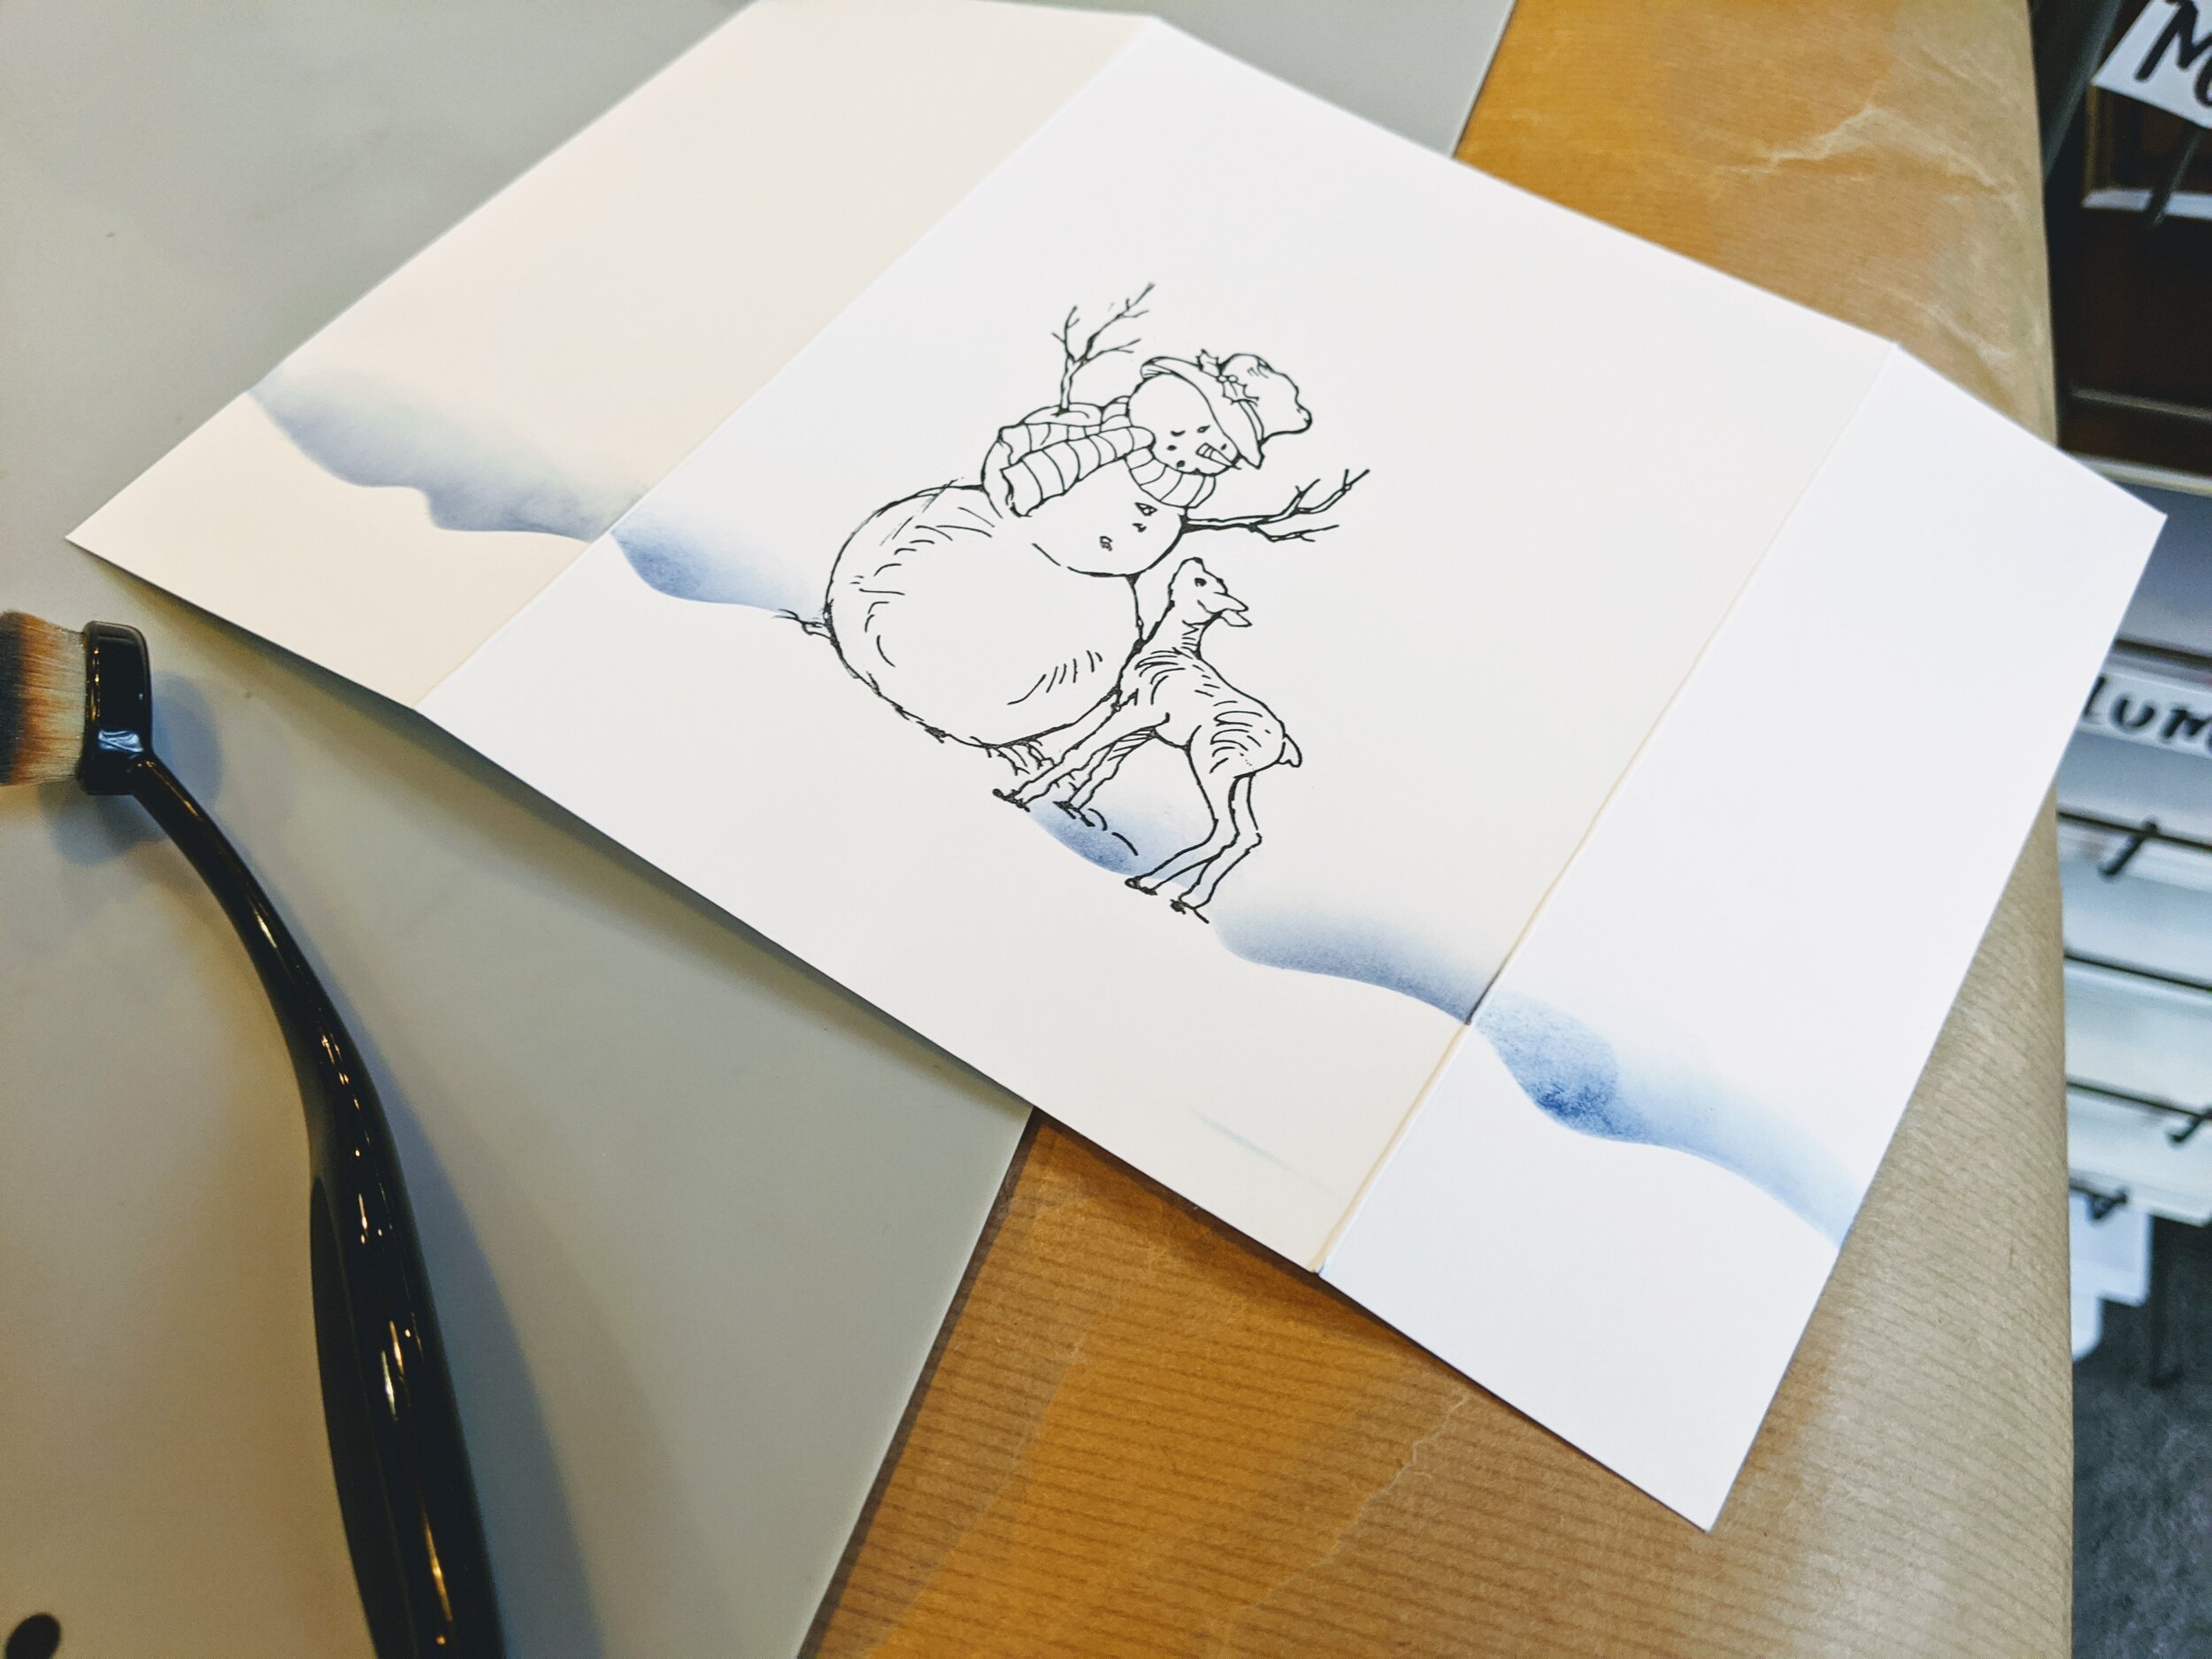
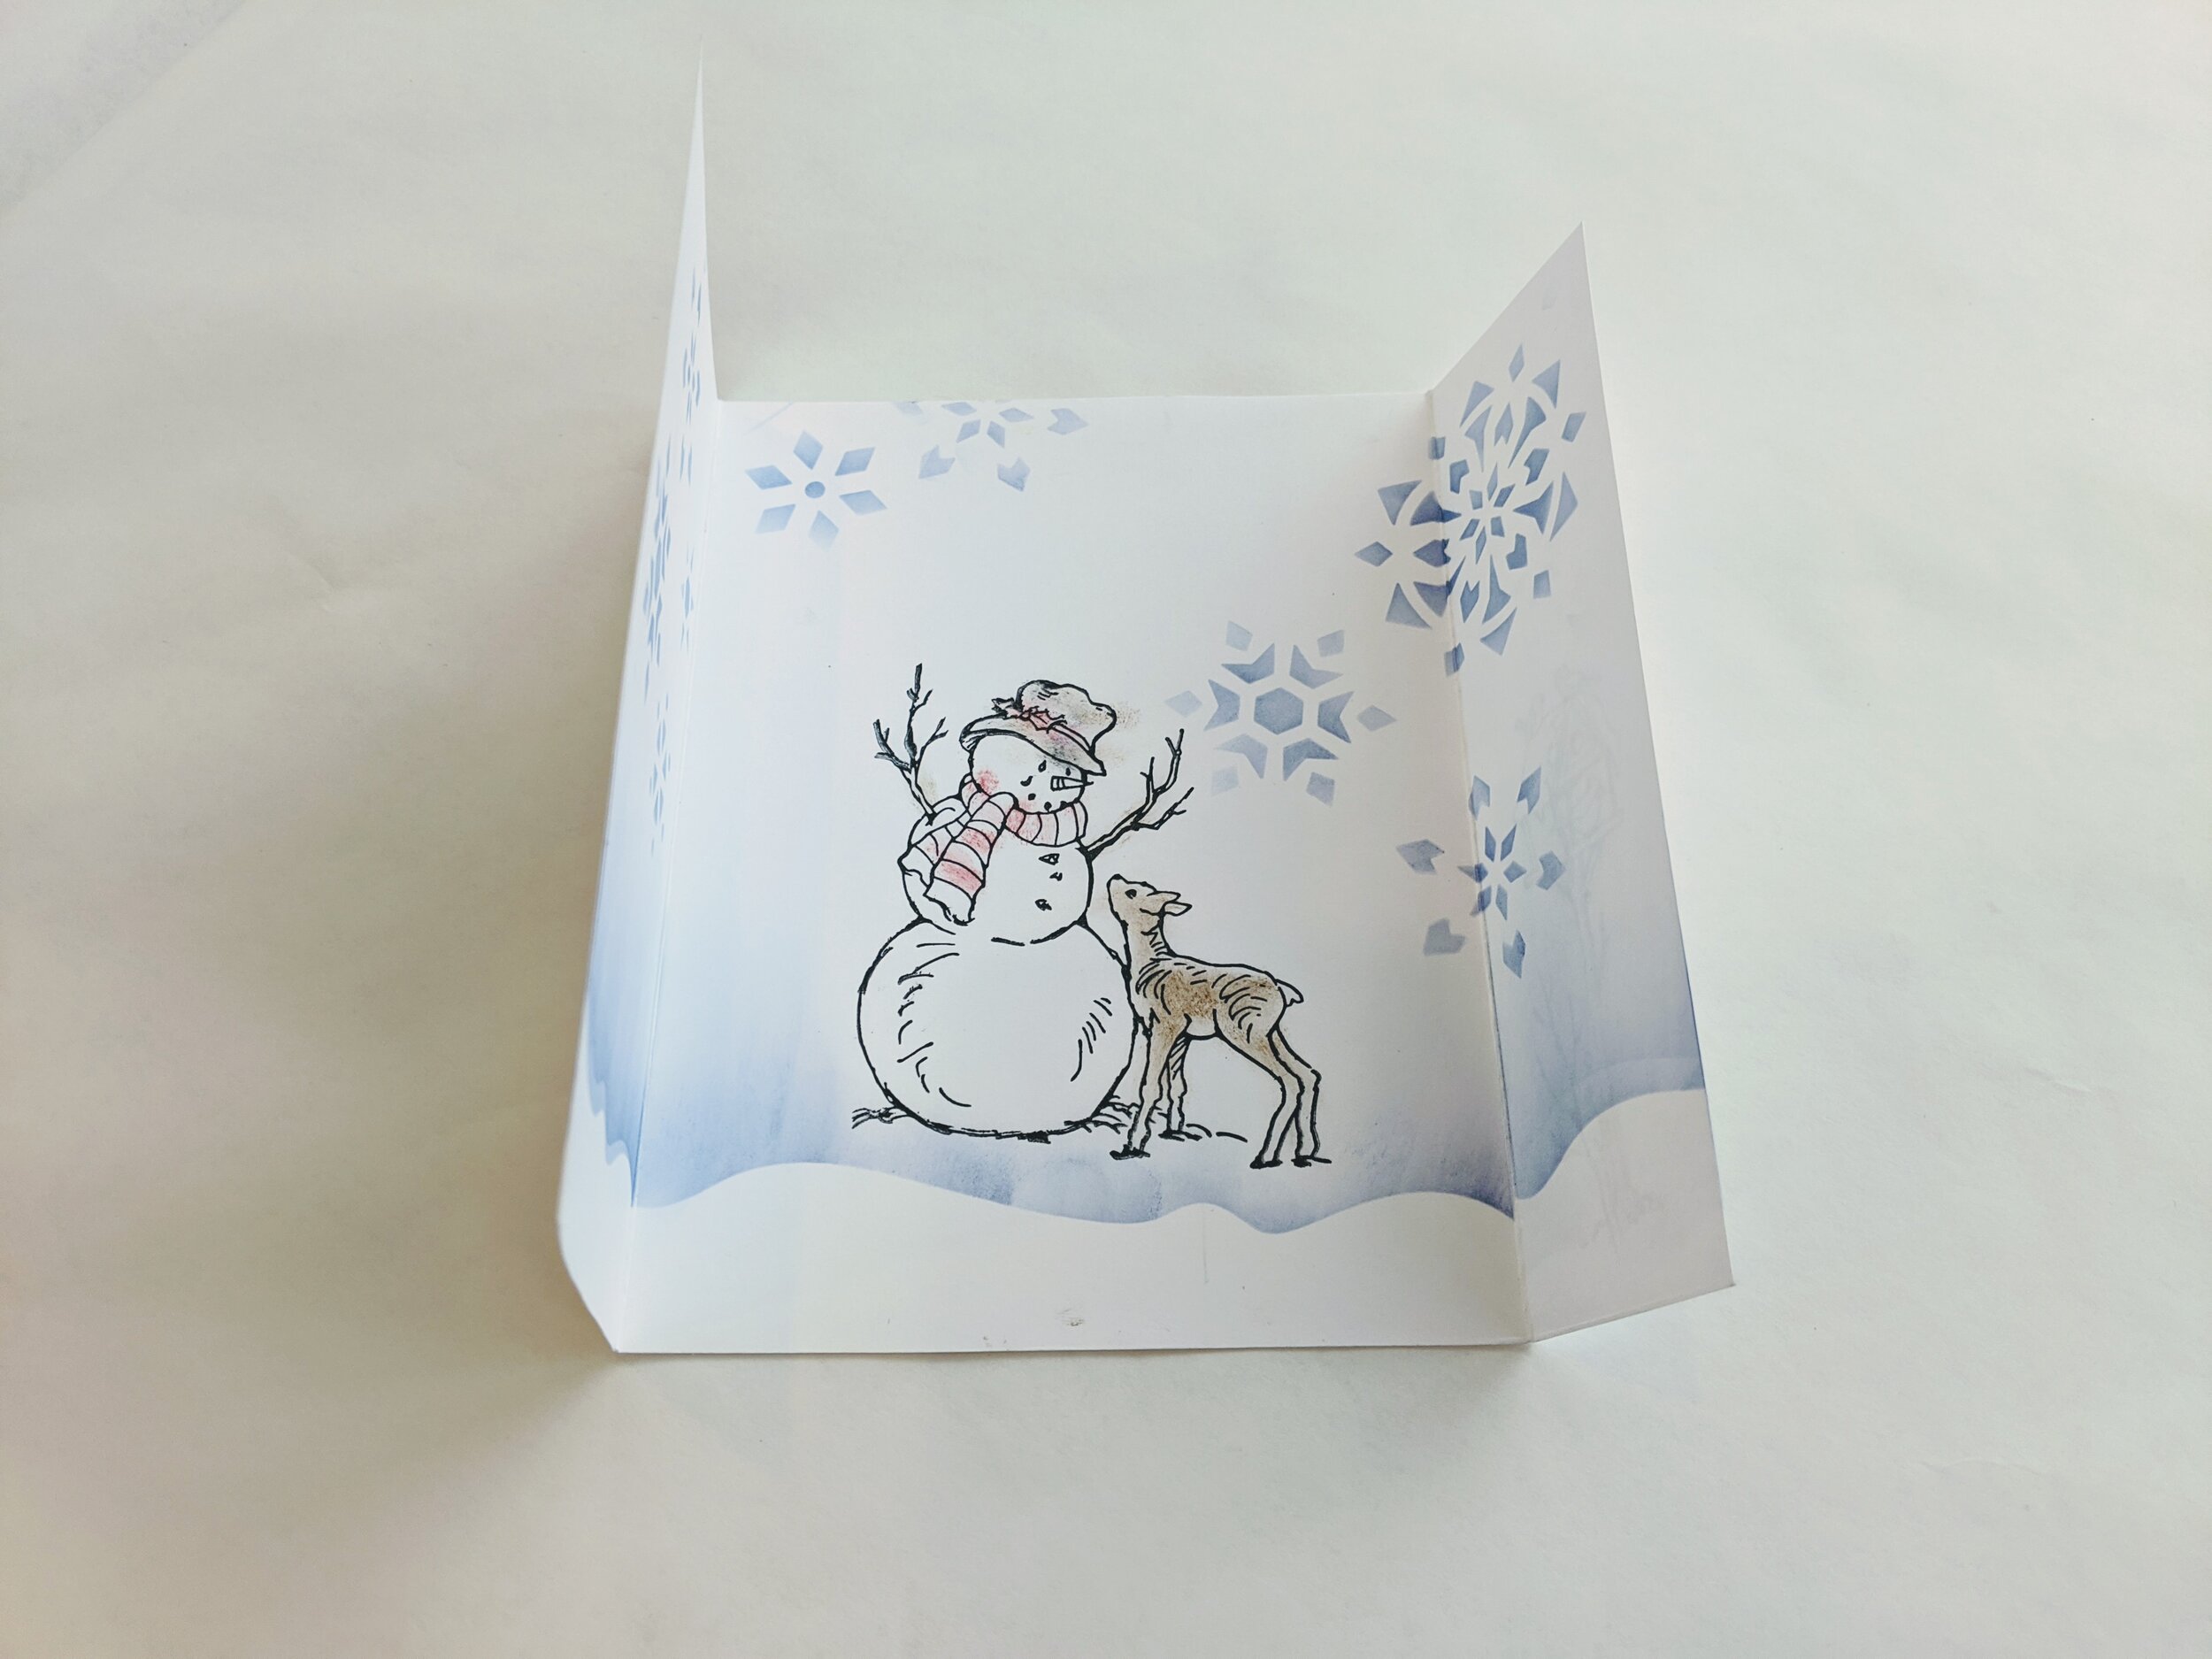
On the inside of the card, we stamped the snowman with the deer
Then, we used the snowdrift stencil, the Chipped Sapphire ink pad, and a large Picket Fence Blending Brush to apply a VERY soft layer of ink. When you tuck card behind the snowdrift you end up with WHITE SNOW and a light blue sky behind the snowman
The snowdrift stencil also has snowflakes!! We used the Picket Fence Blending Brushes to apply Distress Ink, Chipped Sapphire over the snowflakes so they transferred onto the paper. We put snowflakes all over the inside!!
We used the Picket Fence Small Blending Brushes and Distress Inks to do a “faux watercolor” on the stamped images. NO WATER REQUIRED. Just pick up the color with one of the small blending brushes and apply a soft color of ink (green for the trees, red for the birds, etc)
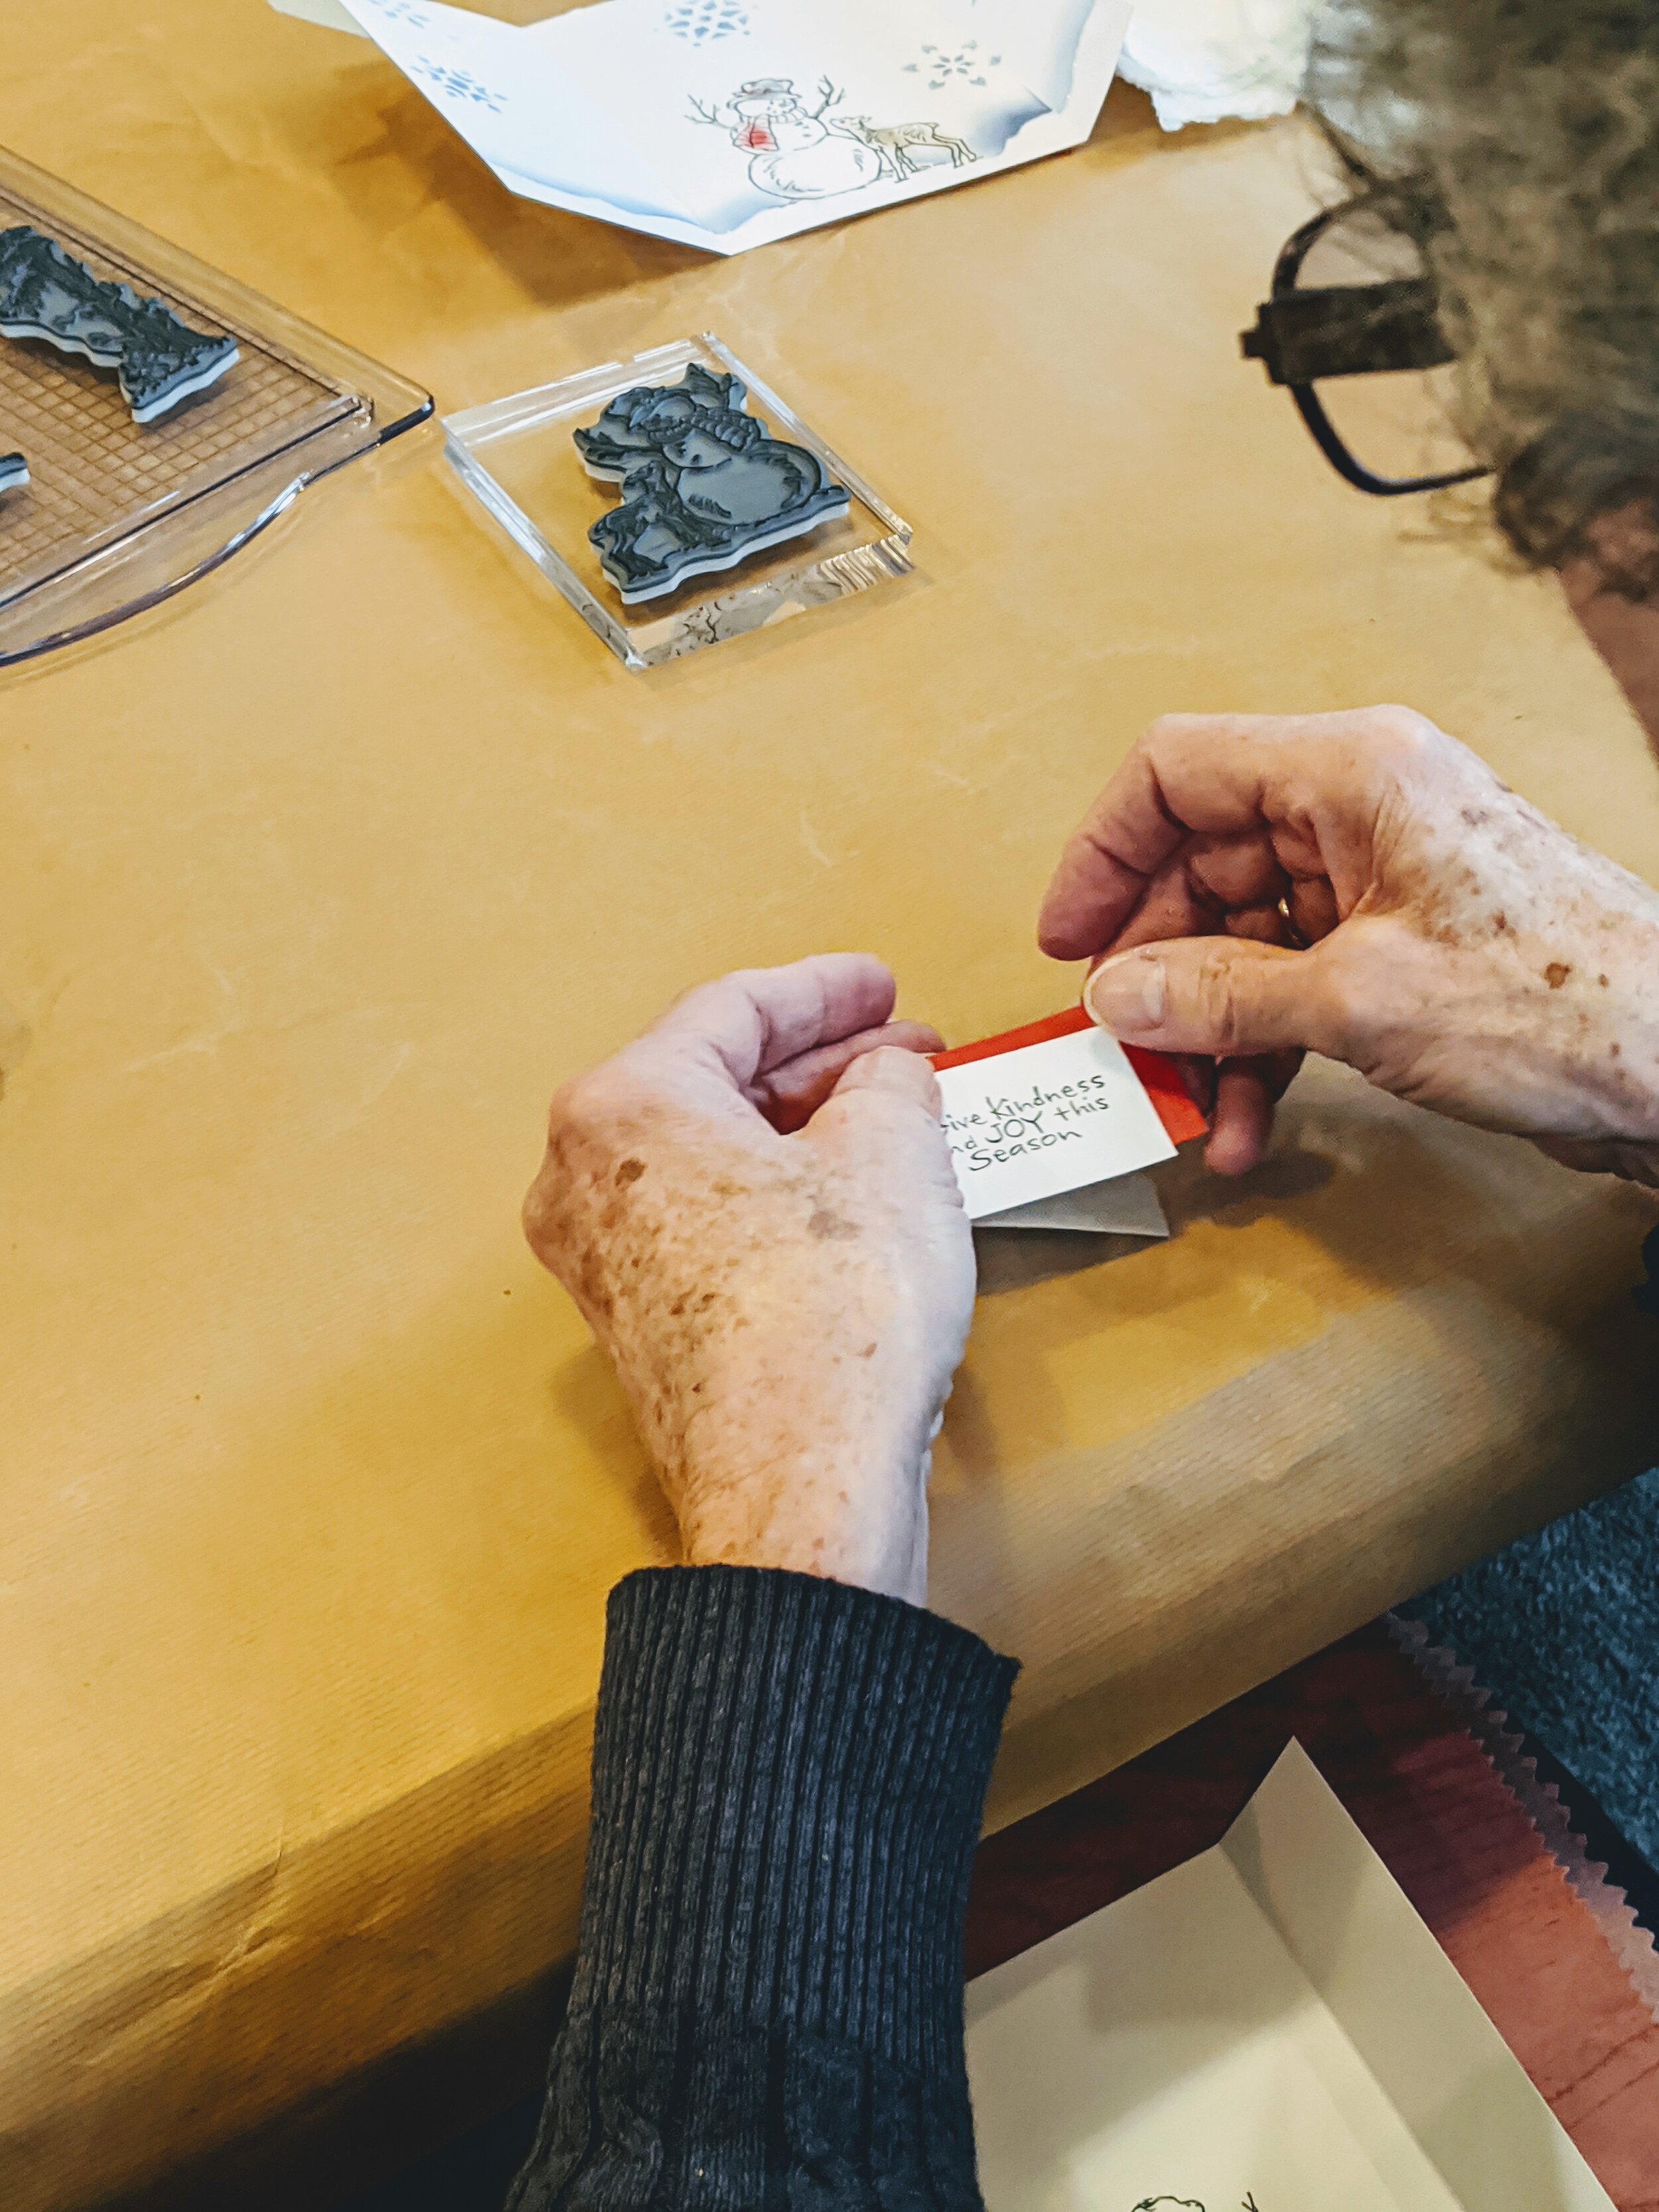
Then we stamped the sentiment on solar white paper and layered with the red paper. On the front of the card, we adhered the sentiment on the LEFT hand panel only.
Then, we wrapped a piece of glittery red ribbon around the front of the card and tied it in a bow!
Look how fun (and adorable!!) this card is!!!
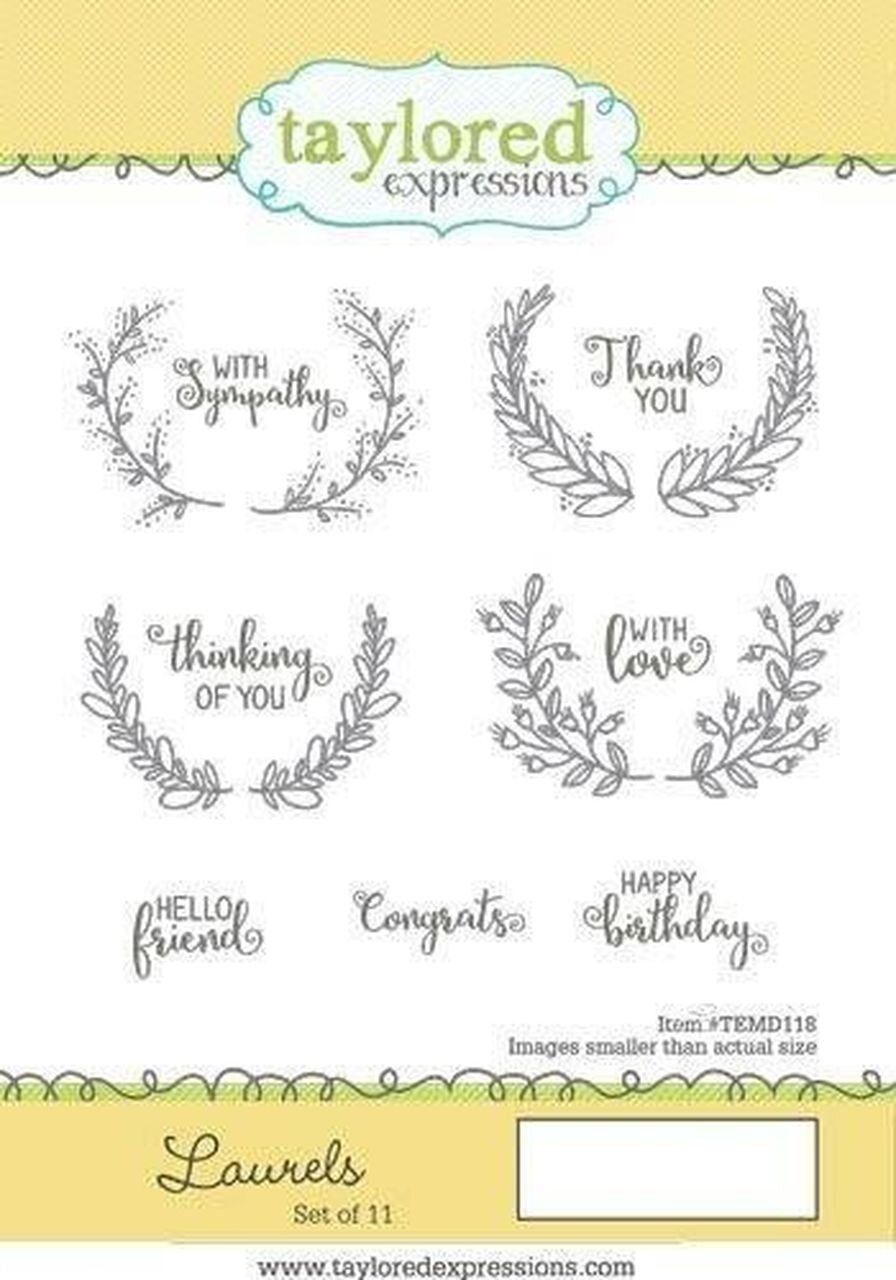
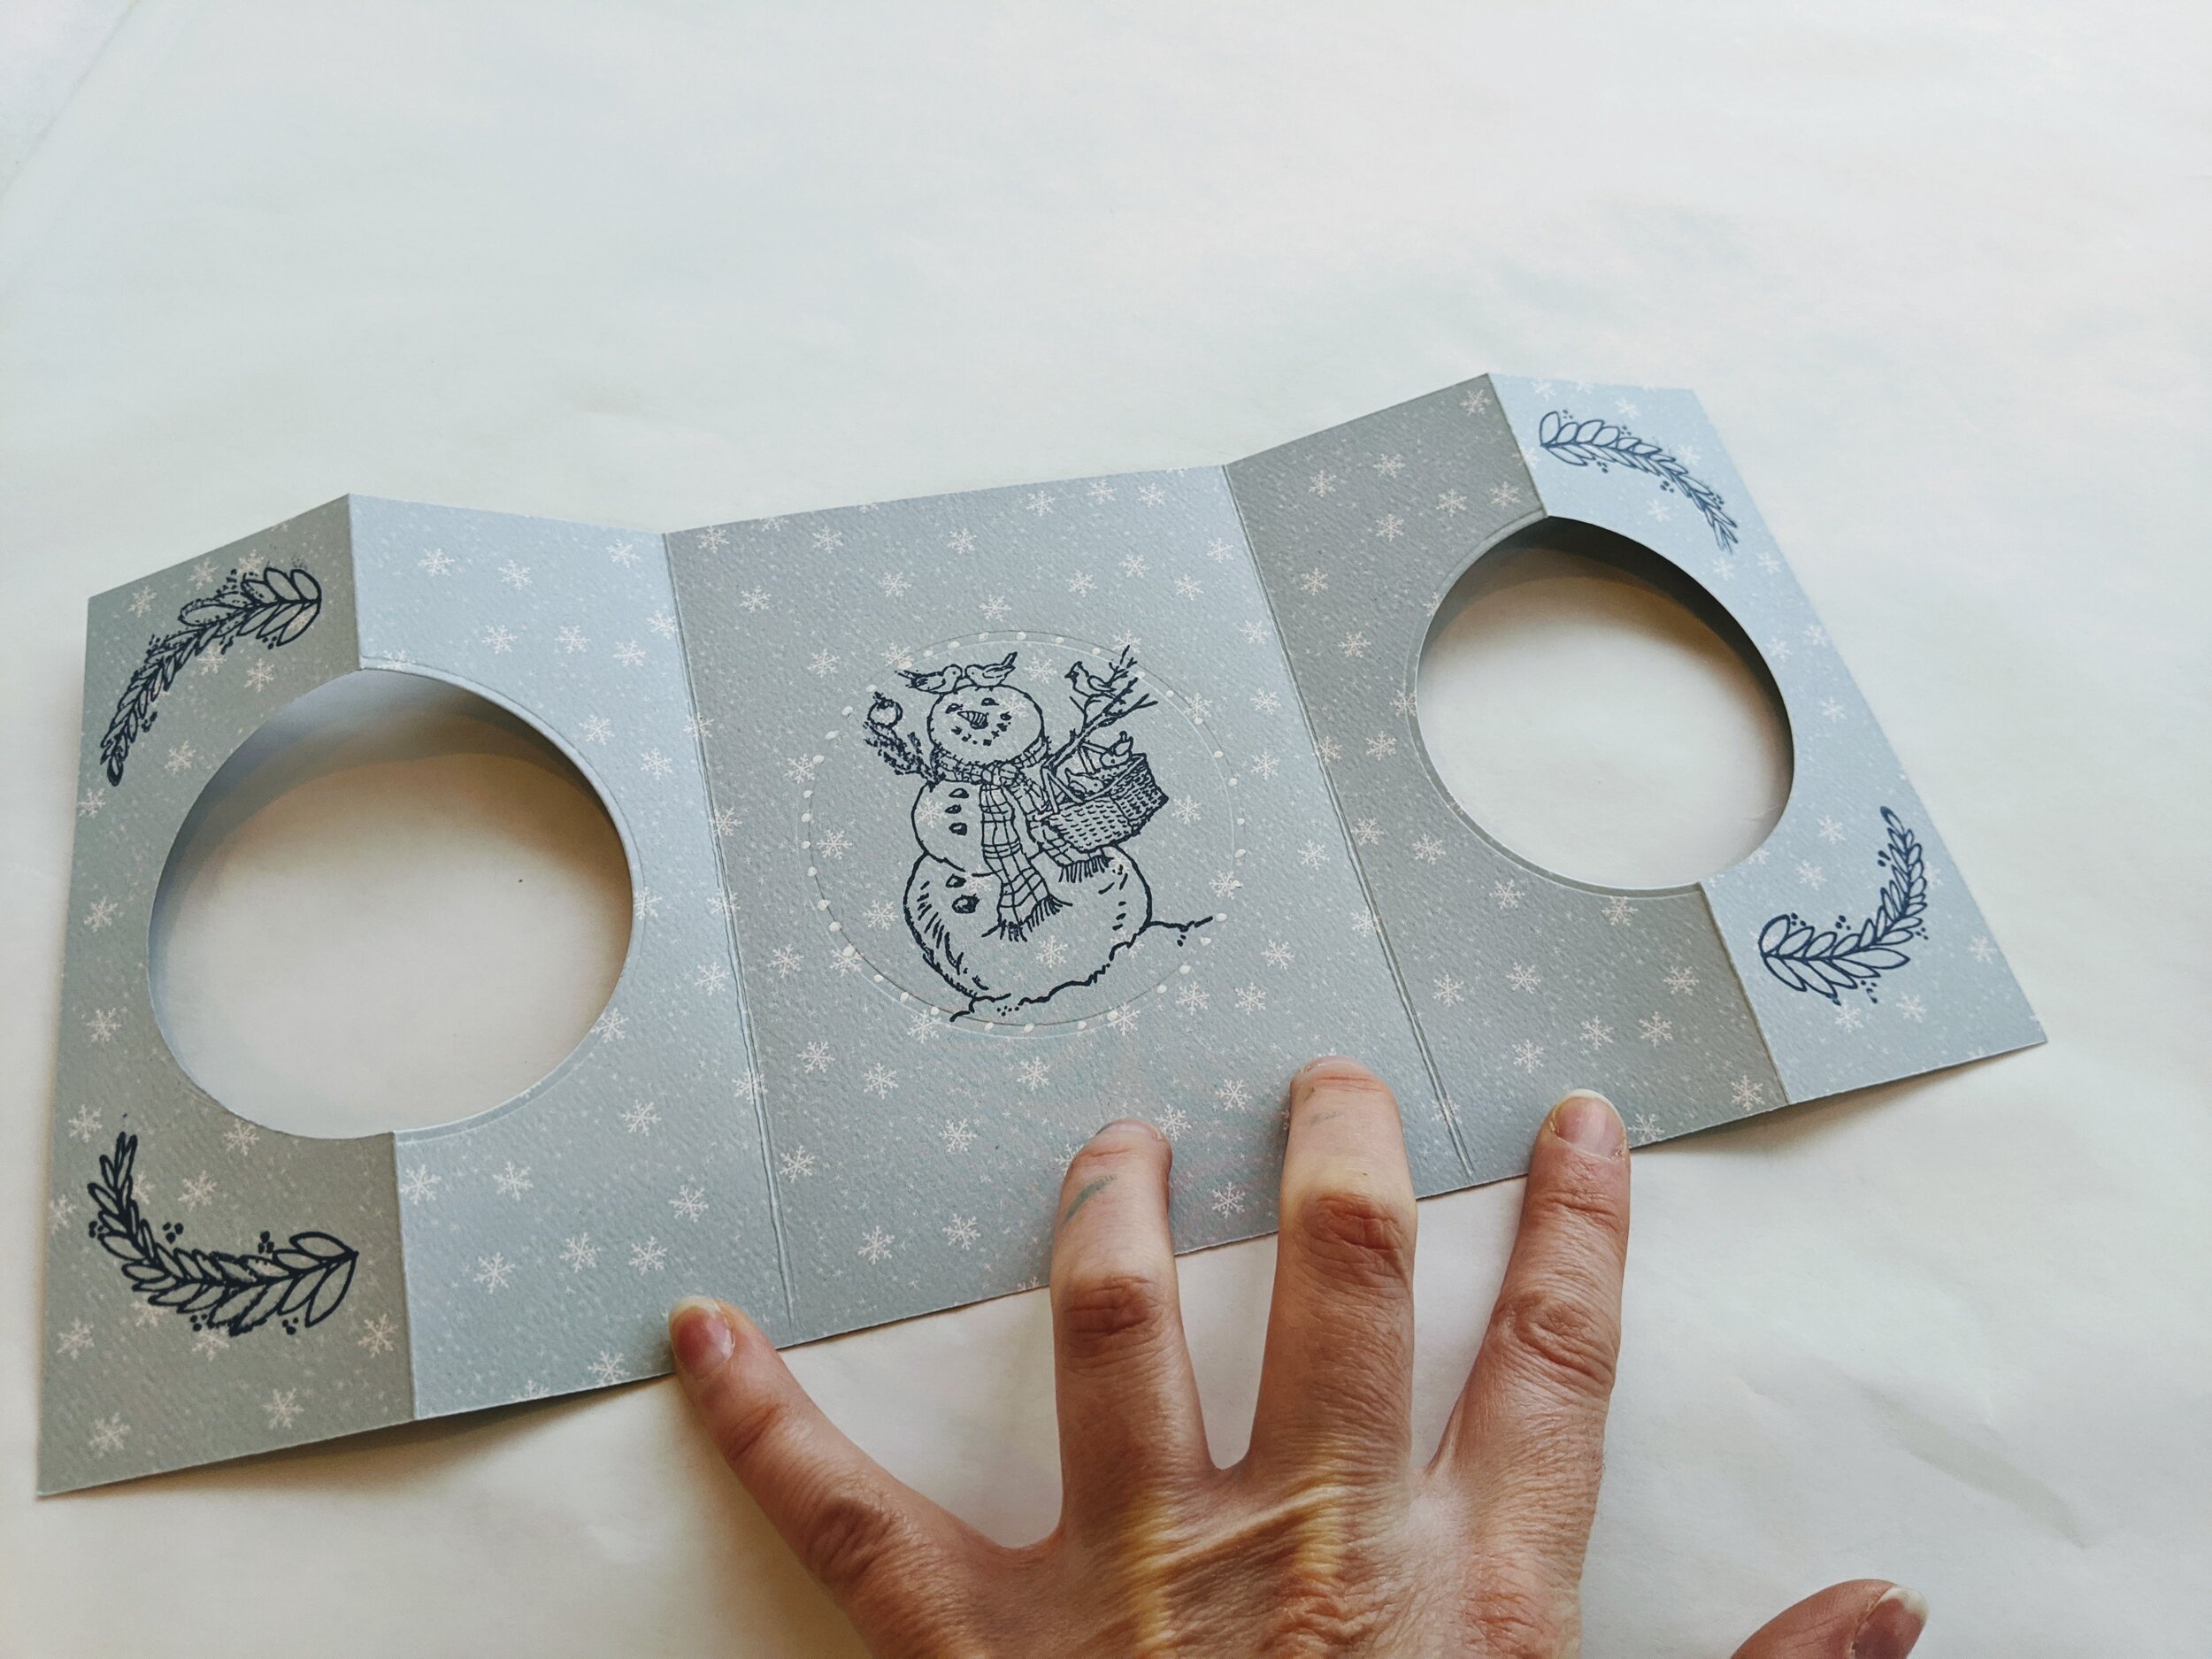
The next card I designed was ALSO inspired from the Stampendous Giving Snowman stamp set as well as this AMAZING Taylored Expressions stamp set, Laurels
To make this card:
Start out with a piece of 12” x 12” paper and cut it down to size (5 1/2” x 12”)
Score the card at 2”, 4”, 8” and 10”
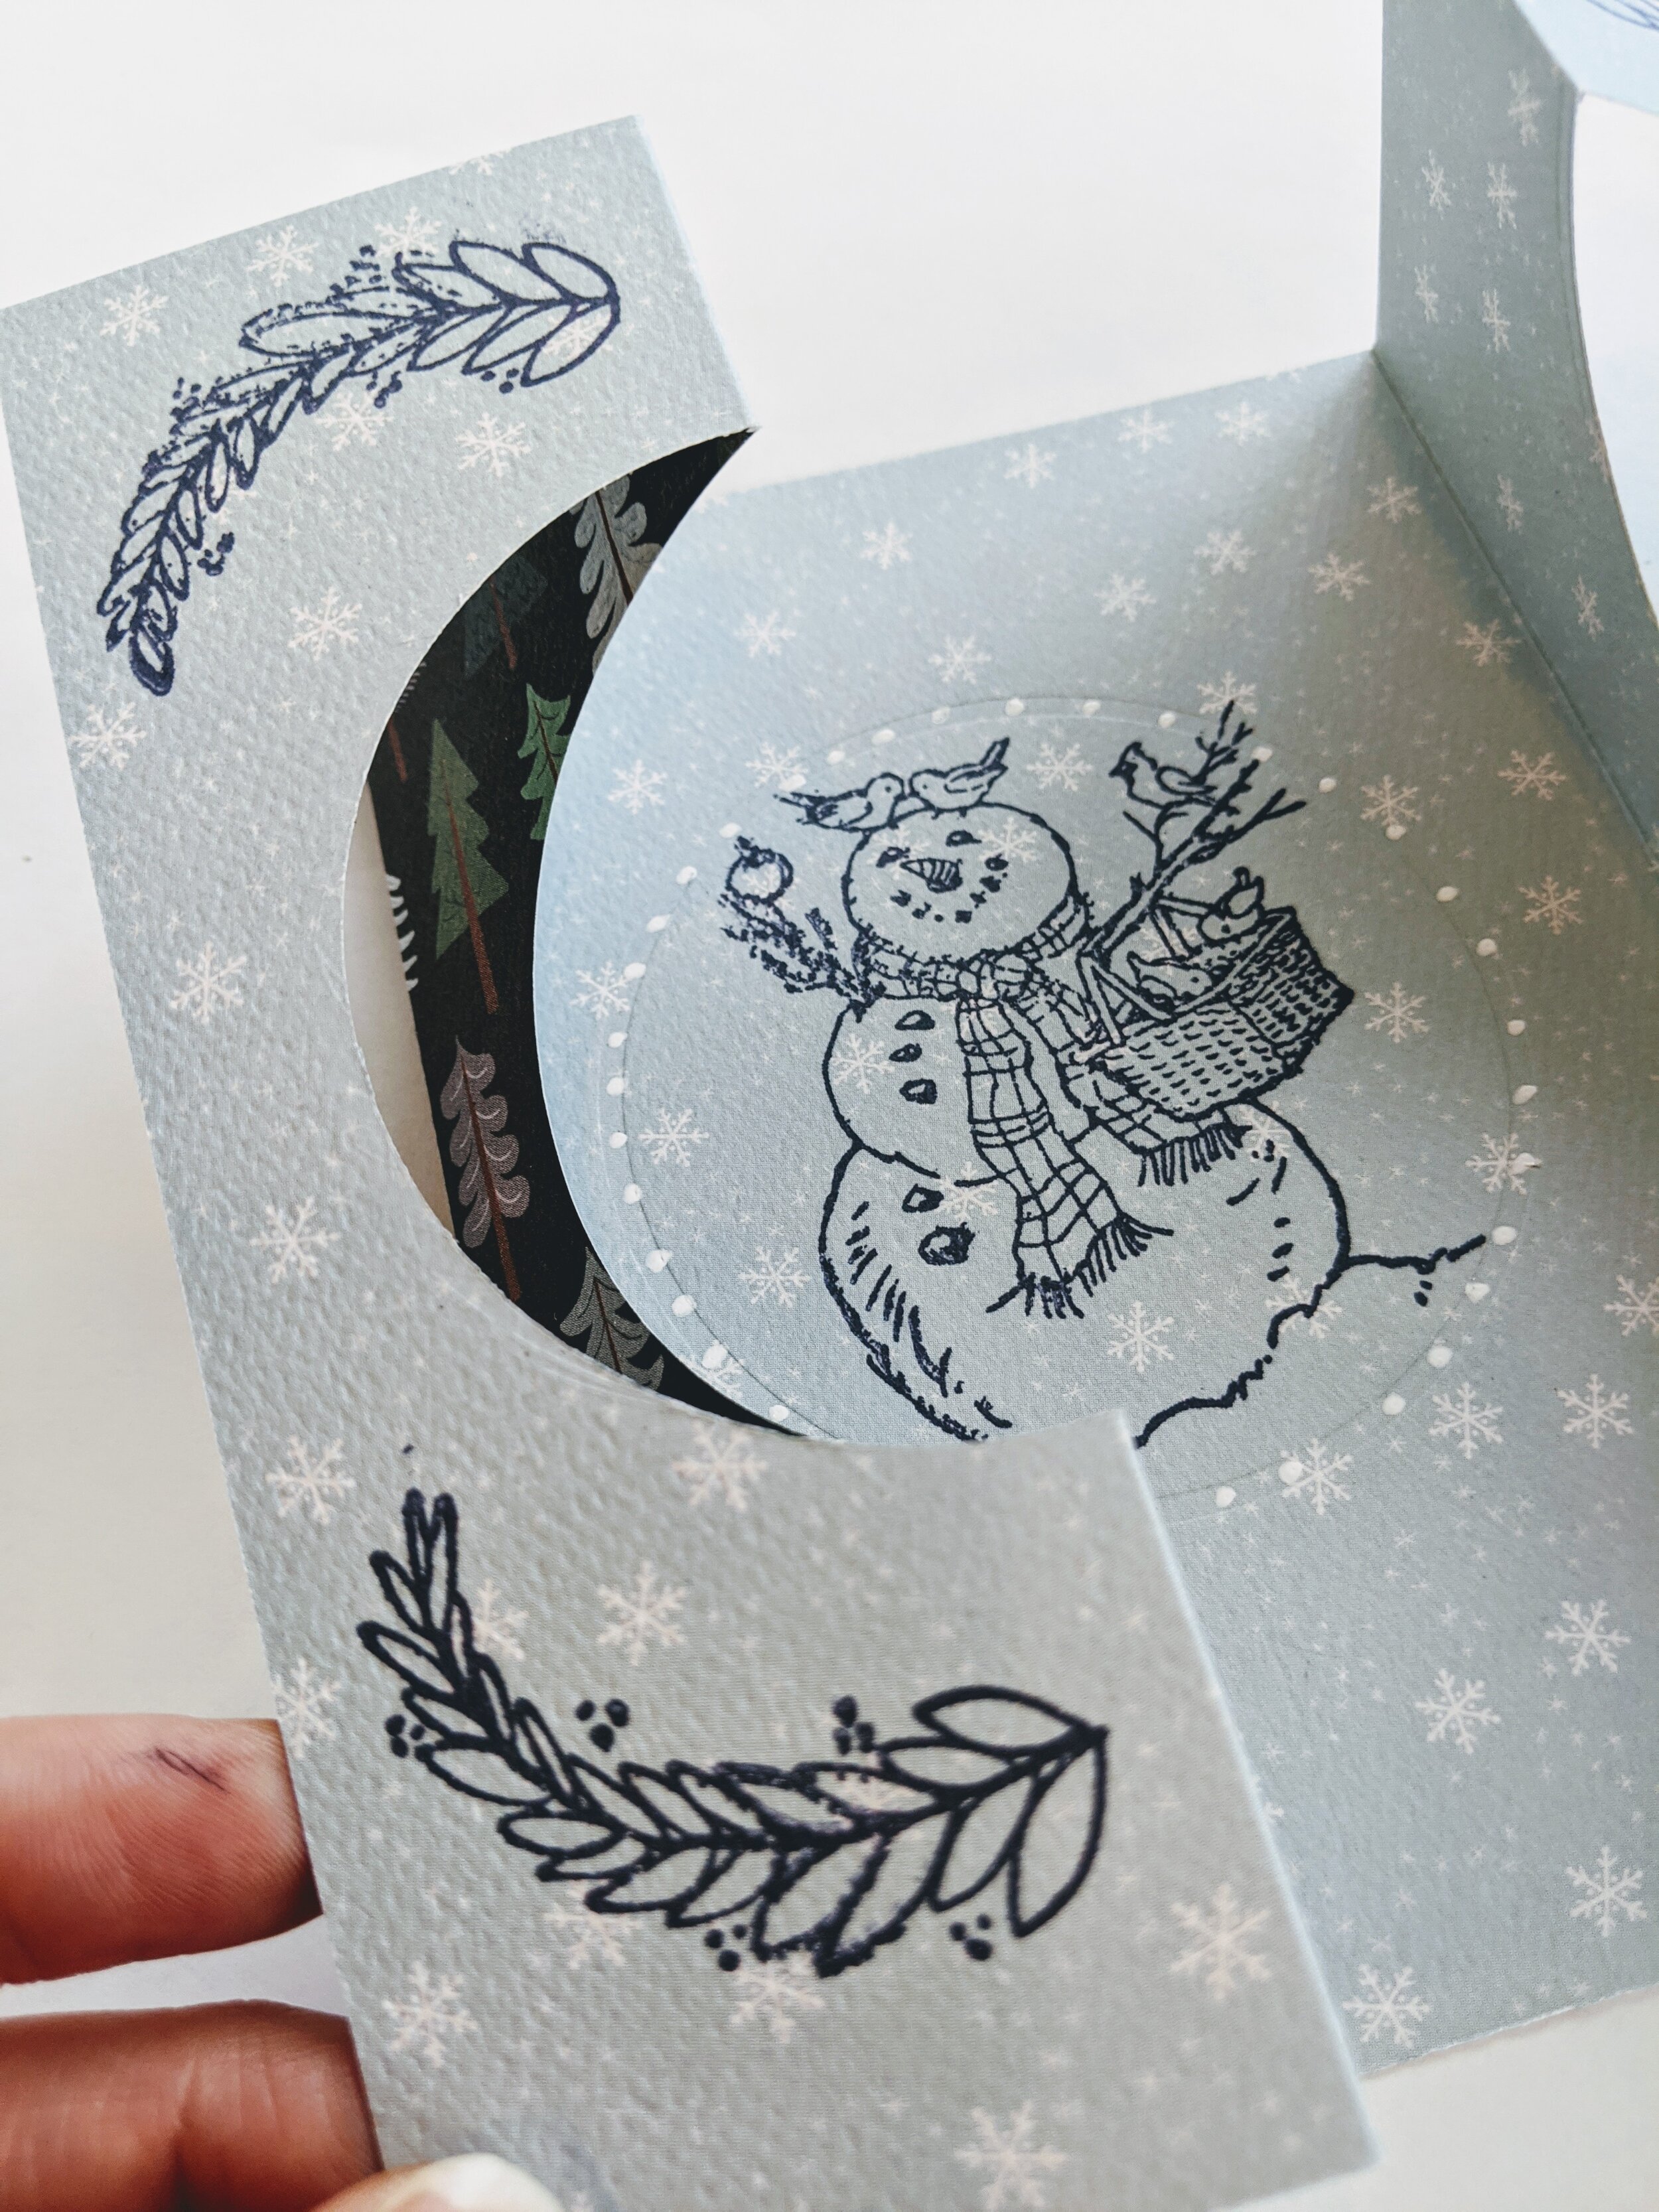
Bend the card so there is an accordion fold on the left and another accordion fold on the right
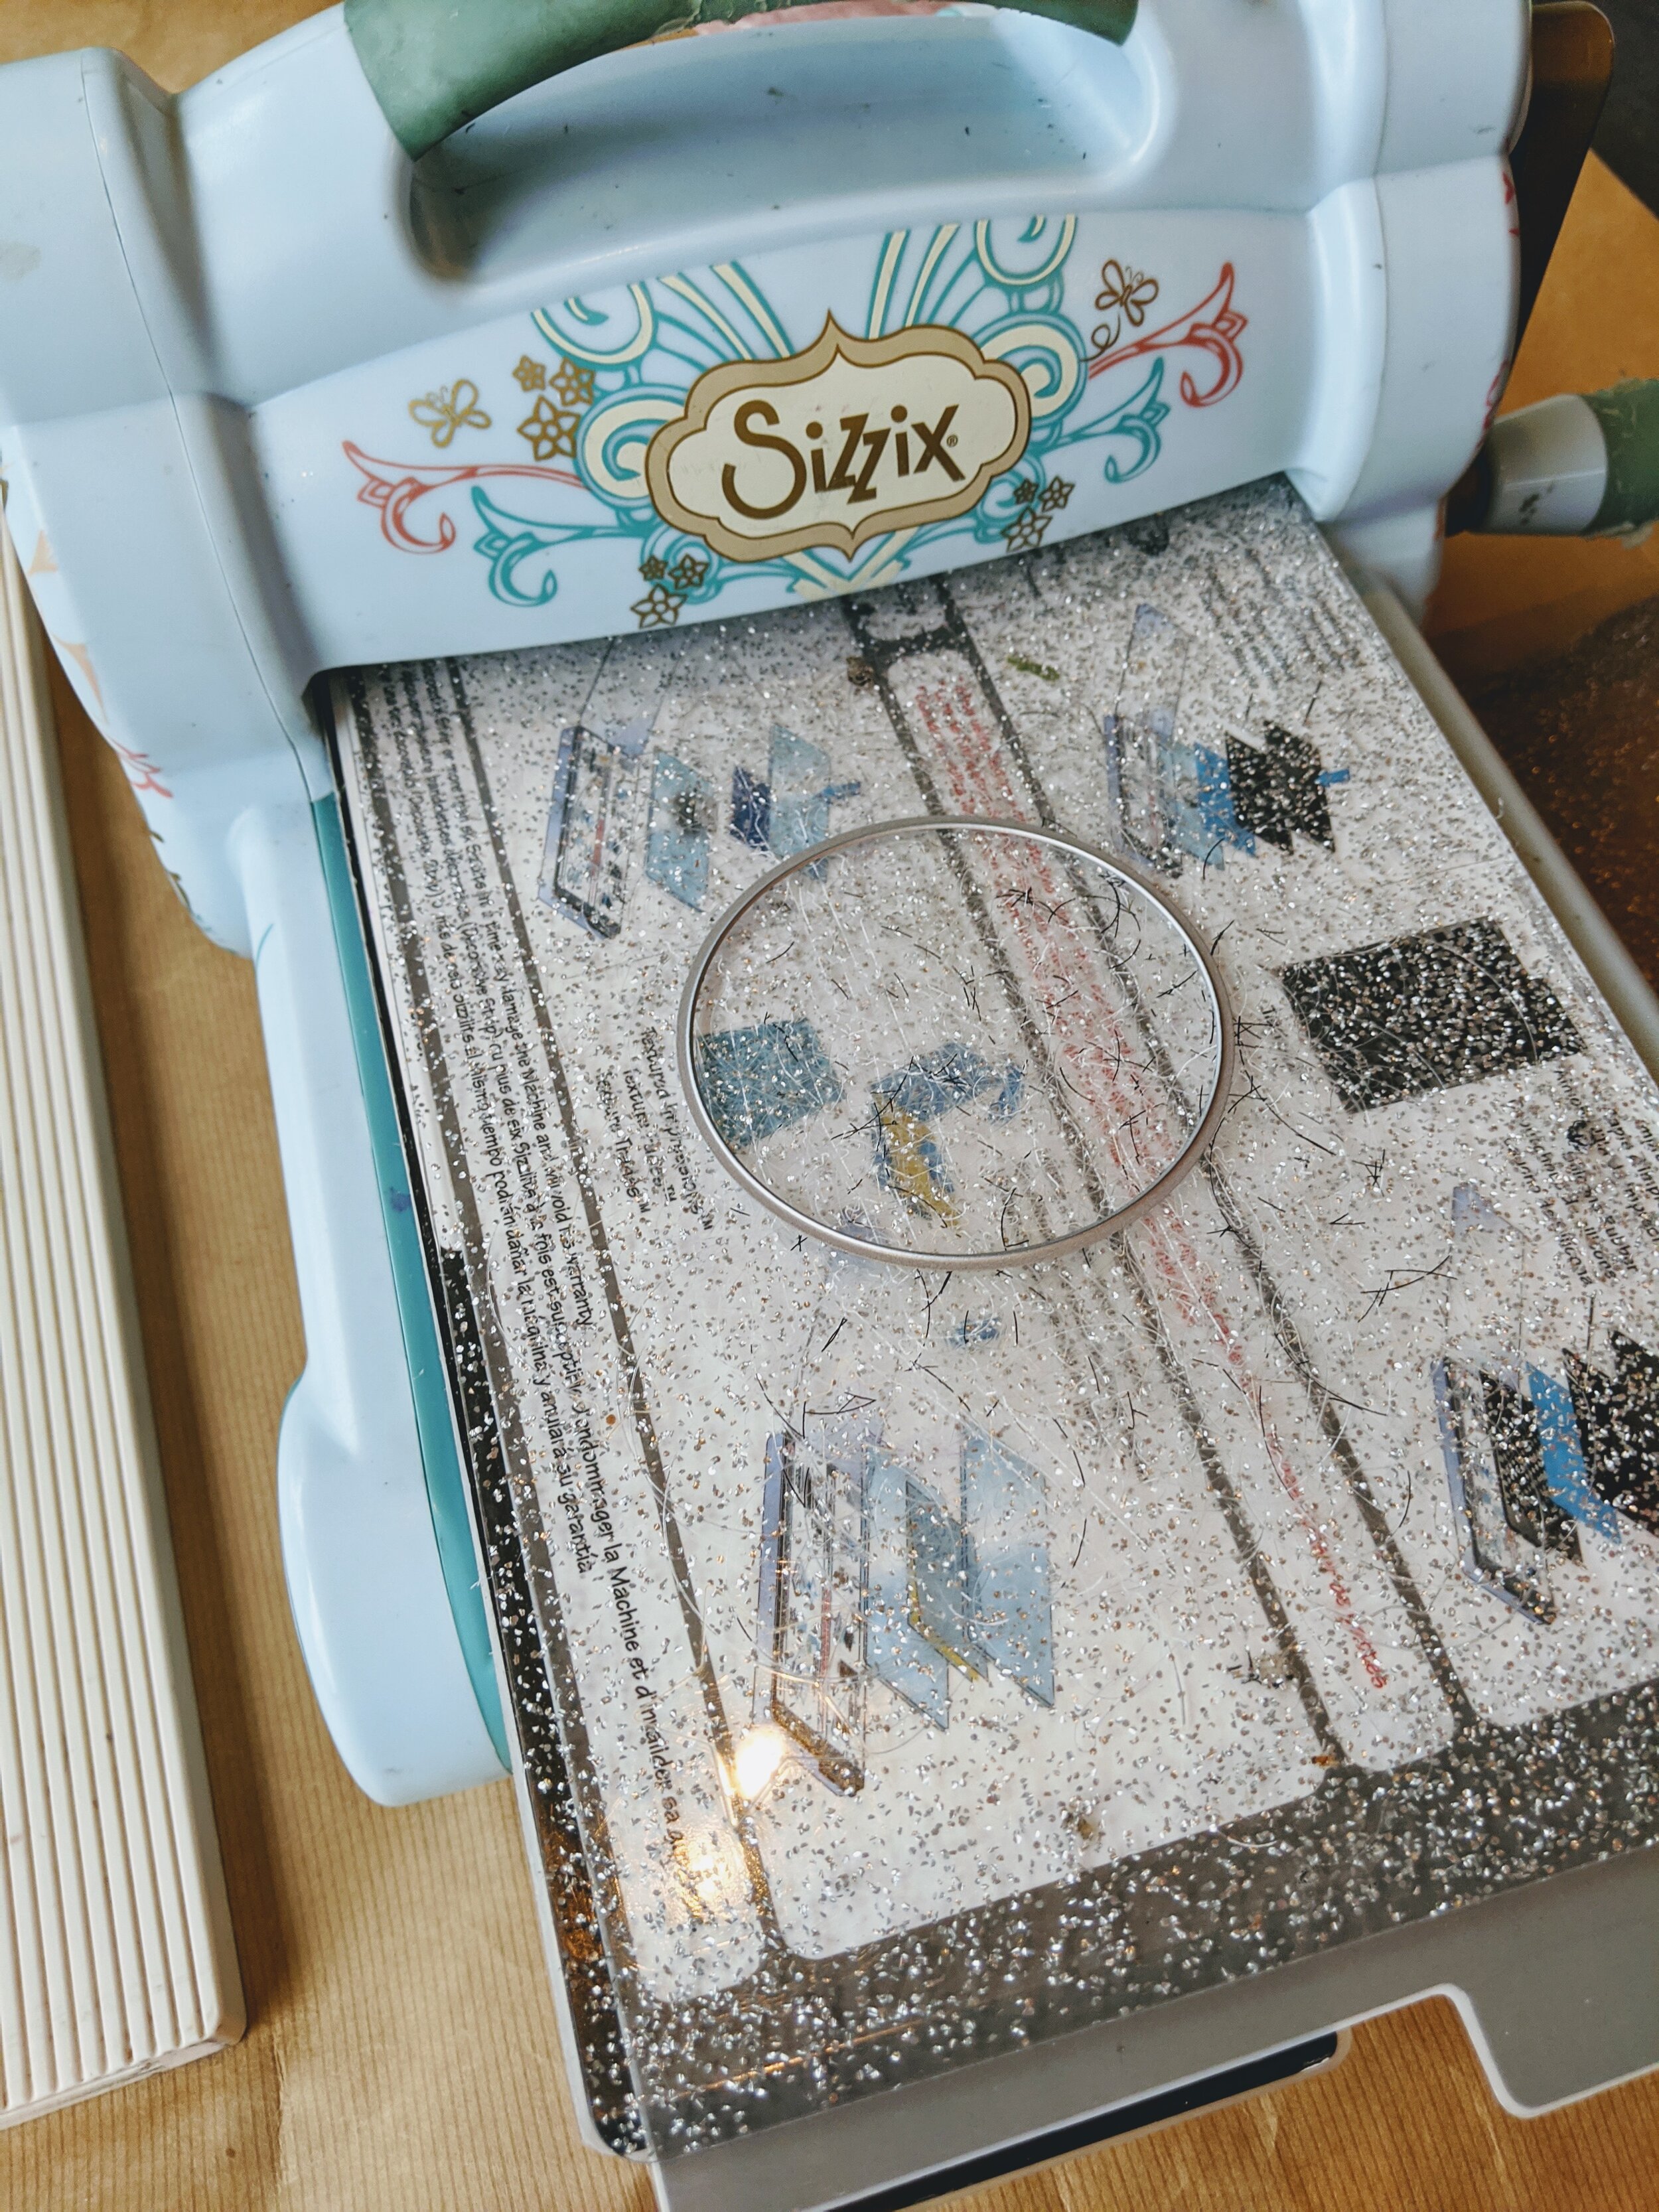
Use your Home Die-Cut Machine to cut a circle out of the middle of the card. (I placed my circle die-cut on the INSIDE of the card, cutting up, and THEN folded the panels over so the card is closed. THEN RUN THE DIE through the machine. The circle will cut out the circles from each panel AND lightly embosses the circle image into the inside of the card.
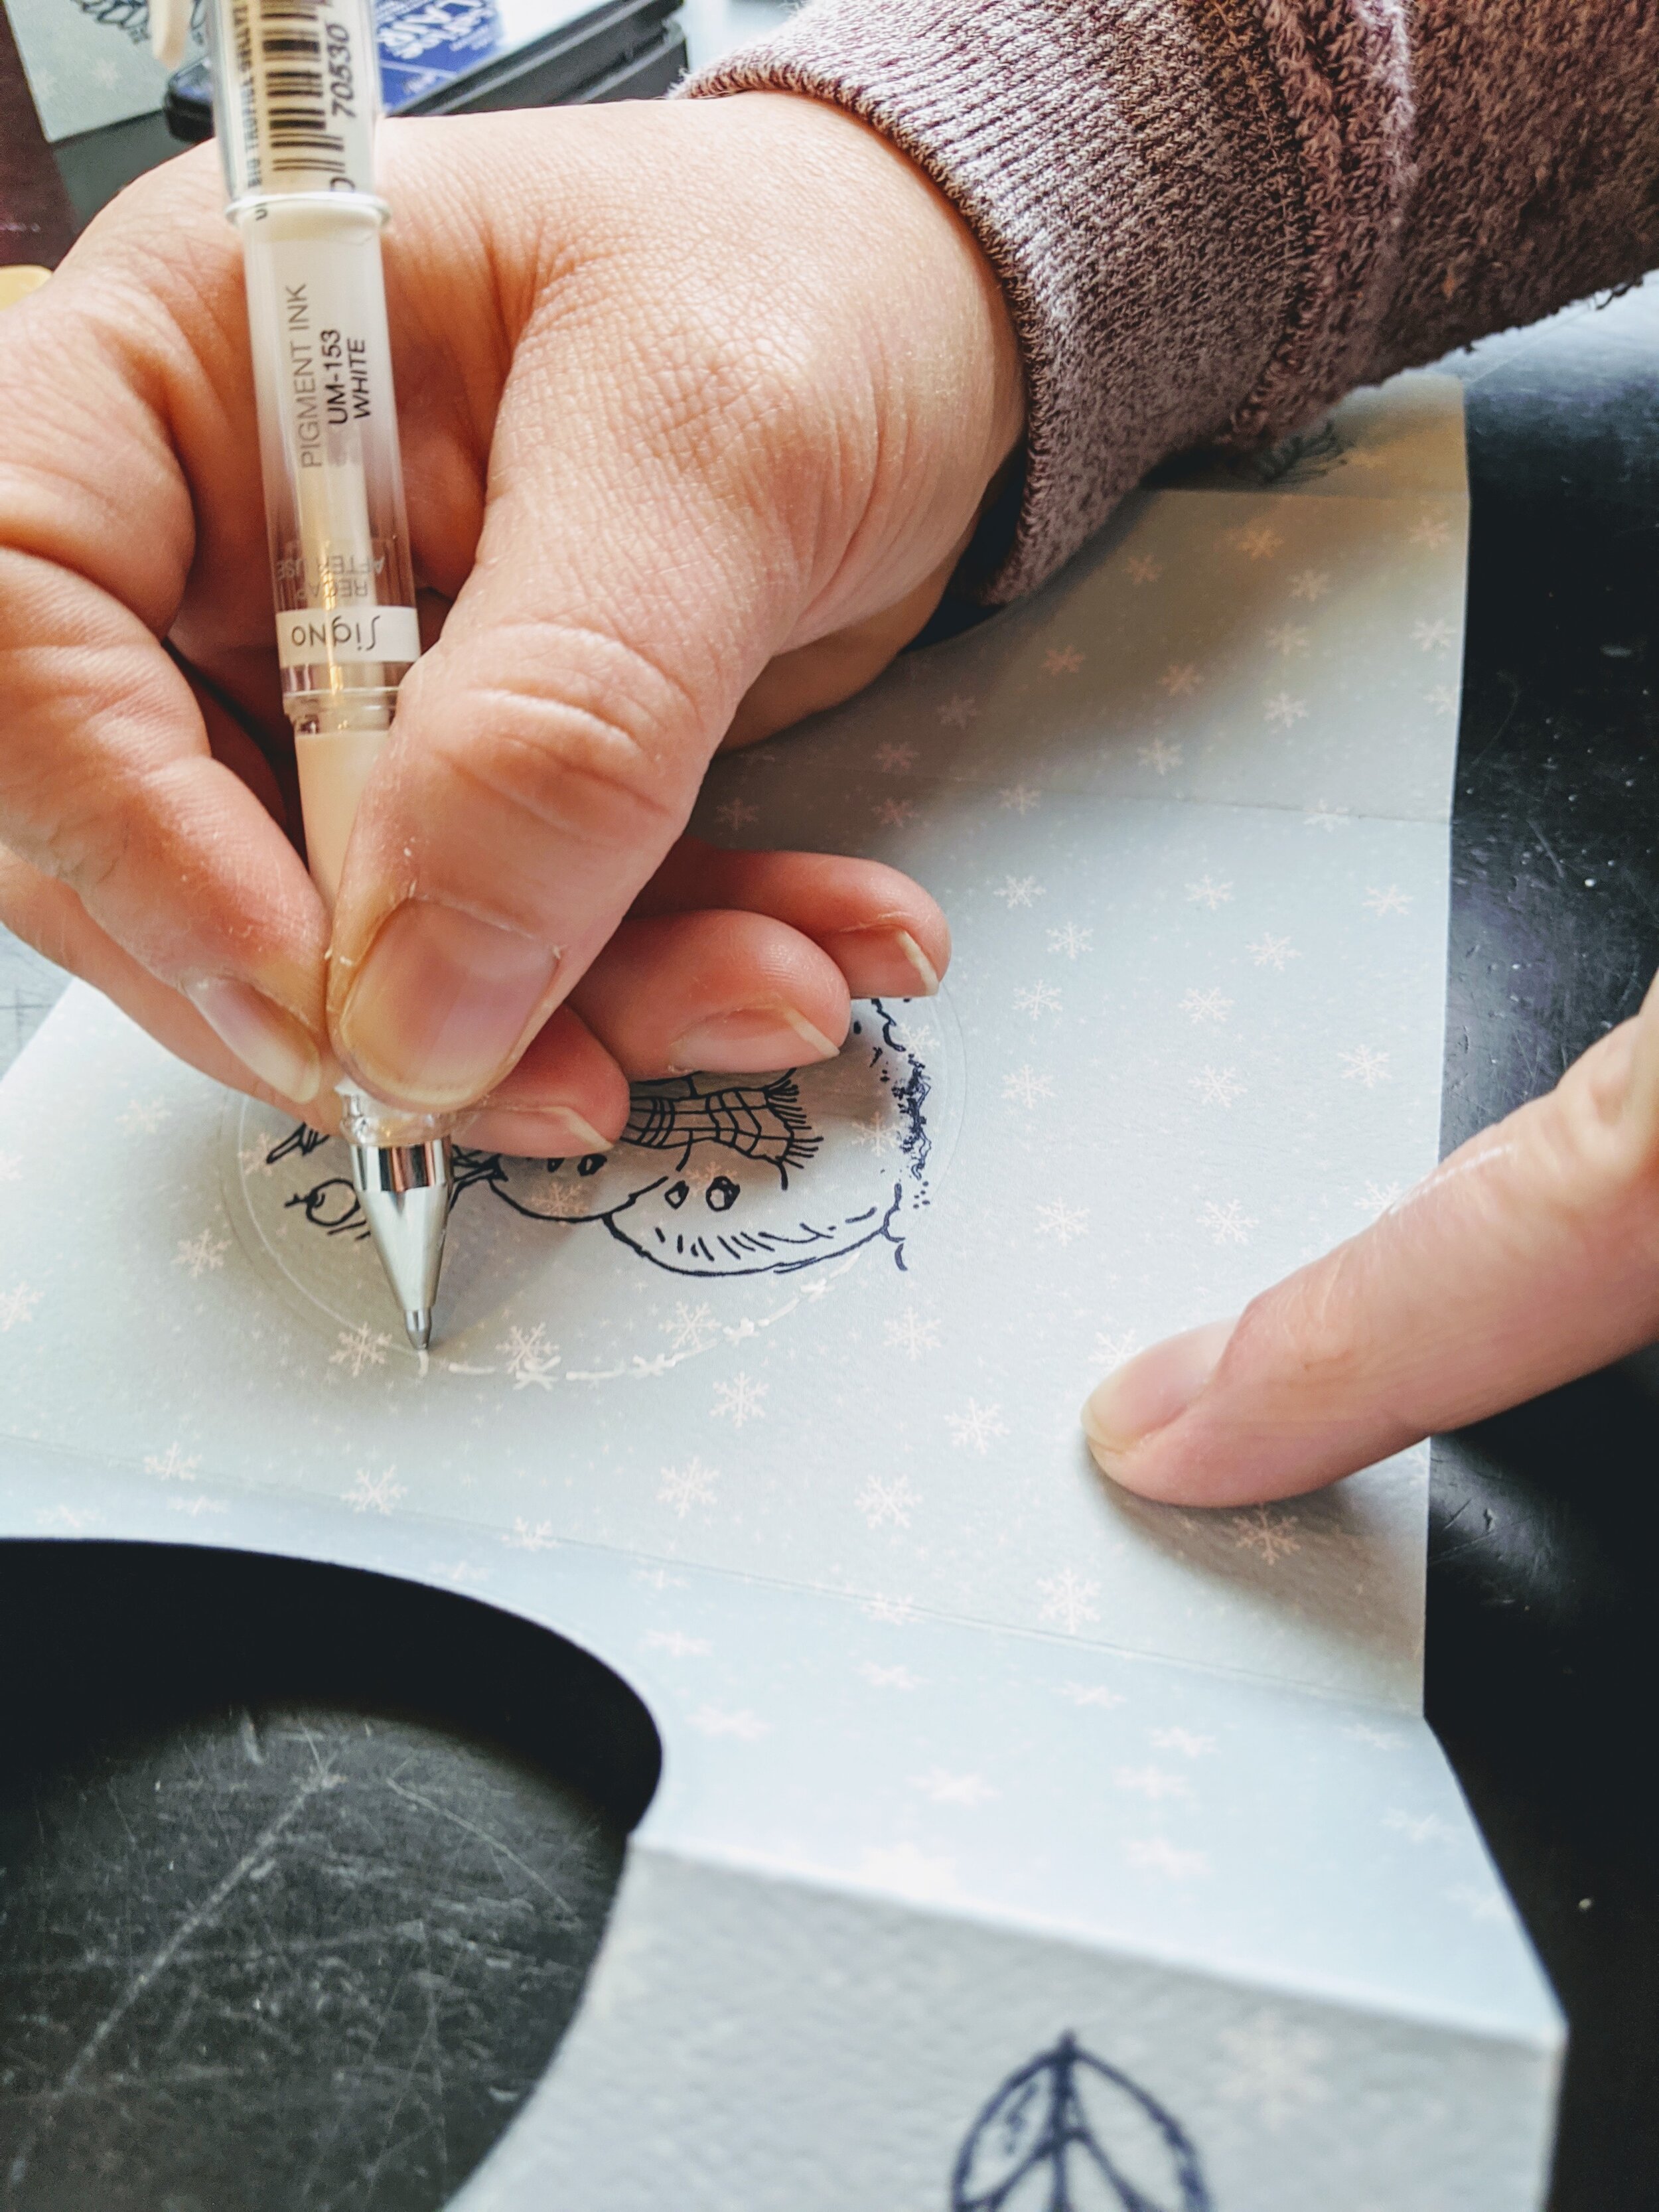
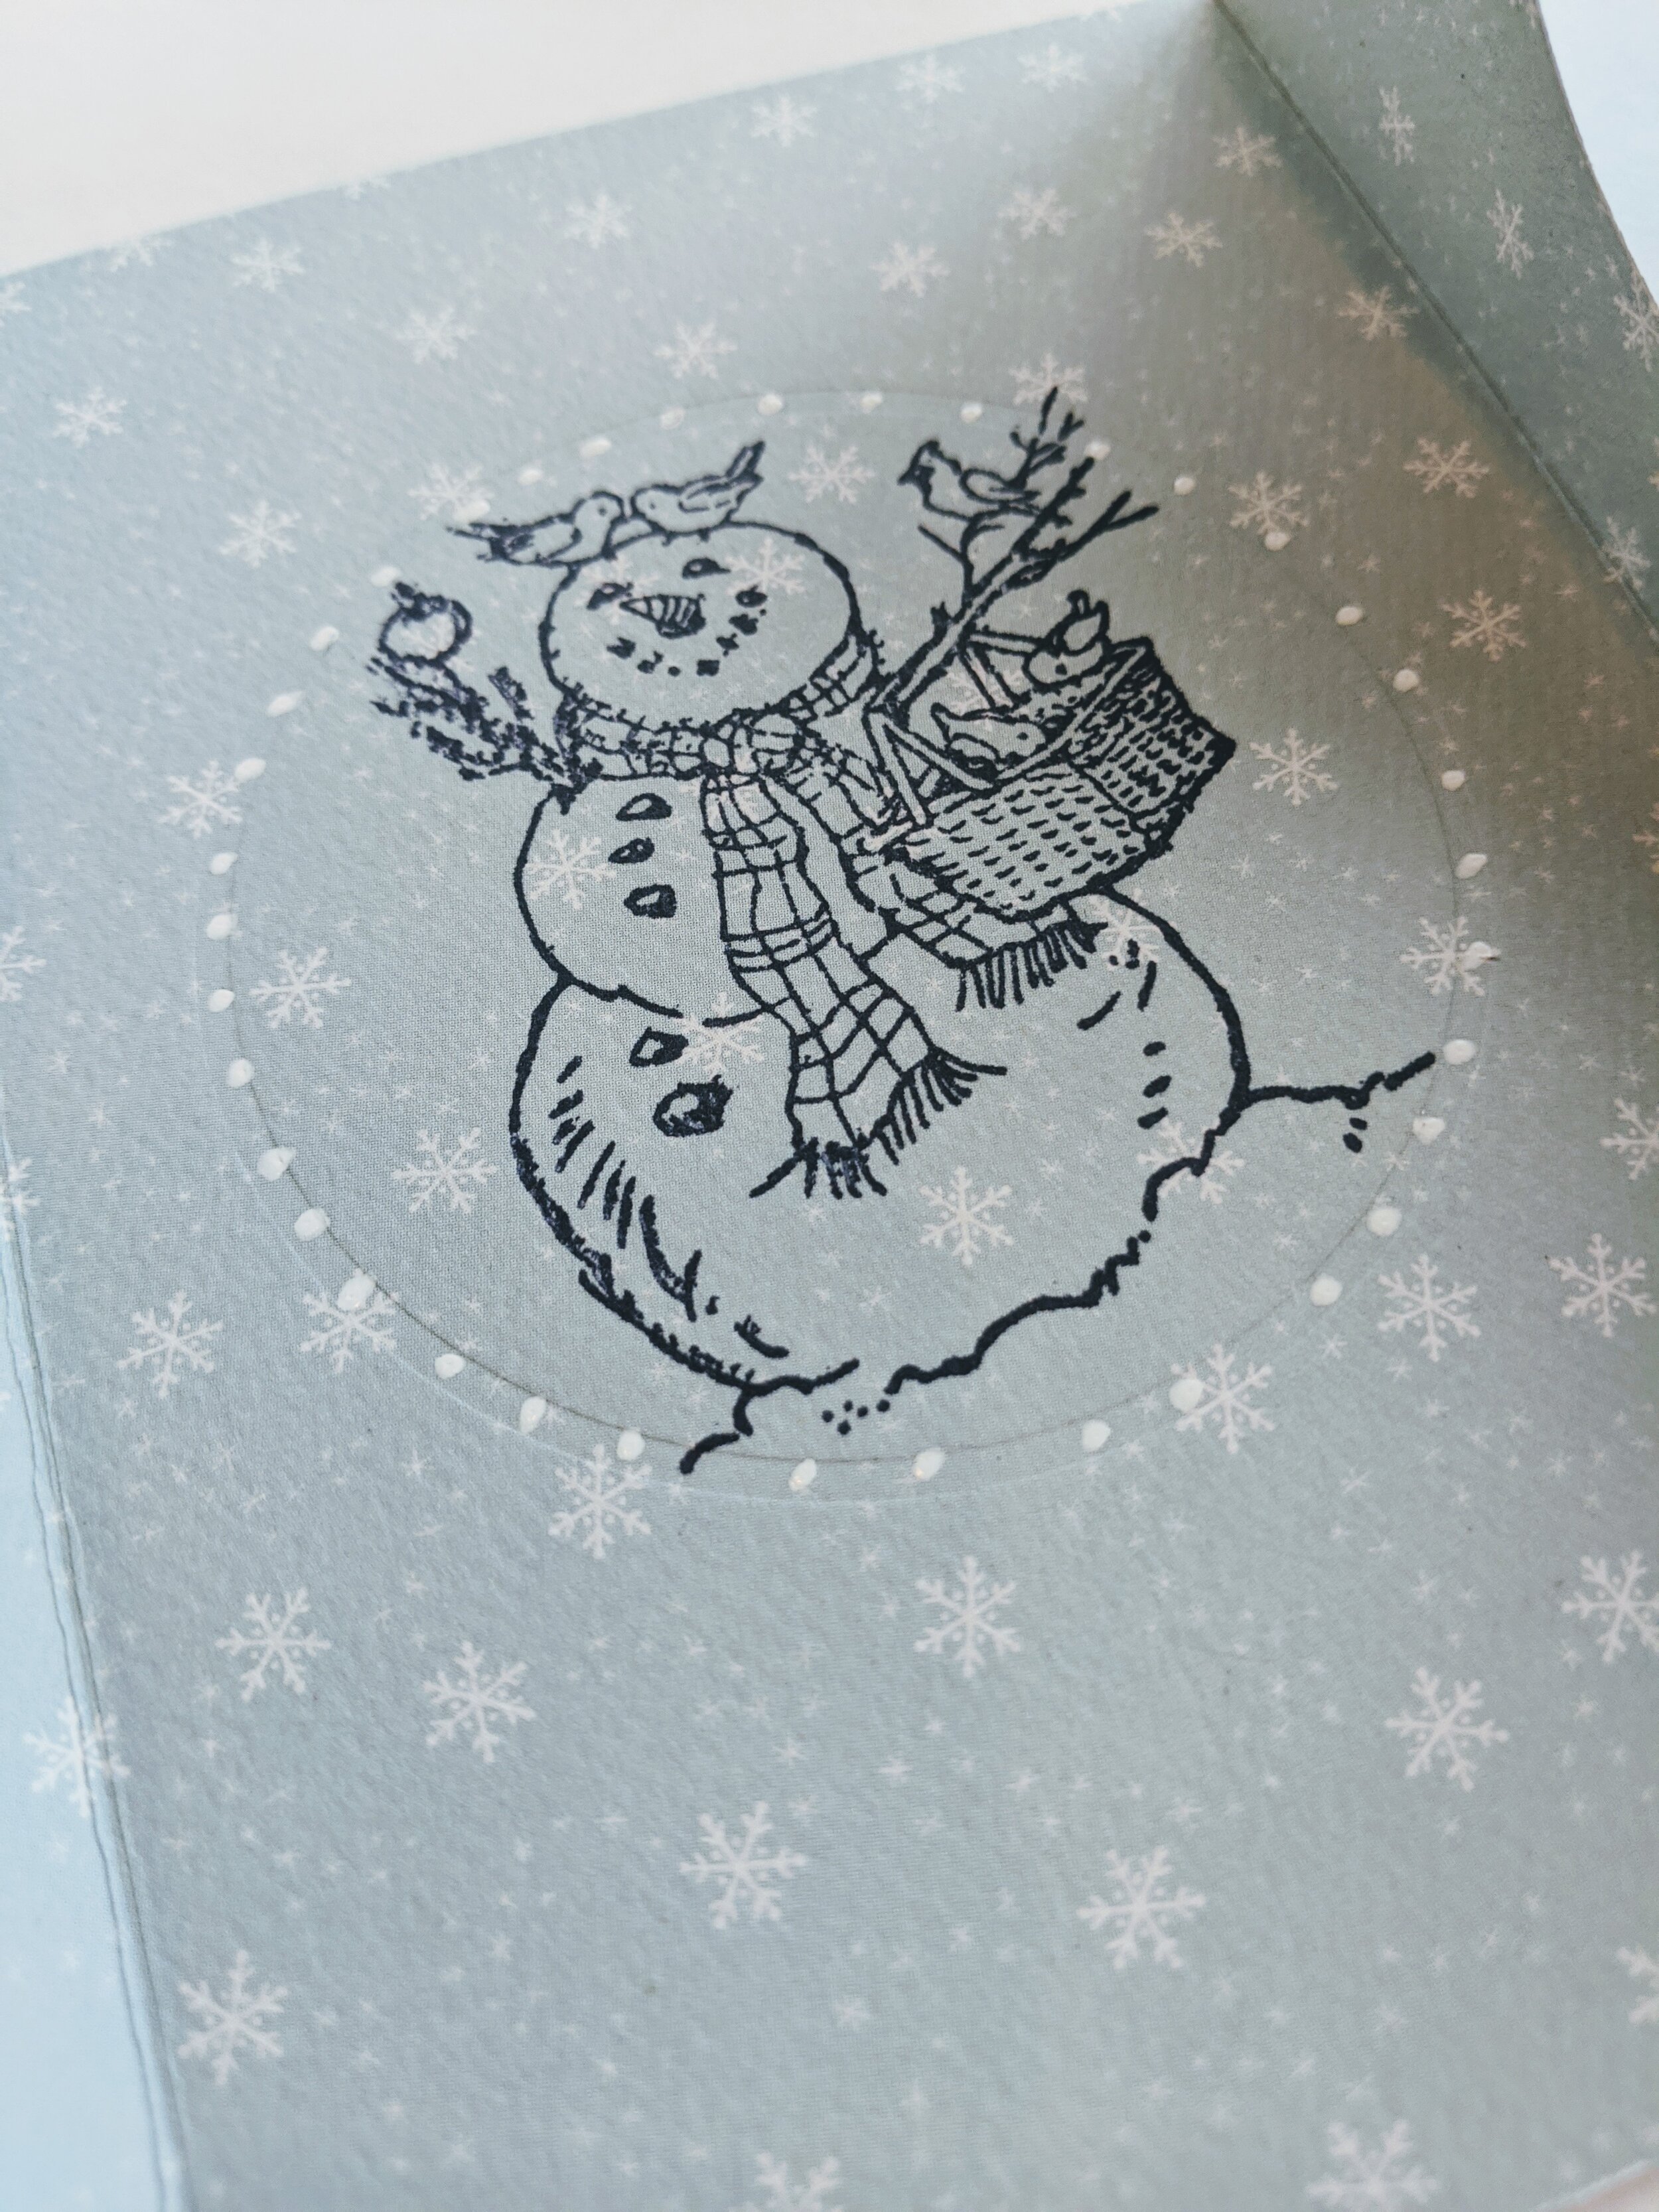
On the inside of the card, where the embossed circle is, stamp your snowman image using Versafine Clair ink, Medieval Blue! Use a White Gel Pen to add a cute border along the embossed edge of the circle that is inside the card.
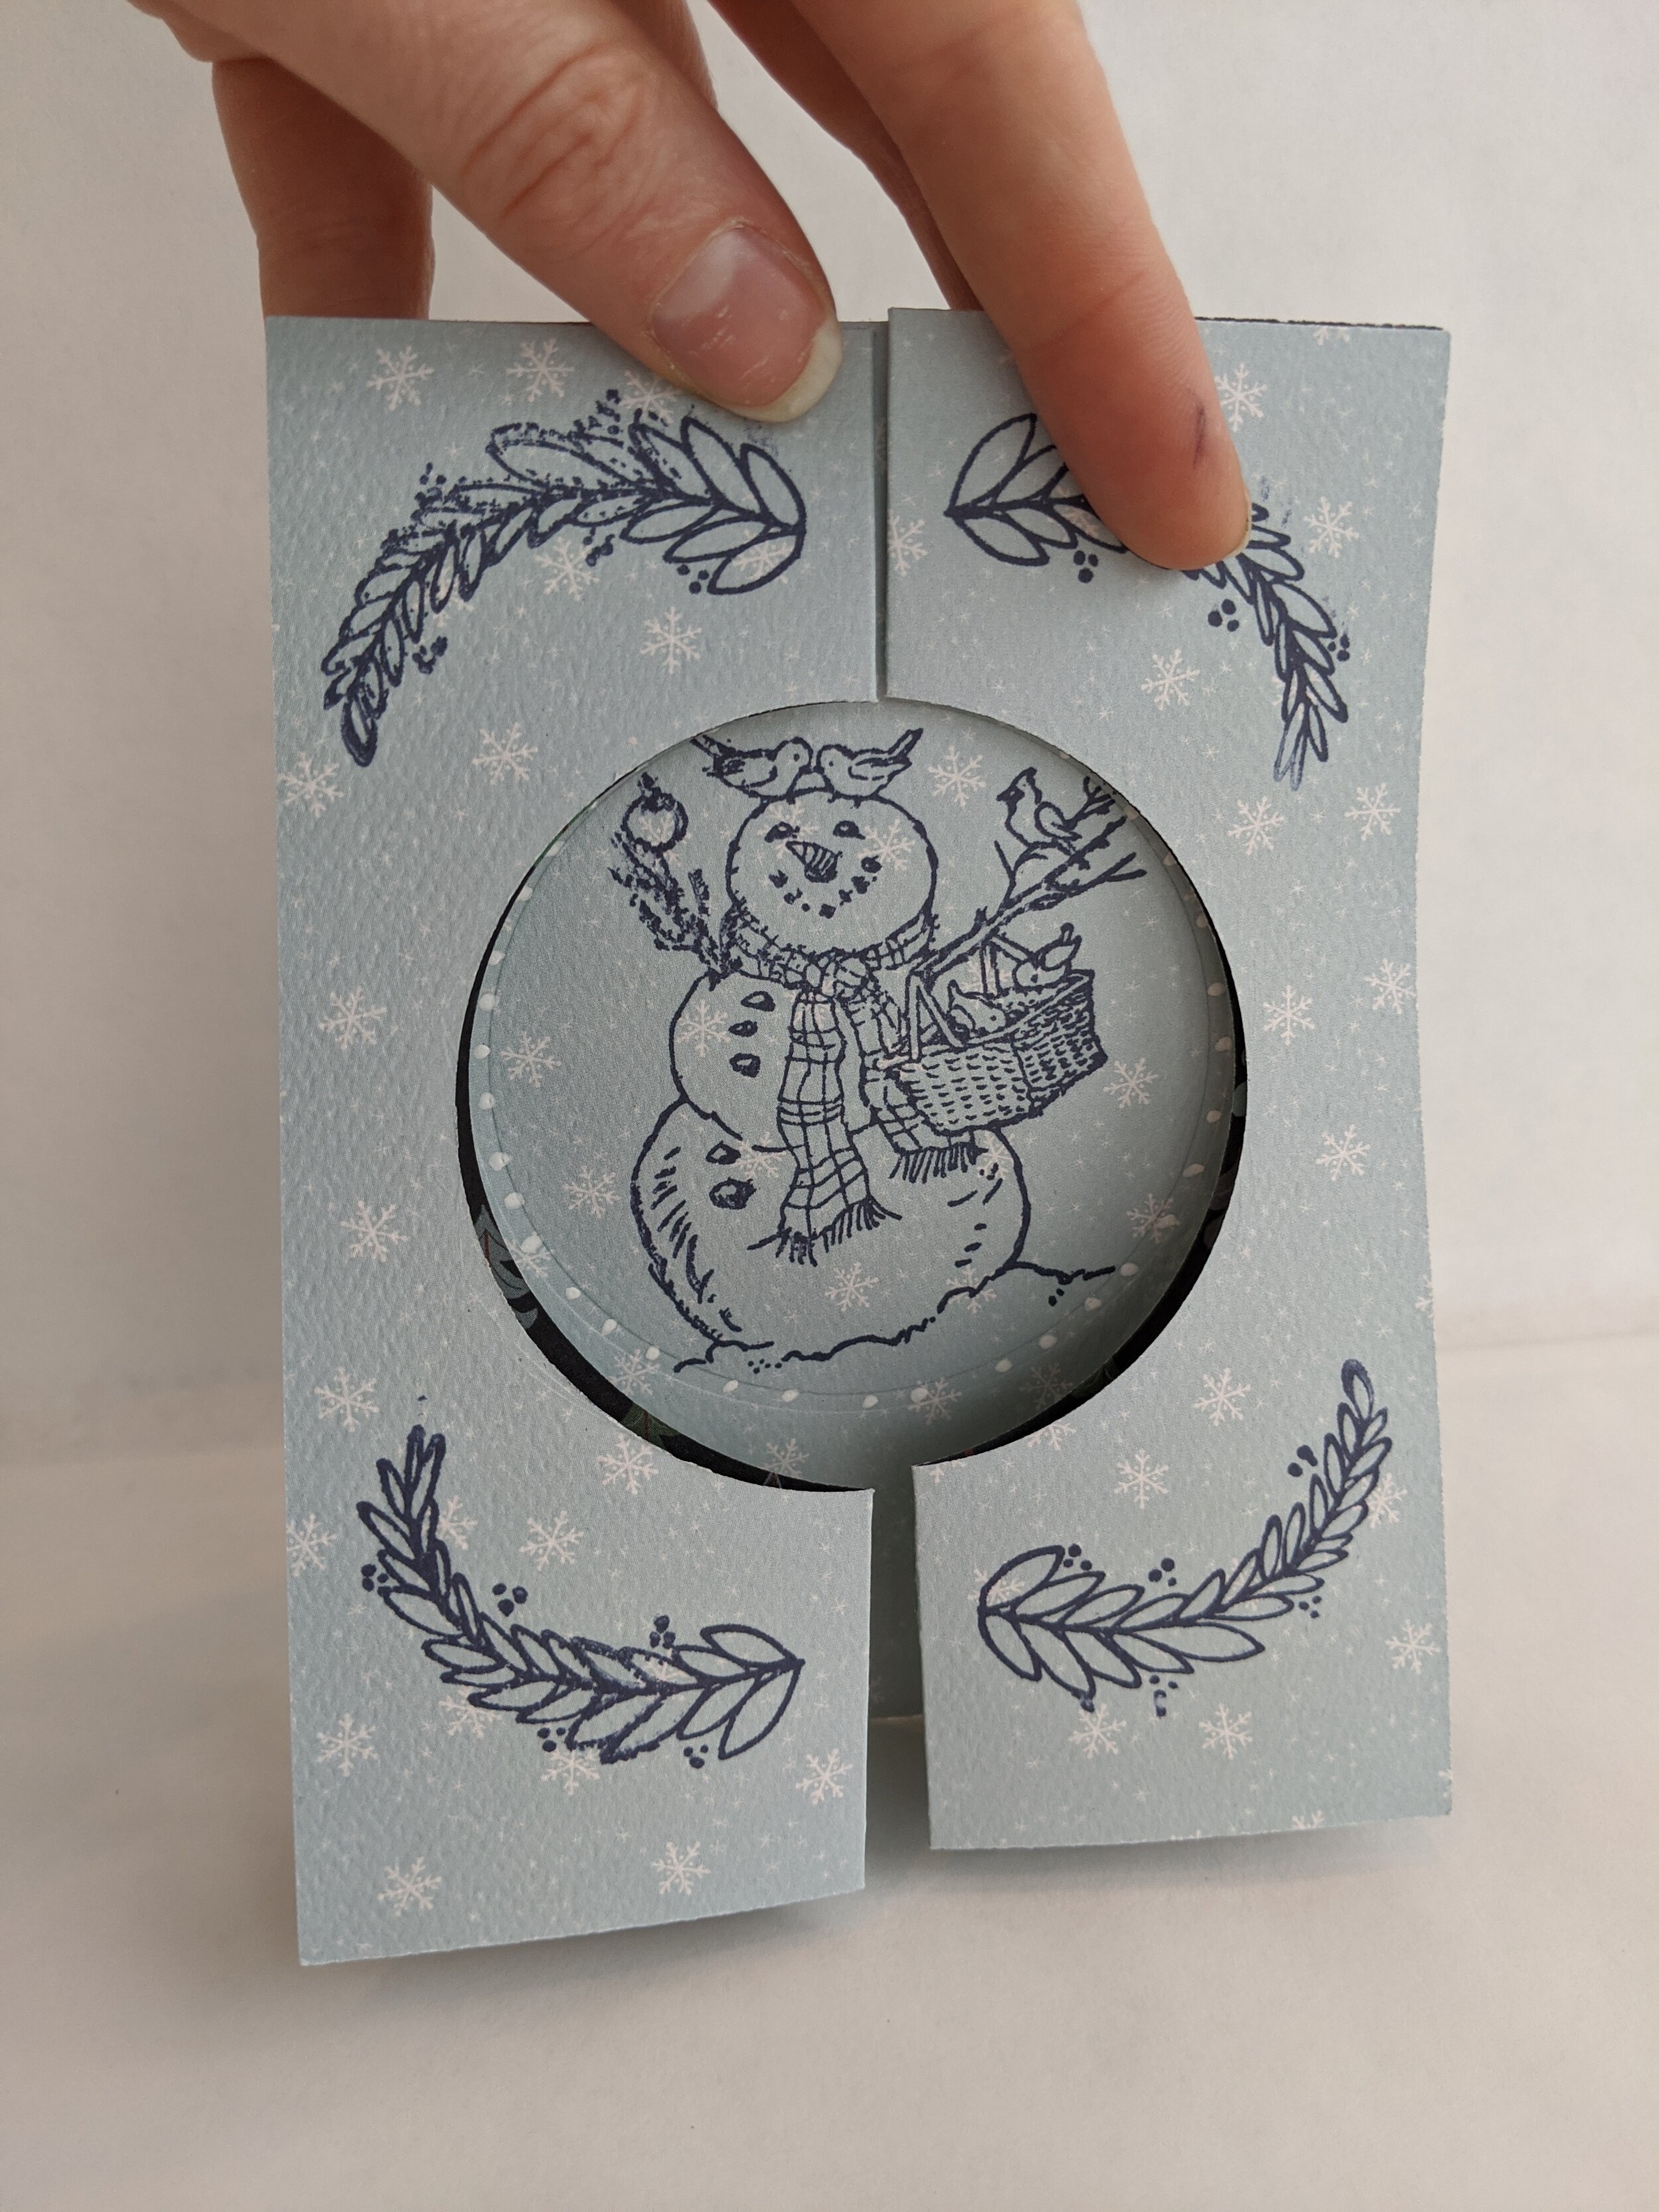
On the outside of the card, while the card is closed, stamp the Taylored Expressions, Laurels stamp to stamp 4 laurel leaves along the 4 corners of the card
I LOVE this card!!! how cute and fun!! The Laurels really make this card come to life!!! And I just LOVE this fun-fold card!!
These cards were SO MUCH FUN to create!!
If you would like to sign up for the next card making class (Sunday, December 22nd) you can do so here: www.artandhappiness.shop/classes