
Hello friends!!
Today we are going to be making Laminated Book Marks!!
Lamination with packing tape is an easy and affordable way to laminate Anything!!
Check out the video below:
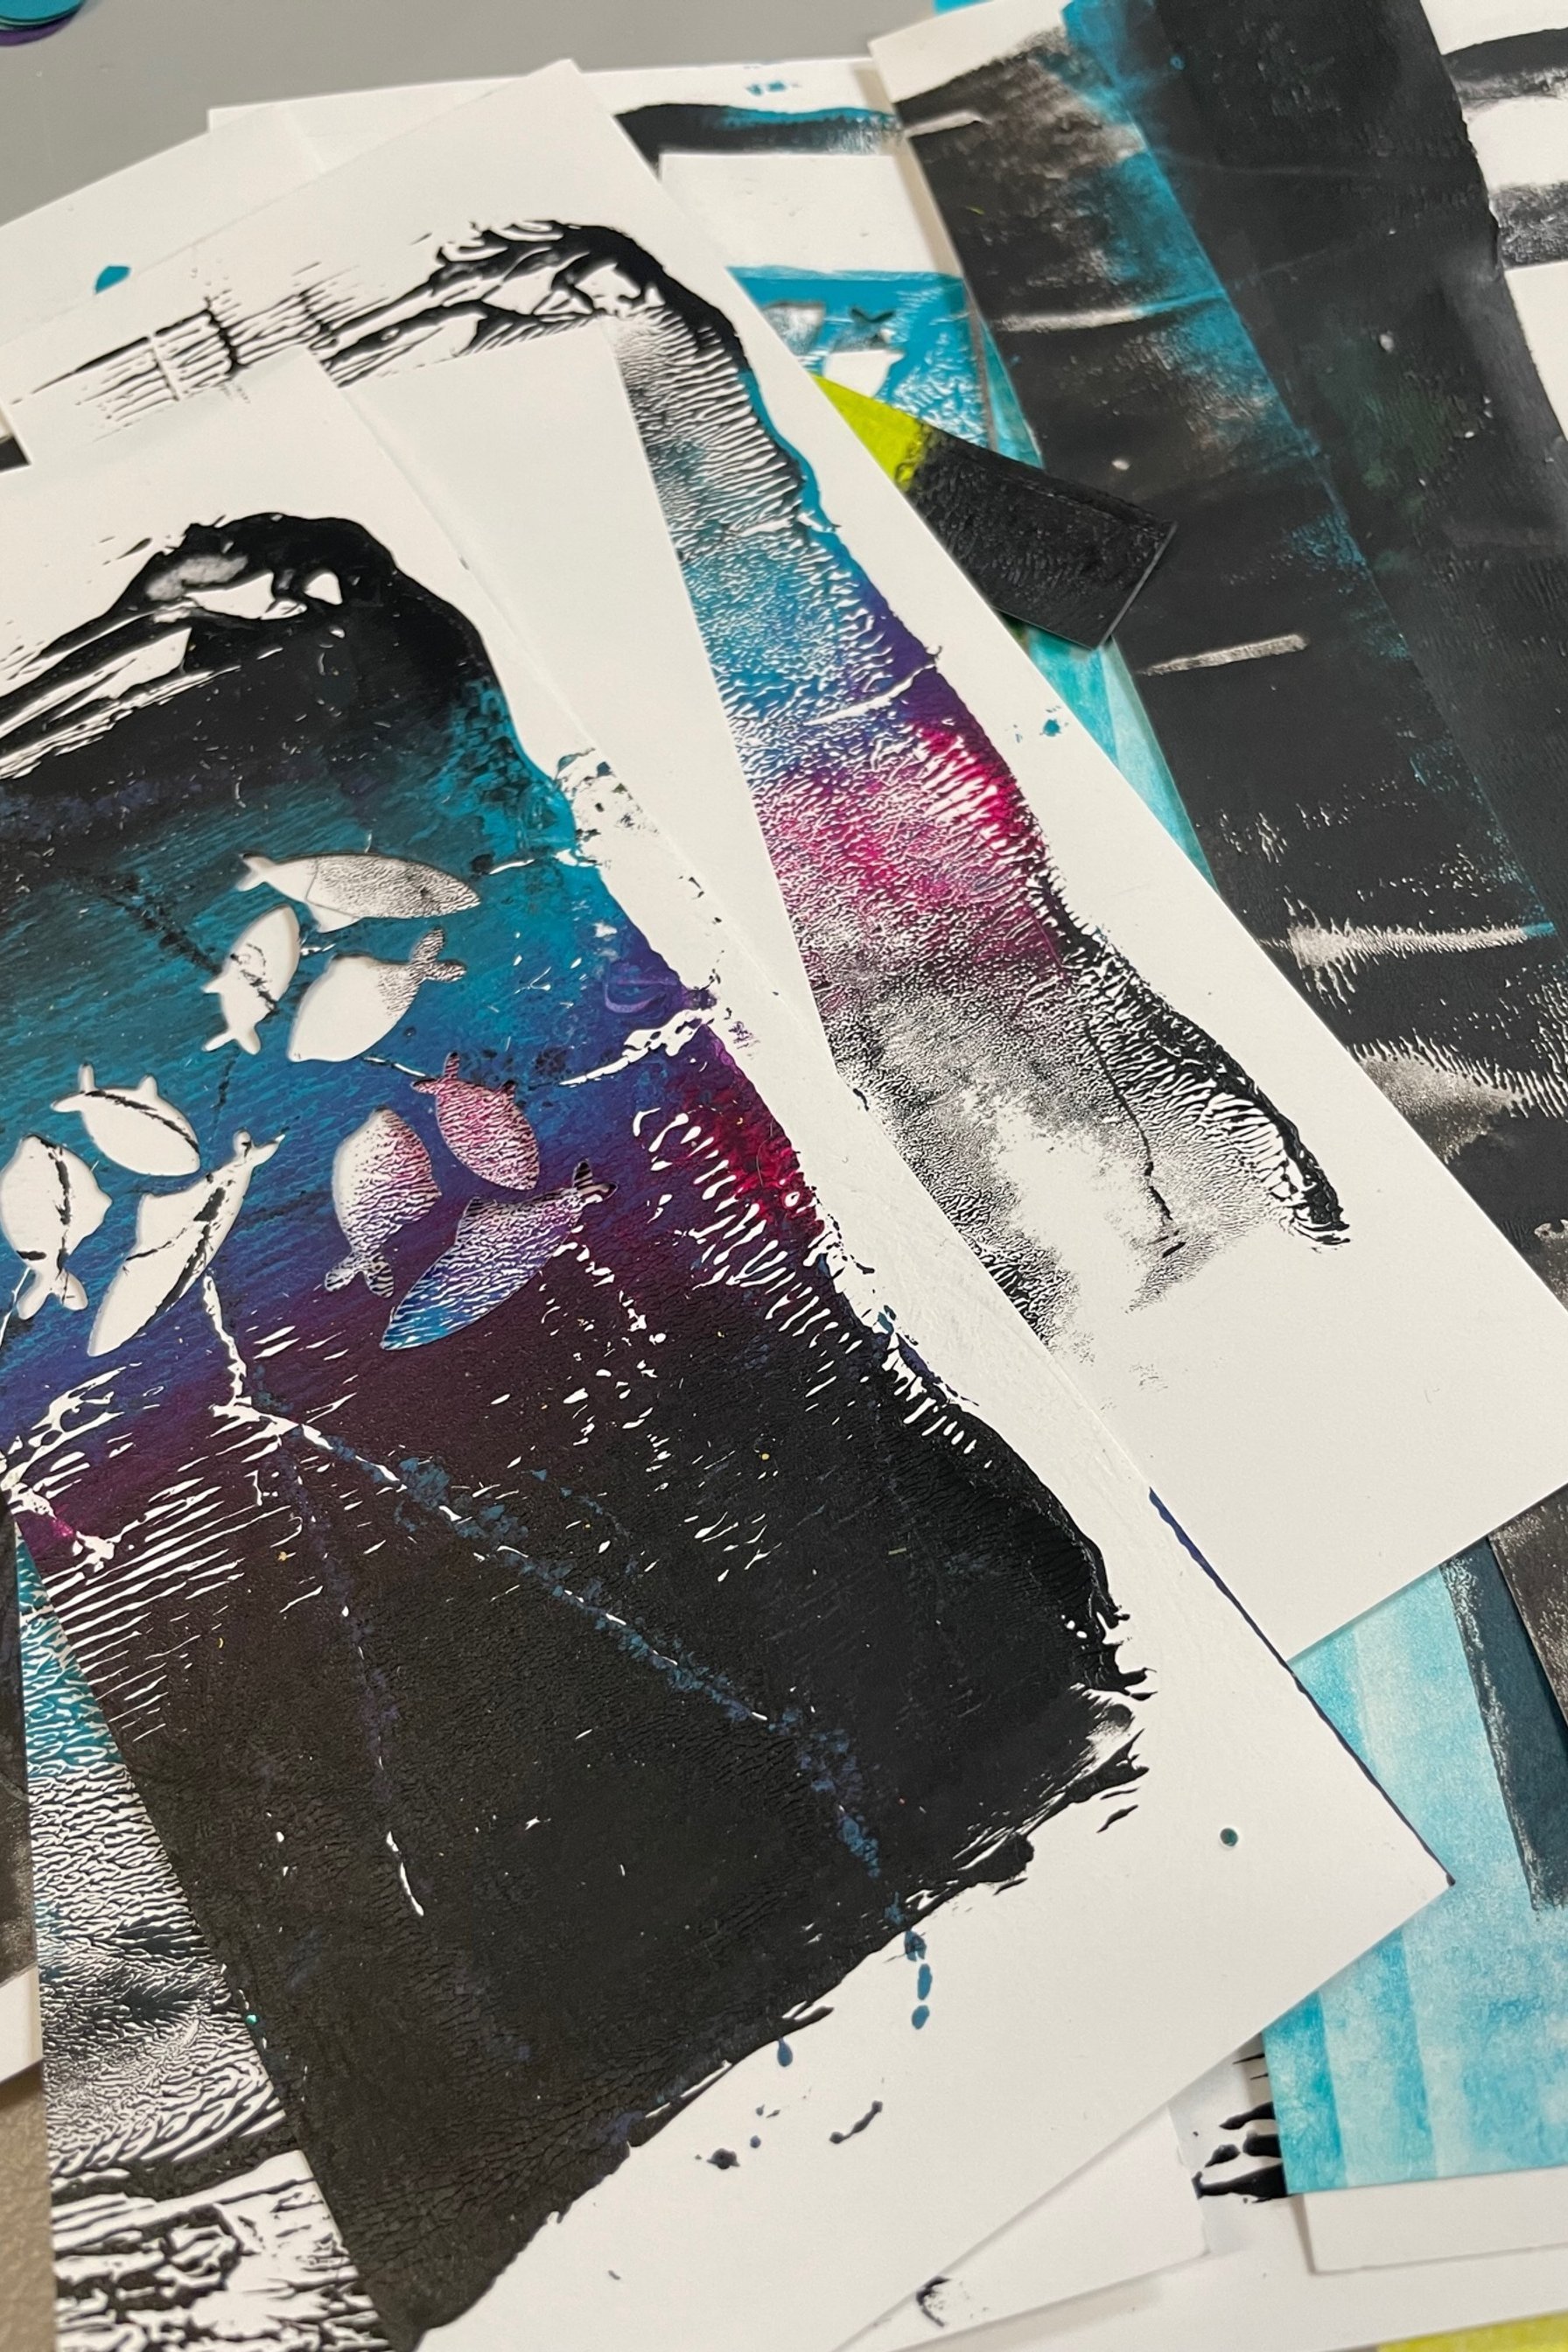
We’ll be reusing last weeks Mono-Print designs to create fish today!
You can use any paper that inspires you- but be aware of the thickness! Any grouping of paper that is very thick might not be as useful as a bookmark and might have some trouble with this lamination method!
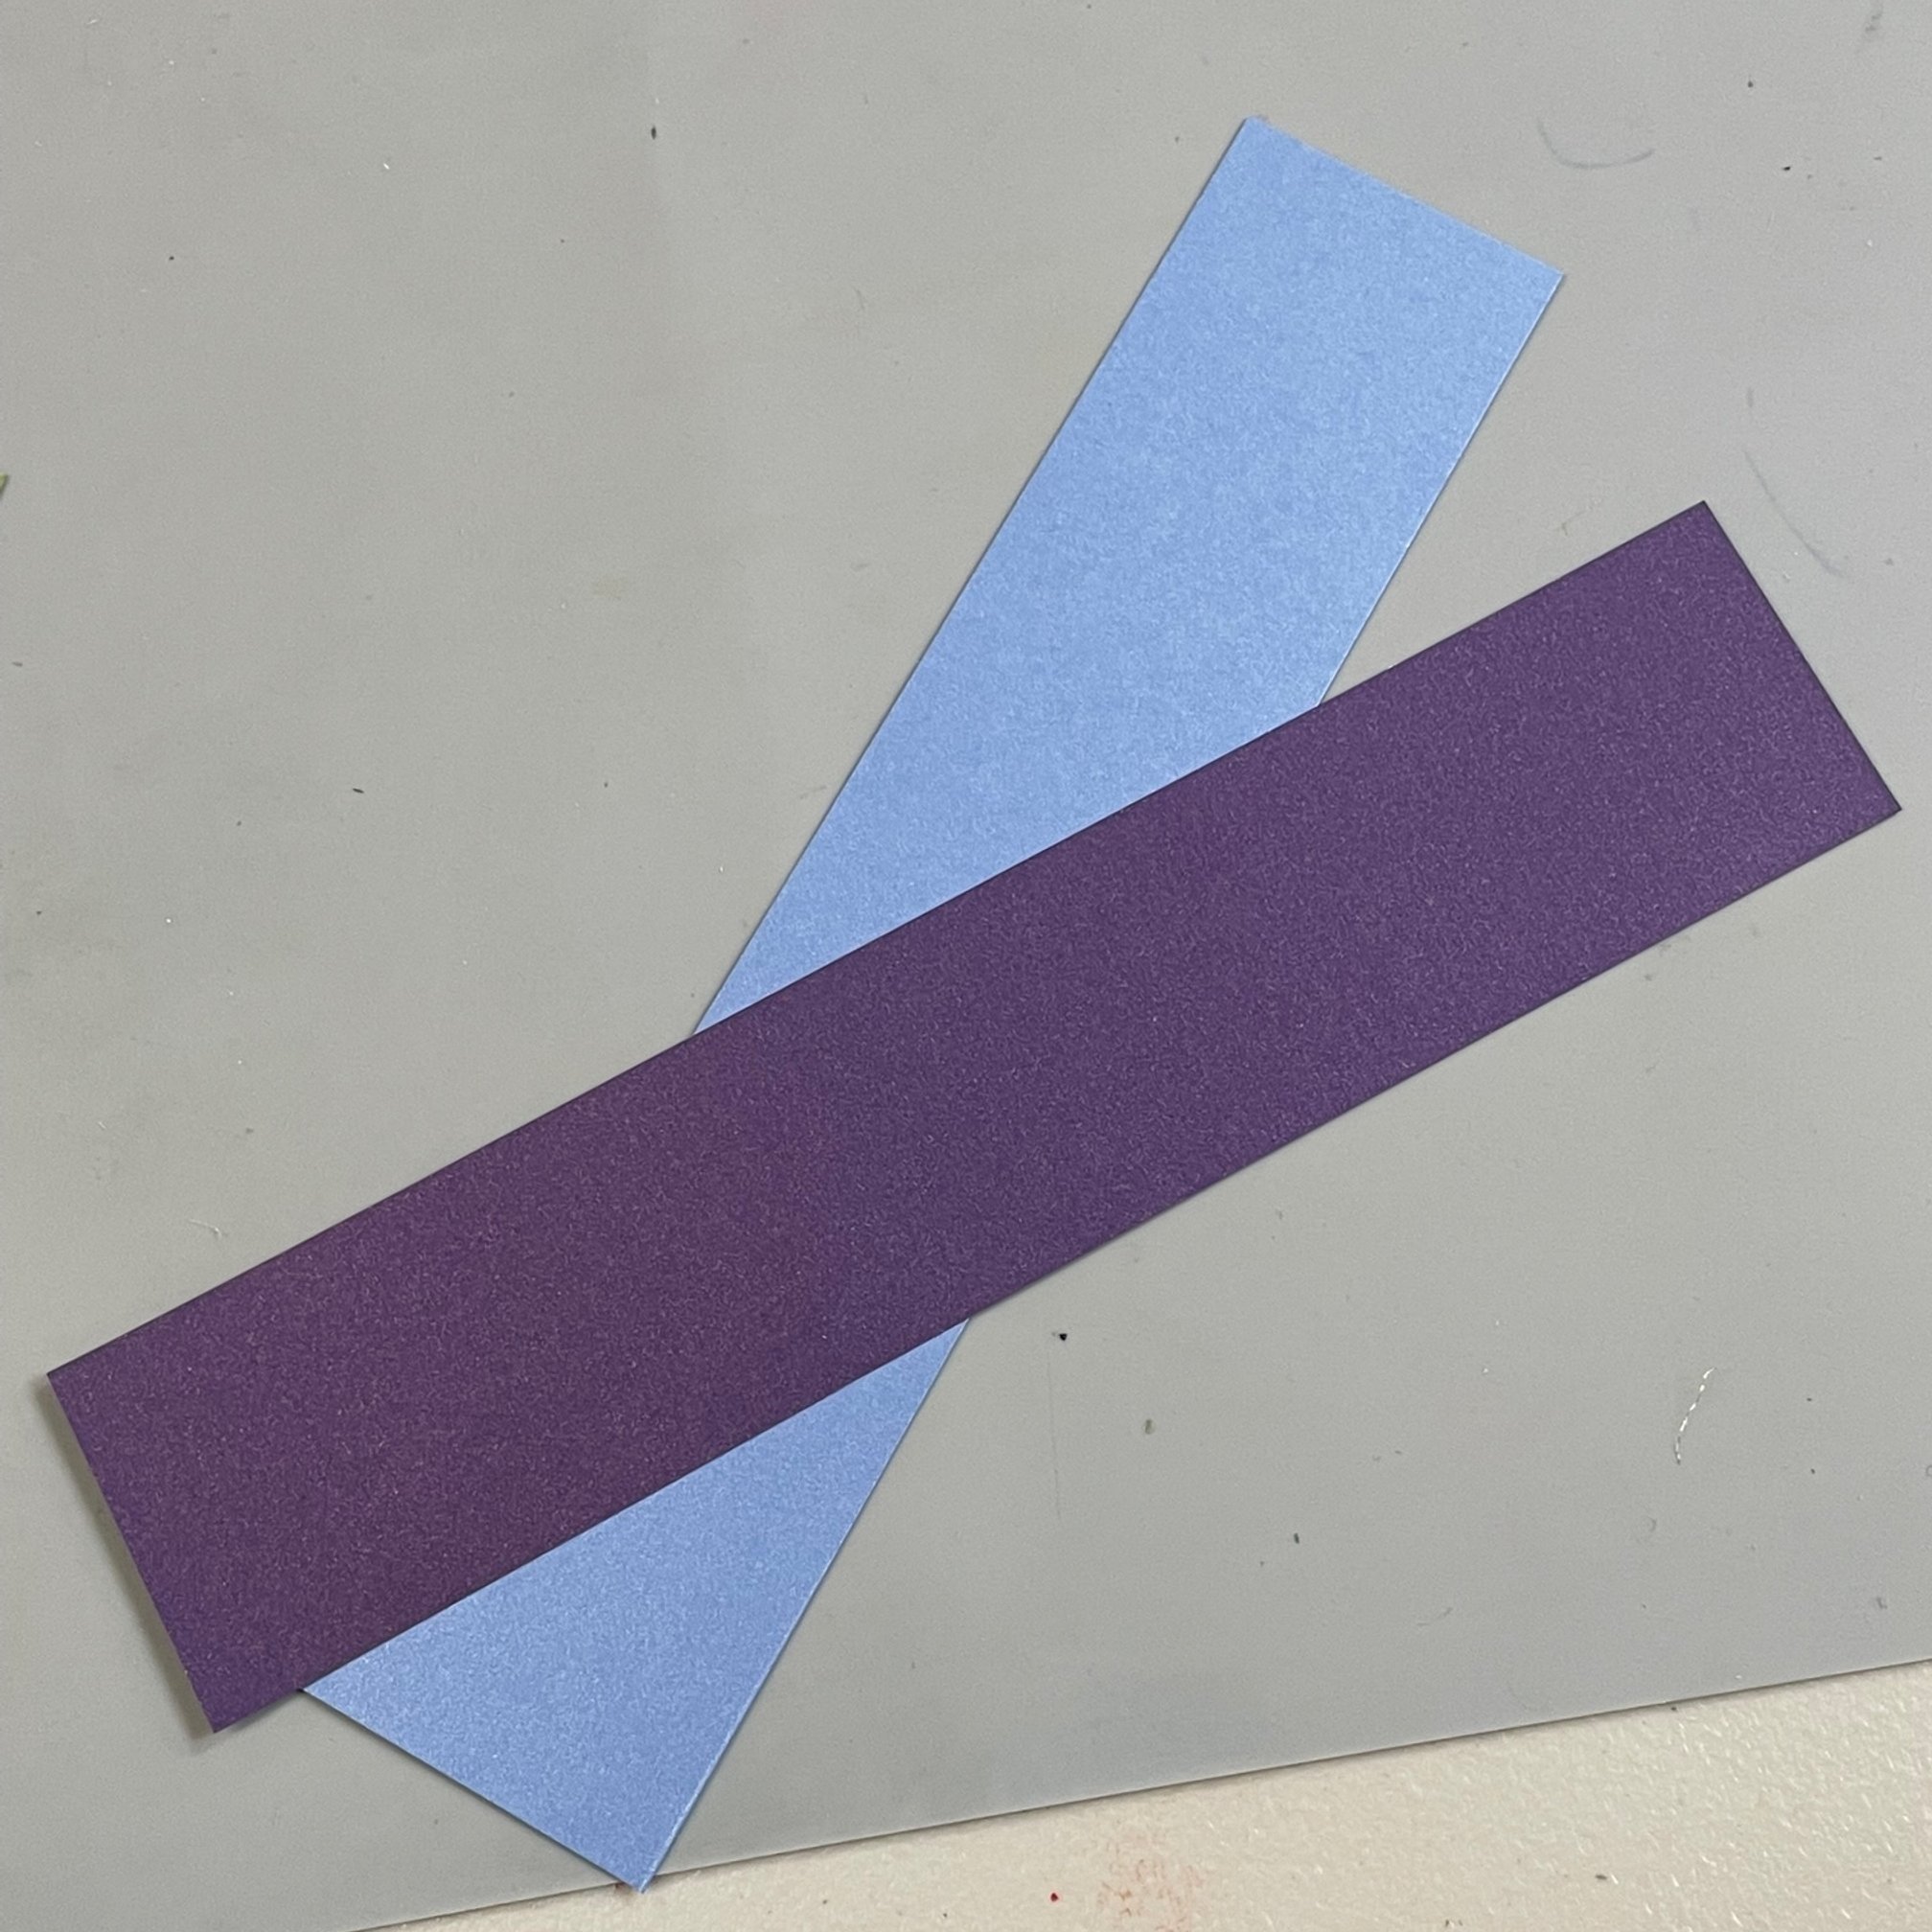
We’ll be using a cardstock and a textweight paper to make our bookmark!

Let’s make an aquarium themed bookmark today!! This is So much fun with this lamination method!
We’ll start by choosing our paper and cutting it into a strip that is a quarter inch thinner than our packing tape. We want that extra room to seal up the lamination!
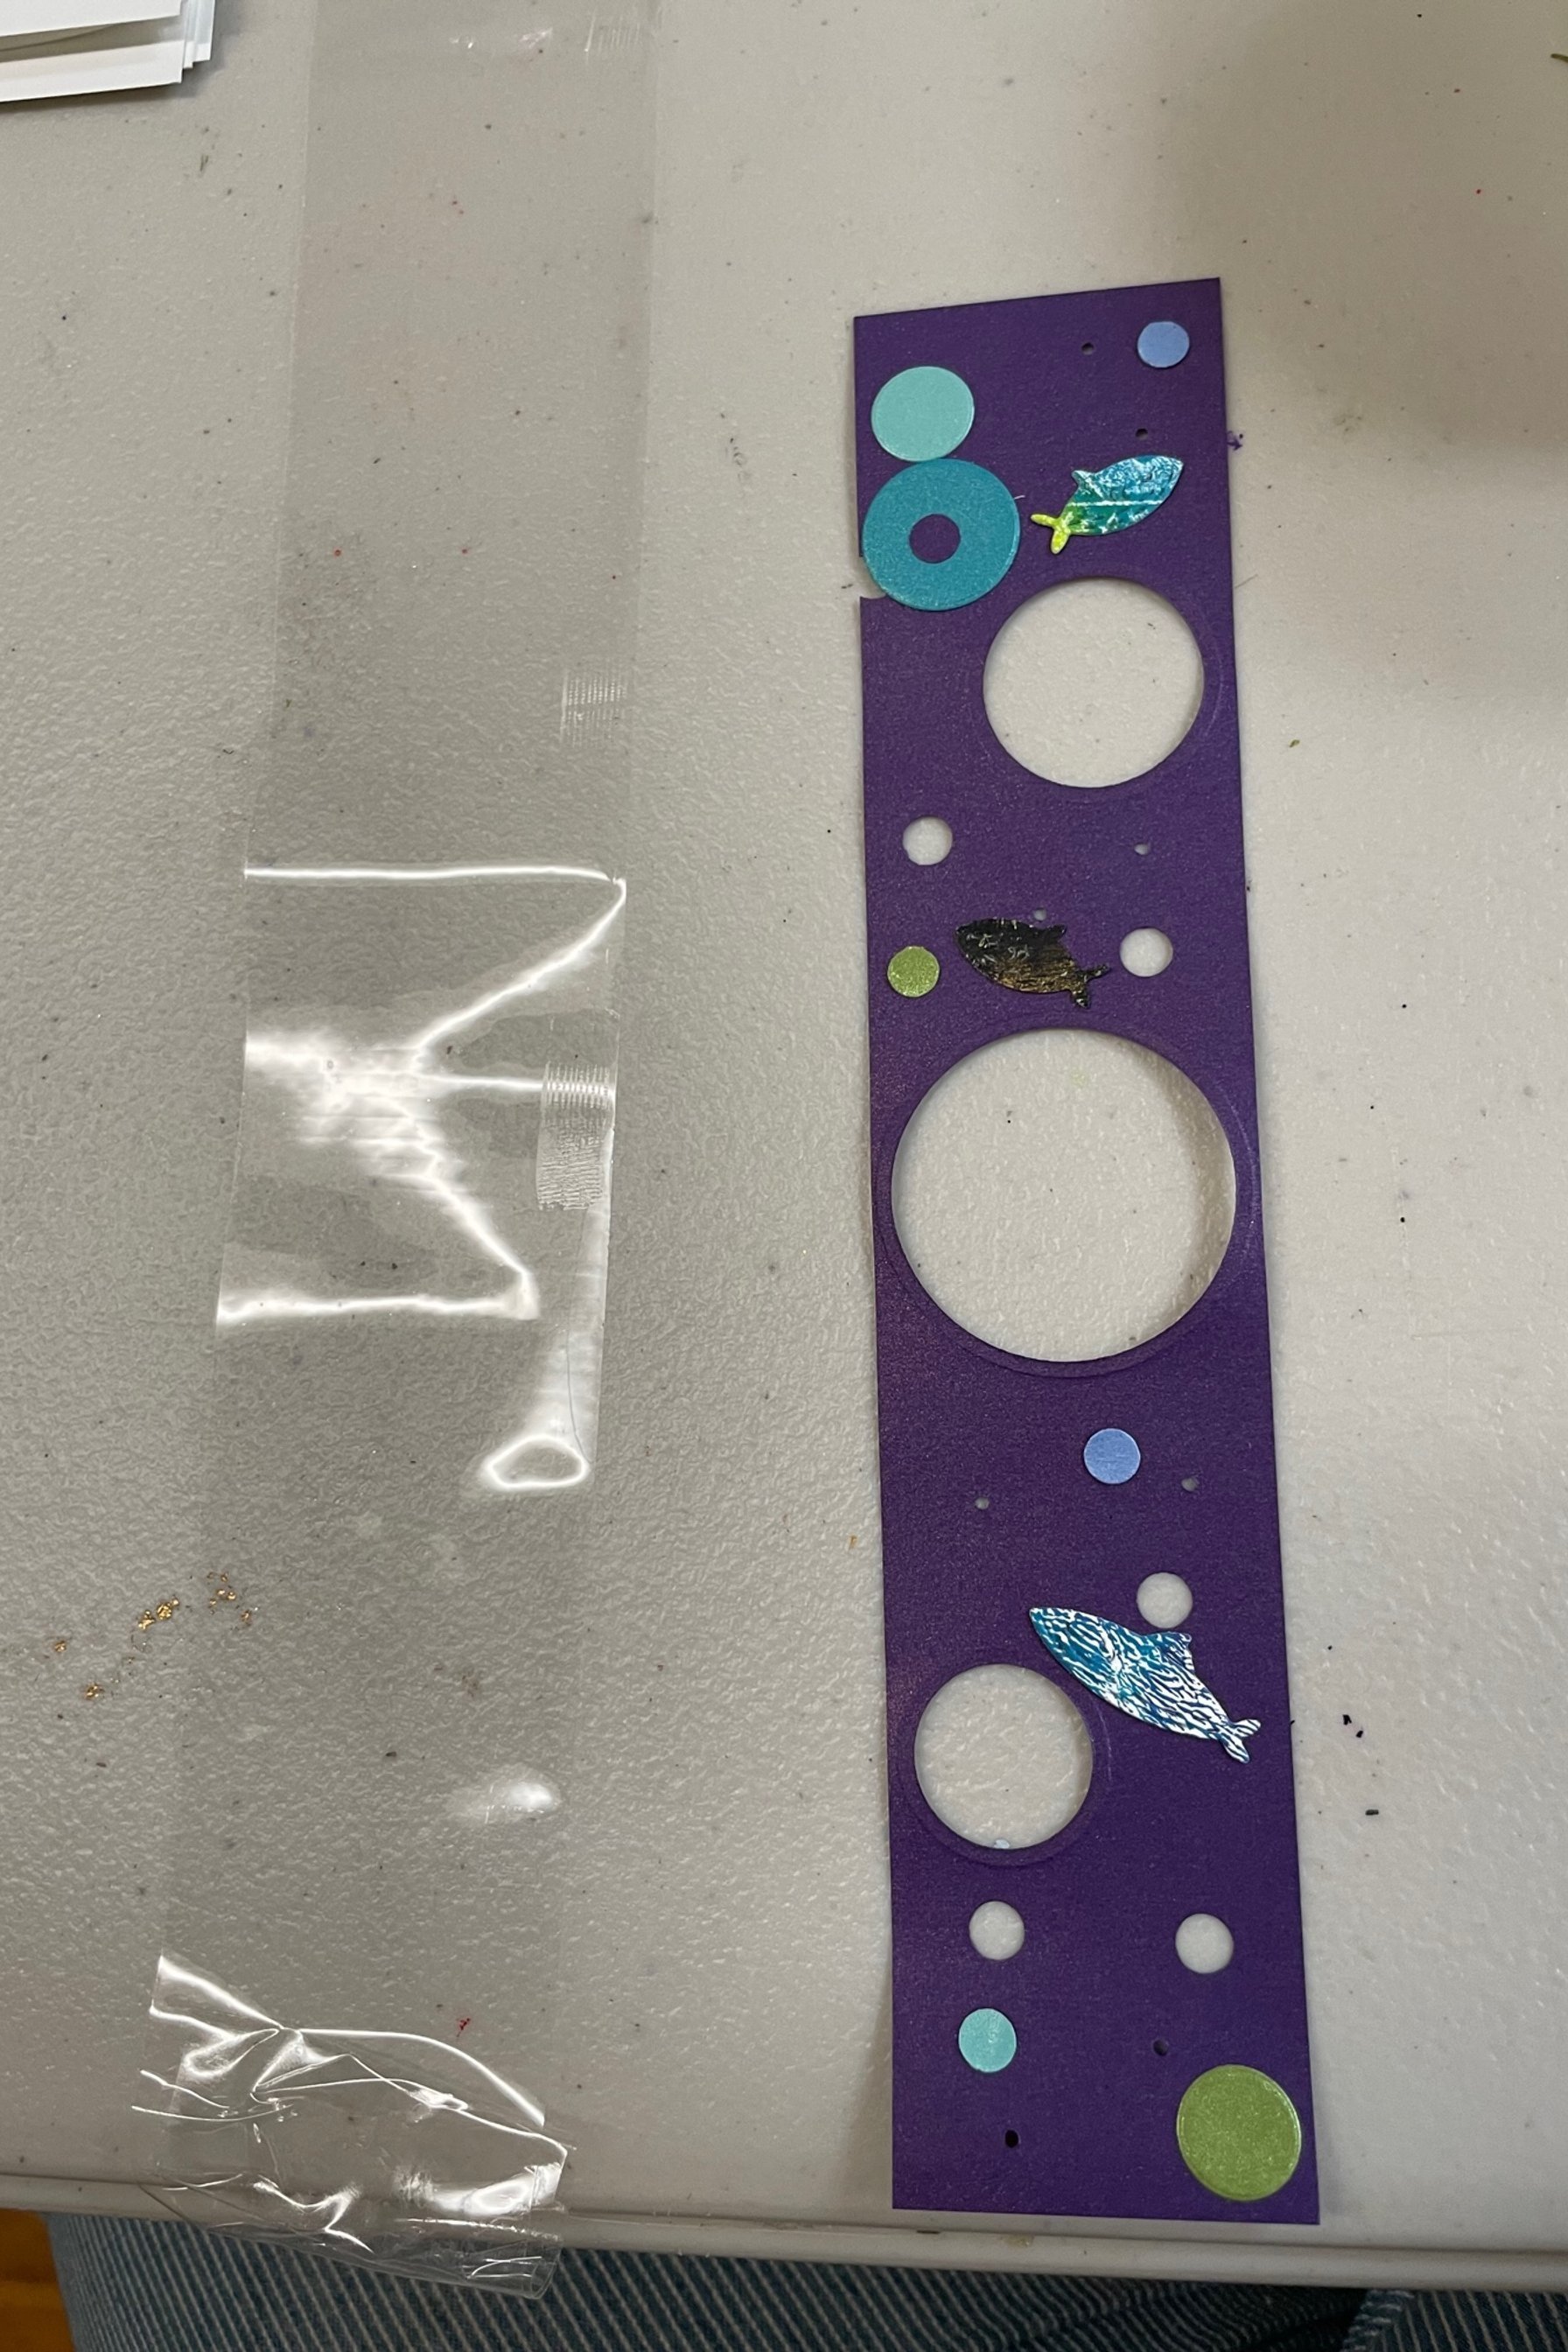
Choose two papers you love- one lighter-weight paper for the back and one heavier weight for the front! We’ll be sandwiching some fishies between!

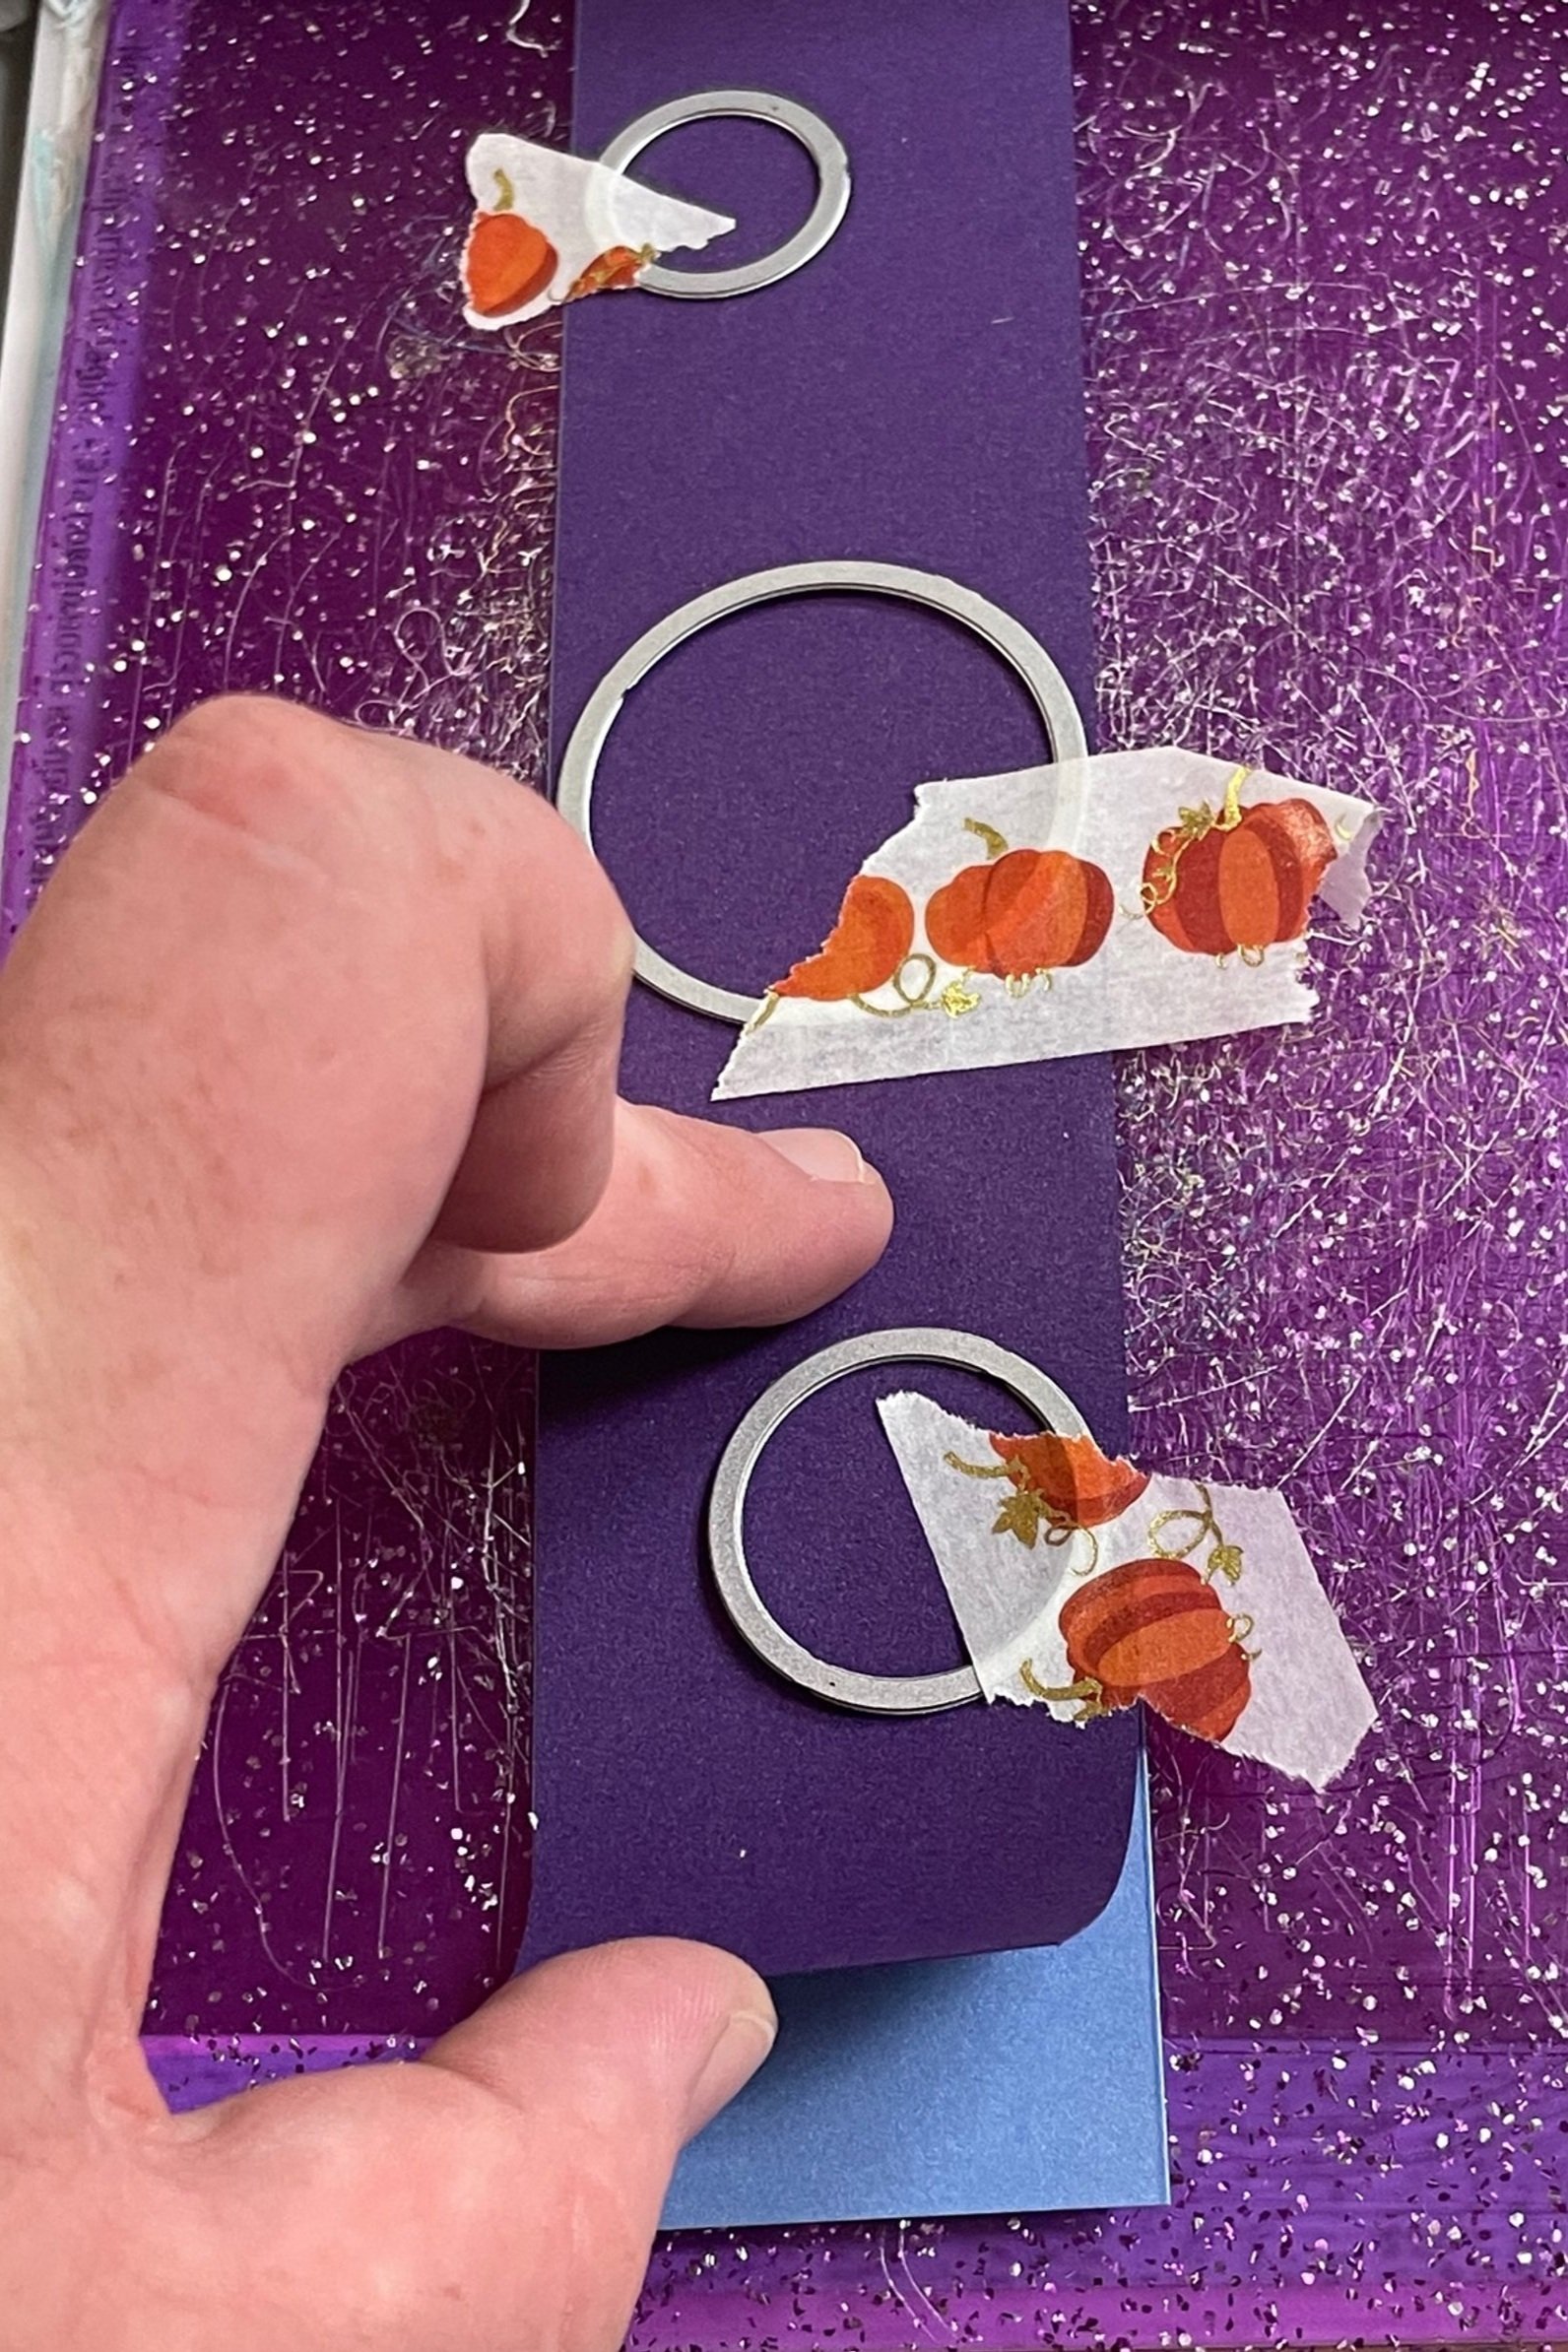
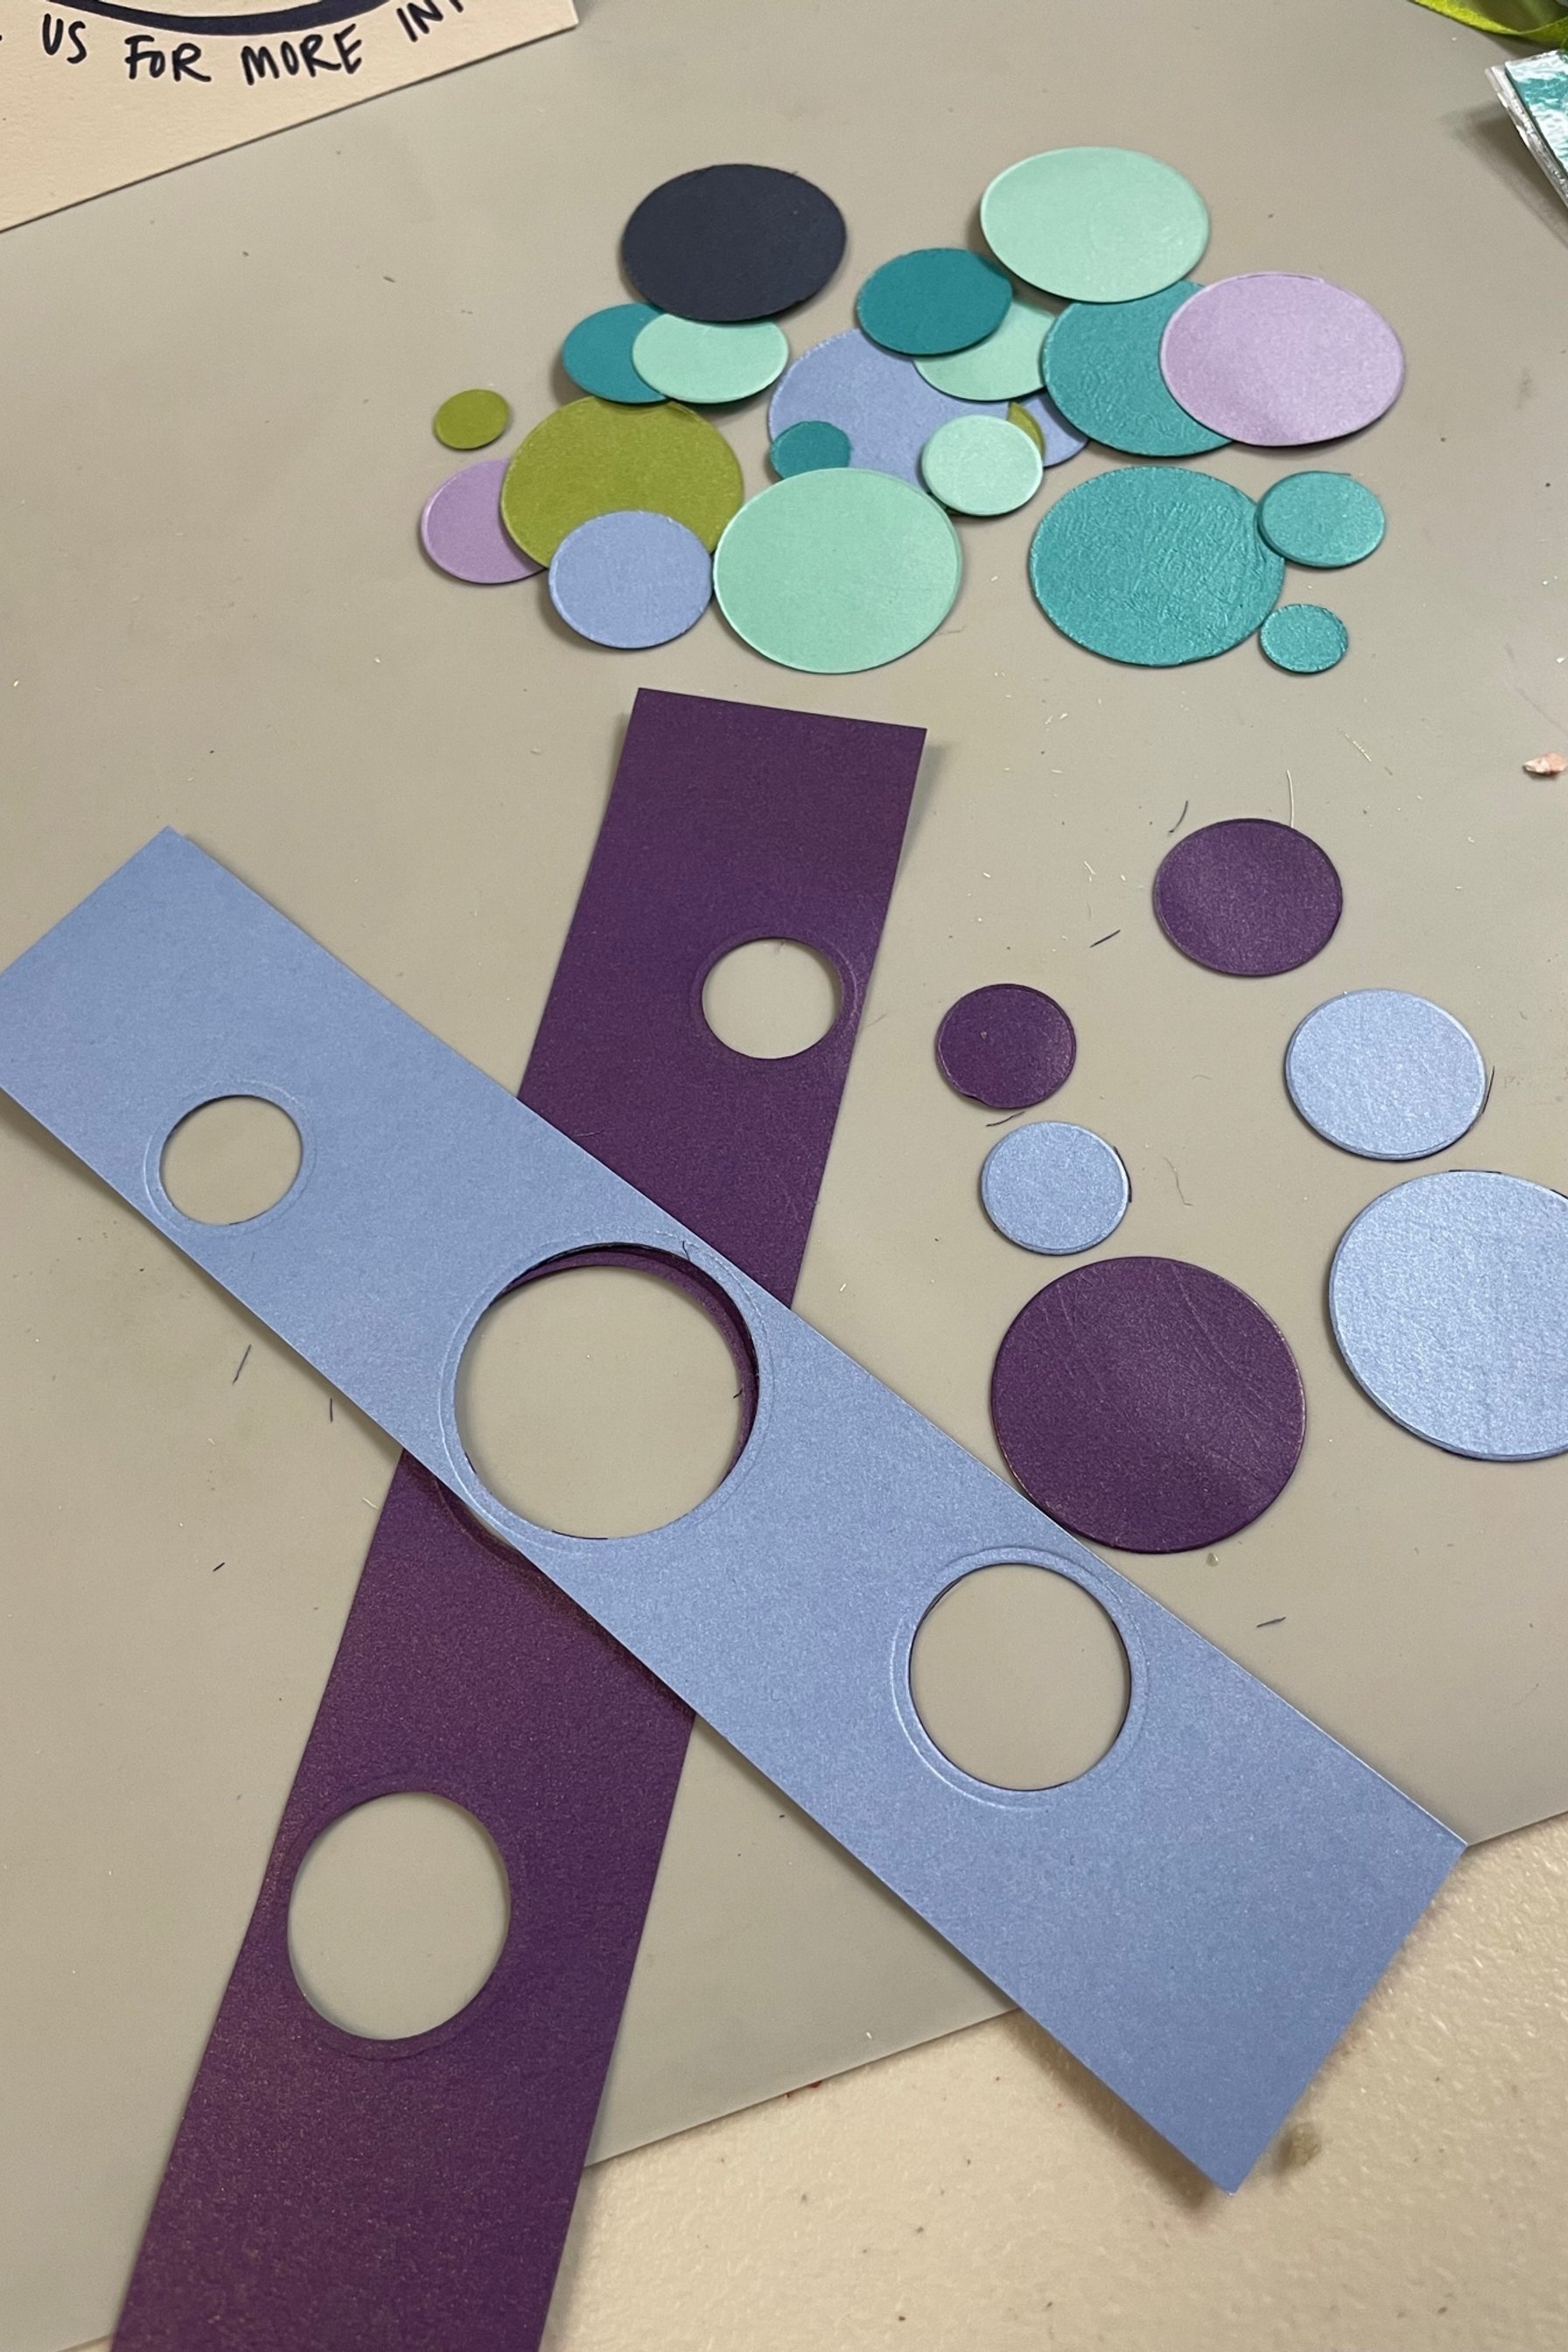
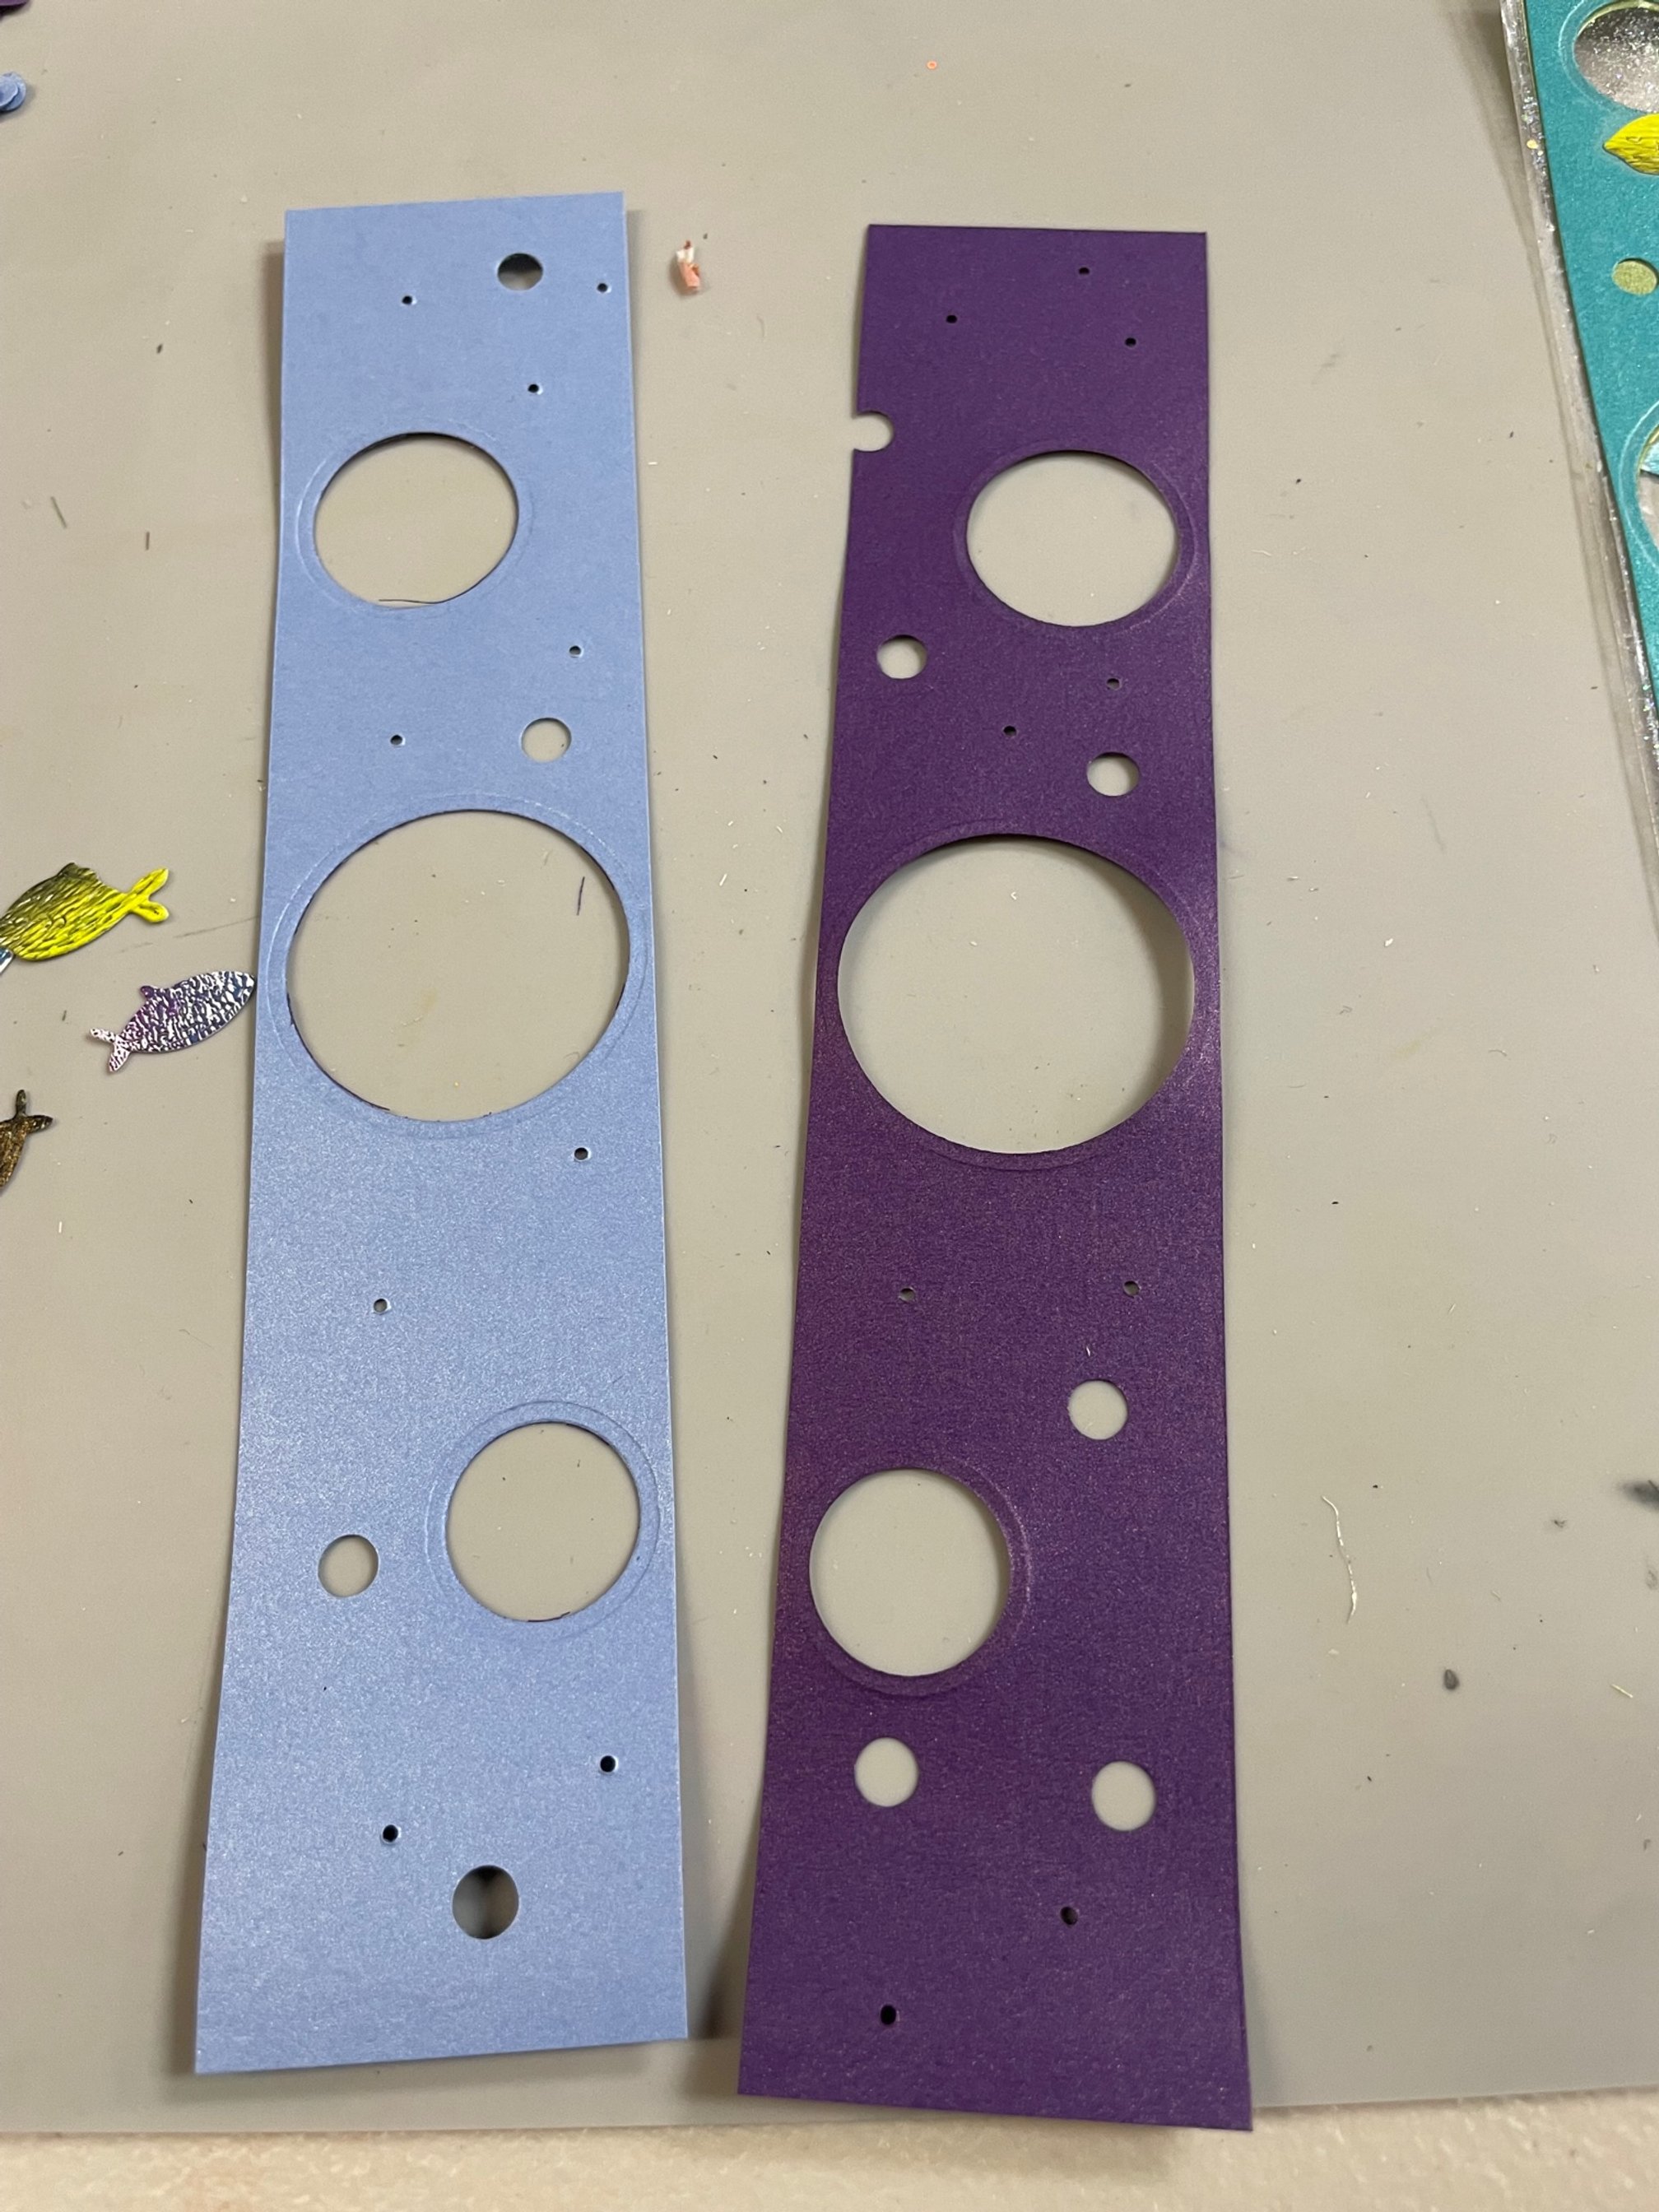
Let’s start by taking our circle paper punches and popping windows in both places of both papers!
These will be our ‘windows’ through the bookmark!
Use the hole-punchers to create ‘bubbles’ of different sizes!!
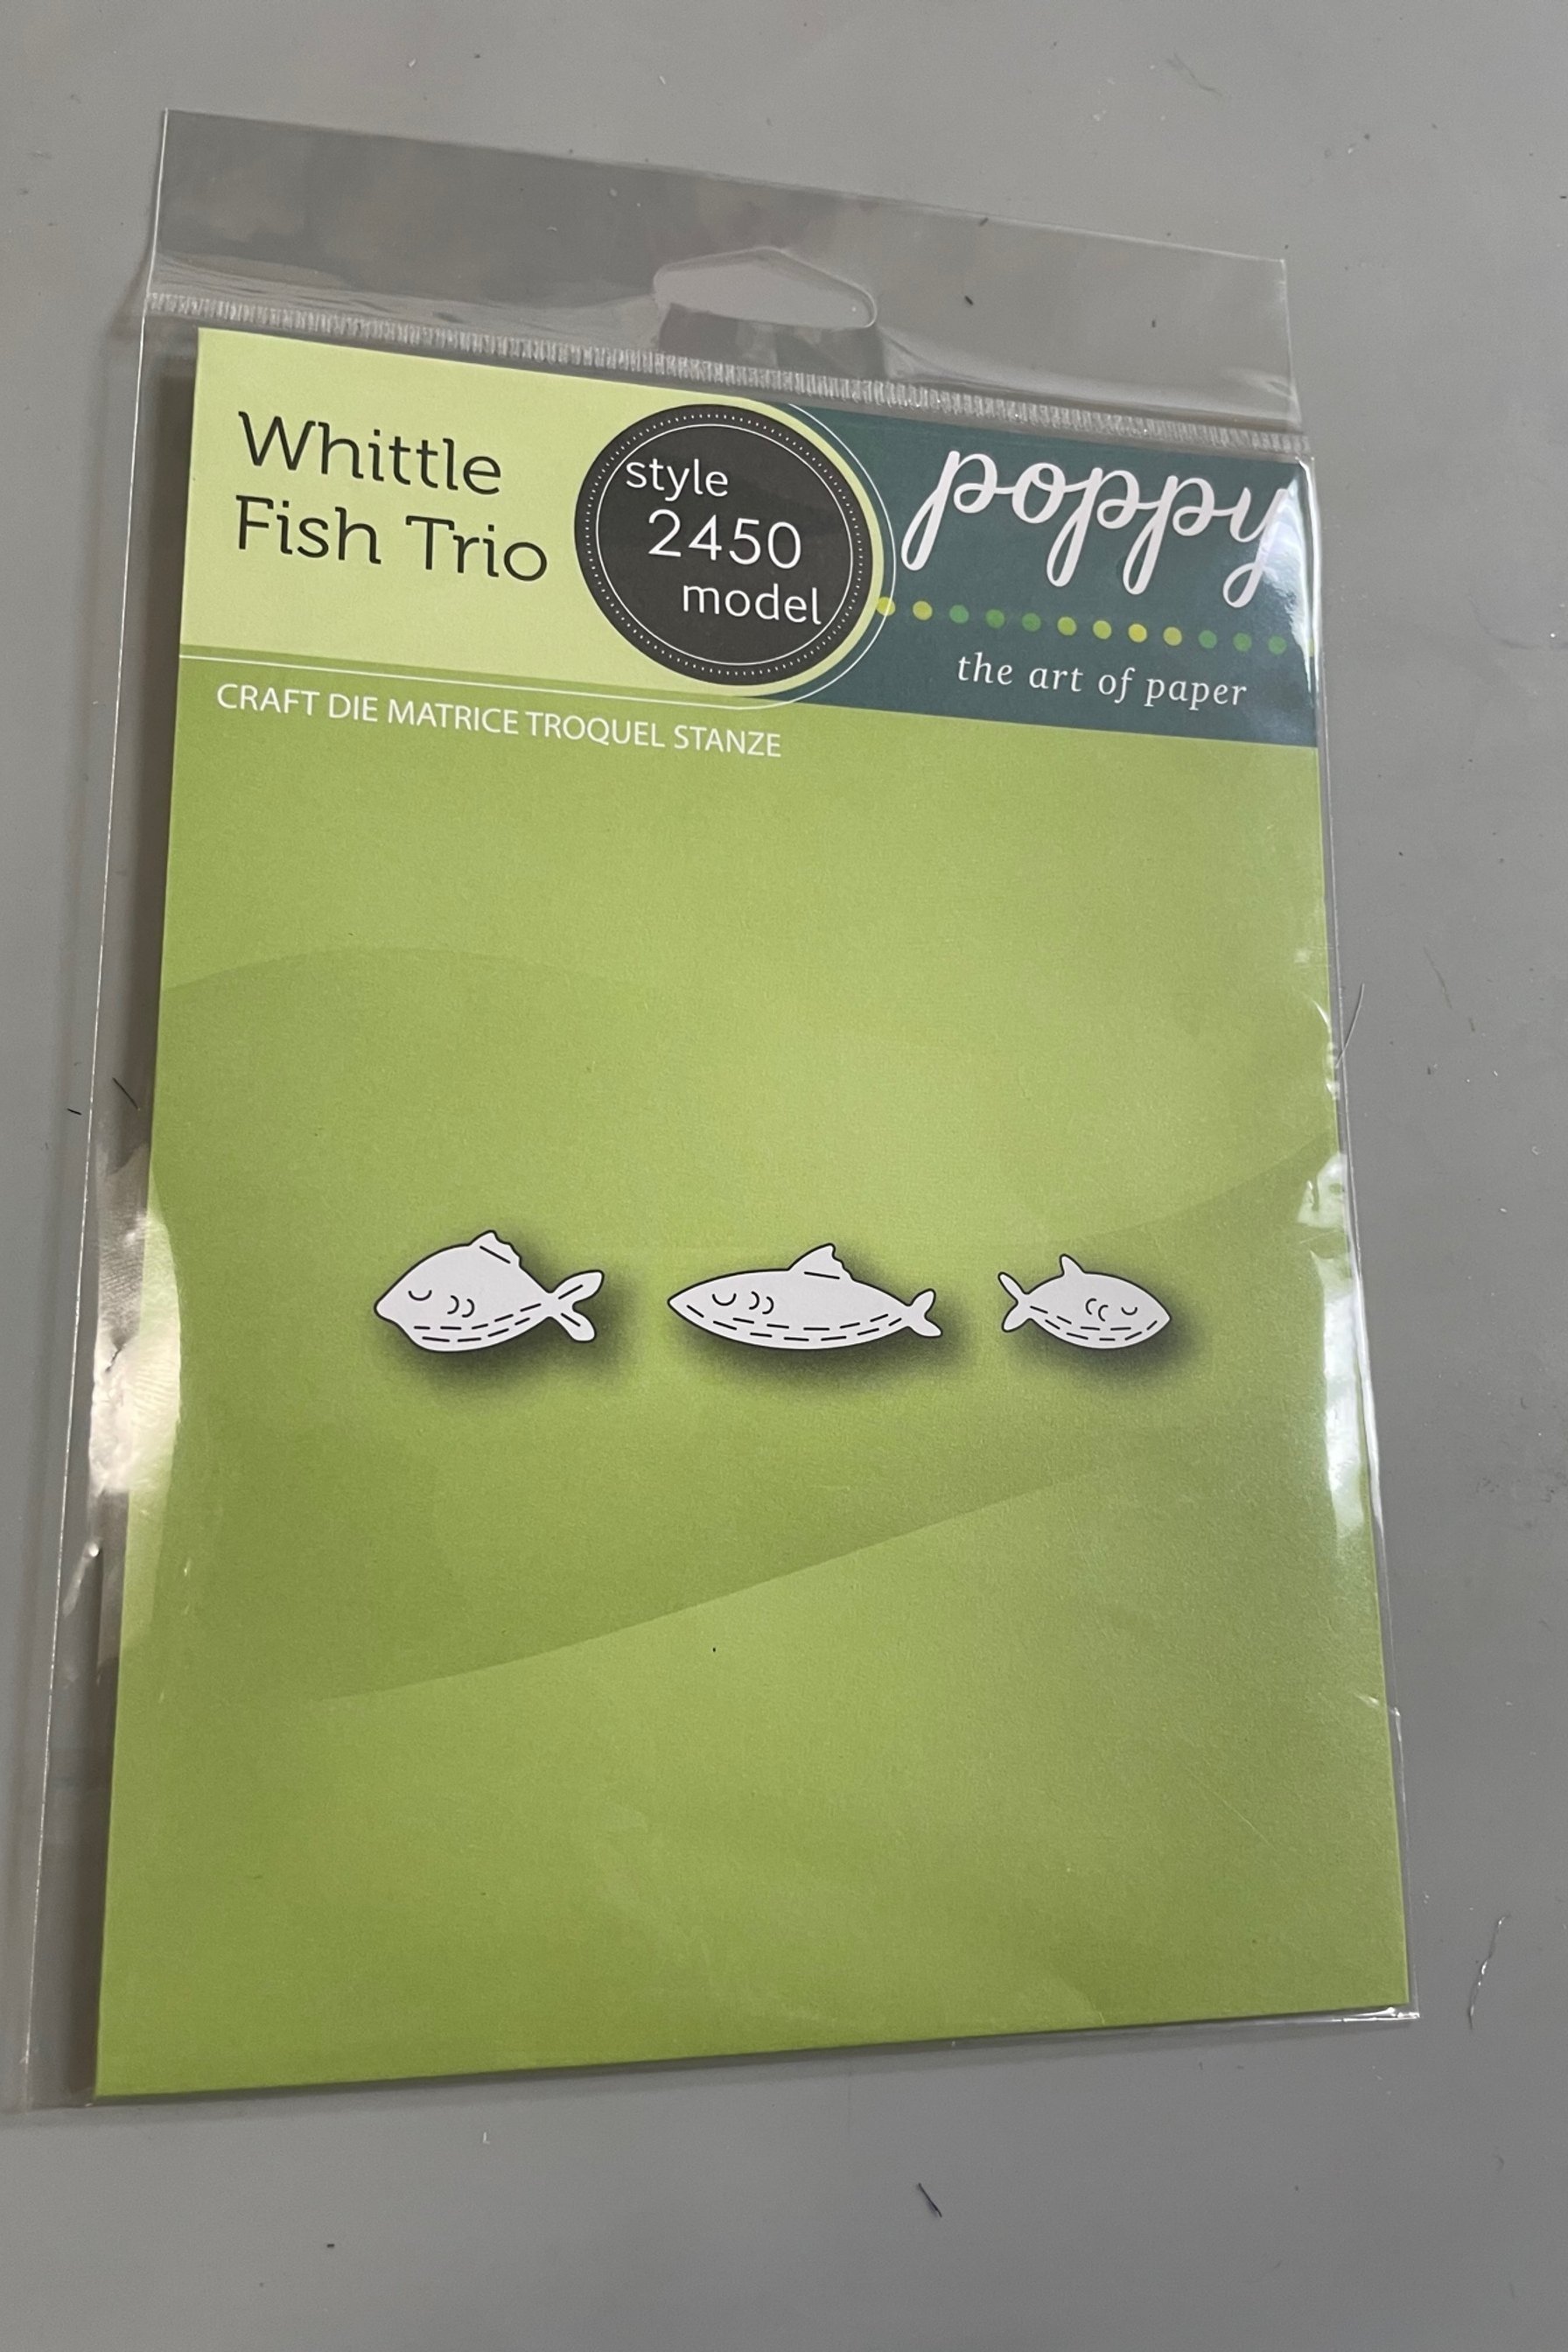
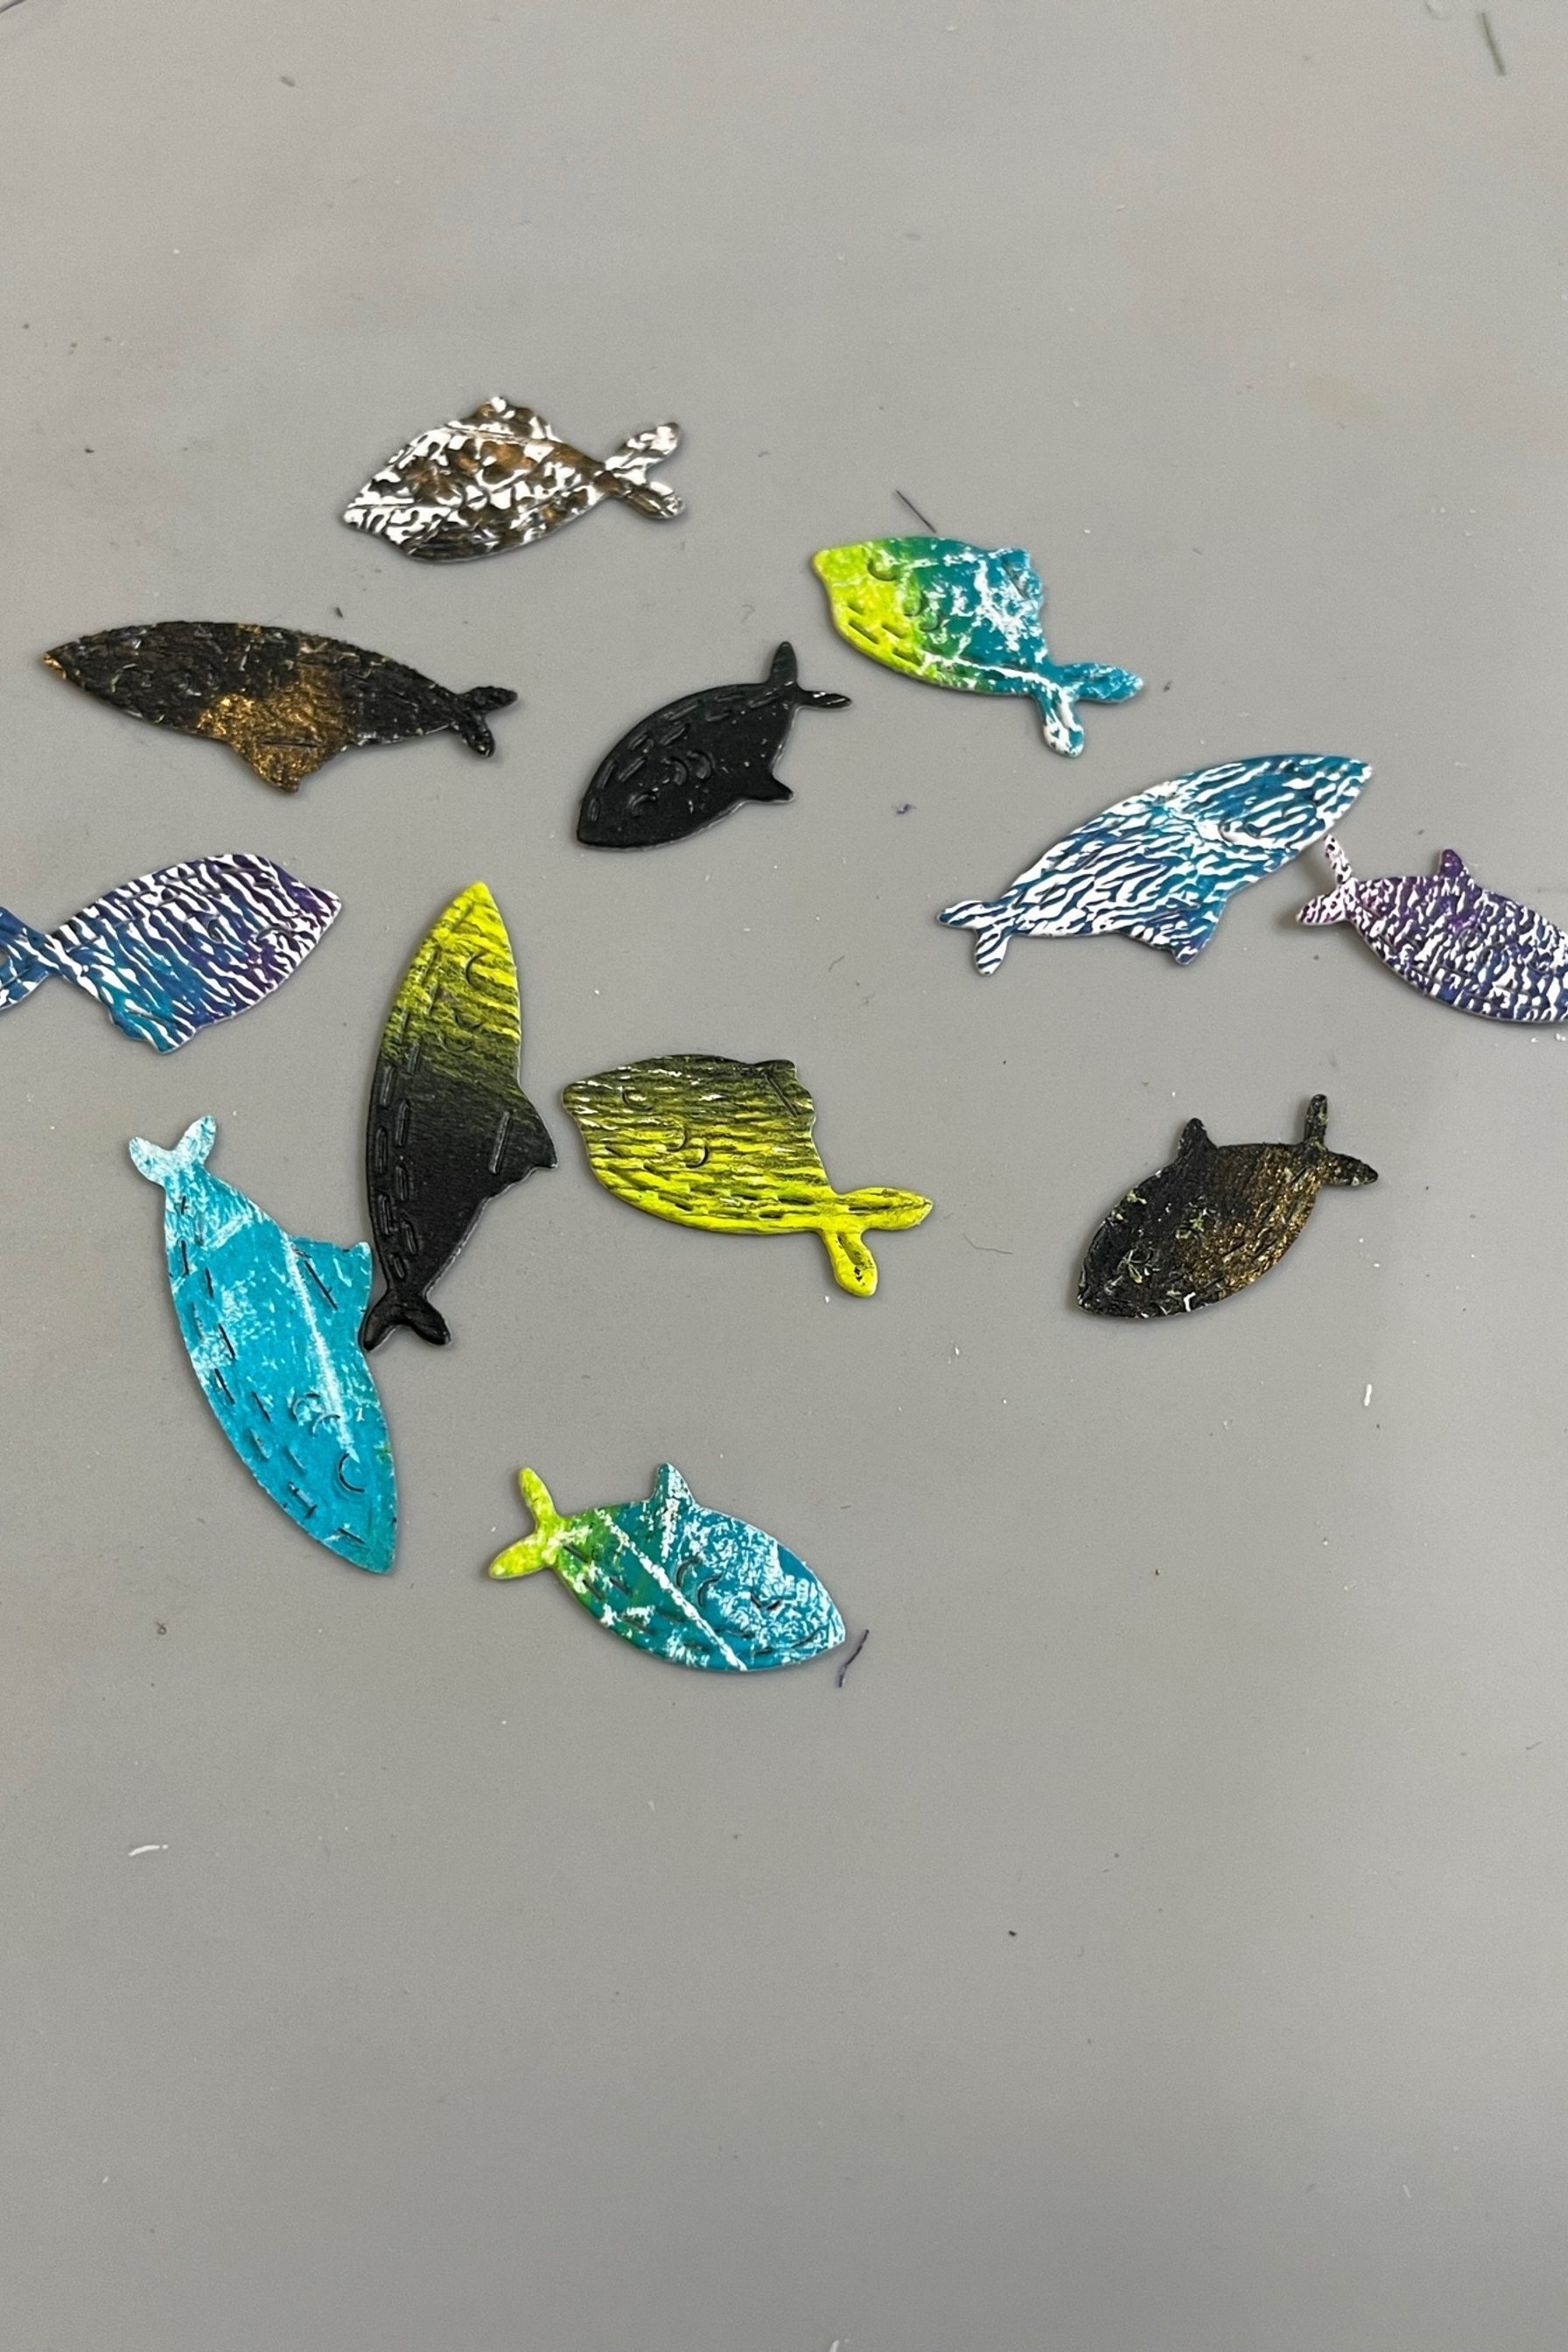
Then, take your favorite mono-print and die-cut fishes! If you’d like them to be doublesided colorful fish, grab a marker to fill in that blank space.
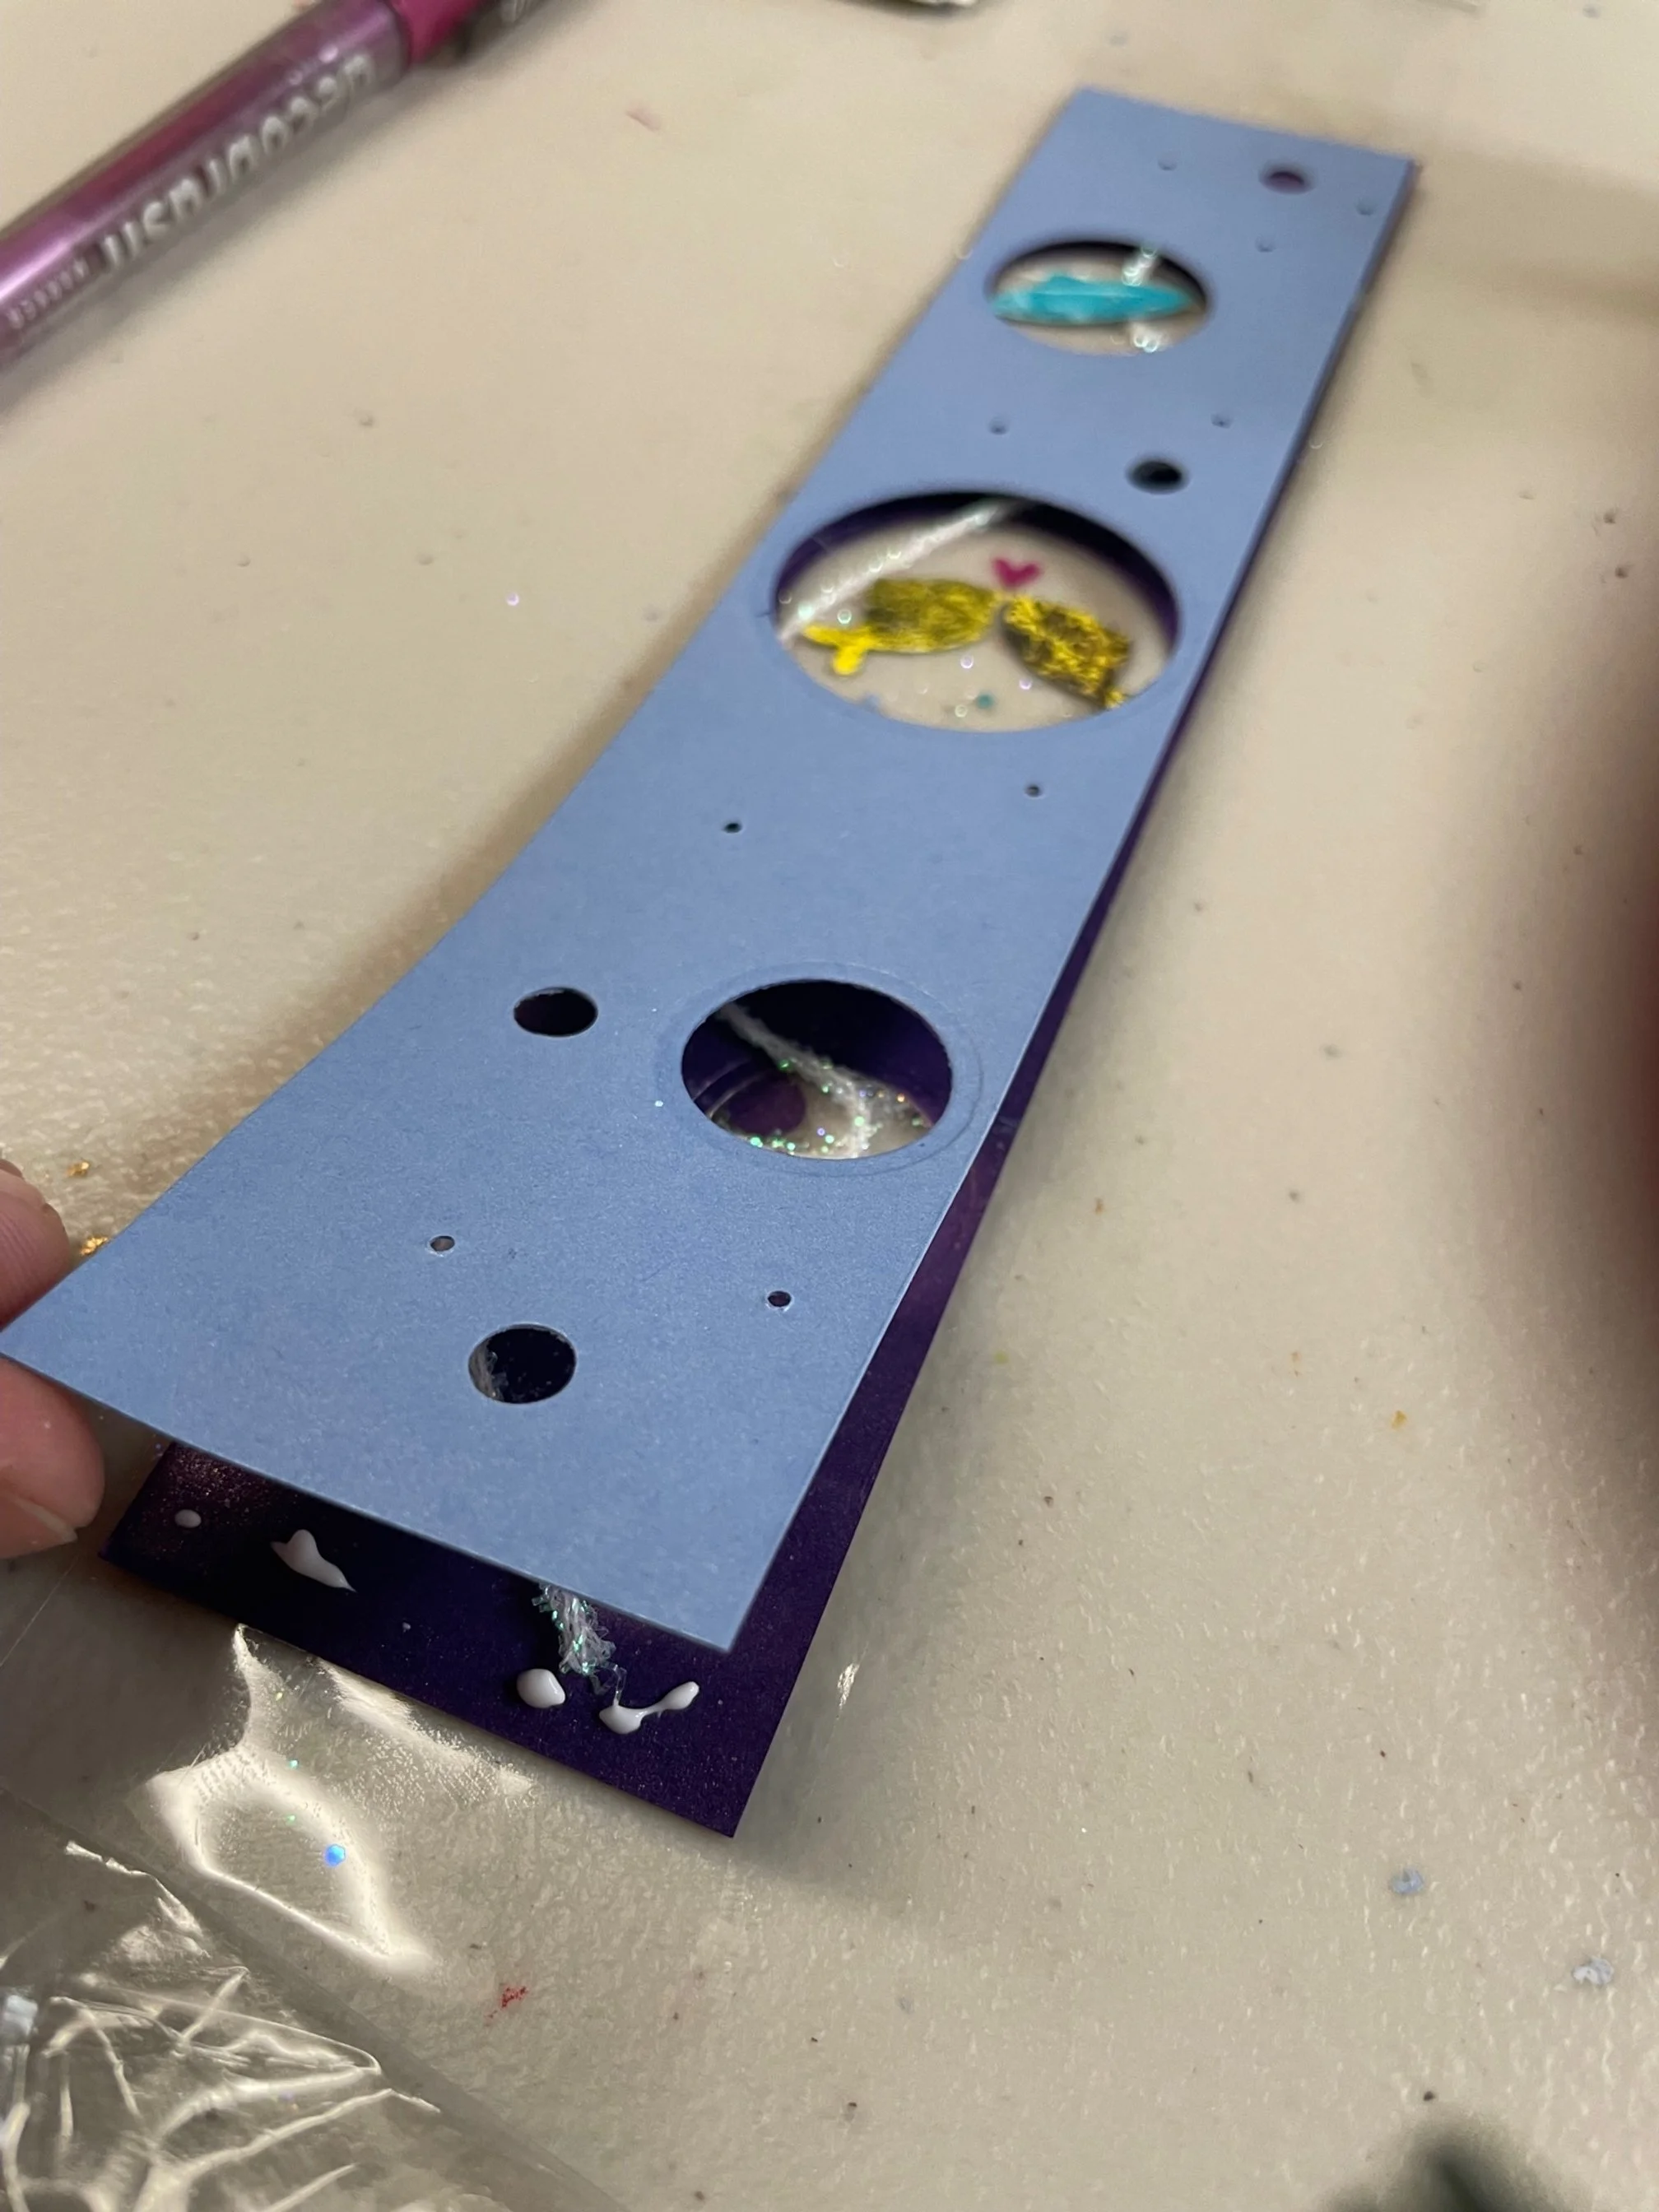
Now it’s time to decorate the back of our bookmark!!
We’ll take our packing tape and roll either end- this lets us stick it in place on the table so we can lay down the paper easily.
Use the little bubbles, fishes, and glitter to create a scene! Remember this is only the backing so save your favorites for the front!
Just a little bit of glue will help these critters stay in place as we flip it on to the sticky-side of the tape.
Choose any critters or glitters that you’d like ‘sandwiched’ between the layers.
You could even add some twine or ribbon to act like seaweed!! How fun!!
I’ll be putting these kissy fish in the center!
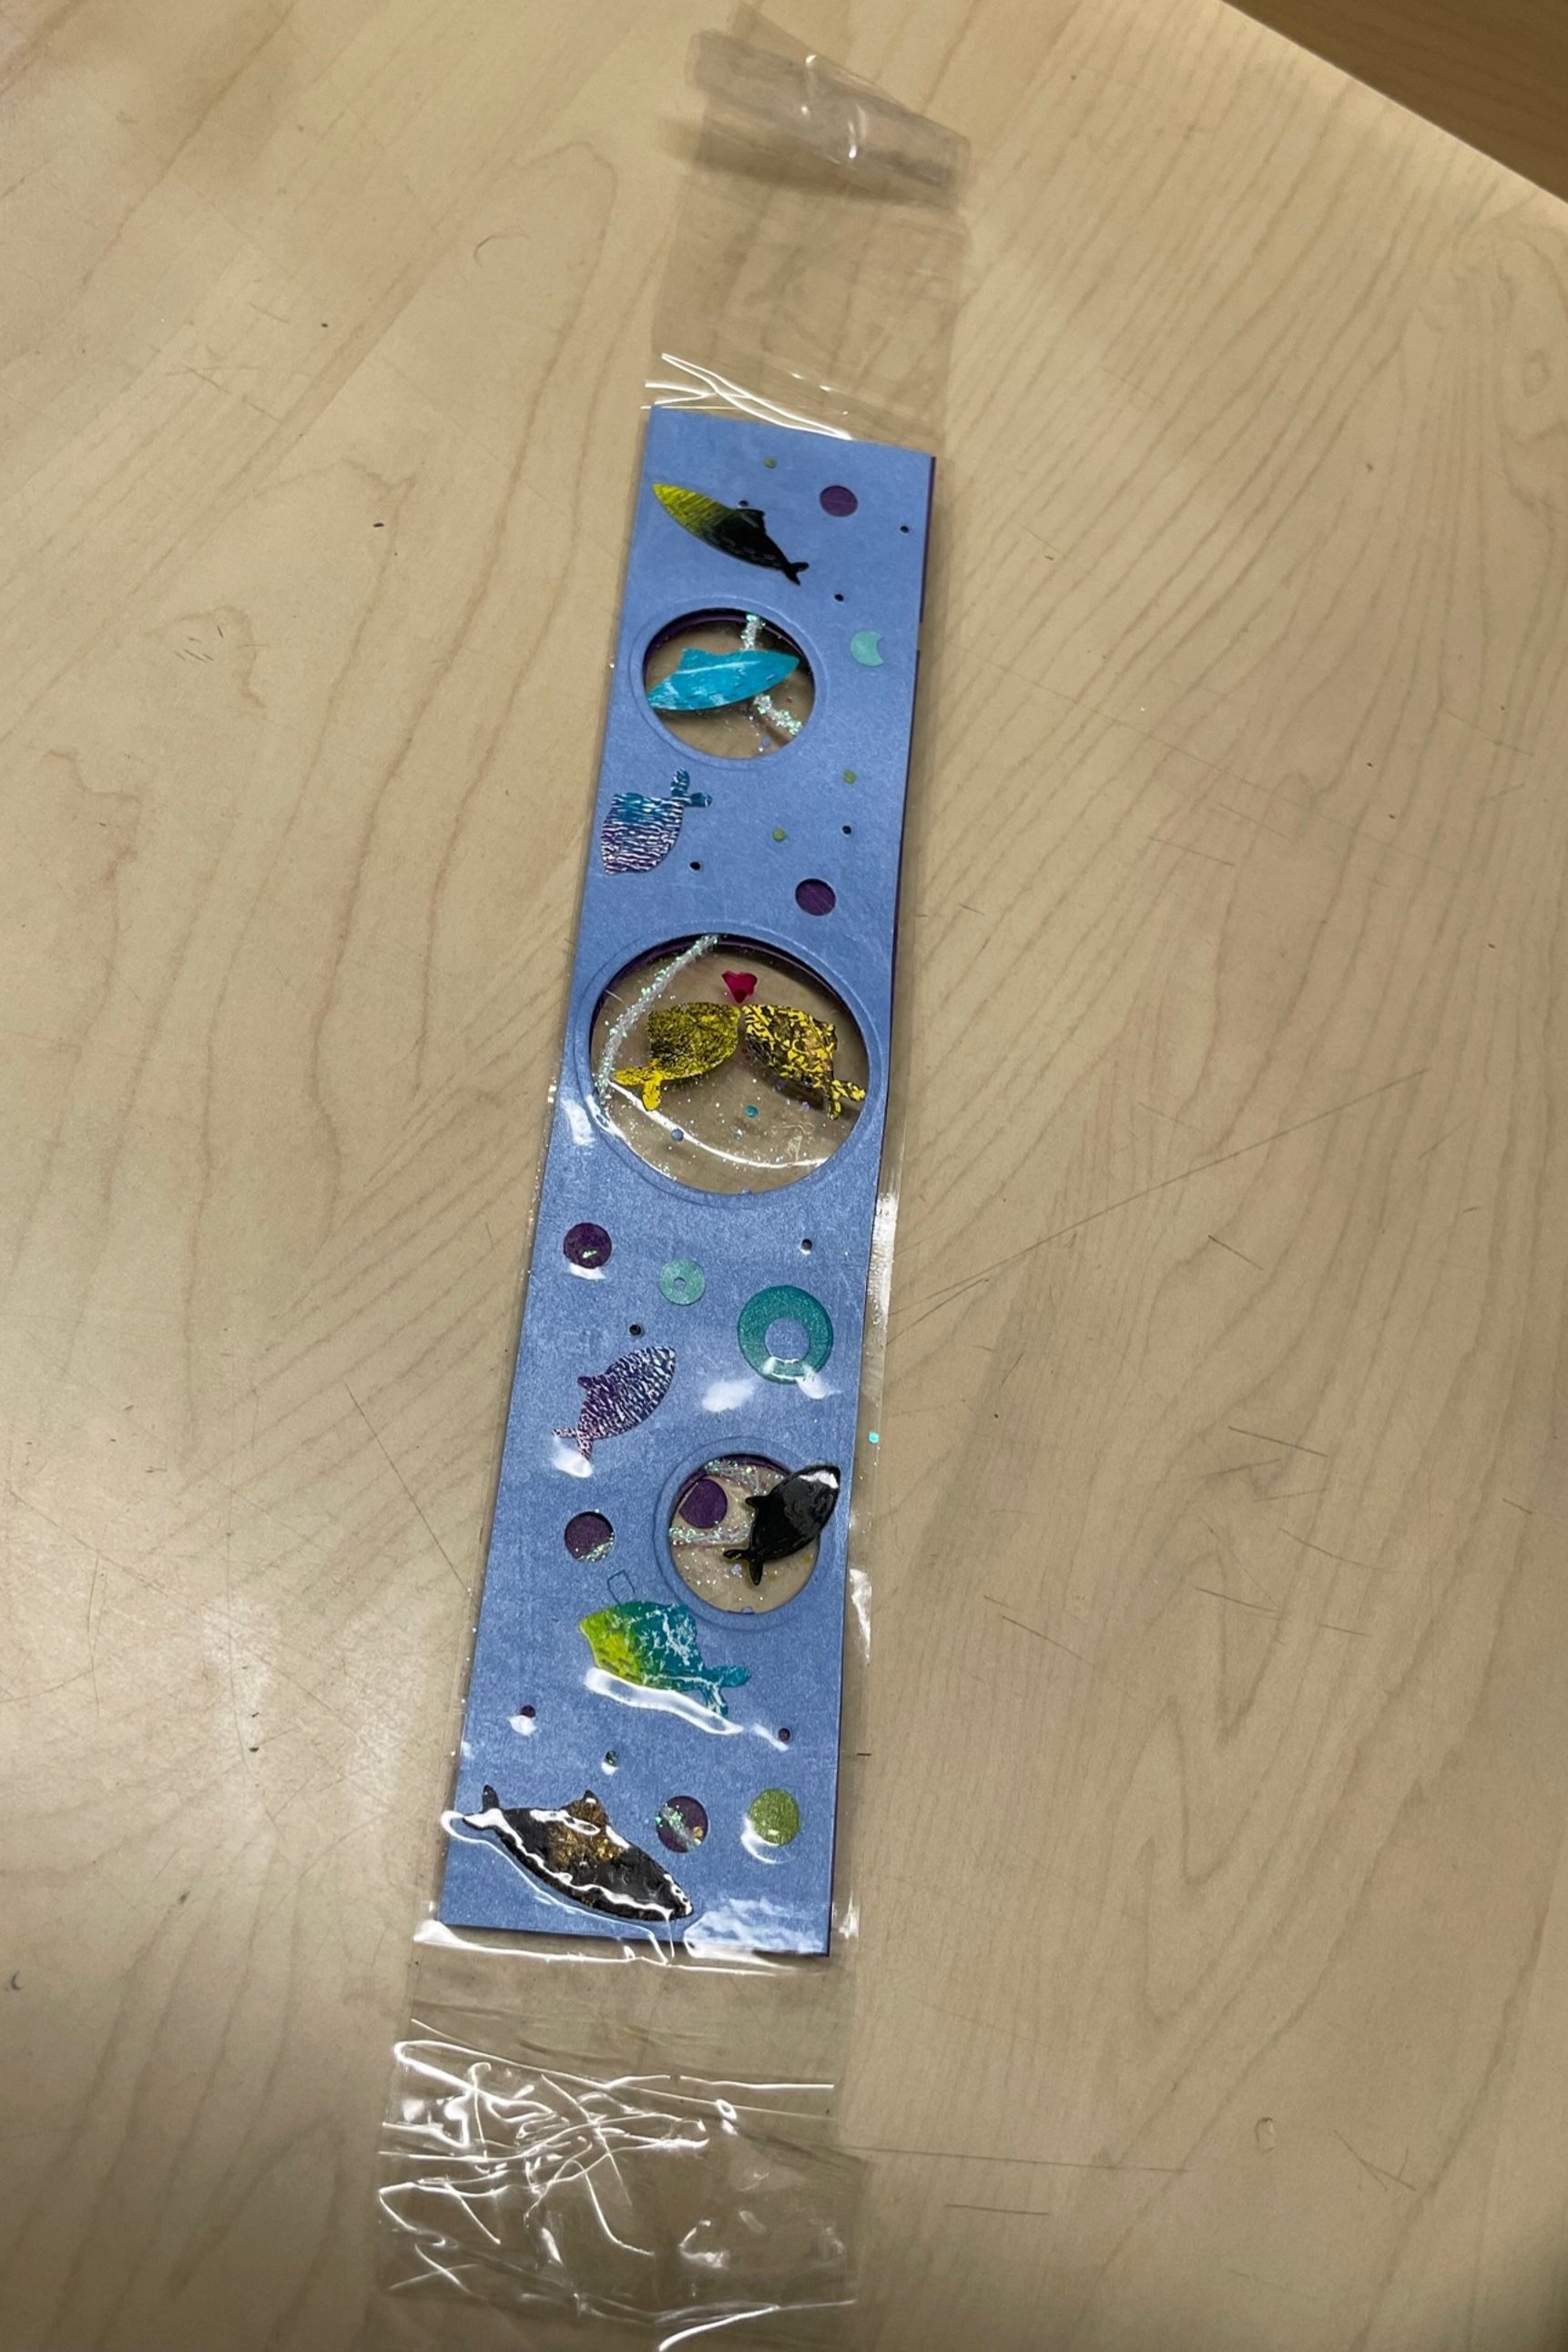
Now, let’s layer on the front!!
Use the left-over bubbles and fish to make the front of the bookmark!!
I like to make double-sided fish so they can be swimming in different directions!
A little bit of double-sided tape on either end will help it stick to the piece below- making sure nothing moves around too much!

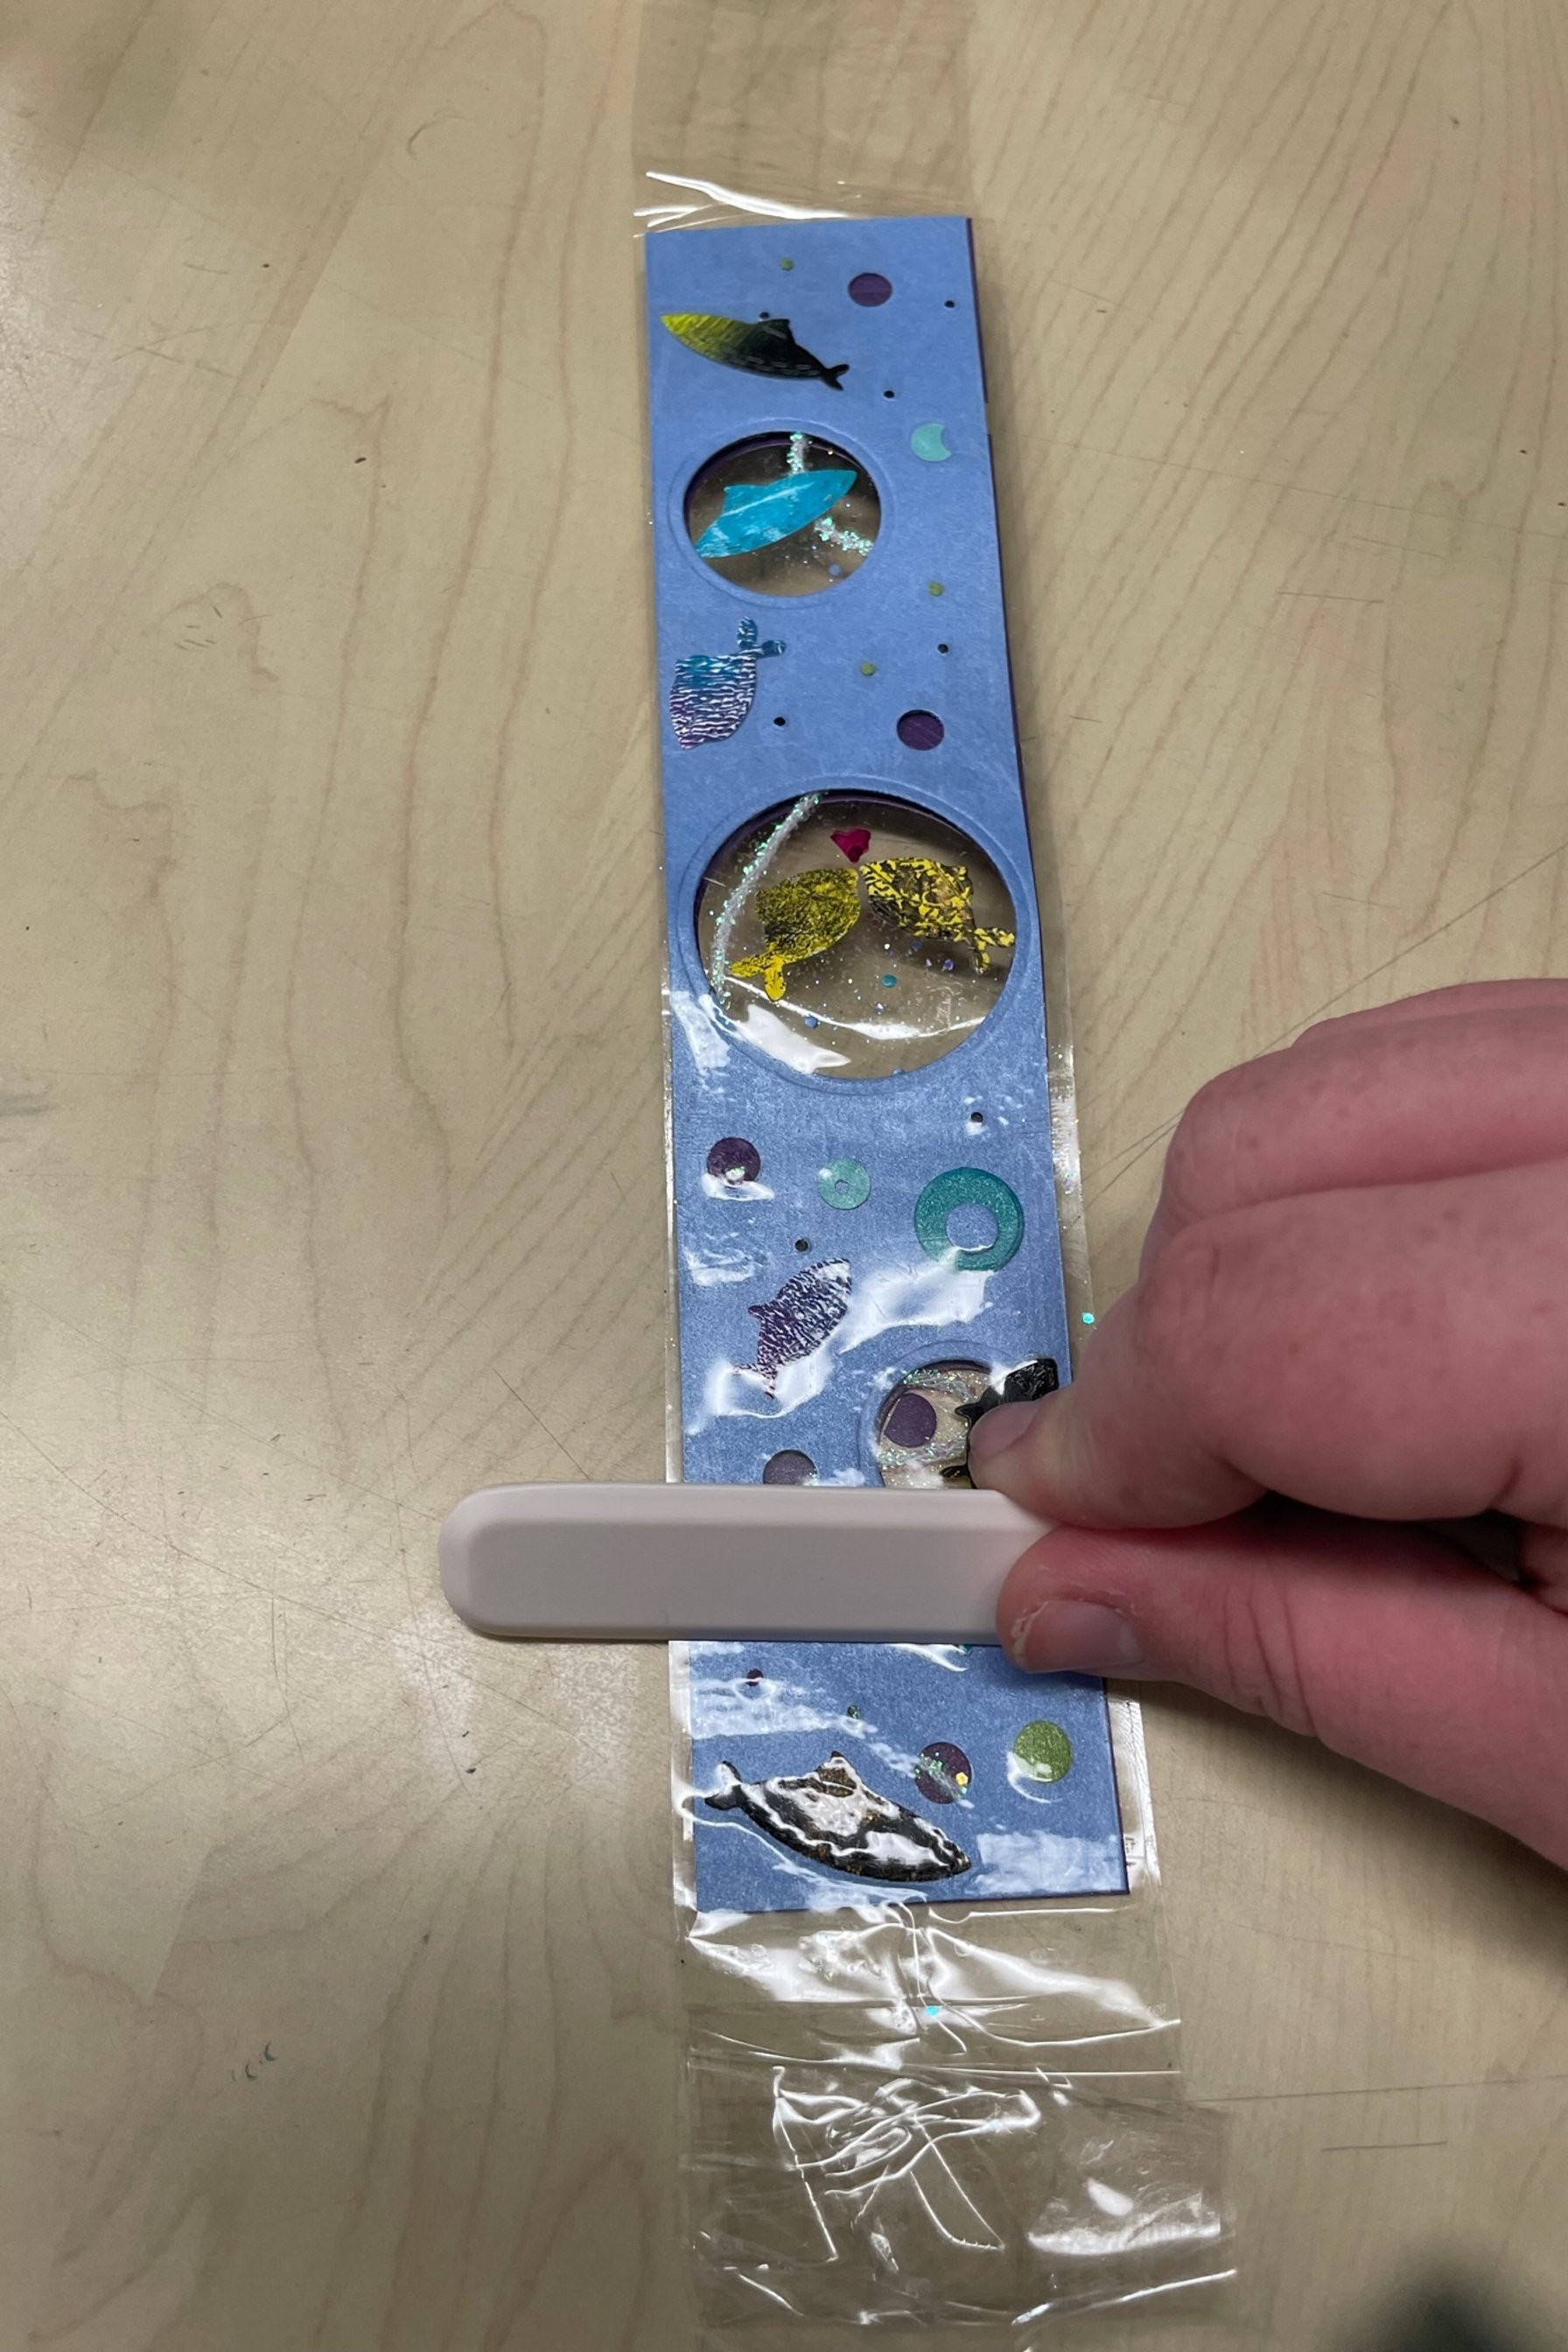
Let’s carefully layer the final piece of packing tape!
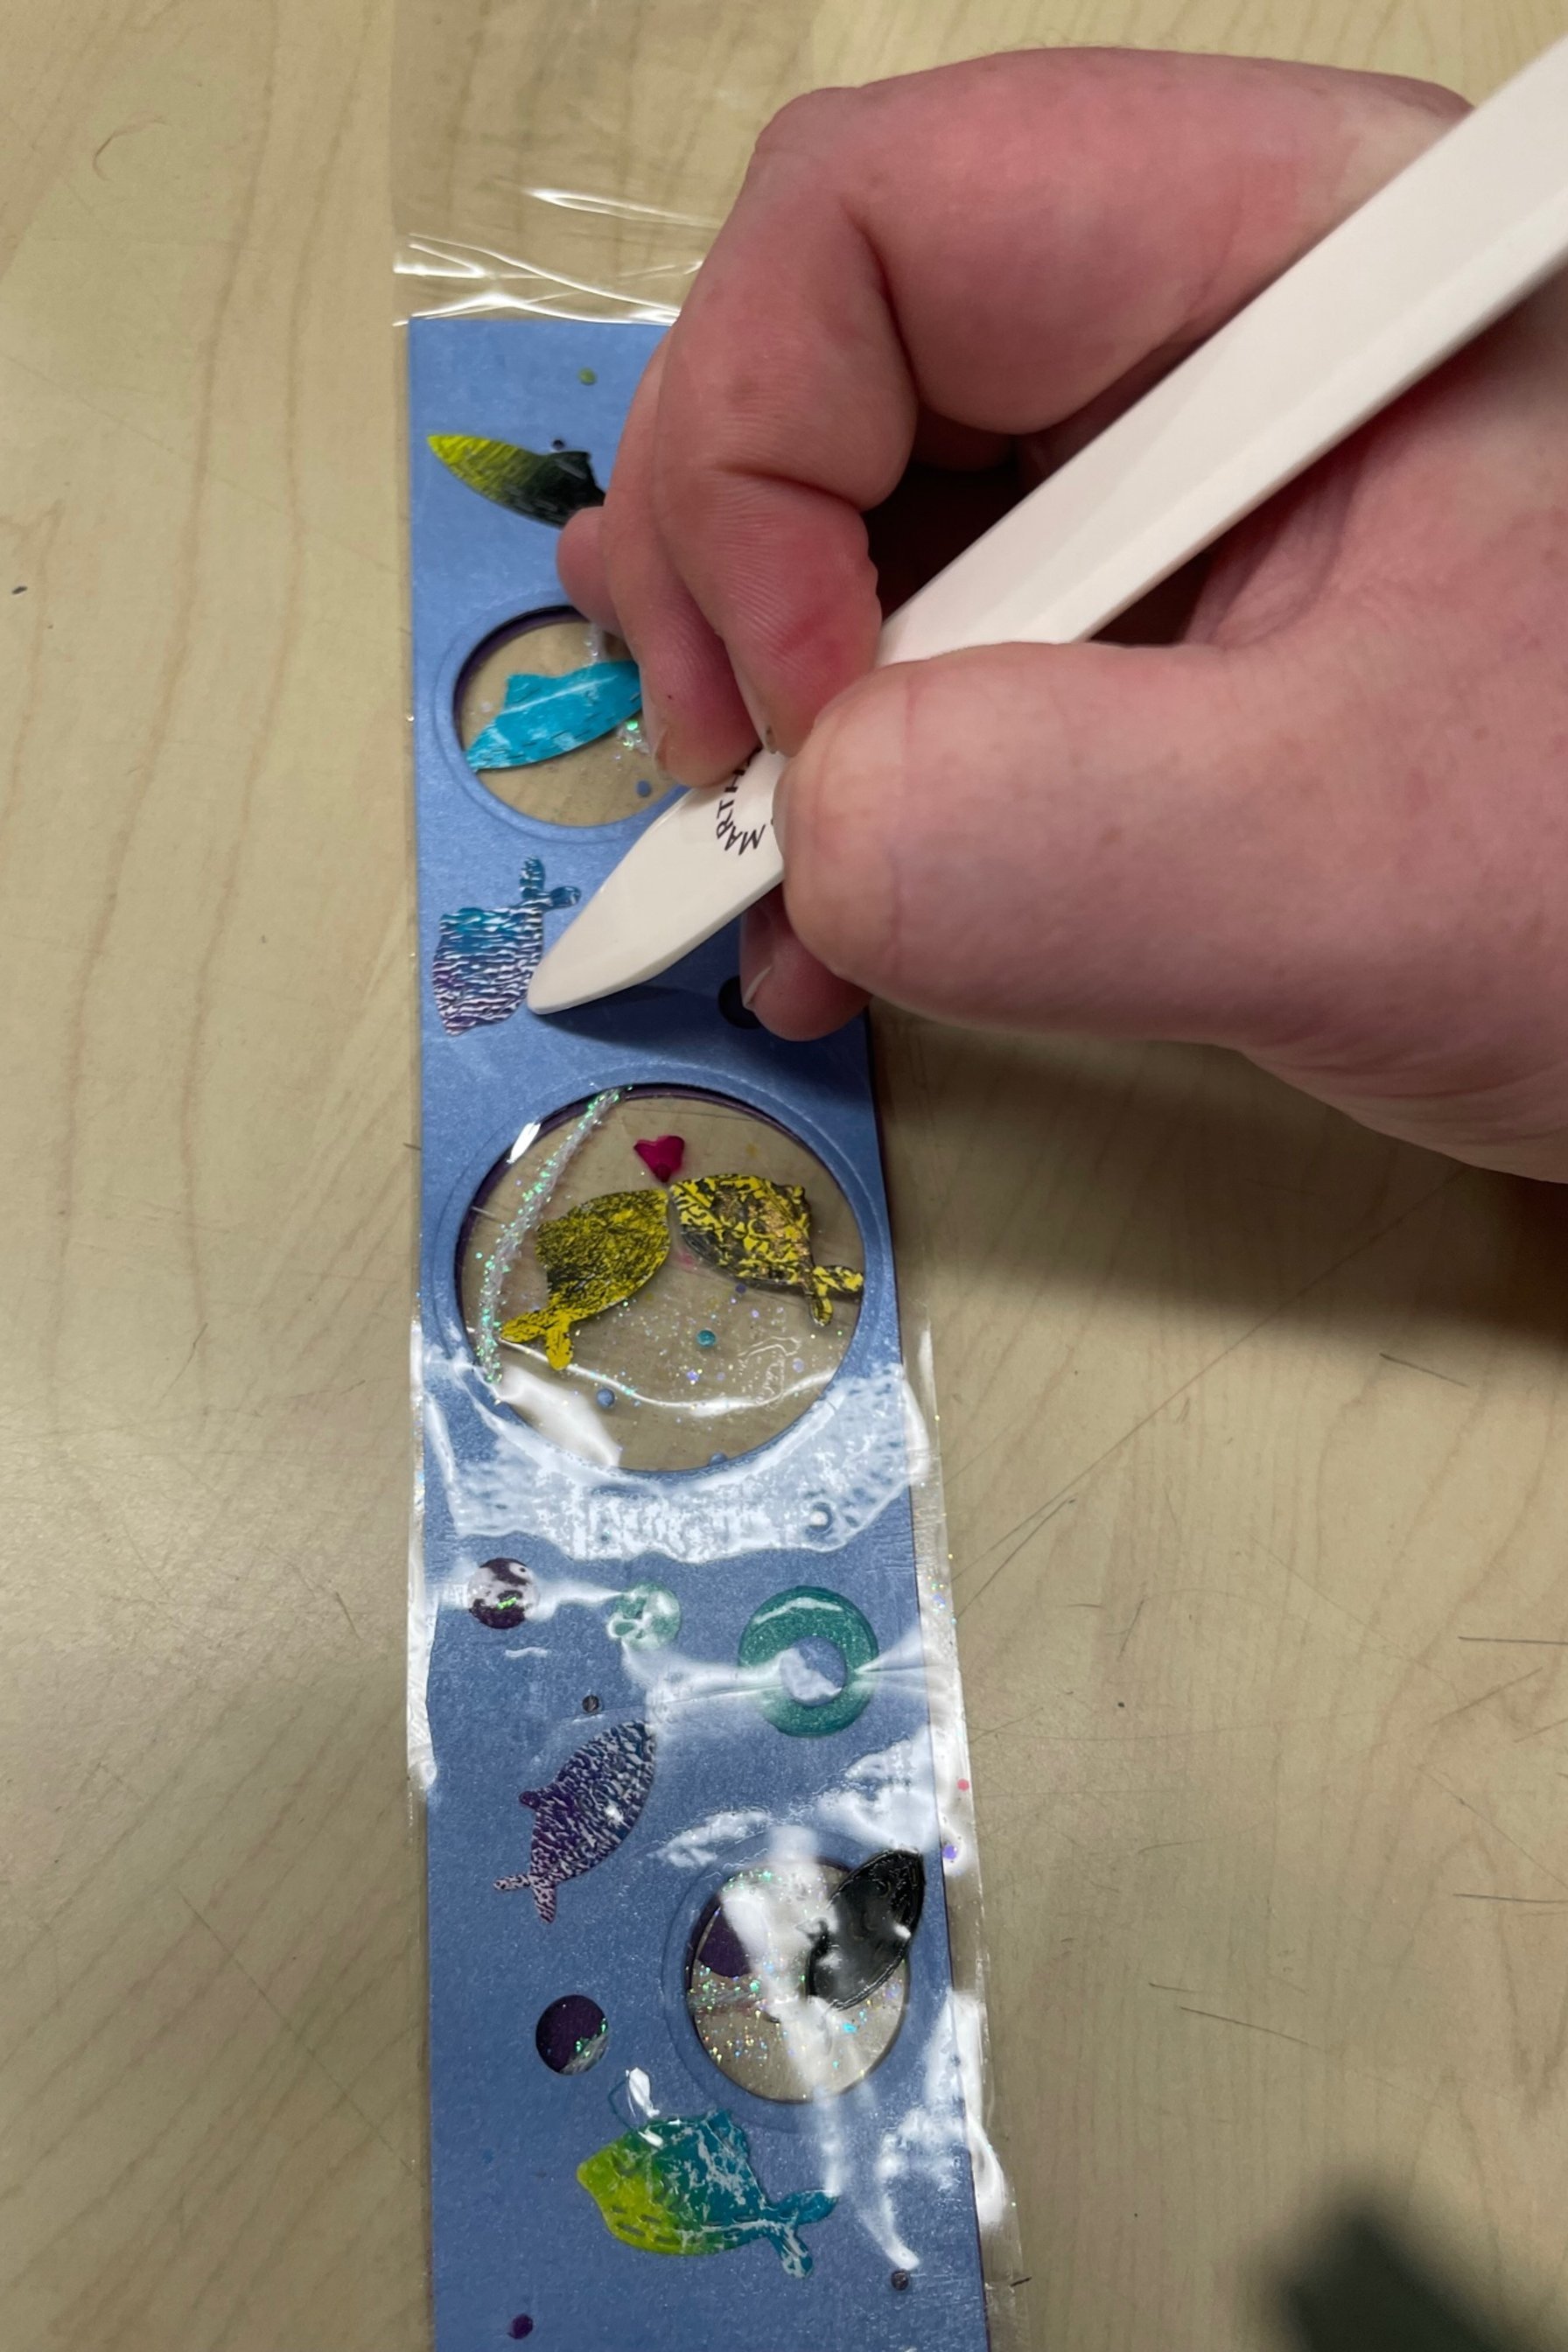
Starting at the bottom and gently outlining the fish and bubbles with a scoring tool or plastic card to ensure that it is fully adhered!
Once the tape is totally laid down use that same tool to outline the bubbles and fish!
The only air bubbles we want are the ones made of paper!
What an adorable bookmark!!
If you’d like- we have a variety of twine and ribbon you can use to add a tail to your bookmark!
I chose this color to match the inner twine!!

Thanks for creating with us today!!
I hope this has inspired you to laminate your favorite creations- and start a new book!!
We’ll have this craft set up ALL WEEK- until next Wednesday’s demo!
If you’re ever wanting to use this method to create something new and want our advice- we are always here for you!!

Happy crafting, my creative friends!!
See you soon!!
Art and Happiness
2004 James st
Bellingham WA 98225
Mon-Sat
10am-6pm
Sunday
Noon-5pm
(360) 206-0389